

How to Level a Sinking Paver Step
About This Project
This project outlines the steps to level a sinking paver step by addressing the underlying soil and re-setting the pavers. It involves excavating around the step, stabilizing the base material, and re-leveling the pavers.
Tools & Materials
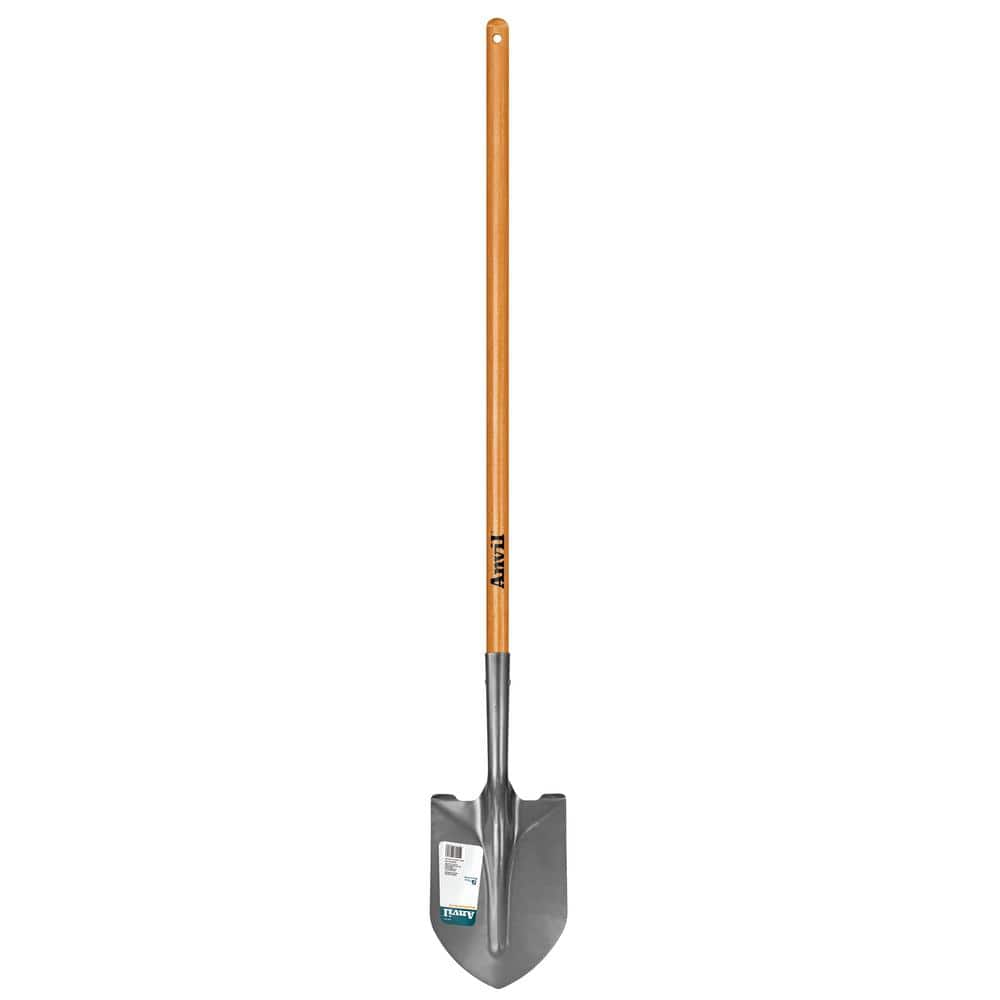
Anvil 47 in. Wood Handle Carbon Steel Digging Shovel 77470-939
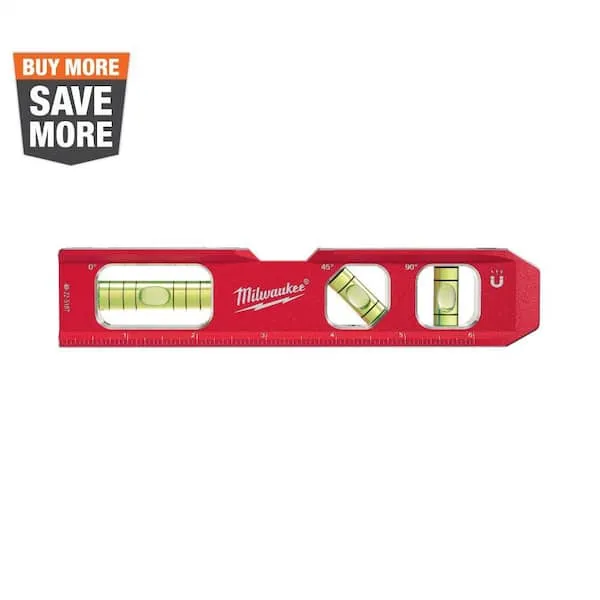
Level
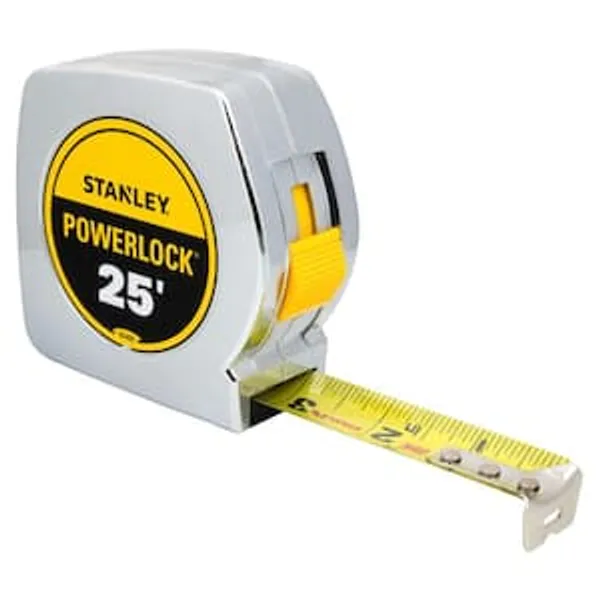
Measuring Tape
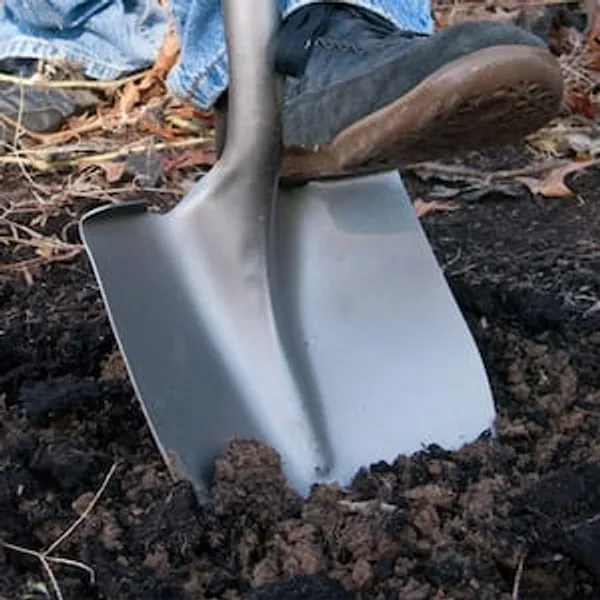
Shovel

Tomahawk Power 5.5 HP Honda Powered Gas Plate Compactor for Asphalt, Soil Compaction TPC80H

1,100 lb. 3/4 in. Gravel/Crushed Rock 479497
Anvil 47 in. Wood Handle Carbon Steel Digging Shovel 77470-939
Discover the Unparalleled Performance of the Anvil 47 in. Digging Shovel. Are you seeking a digging shovel that combines durability, strength, and reliable performance. Look no further than the Anvil Digging Shovel. Crafted with a laser-cut blade made of high-quality carbon steel, it effortlessly slices through soil, roots, and debris, making it an ideal tool for all your lawn and garden projects. What sets this shovel apart is the head, which is fully tempered for exceptional strength and durability. This means it can withstand the toughest digging tasks with ease and longevity. The 47 in. wood handle is not only functional but visually appealing as well, thanks to its varnished finish. This coating not only adds to its appearance but also provides protection against the elements, ensuring your shovel stays in top condition for years to come. This tool comes with a 5-year manufacturer warranty.
Level
Ensures surfaces are just right.
Measuring Tape
Accurate measurements in a snap.
Shovel
Digs, lifts, and moves with ease.
Tomahawk Power 5.5 HP Honda Powered Gas Plate Compactor for Asphalt, Soil Compaction TPC80H
Featuring a 17 in. x 21 in. cast iron base plate, the TPC80 Forward Plate Compactor delivers an incredible force of 3,000 lbs. per sq. ft. at 6,400 VPM. Powered by the incredible 5.5 HP Honda Engine, this vibratory plate is perfect for jobsites, households and rental fleets. Designed specifically to maneuver narrow, cramped spaces, the TPC80 compacts cohesive and granular soils up to 22 in. Ideal for compacting landscapes, hardscapes, roadways and asphalt, this vibratory plate is perfect for professionals, construction equipment rental and do-it-yourselfers alike. Durable and tough, the TPC80 Forward Plate Compactor is built to last and is backed by a 3-year engine warranty and 1-year product warranty, making it perfect for those tackling projects including walkways, patios, driveways or paver installation.
1,100 lb. 3/4 in. Gravel/Crushed Rock 479497
Steps

Excavate Around the Paver Step
120 minutesUse a shovel to carefully dig around the perimeter of the paver step. The goal is to expose the base material (gravel or sand) that the pavers are set on. Continue excavating until you reach stable soil or a depth that addresses the cause of the sinking. If the sinking is due to frost heave, you may need to excavate below the local frost line. Remove any loose soil or debris as you excavate.
Watch: Remove Affected Pavers and Surrounding Rows
Stabilize the Base Material
180 minutesIf the excavated area is unstable or has washed out, you will need to add new base material. Begin by adding a layer of crushed gravel (e.g., ¾-inch minus). Spread the gravel evenly and compact it thoroughly using a hand tamper or a plate compactor. Add subsequent layers of gravel, compacting each layer, until you reach the desired height. If the original base was sand, you may opt to use a paver base sand or a blend of sand and gravel for better drainage and stability. Ensure the new base material is compacted to create a firm surface that will not shift.
Watch: Replace the base
Re-level and Set Pavers
90 minutesOnce the base material is compacted and level, carefully place the paver step units back into position. Use a rubber mallet to gently tap the pavers into place, ensuring they are flush with each other and the surrounding pavers. Use your level frequently to check that each paver, and the step as a whole, is level. Adjust the base material underneath as needed by adding or removing small amounts to achieve the correct height and slope. Ensure the edges of the step are properly aligned and that there are no significant gaps between pavers.
Watch: Re-lay and Level Pavers
Backfill and Compact Edges
60 minutesOnce the pavers are set and leveled, backfill the excavated areas around the step. If you used gravel as the base, you can use more gravel for backfilling or a suitable soil mix. For areas that will not be paved over, use soil. Compact the backfill material in layers to prevent settling. Ensure the backfilled material slopes away from the step to promote drainage. Sweep the paver surface clean of any debris.
Watch: Backfill Around Pavers

