

How to Install a Grab Bar at the Top or Bottom of Stairs
About This Project
Outline for installing a grab bar at the top or bottom of stairs to improve safety and accessibility. This involves selecting a suitable location, choosing the correct type of grab bar and mounting hardware, and securely attaching it to the wall structure.
Tools & Materials
Measuring Tape

Pencil
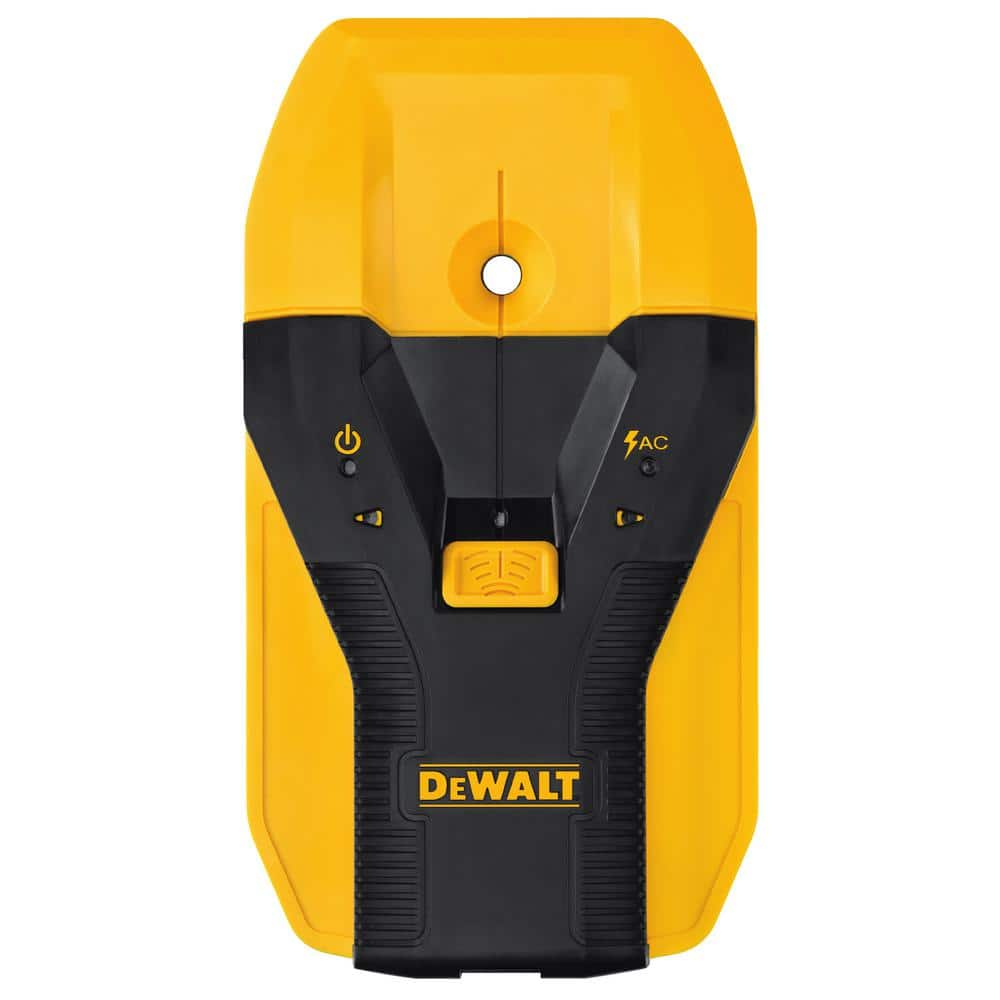
DEWALT 1-1/2 in. Stud Finder DW0150

Drill
Drill Bits
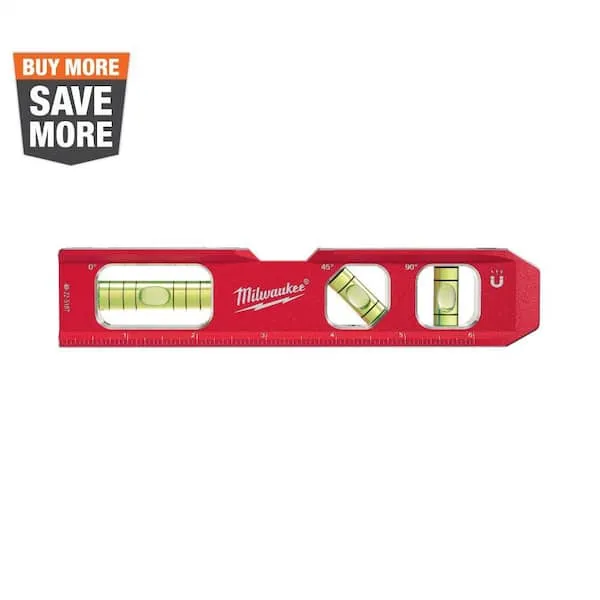
Level
Measuring Tape
For accurate measurements of plywood and components, ensuring proper assembly.
Pencil
Marks and draws with ease.
DEWALT 1-1/2 in. Stud Finder DW0150
This Center Sensor Stud Finder has a detection depth of 1-1/2 in. for wood and metal. Traditional stud sensors locate the edge of the stud, but our new product locates the center for a more efficient read, even when held at an angle. Plus, it is constantly calibrating to save time during use. An audible alert and directional LED arrows clearly notify you once the stud is located and you can easily mark the center of the stud with the center marking channel.
Drill
A power tool used for drilling holes in various materials.
Drill Bits
Various sizes for different drilling tasks, including making holes for screws and latches.
Level
Ensures surfaces are just right.
Steps

Determine Grab Bar Location
15 minutesIdentify the ideal mounting points for the grab bar. This typically involves determining the height that best suits the intended user's reach when standing or sitting at the top or bottom of the stairs. Consider the surrounding wall structure to ensure secure mounting into studs or blocking. The grab bar should be positioned to offer assistance throughout the stair transition.
Watch: Locate Studs and Mark Grab Bar Position
Verify Wall Structure
20 minutesUse a stud finder to locate the center of at least two wall studs within the desired grab bar placement area. If studs are not ideally positioned, consider installing blocking between studs. Mark the centerlines of the studs or the edges of the blocking precisely on the wall. Ensure that the grab bar's mounting holes will align with these structural supports.
Watch: Install Vertical Grab Bar Next to Shower/Tub (Drywall)
Mark Mounting Holes
10 minutesHold the grab bar against the wall at the determined location, ensuring it is level. Align the mounting flanges with the marked stud centerlines or blocking. Use a pencil to mark the exact center of each screw hole on the wall through the grab bar's mounting holes. Double-check that the grab bar is perfectly level before marking all holes.
Watch: Mark Mounting Hole Locations
Drill Pilot Holes
15 minutesSelect a drill bit that is slightly smaller than the diameter of the mounting screws. Carefully drill pilot holes at each of the marked points on the wall. Ensure the drill is held perpendicular to the wall to create straight holes. For installations into blocking, ensure the pilot hole is deep enough to accept the full screw length.
Watch: Drill Pilot Holes into StudsMount the Grab Bar
25 minutesPosition the grab bar over the drilled pilot holes. Insert the mounting screws through the grab bar's flanges and into the pilot holes. If using wood screws, drive them directly into the studs or blocking. If using anchors, ensure they are appropriate for the load and installed correctly. Tighten screws firmly, but avoid overtightening, which can strip the holes or damage the bar. Ensure the bar is snug against the wall.
Watch: Mount Grab Bar
Test Stability
10 minutesApply firm, steady pressure to the grab bar in all directions – up, down, and sideways. Push and pull on the bar to check for any movement or loosening. If any part of the installation feels unstable, remove the grab bar and reinforce the mounting points, possibly by using longer screws, different anchors, or by adding blocking.
Watch: Attach Covers and Test Stability

