

How to Install a Metal Handrail on Interior Stairs
About This Project
This project outlines the steps to install a metal handrail on interior stairs to improve safety and accessibility. It includes selecting the appropriate handrail, locating studs or solid blocking, marking the installation points, drilling holes, and securely mounting the handrail brackets and rail.
Tools & Materials
Measuring Tape

Pencil
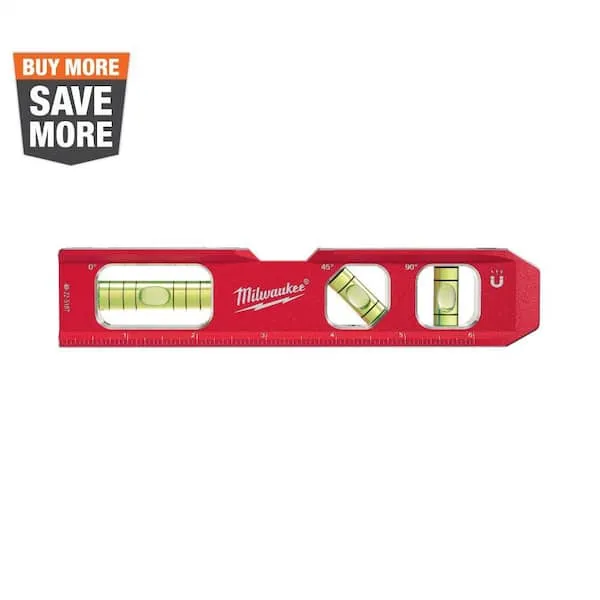
Level

DEWALT 1-1/2 in. Stud Finder DW0150

Everbilt Matte Black Handrail Bracket 20880

Drill
Measuring Tape
For accurate measurements of plywood and components, ensuring proper assembly.
Pencil
Marks and draws with ease.
Level
Ensures surfaces are just right.
DEWALT 1-1/2 in. Stud Finder DW0150
This Center Sensor Stud Finder has a detection depth of 1-1/2 in. for wood and metal. Traditional stud sensors locate the edge of the stud, but our new product locates the center for a more efficient read, even when held at an angle. Plus, it is constantly calibrating to save time during use. An audible alert and directional LED arrows clearly notify you once the stud is located and you can easily mark the center of the stud with the center marking channel.
Everbilt Matte Black Handrail Bracket 20880
The Everbilt Handrail Bracket is ideal for supporting handrails at any angle. Use in hallways or stairwells. Great for indoor or outdoor use. Easy to install.
Drill
A power tool used for drilling holes in various materials.
Steps

Determine Handrail Height and Location
30 minutesConsult local building codes for specific height requirements. The standard is usually between 34 and 38 inches from the leading edge (nosing) of each stair tread. Use a tape measure to identify the desired height line on the wall adjacent to the stairs. Ensure this height is consistent across all steps.
Watch: Mark Handrail Height
Locate Wall Studs or Blocking
20 minutesAfter marking the height line, use a stud finder to scan the wall along this line for studs or solid blocking. Mark the center of each located stud or blocking. Handrail brackets must be attached to these structural elements for safety and stability. If studs are too far apart, consider installing additional blocking between studs.
Watch: Find Stud Locations
Mark Bracket Mounting Points
25 minutesHold a handrail bracket against the wall at one of the marked stud locations, ensuring it is aligned with the height line. Mark the screw hole positions through the bracket. Repeat this for all required bracket locations, ensuring they are evenly spaced and securely anchored to the studs or blocking. The distance between brackets will depend on the handrail length and code requirements, but typically ranges from 30 to 72 inches.
Watch: Mark Top Bracket Location
Drill Pilot Holes
15 minutesSelect a drill bit that is slightly smaller than the diameter of the mounting screws you will be using. Drill pilot holes at each marked location. The depth of the pilot hole should be sufficient to accommodate the length of the screw, ensuring it reaches into the stud or blocking.
Watch: Pre-Drill Pilot Holes
Mount Handrail Brackets
30 minutesPosition each bracket over its pilot holes. Drive the mounting screws through the bracket holes and into the pilot holes, ensuring they are tightened securely into the studs or blocking. Use a level to confirm each bracket is plumb and aligned with the height line before fully tightening.
Watch: Secure Brackets with Second Screw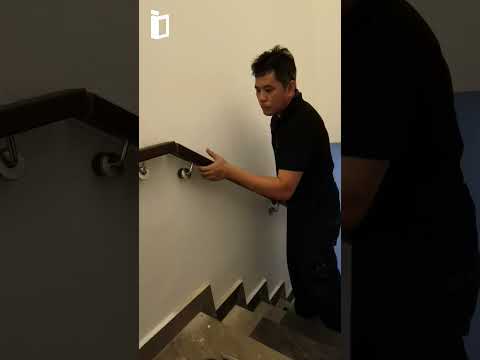
Cut Handrail to Length (if necessary)
20 minutesMeasure the total length of the stair run where the handrail will be installed. If your handrail material is longer than needed, use a miter saw or hacksaw to cut it to the precise length. For angled stair runs, use a miter saw set to the appropriate angle. Ensure the cut end is smooth and free of burrs.
Watch: Cutting Handrail Sections
Attach Handrail to Brackets
25 minutesPlace the handrail onto the installed brackets. The brackets will have pre-drilled holes or a system for attachment. Secure the handrail to each bracket using the provided screws or fasteners. Ensure the handrail is centered on each bracket and tightened securely. If the handrail has a specific top or bottom, ensure it is oriented correctly.
Watch: Mount the Handrail to Brackets
Inspect and Test Handrail
15 minutesGently push and pull on the handrail at various points to check for any wobble or looseness. Inspect the entire length for any sharp edges, splinters, or protruding fasteners. Apply firm downward pressure to test its stability and ensure it can support the weight of a person. Verify that the handrail extends far enough at the top and bottom of the stairs as per building codes.
Watch: Perform Final Inspection and Safety Check

