

How to Install Pipe Shelving on a Stair or Hallway Wall
About This Project
This project involves installing pipe shelving on a stair or hallway wall. The process includes planning the layout, gathering materials and tools, locating wall studs, cutting pipes if necessary, assembling the pipe structure, attaching the shelves, and securing the entire unit to the wall. Safety precautions, especially regarding working on stairs or near a hallway, should be observed.
Tools & Materials
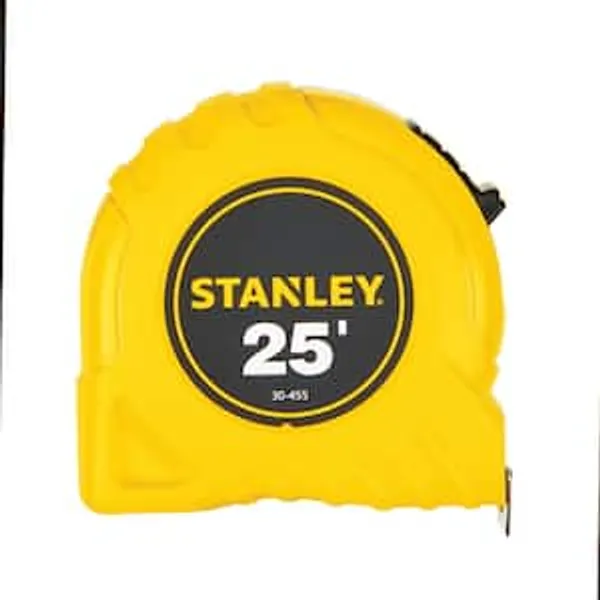
25 ft. Tape Measure
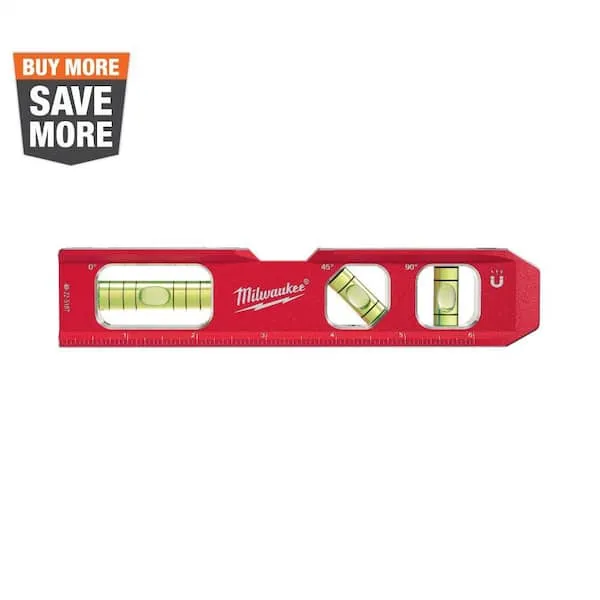
Level

Pencil
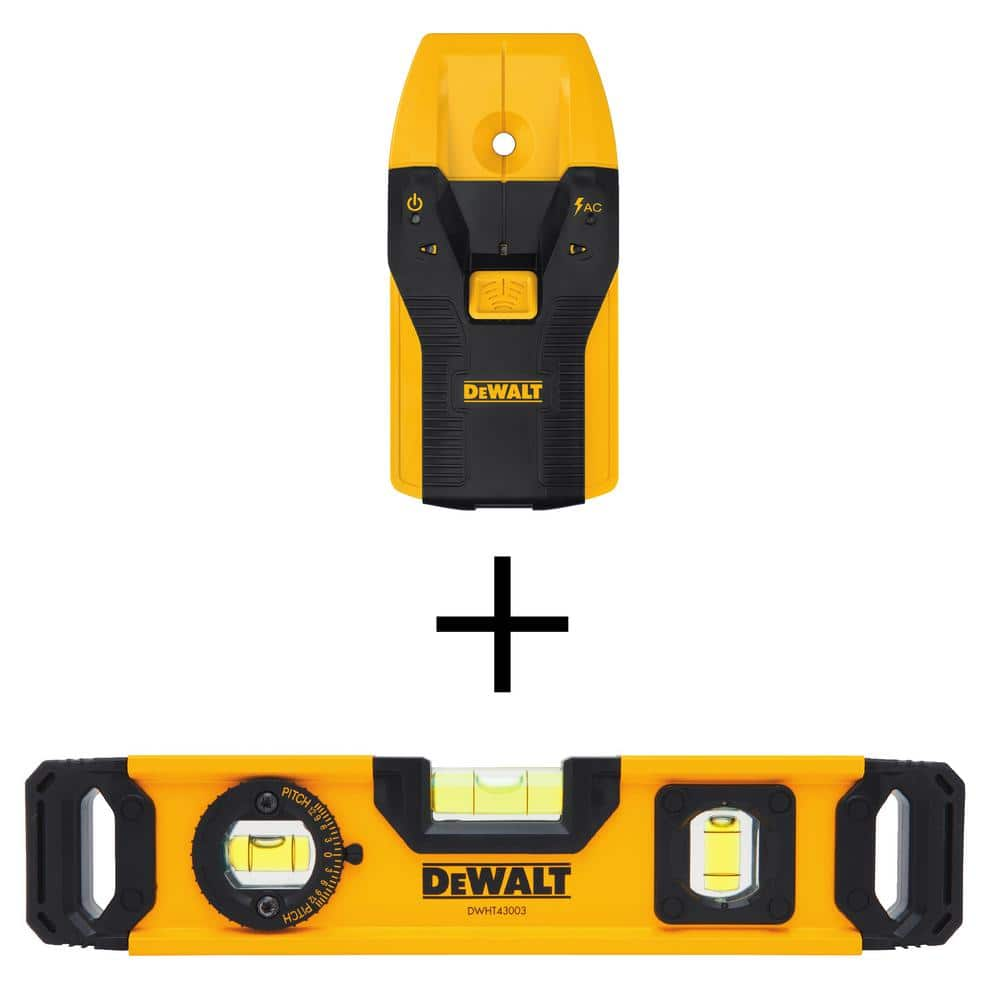
DEWALT 3/4 in. Stud Finder and 9 in. Torpedo Level DW0100W43003

Painters Tape
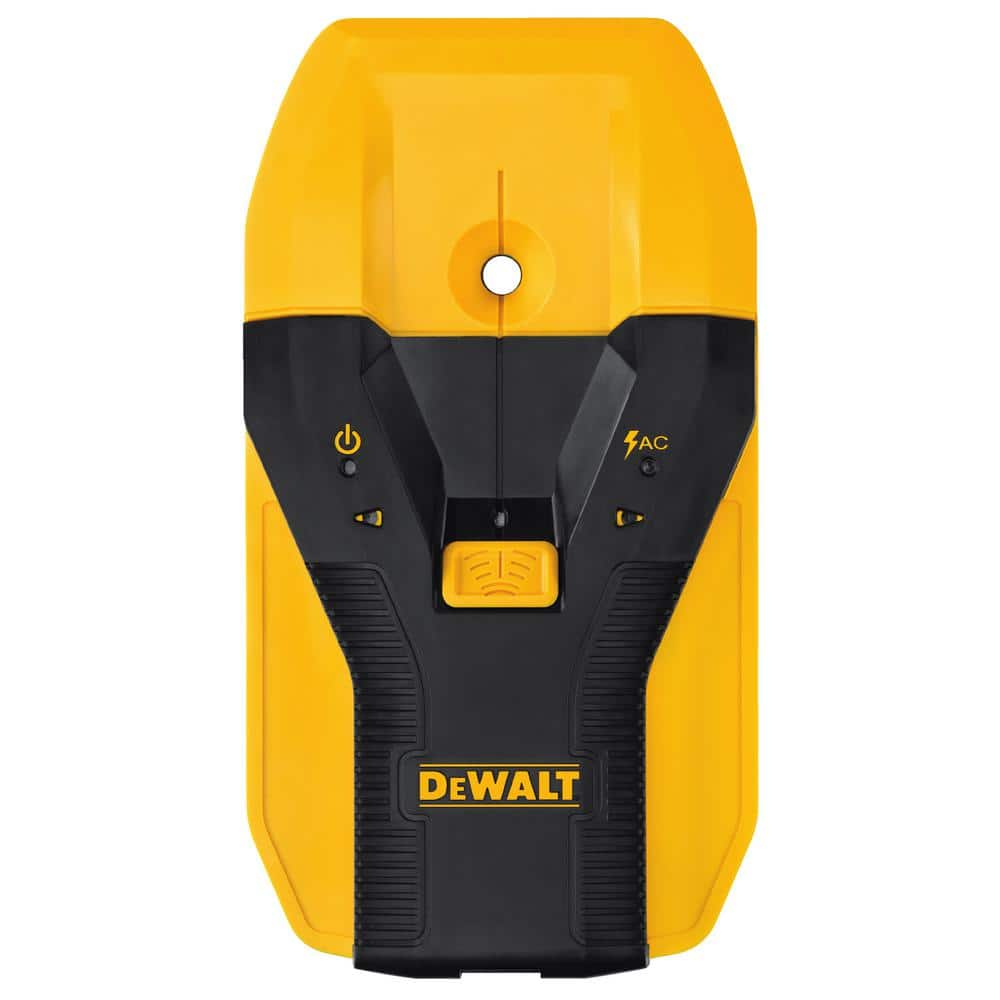
DEWALT 1-1/2 in. Stud Finder DW0150
25 ft. Tape Measure
Measure with precision and ease.
Level
Ensures surfaces are just right.
Pencil
Marks and draws with ease.
DEWALT 3/4 in. Stud Finder and 9 in. Torpedo Level DW0100W43003
Eliminate the guesswork with this new Center Sensor Stud Finder that has a detection depth of 3/4 in. for wood and metal. While traditional stud sensors locate the edge of the stud, this 1 locates the
Painters Tape
Masks areas for precision painting.
DEWALT 1-1/2 in. Stud Finder DW0150
This Center Sensor Stud Finder has a detection depth of 1-1/2 in. for wood and metal. Traditional stud sensors locate the edge of the stud, but our new product locates the center for a more efficient read, even when held at an angle. Plus, it is constantly calibrating to save time during use. An audible alert and directional LED arrows clearly notify you once the stud is located and you can easily mark the center of the stud with the center marking channel.
Steps

Determine Shelf Placement and Spacing
30 minutesMeasure and mark the desired locations for each shelf on the stair or hallway wall. Consider the height of items you plan to display and ensure there's enough vertical space between shelves. Use a level to ensure your markings are straight. For a hallway, consider the flow of traffic and avoid placing shelves where they might obstruct passage. For stairs, ensure shelves do not interfere with the handrail or create a hazard.
Watch: Determine Placement
Locate and Mark Studs
15 minutesMove the stud finder horizontally along your marked lines at each shelf location. When the device indicates a stud, mark the center of the stud clearly. Repeat this process for all intended mounting points. It's crucial to anchor the shelving directly into studs for stability and safety, especially for heavier loads.
Watch: Locate Wall Studs
Assemble Pipe Framework
45 minutesLay out all the pipe components and fittings. Begin connecting the pipes and fittings by screwing them together. Ensure that each connection is snug but avoid overtightening, which can strip threads. Assemble the vertical supports and horizontal shelf supports as per your design. For L-shaped or U-shaped shelf supports, connect the appropriate elbows and tees.
Watch: Assemble Pipe Supports
Attach Mounting Flanges to Pipe Structure
10 minutesIdentify the ends of the pipe framework that will be secured to the wall. Screw a floor flange onto each of these ends. Ensure the flanges are screwed on straight and are snug against the pipe threads.
Watch: Assemble Wall-Mount Pipe Sections
Position and Mark Wall Pilot Holes
15 minutesWith assistance, carefully hold the assembled pipe shelving unit against the wall at the pre-determined locations. Ensure it is level. Using a pencil, mark the center of each screw hole in the mounting flanges onto the wall. These marks indicate where you will drill pilot holes for the screws.
Watch: Mark and Pre-drill Wall
Drill Pilot Holes
15 minutesSelect a drill bit that is slightly smaller in diameter than your mounting screws. Using a power drill, carefully drill pilot holes at each of the marked locations. Ensure the drill is perpendicular to the wall for a clean hole. If drilling into drywall without hitting a stud, you may need to use appropriate drywall anchors (though stud mounting is strongly recommended).
Watch: Drill Pilot Holes
Secure Pipe Shelving to Wall
20 minutesPosition the pipe shelving unit back against the wall, aligning the flange holes with the drilled pilot holes. Insert the appropriate mounting screws through the flanges and into the wall. Use a power drill or screwdriver to drive the screws firmly. Ensure the unit is securely fastened to the wall. If mounting into studs, use screws long enough to penetrate well into the stud material.
Watch: Mount Pipe Supports to Wall
Install Shelf Boards
30 minutesCarefully place your chosen shelf boards onto the horizontal pipe supports. Ensure they are centered and sit flat. Depending on the shelf material and your preference, you may want to secure the shelves to the pipes using small screws or brackets to prevent them from shifting. For wooden shelves, pre-drilling pilot holes into the underside of the shelf can prevent splitting.
Watch: Install Wooden Shelves and Secure with Clips

