How to Install Aluminum-Channel LED Lighting on Stair Nosings
About This Project
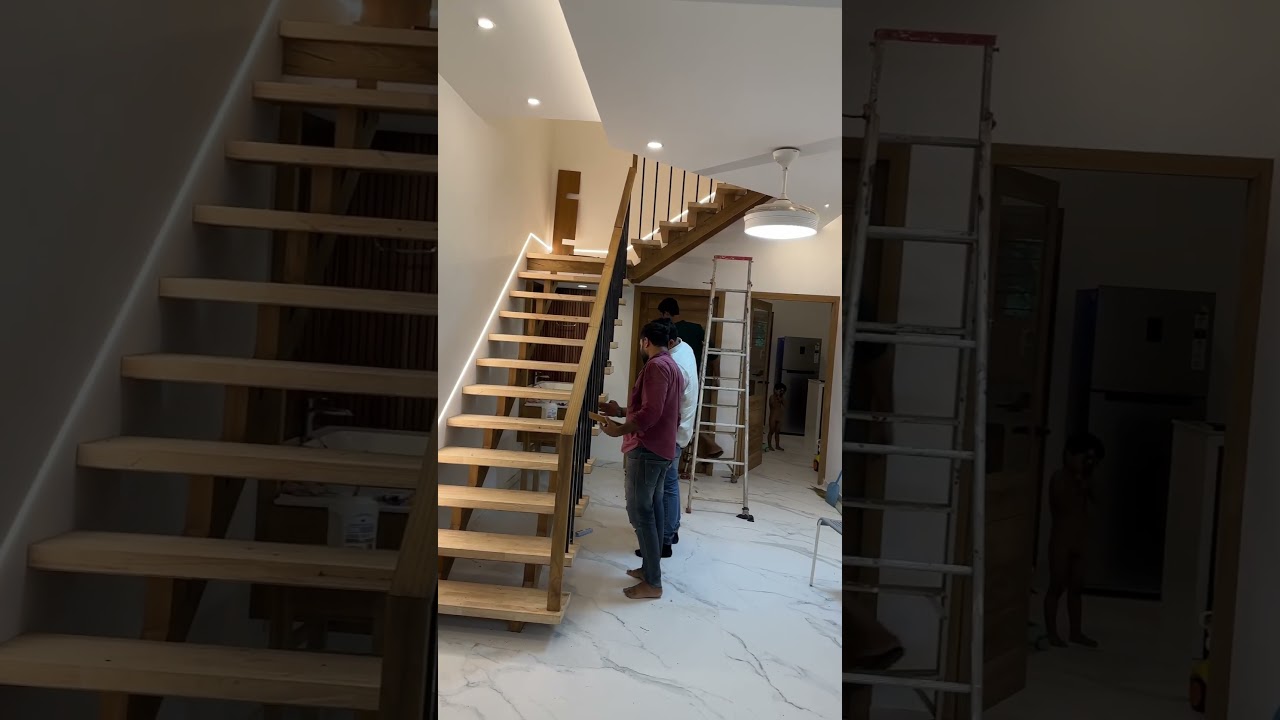
This project involves the installation of aluminum channels with LED strip lights onto the nosings of stairs to provide accent and safety lighting. The process includes measuring and cutting the aluminum channels, preparing the stair nosings for mounting, installing the LED strips and channels, wiring the LEDs to a power source, and testing the system.
Tools & Materials
Measuring Tape
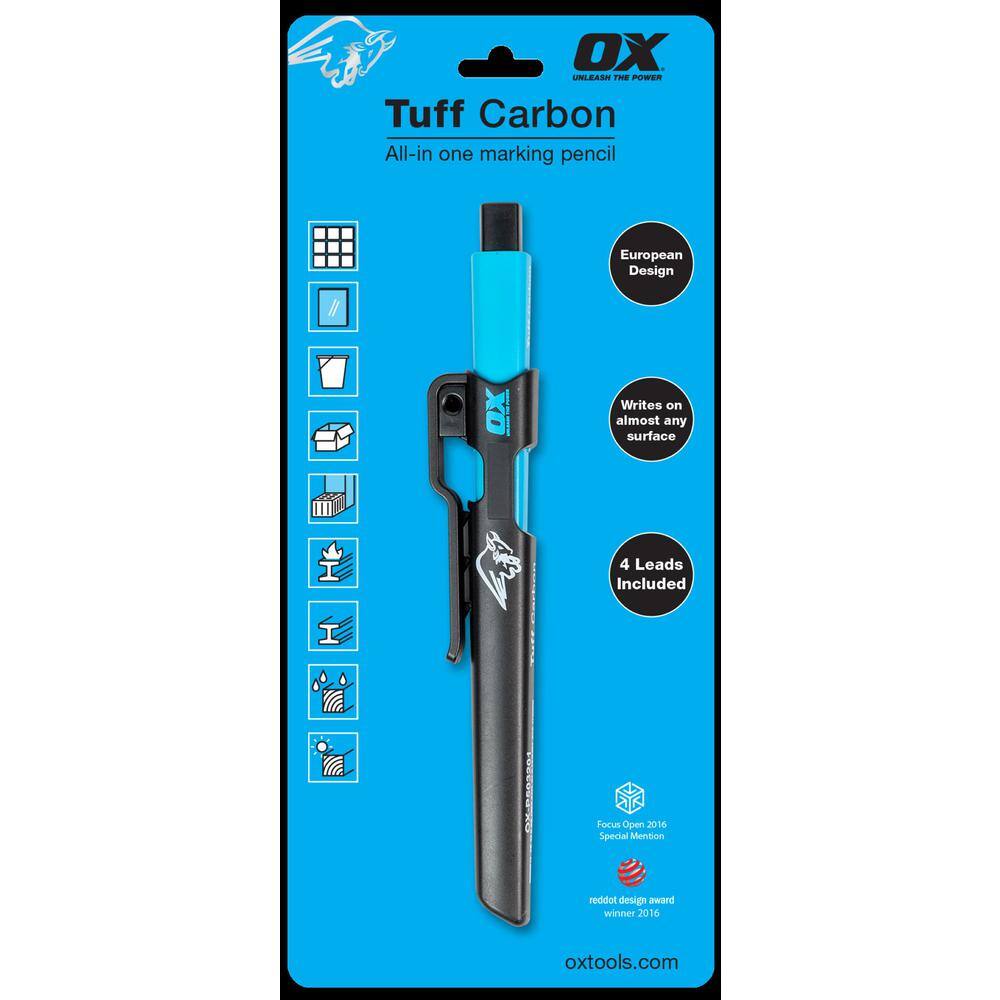
OX TOOLS OX Tuff Carbon - Marking Pencil Value Pack OX-P503210

Milwaukee High-Tension Hack Saw with 12 in. 24 TPI Bi-Metal Blade and Blade Storage 48-22-0050

Everbilt 3/8 in. W x 1/2 in. H x 96 in. L Aluminum C-Channel with 1/16 in. Thick 800547

THE CLEAN STORE Microfiber Pink/White Cleaning Cloths (Pack of 100) 79136

Klear Concepts 19 oz. KHD Heavy-Duty Degreaser and Cleaner, Aersol Spray 900690
Measuring Tape
For accurate measurements of plywood and components, ensuring proper assembly.
OX TOOLS OX Tuff Carbon - Marking Pencil Value Pack OX-P503210
OX Tools Tuff Carbon Marking Pencils are packed with features and are an excellent choice for any tradesman. The unique square design prevents the pencil from rolling off surfaces, unlike traditional round design. This pencil is designed to be able to write on almost any surface on a job site including metal, wood, plastic, brick, stone, block, concrete, glass, tile and much more. It features a belt clip and an integrated lead sharpener built into the cap. The pack comes with four leads, one standard graphite, one red, one yellow, and one white that can be used interchangeably.
Milwaukee High-Tension Hack Saw with 12 in. 24 TPI Bi-Metal Blade and Blade Storage 48-22-0050
The Milwaukee 12 in. High Tension Hack Saw is designed to be the most durable, highest tension hacksaw available to professional users. The reinforced metal frame is up to 5X more durable than competitors
Everbilt 3/8 in. W x 1/2 in. H x 96 in. L Aluminum C-Channel with 1/16 in. Thick 800547
Frequently used for door framing, wire protection or harnessing, these C-channels are rectangular metal channels available in various sizes and materials. Conveniently available in various metals including
THE CLEAN STORE Microfiber Pink/White Cleaning Cloths (Pack of 100) 79136
The Pull N Wipe Microfiber Cleaning Rags are the ideal cleaning cloths for all your cleaning needs. Whether you keep a box at Home to clean around the house, In the Kitchen to clean up after cooking or
Klear Concepts 19 oz. KHD Heavy-Duty Degreaser and Cleaner, Aersol Spray 900690
Quick Dry Contact Cleaner instantly removed dirt, grime, grease and oil. Also good for removing Corrosion. It has No Flash or Fire point and evaporates quickly. Cleaning Parts, Eletrical Motors, Equipment
Steps

Measure and Cut Aluminum Channels
30 minutesBegin by measuring the width of the first stair nosing where the LED channel will be installed. Use a measuring tape and mark the desired cut length on the aluminum channel with a pencil. Repeat this for all stair nosings. Once marked, carefully cut each aluminum channel to size using a hacksaw or a metal-cutting saw. Ensure the cuts are straight and clean.
Watch: Prepare Aluminum Channels
Prepare Stair Nosing Surface
15 minutesBefore mounting the aluminum channels, thoroughly clean the surface of each stair nosing. Use a degreaser or rubbing alcohol applied to a clean cloth to wipe down the area where the channel will be installed. This removes any dust, grease, or old adhesive residue, ensuring a strong bond for the mounting adhesive.
Watch: Install the Flush Stairnosing
Install LED Strips into Channels
20 minutesTake the LED light strip and peel off the adhesive backing from the strip. Align the LED strip with the opening of the corresponding aluminum channel. Gently press the LED strip into the channel, ensuring it is centered and adheres well along its entire length. Repeat for all channels and LED strips.
Watch: Insert LED Strip into Channels
Mount Aluminum Channels to Stair Nosing
45 minutesApply a strong double-sided adhesive tape or a bead of suitable adhesive along the back of the aluminum channel. Carefully position the channel onto the prepared stair nosing, aligning it with the front edge. Press firmly to ensure good contact and adhesion. If using mounting clips, secure them first according to their instructions and then attach the channel.
Watch: Install LED Channels and Mount Adhesive-Backed Strips
Connect LED Strips
40 minutesMost LED strips come with small connectors or soldering points at the ends. Connect the end of one LED strip to the beginning of the next, if running them in sequence along multiple stairs, using appropriate connectors or by soldering. Then, connect the beginning of the first LED strip (or the beginning of the entire run) to the wires that will lead to your power supply. Ensure all connections are secure and properly insulated.
Watch: Connect LED Strips (Plug-and-Play or Soldering)
Connect to Power Supply
30 minutesDetermine the appropriate low-voltage power supply (e.g., 12V or 24V DC) based on your LED strips' requirements. Connect the wires from the LED run to the output terminals of the power supply. If the power supply requires plugging into an outlet, ensure this is done safely and in accordance with electrical codes. Secure all connections, possibly within a junction box if required.
Watch: Wiring and Power Connection
Test the LED Lighting System
10 minutesOnce all connections are made and secured, turn on the power supply to the LED system. Observe all the installed LED strips to ensure they are all lit. Check for any inconsistencies in brightness, flickering, or sections that are not illuminating. Address any issues by re-checking connections and troubleshooting.
Watch: Power On and Observe Default Operation