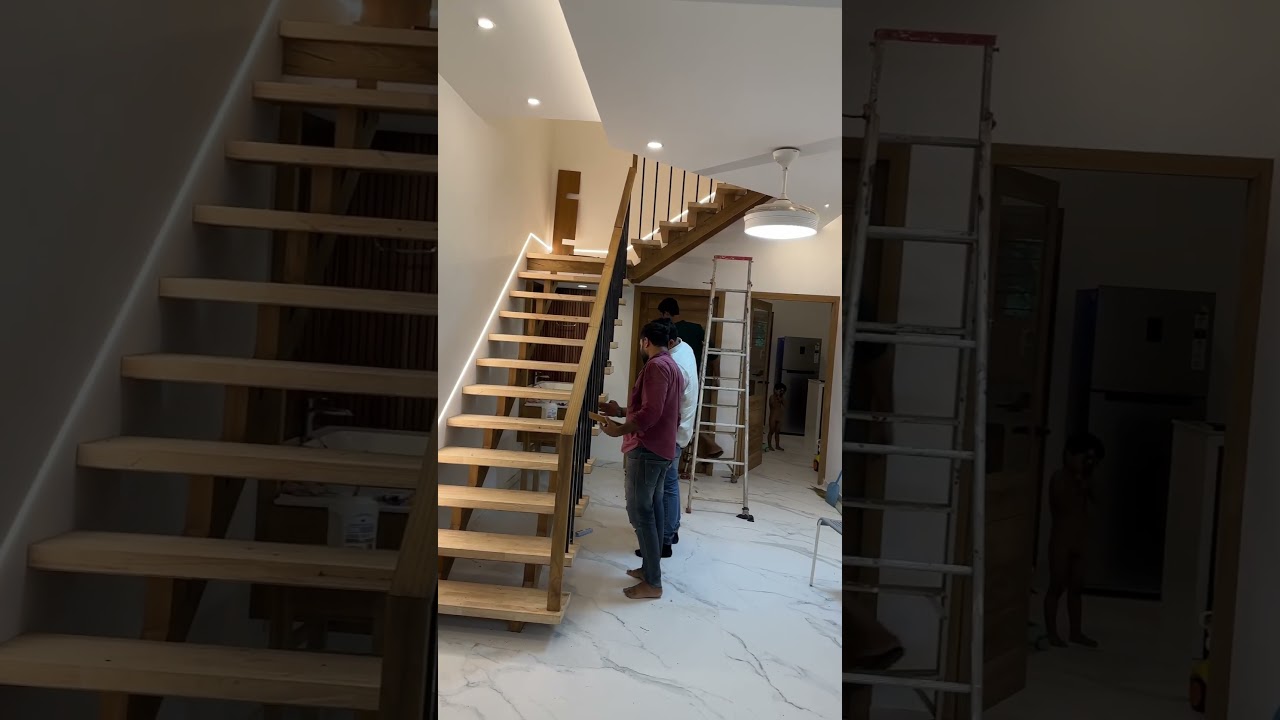
How to Add a Light Inside an Under-Stair Closet
About This Project
Install a new light fixture and switch in an under-stair closet to improve visibility.
Tools & Materials
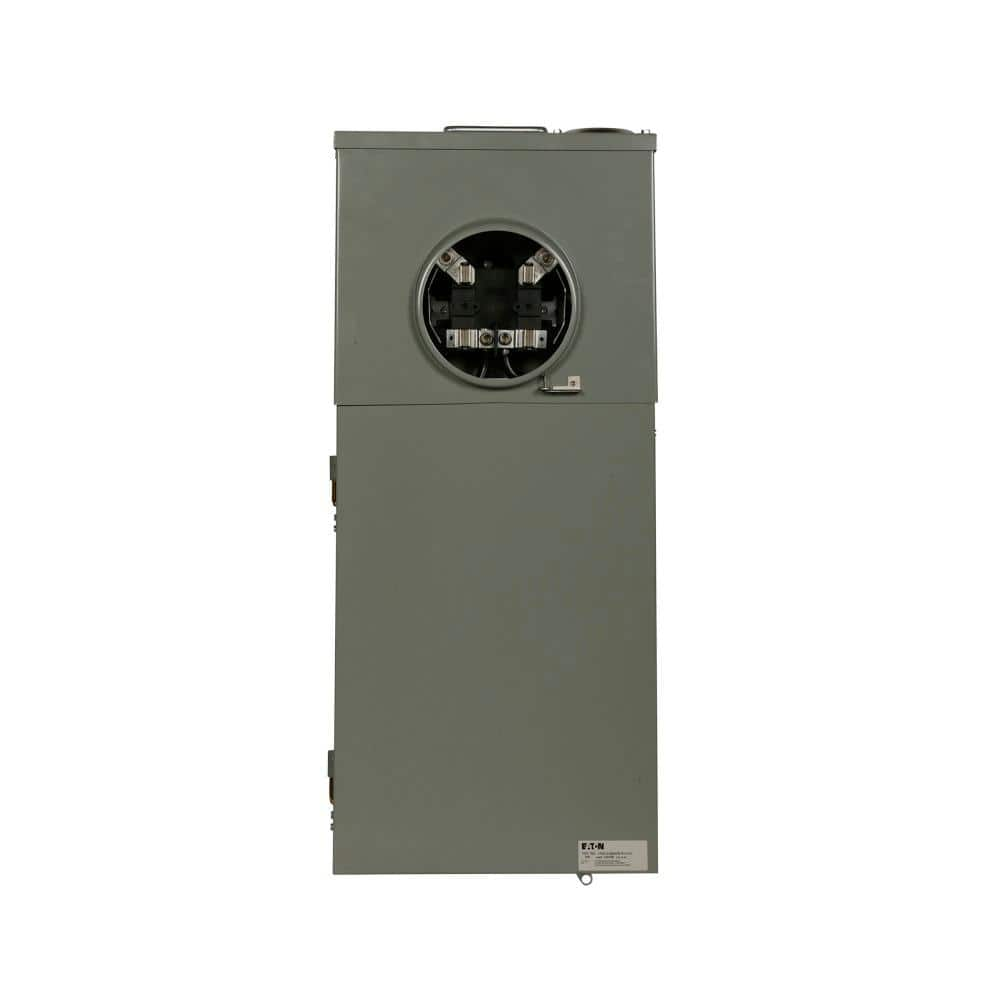
Eaton CH 200 Amp 12-Space 12-Circuit Non-EUSERC Meter Breaker Panel CMB1212B200BTS

Voltage / Circuit Tester
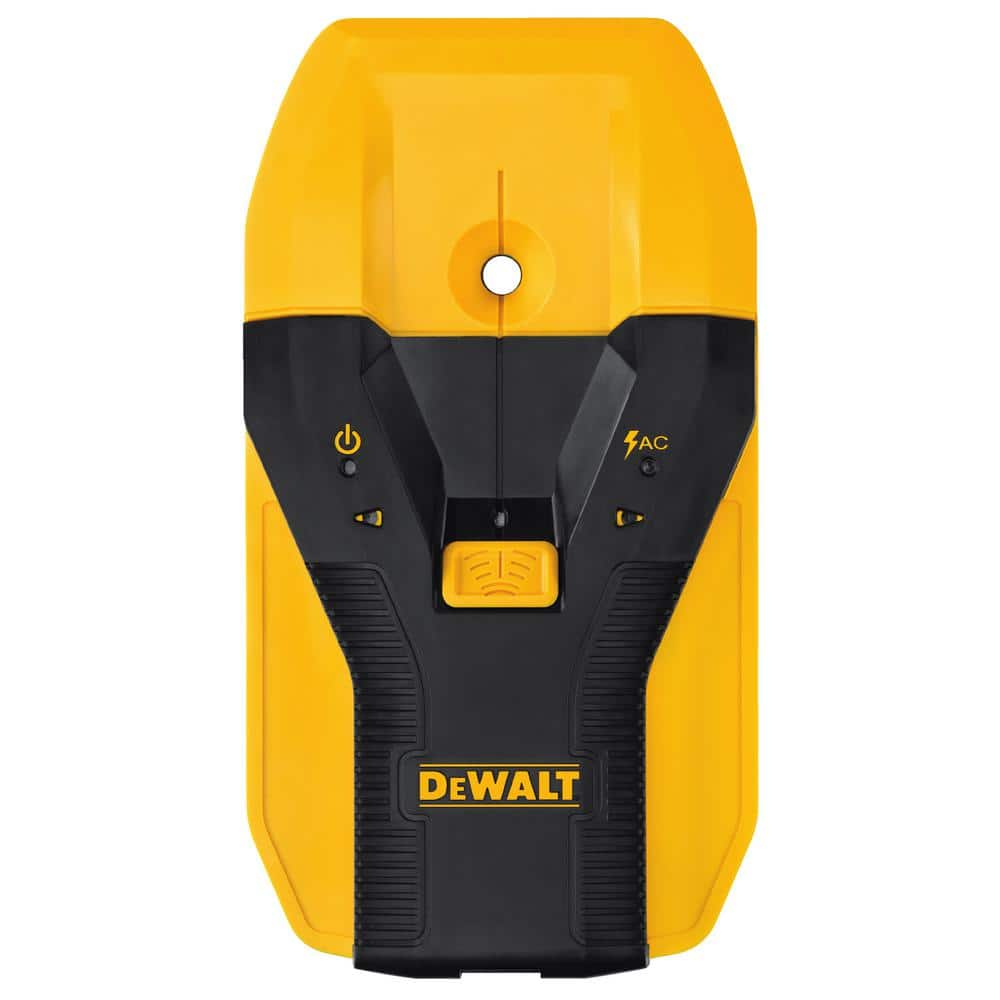
DEWALT 1-1/2 in. Stud Finder DW0150

Prest-on Drywall Repair Kit with Drywall 4045

Pencil

Feit Electric 4 in. 18 cu. in. PVC Gray 1-Gang Old Work Electrical Outlet Box BOX/OW/18/RND4
Eaton CH 200 Amp 12-Space 12-Circuit Non-EUSERC Meter Breaker Panel CMB1212B200BTS
Eaton's residential meter breakers are service entrance equipment systems that consist of a single meter socket and load center distribution section. This type of configuration is also known as All-in
Voltage / Circuit Tester
Detects electrical voltage presence.
DEWALT 1-1/2 in. Stud Finder DW0150
This Center Sensor Stud Finder has a detection depth of 1-1/2 in. for wood and metal. Traditional stud sensors locate the edge of the stud, but our new product locates the center for a more efficient read, even when held at an angle. Plus, it is constantly calibrating to save time during use. An audible alert and directional LED arrows clearly notify you once the stud is located and you can easily mark the center of the stud with the center marking channel.
Prest-on Drywall Repair Kit with Drywall 4045
Got a hole in your wall. That's an easy fix with our drywall repair kit featuring the insta-back. The all in one kit is a complete kit with enough supplies to repair 2-holes in drywall using the insta-back.
Pencil
Marks and draws with ease.
Feit Electric 4 in. 18 cu. in. PVC Gray 1-Gang Old Work Electrical Outlet Box BOX/OW/18/RND4
The Feit Electric Box Gray 1-Gang 18 cu. 4 in. Non-Metallic Outlet Old Work Round Box is designed for use with non-metallic sheathed cable. It includes bracket/ears for easy installation. Great for residential
Steps


Install New Electrical Box for Light Fixture
20 minutesDetermine the desired location for the new light fixture in the closet ceiling. Use a stud finder to ensure there are no joists or obstructions in the way. Trace the outline of the electrical box onto the ceiling. Carefully cut out the opening using a drywall saw. Insert the electrical box into the opening and secure it according to the manufacturer's instructions, ensuring it is flush with the ceiling.
Watch: Mark Ceiling Fixture Location
Run Wiring from Switch to Light Fixture
45 minutesDetermine the most efficient path to run the new electrical cable from where the switch will be installed to the new ceiling box. Drill holes through studs or joists as needed to pass the cable. Ensure the cable is secured at regular intervals with cable staples as required by local electrical codes. Leave sufficient slack at both the switch and fixture locations for making connections.
Watch: Run Wires from Wall Switch to Ceiling Fixture
Install New Electrical Box for Switch
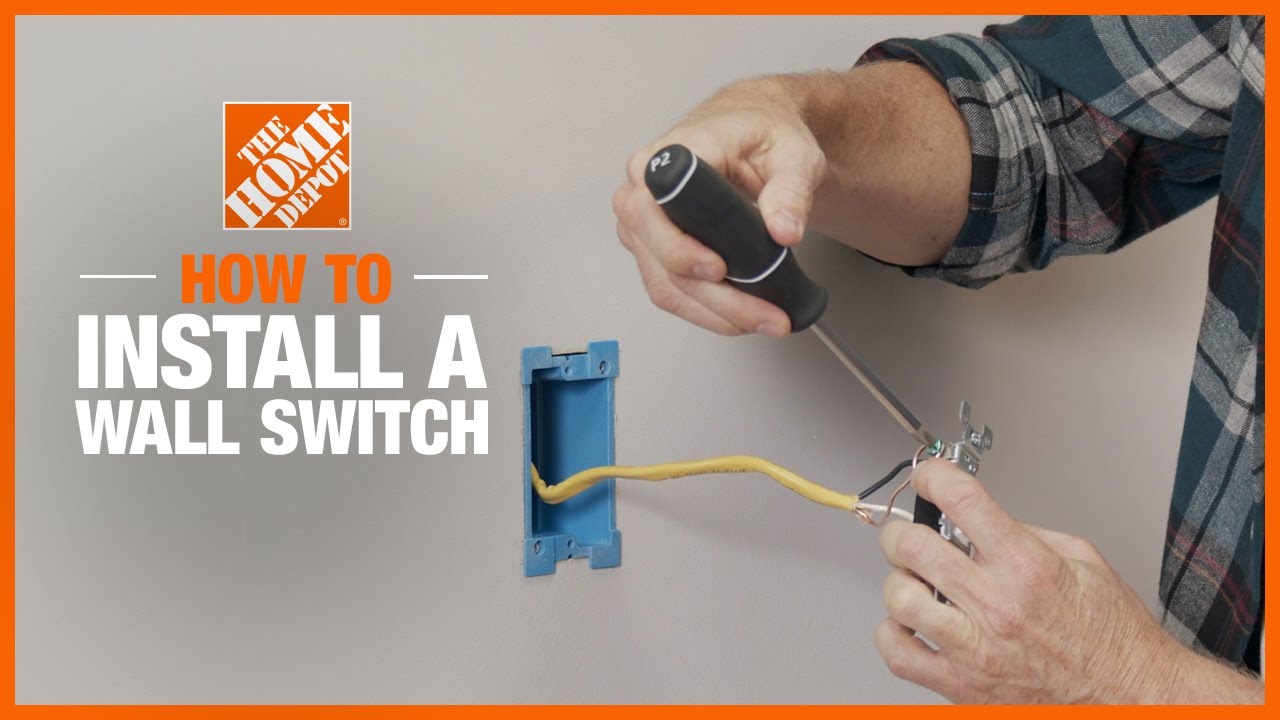
15 minutesChoose a convenient location for the light switch on the closet wall, typically near the entrance. Use a stud finder to ensure you are not drilling into a stud or other obstruction. Mark the outline of the electrical box onto the wall. Cut out the opening using a drywall saw. Insert the electrical box and secure it, ensuring it is flush with the wall surface.
Watch: Mark and Prepare Switch Box Location
Connect Wiring at Light Fixture
20 minutesCarefully strip about 6-8 inches of the outer sheathing from the electrical cable. Strip about 3/4 inch of insulation from the ends of the black (hot), white (neutral), and green or bare (ground) wires. Connect the wires from the cable to the corresponding terminals on the light fixture according to the fixture's instructions (typically black to brass screw, white to silver screw, and ground to green screw). Secure all connections with wire nuts.
Watch: Wire the LED Light FixtureConnect Wiring at Switch
25 minutesFrom the switch box, pull the electrical cable that runs to the light fixture. Strip about 3/4 inch of insulation from the black, white, and ground wires. Connect the black wire from the cable to one terminal on the switch. Connect the black wire coming from the power source (if applicable, or another cable if it's a multi-way switch) to the other terminal on the switch. Connect the white (neutral) wires together using a wire nut, and connect the ground wires to the ground screw on the switch and to the electrical box.
Watch: Wire and Install Light Switch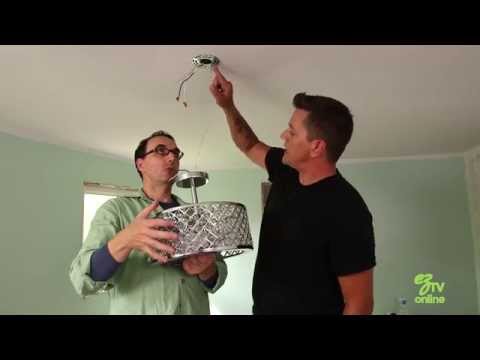
Mount Light Fixture
10 minutesCarefully tuck all the connected wires into the electrical box. Align the light fixture with the electrical box and secure it using the mounting screws provided with the fixture. Ensure the fixture is firmly attached to the ceiling.
Watch: Mount the Light Fixture
Install Switch Plate and Fixture Trim
5 minutesPlace the switch plate over the newly installed light switch and secure it with the provided screws. Attach any decorative trim or cover that came with the light fixture to conceal the wiring and mounting hardware, ensuring it sits flush against the ceiling.
Watch: Install New Switch and Cover Plate
Restore Power and Test
5 minutesReturn to the electrical panel and flip the circuit breaker back to the 'ON' position. Go to the closet and operate the new light switch to ensure the light fixture turns on and off correctly. Check for any unusual sounds or smells, which would indicate a problem.
Watch: Restore Power and Test Functionality