
How to Replace a Toilet Flapper to Fix a Running or Weak Flushing Toilet
About This Project
This guide provides detailed, step-by-step instructions for replacing a worn or faulty toilet flapper. This common plumbing repair can fix issues like a constantly running toilet, an intermittent 'phantom flush', or a weak flush, ultimately saving water and restoring proper toilet function.
Best for homeowners and DIY enthusiasts with basic plumbing knowledge.
Tools & Materials

Sponge

Towel
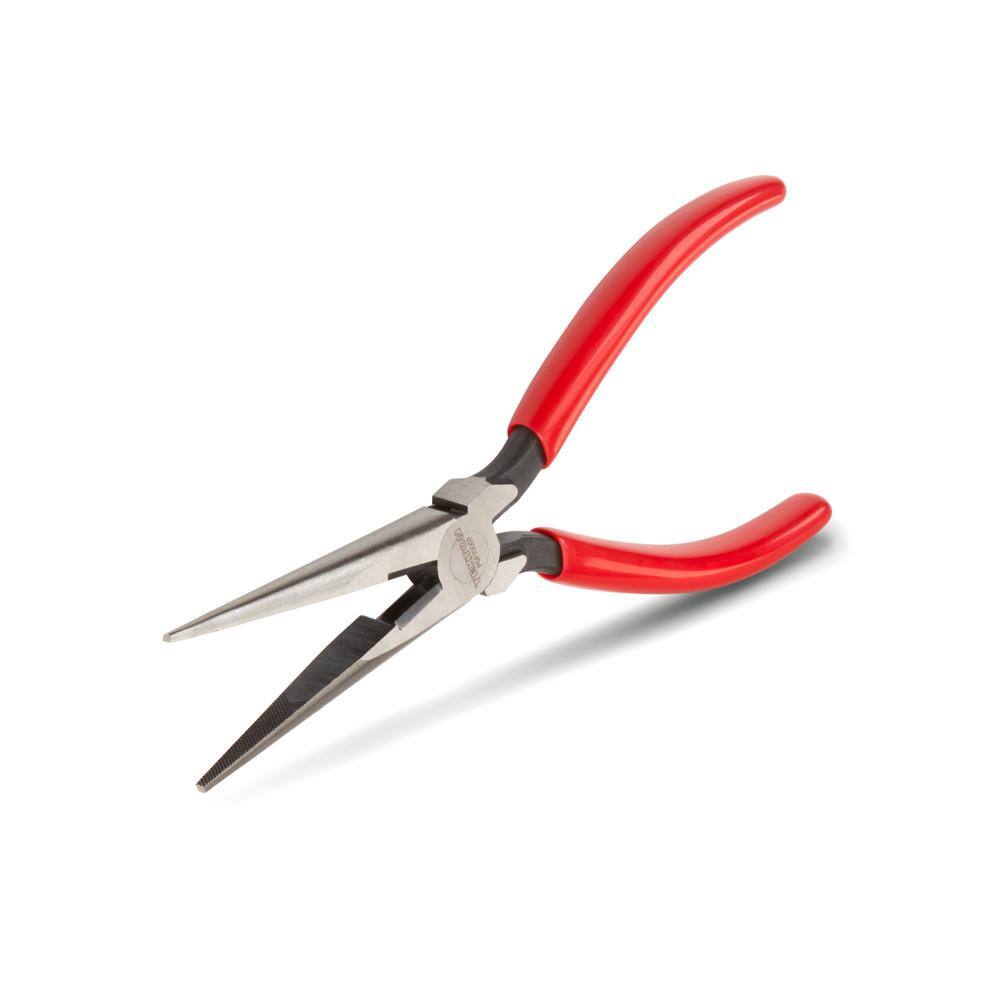
TEKTON 7 in. Long Nose Pliers PGF10007
Stanley 6 in. Slip Joint Pliers STHT84401
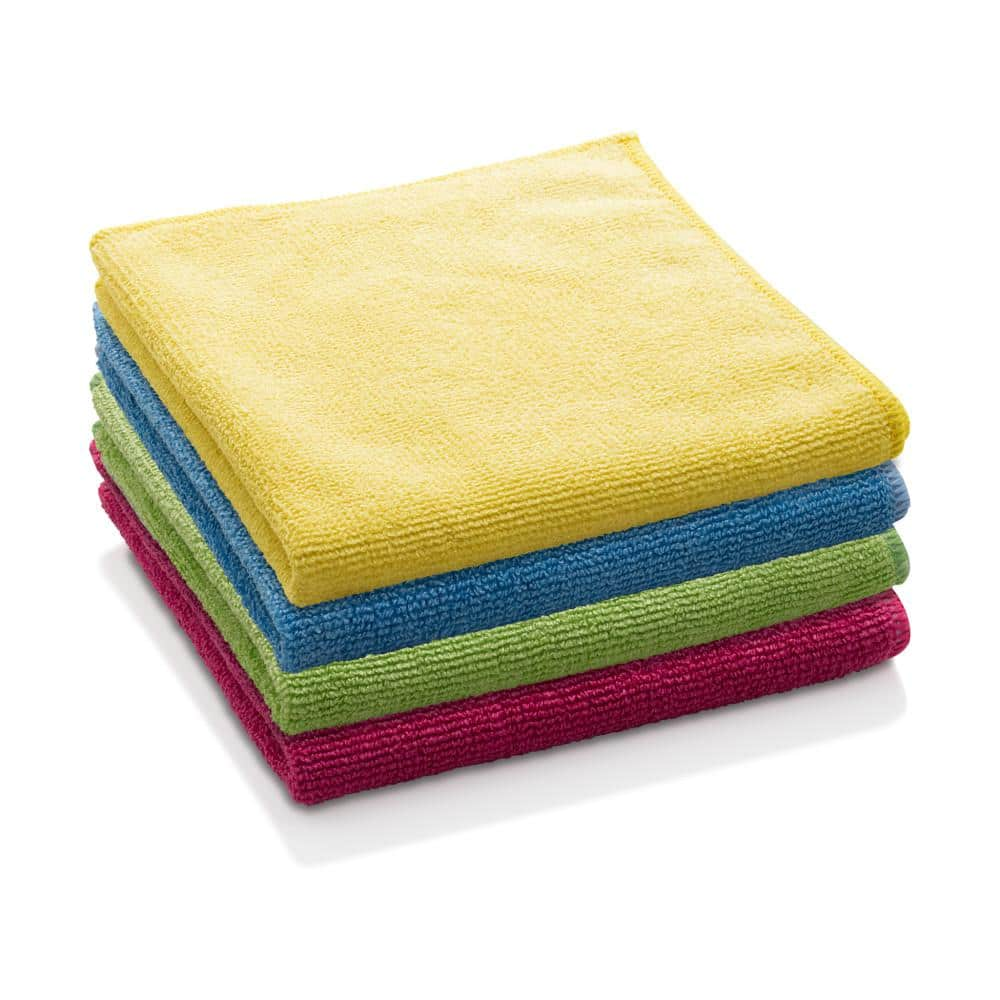
E-Cloth Microfiber General Purpose Cloths - Assorted Colors - 4 Pack 10902M
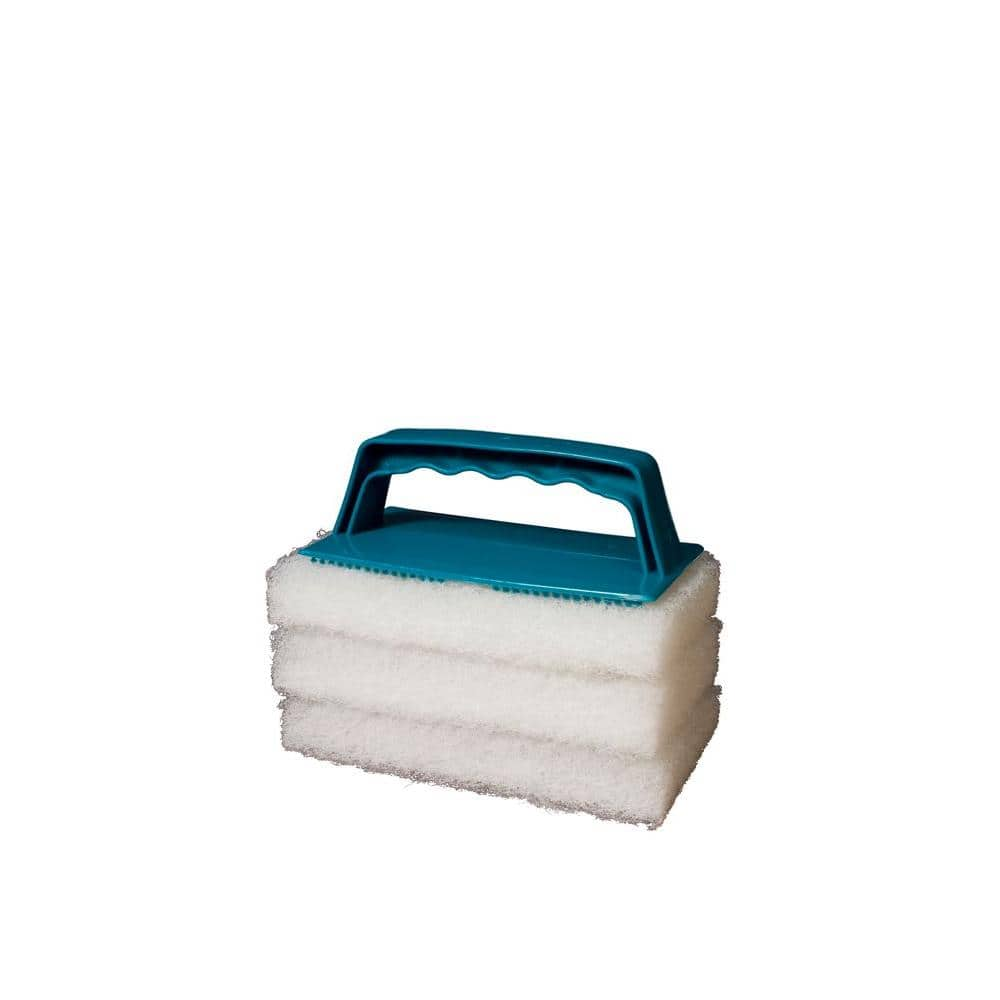
A-MAZ The Gripper Scrub Pads (3-Pack) GP3
Sponge
Absorbs and cleans effectively.
Towel
Absorbs moisture and dries surfaces.
TEKTON 7 in. Long Nose Pliers PGF10007
Long, Slender Nose: Relative to their overall length, these pliers have an extra-long and slender nose that reaches deep into tight spaces and offers a deft grasp on small parts. Crosscut Teeth: Oriented
Stanley 6 in. Slip Joint Pliers STHT84401
The Stanley 6 in. Slip Joint Pliers are versatile pliers with a movable joint designed to grip larger materials and provide additional leverage. Made from drop-forged steel, this durable tool features
E-Cloth Microfiber General Purpose Cloths - Assorted Colors - 4 Pack 10902M
Always up for some good clean fun, E-Cloth General Purpose Cloths tackle nearly every household cleaning task on your list. Masses of precision-engineered microfibers attract and trap grease, grime, fingerprints,
A-MAZ The Gripper Scrub Pads (3-Pack) GP3
The Gripper scrub pad is a non-abrasive, polyester pad that helps clean a variety of surfaces. The Gripper is safe to use on glass and compliments many of our cleaning products. To help promote a greener
Steps

Turn Off Water and Drain Tank
5 minsBegin by turning off the water supply to the toilet. Locate the water shut-off valve, which is typically a small oval-shaped handle on the wall behind or beside the toilet, connected to a flexible supply line. Turn the handle clockwise until it stops. Next, remove the tank lid and place it carefully on a towel or rug to prevent it from cracking. Flush the toilet by pressing and holding the flush handle down. This will drain almost all of the water from the tank, making the flapper accessible and preventing a mess. Use a sponge or an old towel to soak up the small amount of water remaining at the bottom of the tank.

Remove the Old Flapper
2 minsWith the tank empty, locate the old flapper. It's the rubber or plastic dome covering the large opening at the bottom of the tank (the flush valve). First, unhook the chain connecting the flapper to the long flush lever arm. Then, carefully detach the flapper itself. Most flappers have two flexible 'ears' or rings that slide over two small pegs on the vertical overflow pipe. Gently bend the ears and slide them off the pegs. Lift the old, worn flapper out of the tank and set it aside.

Clean the Flush Valve Seat
3 minsBefore installing the new flapper, it is crucial to clean the surface where it will sit. This surface is called the flush valve seat, the smooth, circular rim of the drain opening. Over time, this seat can accumulate mineral deposits, sediment, or bits of deteriorated rubber, which can prevent a perfect seal. Use a cloth or a non-abrasive scrub pad to wipe the rim thoroughly until it is completely smooth and clean to the touch. A clean seat is essential for preventing leaks.

Install the New Flapper
2 minsTake your new toilet flapper and position it over the flush valve opening. Align the two ears or rings on the flapper with the corresponding pegs on the sides of the overflow pipe. Gently stretch the ears and slide them down over the pegs, ensuring they are securely attached. Double-check that the flapper is centered over the opening and can move up and down freely without catching on anything.

Connect and Adjust the Chain
3 minsConnect the clip on the new flapper's chain to one of the holes on the flush lever arm (the rod connected to the outside handle). The chain's length is critical. Adjust it so there is just a small amount of slack, about 1/2 inch, when the flapper is closed. If the chain is too tight, it will prevent the flapper from seating properly, causing a leak. If it's too loose, the flapper won't lift high enough for a full flush, or the excess chain could get caught under the flapper. Once the length is correct, you can use scissors or wire cutters to trim any significant excess chain.

Restore Water and Test Flush
5 minsSlowly turn the water shut-off valve counter-clockwise to restore the water supply to the toilet. The tank will begin to fill. Watch the new flapper as the water rises to ensure it's seated correctly and no water is visibly leaking from the seal. Once the tank is full, listen carefully. You should not hear any water running. Now, perform a test flush. The toilet should flush with full power, and the flapper should drop back down and create a tight seal once the water has drained from the tank. After the tank refills again, wait a minute and listen to confirm the running has stopped. If all is quiet and the flush is strong, the replacement is complete. Carefully place the tank lid back on top of the tank.
Common Problems
Major leaks can occur if the water supply valve is opened too quickly.
Solution: Turn the water on slowly at first to check for major leaks before fully opening the valve.
Having too much slack in the chain can prevent the flapper from sealing properly, while having too little slack can prevent it from opening fully or cause it to stay open.
Solution: To avoid this issue: Be mindful of this warning and take appropriate precautions.
Toilet runs or flushes weakly due to incorrect chain tension.
Solution: If the chain is too tight, the flapper won't seal, causing the toilet to run continuously. If it's too loose, you won't get a full flush.
Toilet runs constantly or flushes weakly due to improper chain tension.
Solution: If the chain is too tight, the flapper won't seal and water will run continuously. If it's too loose, the toilet won't flush completely.
Toilet runs or flushes weakly due to incorrect chain slack on the flapper.
Solution: Correct chain slack is essential. Too much slack can prevent a full flush, while too little slack can prevent the flapper from sealing, causing the toilet to run.
Toilet won't seal or flush properly due to excess chain slack.
Solution: A chain with too much slack can get caught under the flapper, also preventing a good seal. Ensure it has just a little bit of slack when the flapper is closed.
Water spills onto the floor when disconnecting the supply line.
Solution: Have a bucket ready to catch any residual water from the supply line and for wringing out the sponge.
Frequently Asked Questions
What are the essential tools and materials I'll need for this flapper replacement?
Beyond the correctly sized flapper (like a Korky 2-inch or TOTO 3-inch), you'll need cleaning supplies. An E-Cloth Microfiber cloth, A-MAZ The Gripper Scrub Pad, a sponge, and water are useful for thoroughly cleaning the flush valve seat. Always have a towel handy for drips or spills.
How difficult is replacing a toilet flapper, and how long does it typically take for a beginner?
This is a beginner-level DIY project, often taking only 15-30 minutes from start to finish. The most challenging part is usually ensuring a good seal and proper chain adjustment, but with clear instructions, it's quite straightforward and can save you a plumber's fee.
My toilet is still running after replacing the flapper. What should I check?
First, ensure the new flapper is sitting flush on the flush valve seat and isn't obstructed by the chain. Clean the flush valve seat thoroughly again, as mineral deposits or grime can prevent a proper seal. If the problem persists, the fill valve might also need adjustment or replacement.
How do I know if I need a 2-inch or 3-inch flapper, and does it matter for my toilet?
The flapper size depends on your toilet's flush valve opening. Most older toilets use a 2-inch flapper, while newer, high-efficiency models often use a 3-inch flapper. It's crucial to get the correct size; you can measure the old flapper or the flush valve opening, or check your toilet's make and model number.
Are there any specific safety precautions I should take when working on my toilet?
The primary precaution is to always turn off the water supply to the toilet before beginning any work to prevent unexpected overflows. Be mindful of potential spills and have towels ready to quickly clean up any water. While not hazardous, wash your hands thoroughly after handling toilet parts.
What's a 'phantom flush,' and how does replacing the flapper fix it?
A 'phantom flush' occurs when your toilet's tank inexplicably refills itself without being flushed, often due to a slow leak from the tank into the bowl. A worn or improperly sealing flapper is the most common culprit, allowing water to escape and tricking the fill valve into refilling the tank. Replacing the flapper ensures a tight seal, preventing this water loss and saving water.
Can a faulty flapper really affect the strength of my toilet's flush?
Yes, absolutely. If a flapper doesn't open fully or falls too quickly, it can prevent enough water from entering the bowl rapidly enough to create a strong siphoning action, leading to a weak or incomplete flush. Adjusting the chain length on your new flapper can help optimize how long the flapper stays open, thus improving flush strength.


