How to Repair a Leaky Faucet: A Step-by-Step DIY Guide
About This Project
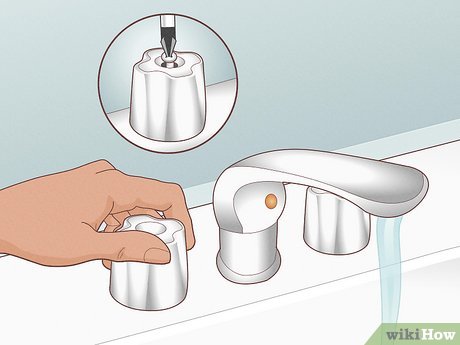
This DIY guide provides a step-by-step approach to repairing a leaky faucet. The project begins by turning off the water supply lines to prevent water flow during the repair process. Next, the faucet handle is removed by first removing the decorative cap with a flathead screwdriver, then unscrewing the handle screw, and finally removing the handle itself. The next step involves replacing the O-rings and washers; for compression faucets, this might require using an adjustable wrench to remove the packing nut. After replacing these components and lubricating the O-rings, the faucet is reassembled by tightening all parts securely. Finally, the water supply is slowly turned back on, and the faucet is tested for leaks around the handle, spout, and base. If leaks persist, the work should be re-examined.
Best for experienced DIYers and homeowners with some experience.
Tools & Materials
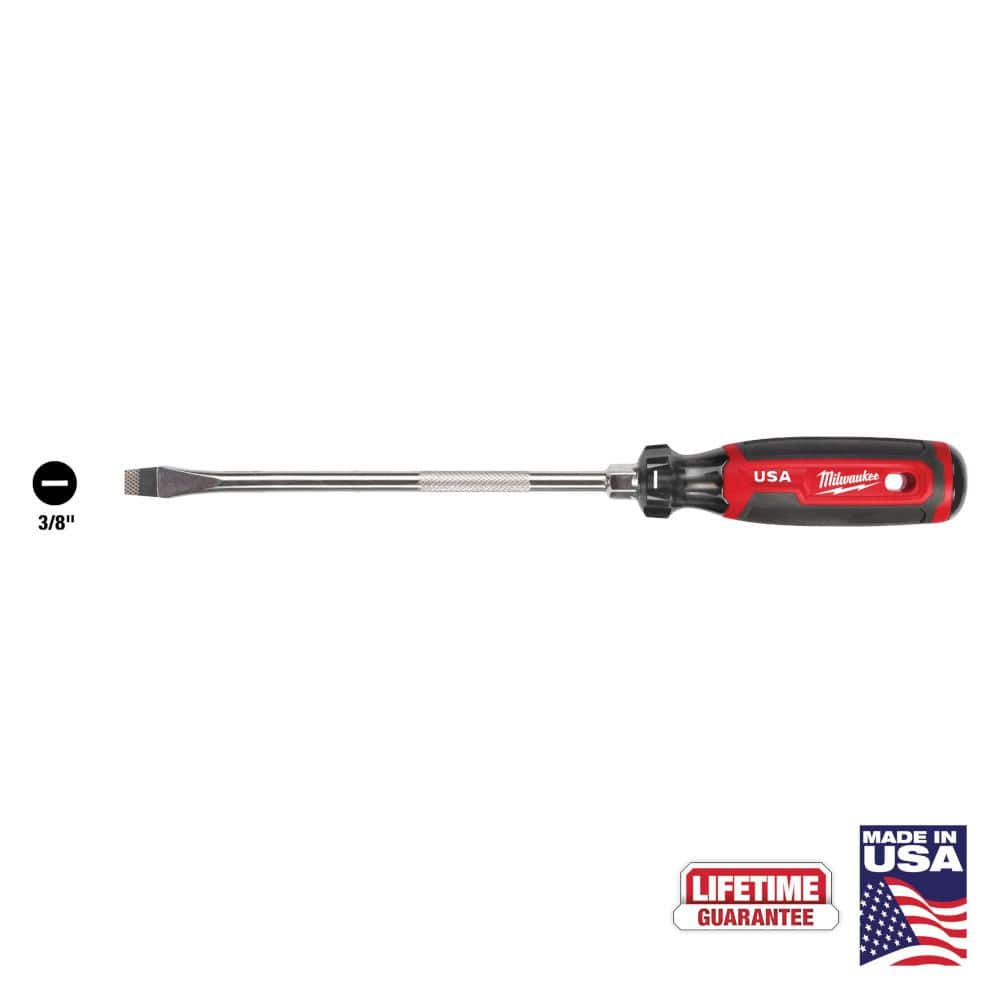
Milwaukee 8 in. x 3/8 in. Slotted Flat Head Screwdriver with Cushion Grip MT209
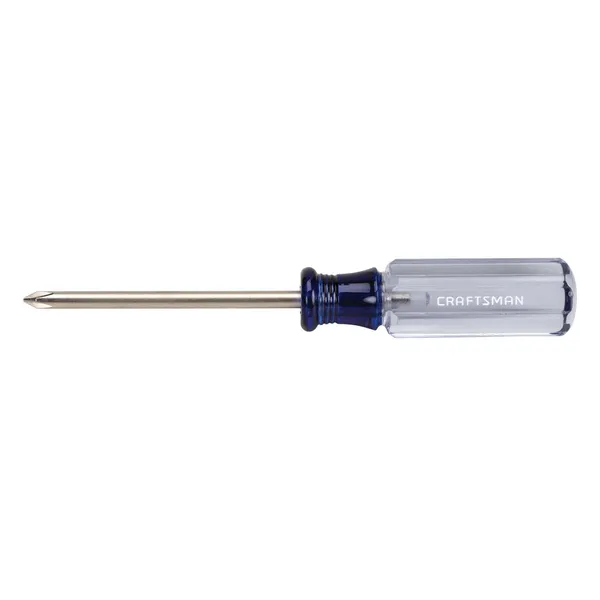
Phillips head screwdriver

Adjustable Wrench
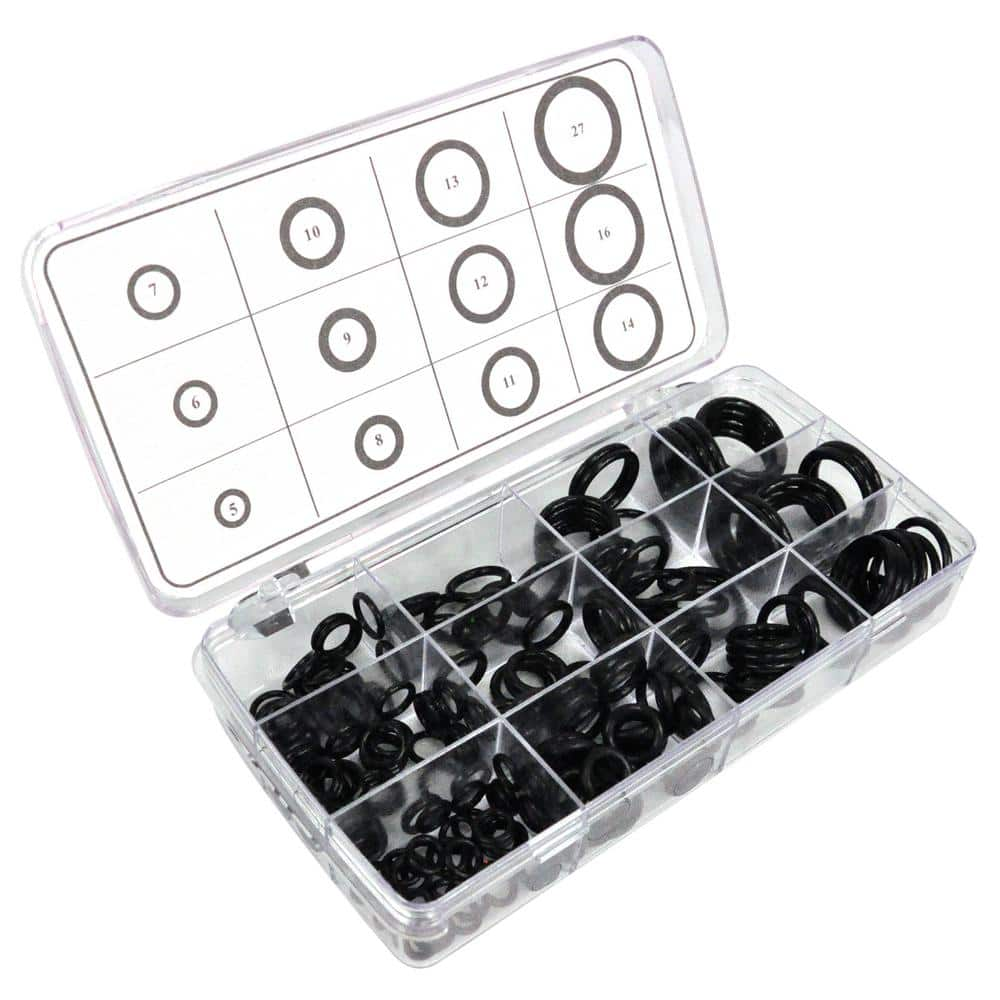
DANCO 200-Piece O-Ring Kit 34443
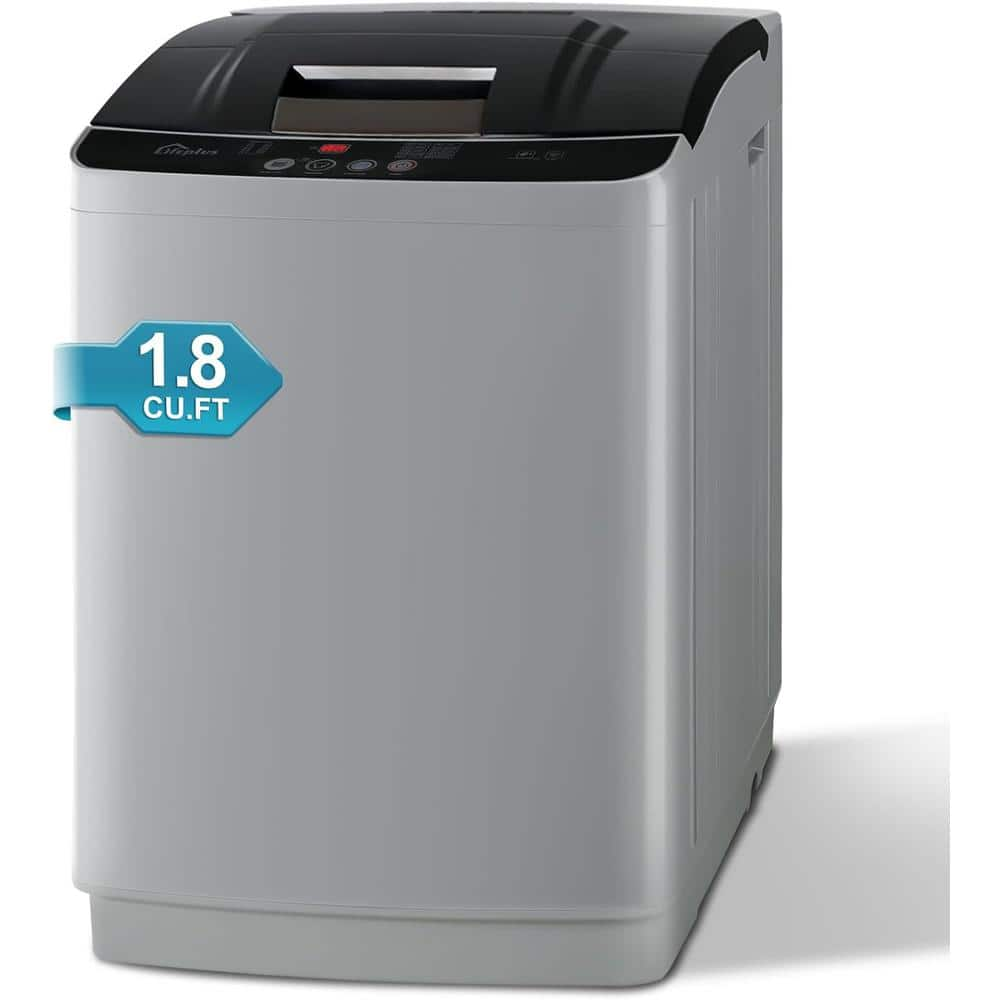
Lifeplus 1.8 cu. ft. Full Automatic Portable Top Load Washer Machine with Drain Pump 8 Wash Programs And Child Lock, Gray T663
Milwaukee 8 in. x 3/8 in. Slotted Flat Head Screwdriver with Cushion Grip MT209
The Milwaukee® 3/8" Slotted 8" Cushion Grip Screwdrivers (USA) are manufactured to give the professional the best-fitting screwdriver with max grip. These screwdriver tips are custom machined to deliver
Phillips head screwdriver
This is a type of screwdriver that has a cross-shaped tip.
Adjustable Wrench
Fits various nut and bolt sizes with its adjustable jaw.
DANCO 200-Piece O-Ring Kit 34443
O-rings get lost periodically and get warped/worn out over time. A damaged O-ring,(or no faucet O-ring, at all) means a poor seal, leading to a leaky mess. Always have a spare O-ring on hand! Faucet O-rings
Lifeplus 1.8 cu. ft. Full Automatic Portable Top Load Washer Machine with Drain Pump 8 Wash Programs And Child Lock, Gray T663
This compact washing machine is perfect for small spaces such as apartments, RVs, dorms, and cars. With fully-automatic functionality, this clothes laundry washer is the perfect solution to avoiding hand
Steps
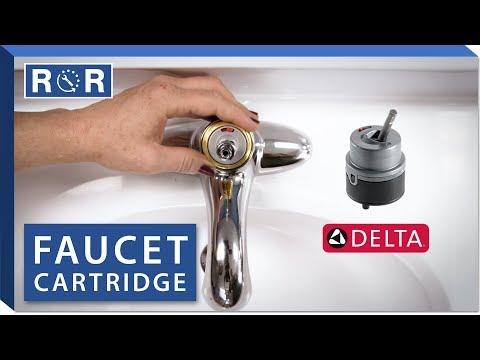
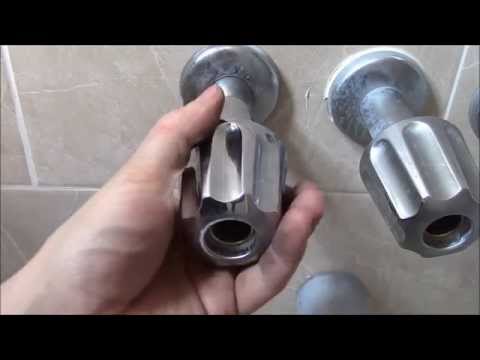

Replace O-rings and Washers
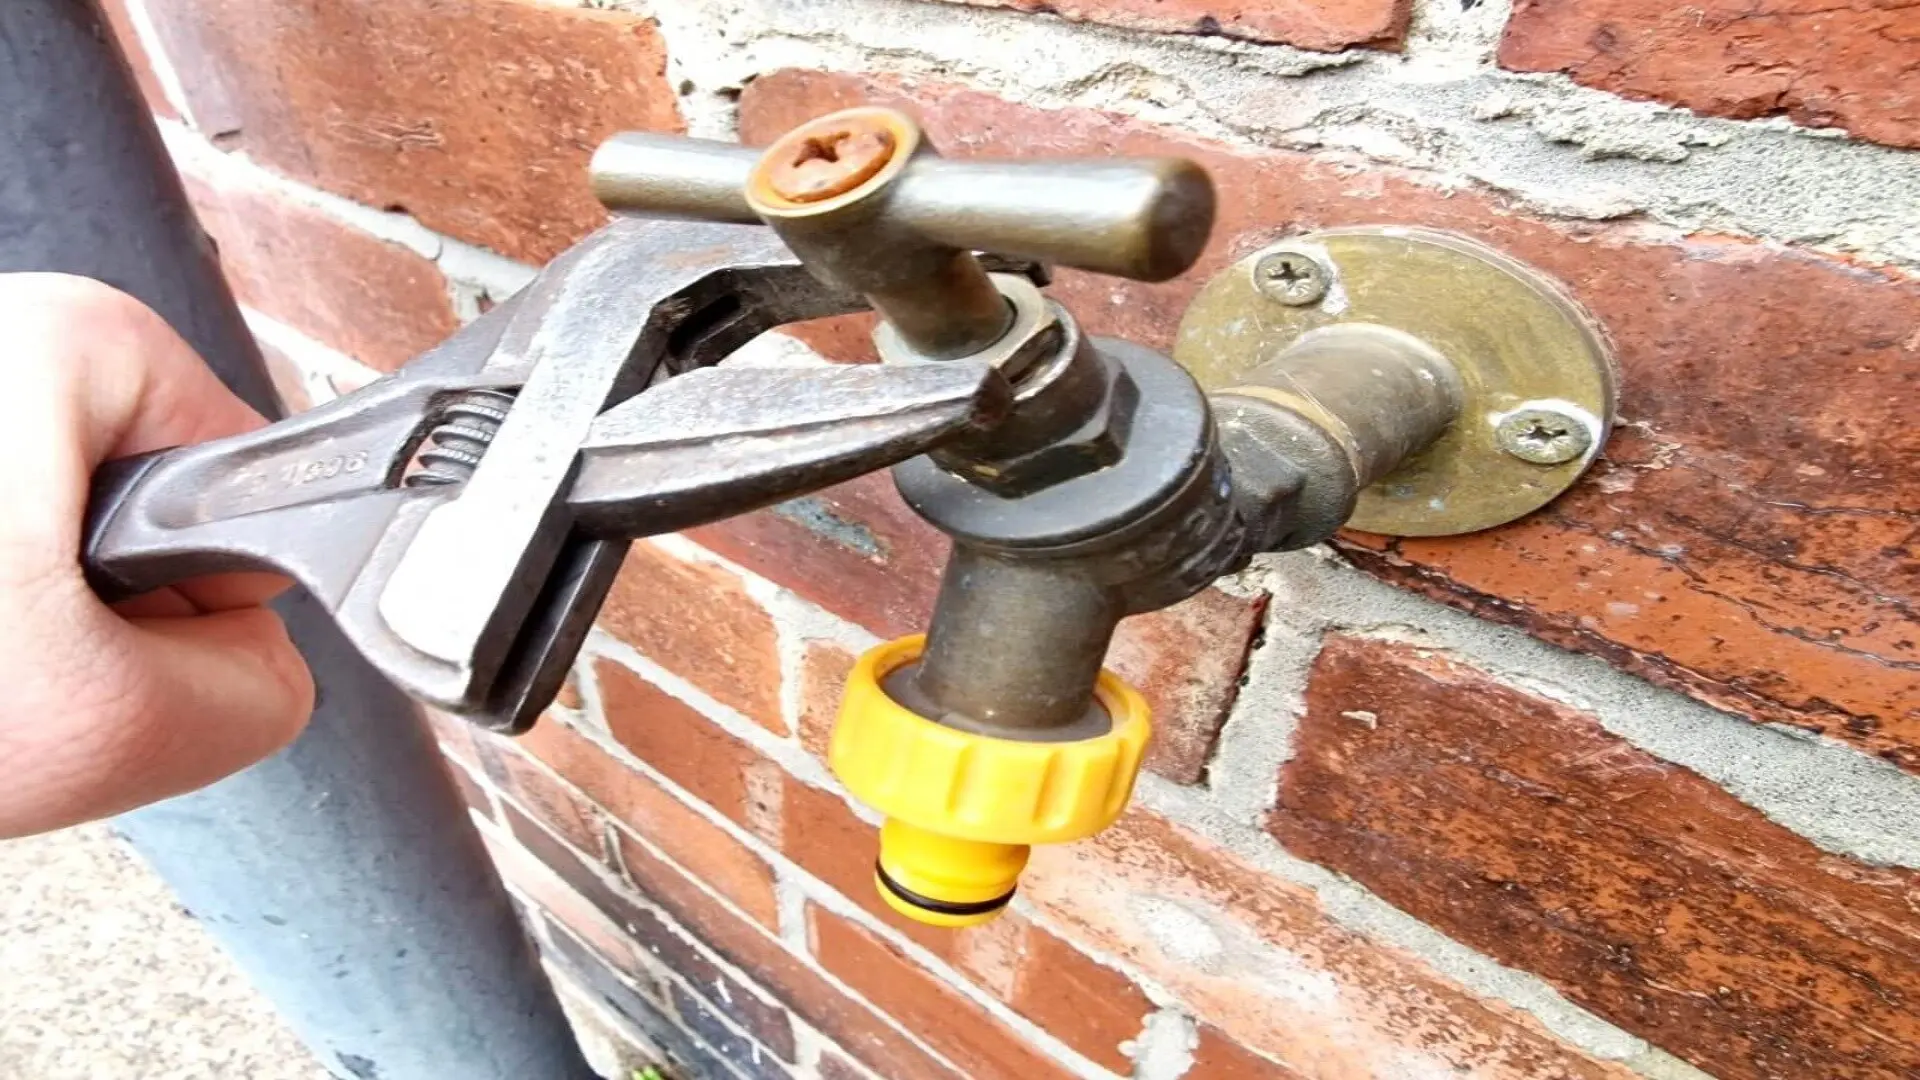
15 minsDepending on your faucet type, inspect and replace worn O-rings and washers. For compression faucets, you may need to remove the packing nut with an adjustable wrench. Carefully remove the old O-rings and washers, clean the area, and install new ones. Lubricate the new O-rings for easier installation and a better seal.
Watch: Remove Packing Nut and Old Seals
Common Problems
Faucet leaks persist because the packing nut is threaded incorrectly.
Solution: Note the color of your packing nut. In the video, white nuts are right-hand threaded and tan nuts may be left-hand threaded.
Be gentle when prying off the old O-ring to avoid scratching or damaging the brass adapter.
Solution: To avoid this issue: Be mindful of this warning and take appropriate precautions.
Leaky faucet persists if O-ring isn't seated correctly.
Solution: Ensure the new O-ring is seated properly in its groove and is not twisted, as this is crucial for a watertight seal.
Forgetting how pipes connect leads to reassembly errors and continued leaks.
Solution: Taking a photo of the plumbing setup before you start is a great way to remember how everything connects.
Older valves can sometimes fail to seal completely after being turned. Always double-check that the water flow has stopped before proceeding.
Solution: To avoid this issue: Be mindful of this warning and take appropriate precautions.
Forcing a multi-turn shut-off valve can damage it.
Solution: Most modern shut-off valves only require a quarter turn to close. The handle should be perpendicular to the pipe when closed.
Water sprays uncontrollably when disassembling the faucet.
Solution: If you cannot find local shut-off valves under the sink, you will need to shut off the main water supply to the house.
Frequently Asked Questions
Is this a truly beginner-friendly project, and can it really be done in two hours?
Yes, this is considered a beginner-level DIY project, especially for common leaks caused by worn washers or O-rings. While the estimated time is 2 hours, it can vary depending on your faucet type, the age of the faucet, and how easily components can be disassembled. Patience is key, but most first-timers find it manageable.
What tools are absolutely essential for this repair, and what if I don't have them all?
You'll definitely need a flathead screwdriver (like the Milwaukee 8 in. x 3/8 in. Slotted Flat Head) for the decorative cap, a Phillips head or another flathead for the handle screw, and an adjustable wrench for the packing nut on compression faucets. If you don't have the exact brand, ensure you have appropriate sizes to avoid stripping screws or nuts. Having a small cup for removed parts is also helpful.
Why is turning off the water supply so important, and how do I do it correctly?
Turning off the water supply is the most crucial first step to prevent flooding and allow safe work on the faucet. Locate the shut-off valves directly under the sink and turn them clockwise until they are tight. If your sink doesn't have individual shut-off valves, you'll need to turn off the main water supply to your house, usually found near your water meter or main pipe entry.
How do I know which specific O-rings and washers I need for my particular faucet model?
The most reliable method is to remove the old O-rings and washers and take them to a hardware store to match their size and material. If your faucet has a visible brand and model number, note it down, as this can help you find a specific repair kit. Many stores also sell universal O-ring and washer assortment kits which can be very useful for matching sizes.
My faucet is still leaking after I replaced the O-rings and washers. What should I do next?
First, double-check that all components are properly seated and tightened, but not overtightened, and that you used the correct size and type of parts. If the leak persists, inspect the valve seat for corrosion or damage, or the faucet body itself for cracks. In such cases, the problem might be more complex than just O-rings and washers, potentially requiring professional help or a full faucet replacement.
Is there a risk of overtightening parts when reassembling the faucet, and how can I avoid it?
Yes, overtightening can strip threads, crack components, or compress washers/O-rings too much, leading to new leaks or damage. When reassembling, tighten parts until they feel snug and secure, then give them just an additional quarter-turn. Never force a component, and if resistance is met, recheck alignment and threading.