
How to Remove a Stuck Bathtub Drain Stopper Assembly
About This Project
This guide provides a comprehensive, step-by-step process for removing a bathtub drain stopper that has become stuck due to corrosion, soap scum, or mineral buildup. The instructions cover preparation, initial attempts with penetrating oil, standard removal techniques for common stopper types, and the use of specialized tools for particularly stubborn situations.
Best for advanced DIYers and professionals with basic plumbing knowledge and familiarity with power tools.
Tools & Materials
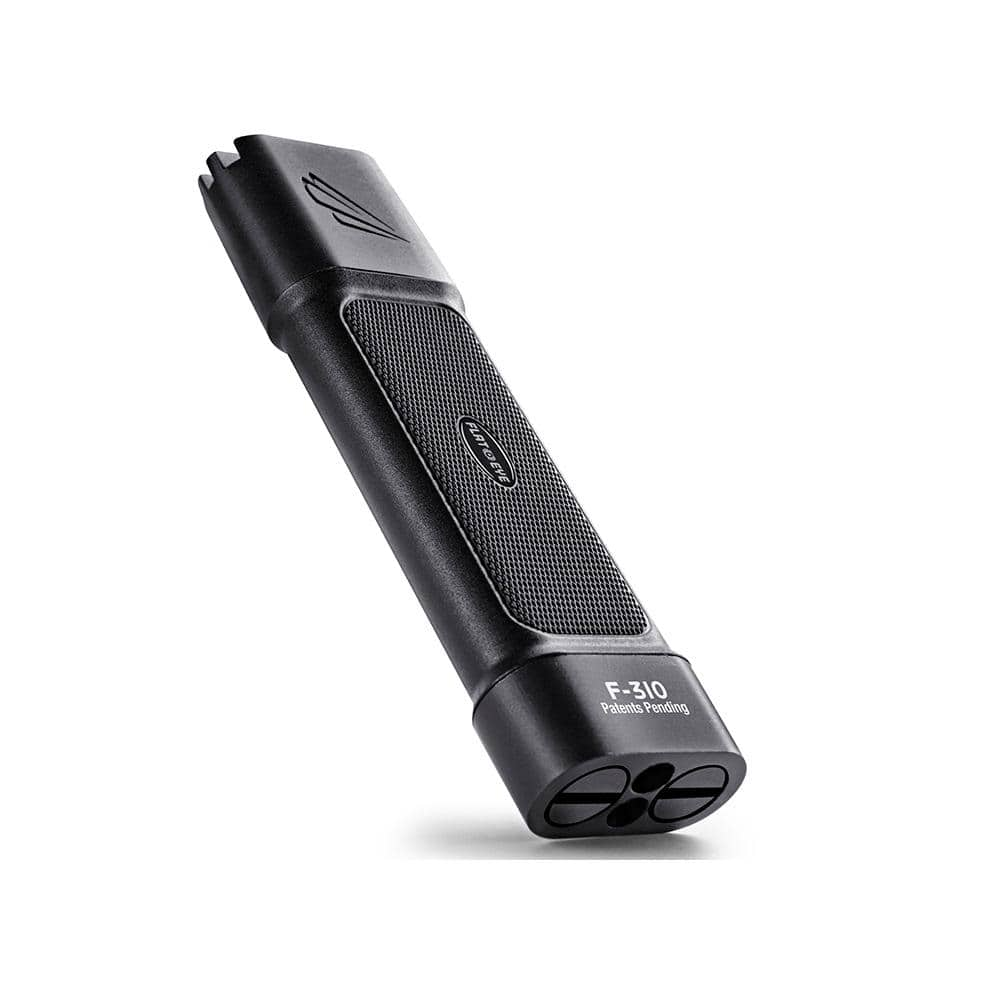
Panther Vision FLATEYE F-310 High Performance 310-Lumen Unround Flashlight CREE LED Multi Position Waterproof and Shockproof FL-6960
THE CLEAN STORE Cleaning Terry Towels (50-Pack) 171

Safety gloves
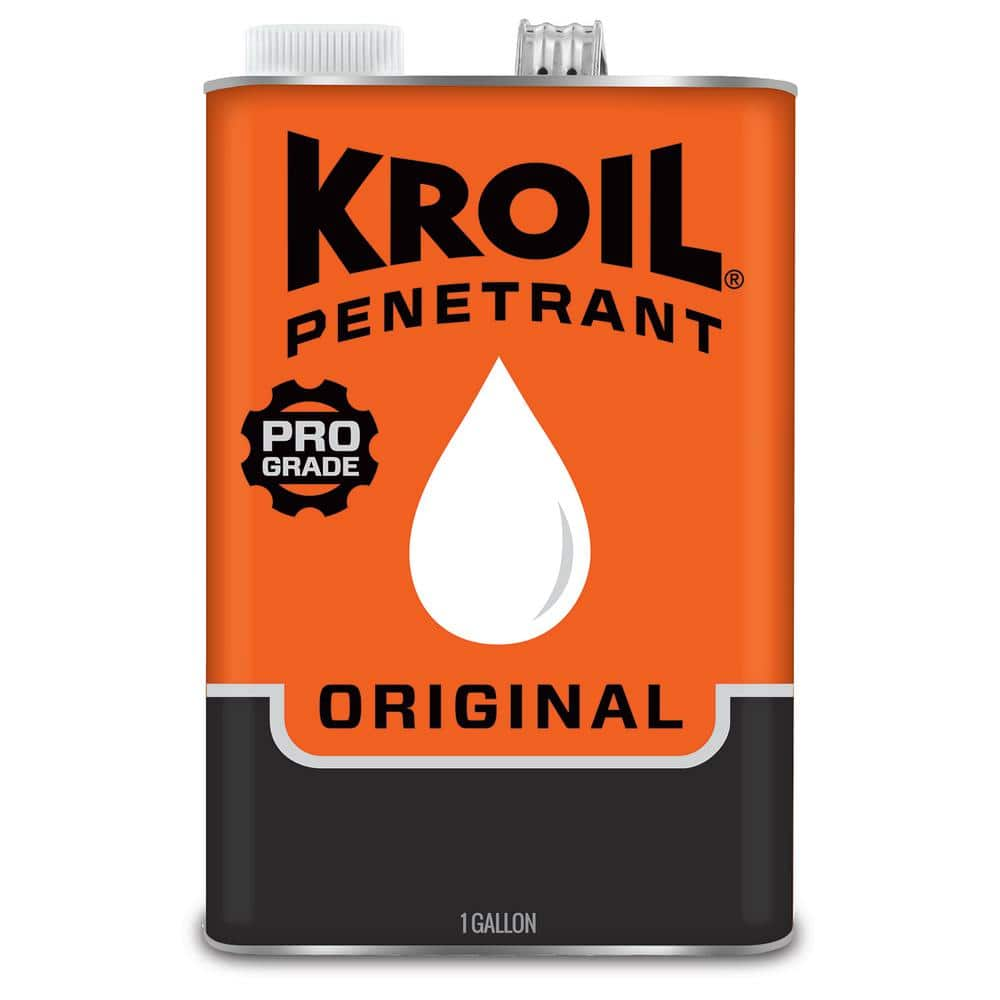
KROIL Penetrating Oil Liquid, Industrial-Grade Penetrant, Multi-Purpose Oil, Liquid, NSF H2,50-State VOC Compliant KL011

ITOPFOX Quick Size White High Absorbent Paper Towel Roll 100 Sheets Per Roll 8 Rolls Per Pack HDPH032OT060

Adjustable Wrench
Panther Vision FLATEYE F-310 High Performance 310-Lumen Unround Flashlight CREE LED Multi Position Waterproof and Shockproof FL-6960
Every revolution starts with a spark. At 310-Lumens the F-310 has the power to ignite our un-round revolution without overpowering your needs or your wallet. Not your granddads flashlight these bad boys
THE CLEAN STORE Cleaning Terry Towels (50-Pack) 171
Bulk Pack with 50 Towels is Ideal for Commercial Businesses, Home, Restaurants, Offices and More, Towels are Size: 12 in. x 12 in. Offers an Ideal Solution for Restaurants, Hotels, Bars, Home, Offices,
Safety gloves
Shields hands from potential harm.
KROIL Penetrating Oil Liquid, Industrial-Grade Penetrant, Multi-Purpose Oil, Liquid, NSF H2,50-State VOC Compliant KL011
KROIL Penetrant 1 Gal. can is an industrial-strength penetrating oil formulated to quickly penetrate deep into small crevices. KROIL attacks rust and corrosion to help loosen frozen or seized metal fasteners
ITOPFOX Quick Size White High Absorbent Paper Towel Roll 100 Sheets Per Roll 8 Rolls Per Pack HDPH032OT060
Introducing our Quick Size White High Absorbent Paper Towel Roll, the ultimate solution for your everyday cleaning needs. with its convenient quick size sheets, you can easily tear off just the right amount for any mess, saving time and reducing waste. Keep your home clean and tidy with the superior absorbency and strength of our paper towel rolls.
Adjustable Wrench
Fits various nut and bolt sizes with its adjustable jaw.
Steps

Prepare the Work Area
5 minsBegin by clearing the bathtub of all bottles, mats, and toys. Ensure the tub surface is dry. Place an old towel or thick rag in the bottom of the tub to protect the finish from accidental scratches from your tools. Use a flashlight to get a clear view of the drain stopper, its base, and the set screw area. Put on your protective gloves.

Apply Penetrating Oil
20 minsGenerously spray or apply a penetrating oil around the base of the drain stopper where it meets the drain flange. Also, apply a small amount directly onto the set screw on the knob. Allow the penetrating oil to sit for at least 15-30 minutes. This gives the oil time to seep into the threads and dissolve the corrosion and mineral deposits that are causing the stopper to be stuck.

Attempt Standard Removal
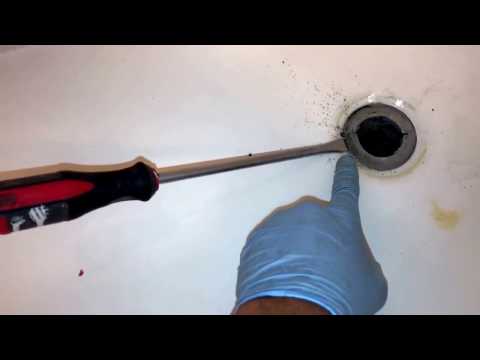
15 minsFirst, locate the small set screw on the side of the stopper's main knob. Use an appropriately sized Allen wrench or a small flathead screwdriver to turn this screw counter-clockwise. You may not need to remove it completely, just loosen it by a few turns. Once the screw is loose, hold the body of the stopper (the larger cylindrical part) firmly with one hand or with a pair of pliers wrapped in a rag to prevent scratching. With your other hand, grasp the top knob and turn it counter-clockwise to unscrew it from the stopper body. If the knob is removed and the stopper is still stuck, you will be unscrewing the entire stopper assembly from the central post in the drain.
Use a Drain Key for Stubborn Removal
20 minsIf the stopper cap will not separate or if the entire drain flange assembly is what's stuck, you will need a specialized tool. A drain key (also called a 'smart dumbbell') is designed for this. Insert the drain key into the drain opening; its stepped ends are designed to fit various drain sizes. Ensure it is seated firmly against the crossbars inside the drain. Attach an adjustable wrench or a large pair of pliers to the top of the drain key. Apply firm, steady, counter-clockwise pressure to the wrench to break the seal and unscrew the entire drain flange from the drain shoe below. This may require significant force, especially if sealed with old, hardened plumber's putty.

Clean and Inspect Drain Threads
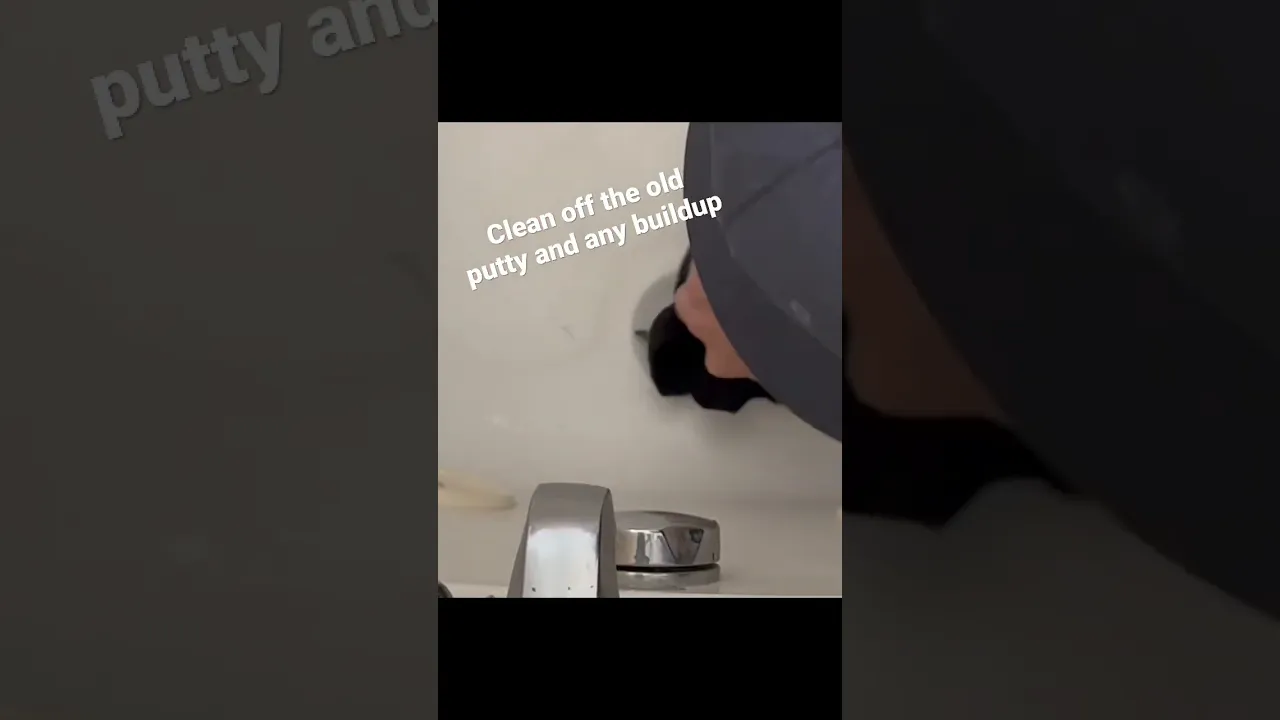
10 minsOnce the stopper or the entire drain flange has been removed, you will likely see old, crumbly plumber's putty, hair, and other debris in the drain opening and on its threads. Use a plastic putty knife or a flathead screwdriver to carefully scrape away the old putty. Use a stiff wire brush to thoroughly clean the female threads inside the drain pipe. Finally, wipe the area clean with a rag and some mineral spirits or an all-purpose cleaner to ensure a clean surface for installing the new drain stopper.
Common Problems
Small parts can fall down the drain, causing loss and frustration.
Solution: Closing the sink drain is a crucial first step to avoid the frustration of losing a small part.
Stripped drain nut from using an ill-fitting wrench.
Solution: If a specific socket is not available, a properly fitted adjustable wrench can be used, but a socket provides a better grip and reduces the risk of rounding off the nut.
Drain clogs or slow draining persist due to improper stopper adjustment.
Solution: The adjustment screw at the bottom of the stopper controls how fast the tub drains.
Apply silicone to the pop-up stopper's adjustment screw threads to prevent it from loosening over time.
Solution: To avoid this issue: Be mindful of this warning and take appropriate precautions.
Tap gently. The goal is to create vibration, not to strike with force, which could damage the stem.
Solution: To avoid this issue: Be mindful of this warning and take appropriate precautions.
Uneven oil application leads to a partially stuck drain.
Solution: Ensure the oil is applied all the way around the seam for even penetration.
Plumber's putty can make removing the drain stopper assembly difficult.
Solution: You may find plumber's putty around the valve stem, remove it if present.
Frequently Asked Questions
How difficult is it to remove a stuck bathtub drain stopper, and what's the realistic time commitment for a beginner?
This project is rated beginner, but 'stuck' implies it might require patience. While the steps are straightforward, you may need to allow several hours (up to the estimated 3 hours) for penetrating oil to work its magic. Don't rush; attempting to force it can cause further damage.
Do I absolutely need a specialized drain key, or can I use common household tools for removal?
While a drain key is ideal for specific stopper types, you might be able to improvise with an adjustable wrench, pliers, or even a large flat-head screwdriver if the stopper has appropriate slots. However, for a truly seized stopper, the right tool minimizes the risk of stripping or breaking components, making removal easier and preventing damage.
What crucial safety precautions should I take before and during the removal process?
Always wear safety gloves to protect your hands from grime, chemicals, and sharp edges. Consider eye protection, especially when using penetrating oils or applying force. Ensure good ventilation if using strong chemical cleaners, and avoid using excessive force which could damage plumbing.
What should I do if the penetrating oil doesn't seem to loosen the stopper even after waiting?
If the initial application of penetrating oil like KROIL doesn't work, reapply it generously and allow more time, even overnight if possible. You may also try gently tapping the stopper with a rubber mallet (if accessible) to help the oil penetrate. If it remains stuck, proceed carefully with mechanical removal techniques using a drain key or appropriate tools.
What are the most common mistakes beginners make when trying to remove a stuck drain stopper, and how can I avoid them?
The most common mistakes are using too much force, stripping the stopper's head, or not allowing enough time for penetrating oil to work. To avoid this, be patient, apply penetrating oil multiple times, and ensure you're using the correct tools for the stopper type to get a proper grip.
After successfully removing and cleaning the drain, how can I prevent it from getting stuck again?
Regularly clean your drain stopper and assembly to prevent soap scum and mineral buildup. Periodically apply a small amount of plumber's grease to the threads of screw-in stoppers. Using a drain screen can also reduce debris accumulation that leads to sticking.


