

How to Fix a Leaking Toilet Tank-to-Bowl Gasket
About This Project
This guide provides step-by-step instructions to replace a leaking toilet tank-to-bowl gasket. The process involves shutting off the water supply, draining and removing the tank, replacing the old gasket and hardware, and then reinstalling the tank and testing for leaks. This is a common plumbing repair for two-piece toilets.
Best for experienced DIYers and homeowners with some experience with basic plumbing knowledge.
Tools & Materials

LR Home Sincere Soft Gray Solid Cozy Poly- Fill 14 in. x 36 in. Lumbar Indoor Throw Pillow 1647A0084D9348

Unger 6 Gal. Heavy-Duty Plastic Bucket DB02

Towel

Adjustable Wrench

FRESHFOLDS Combed Cotton Absorbent Textured 6 Piece Hand Towel Set EC100757
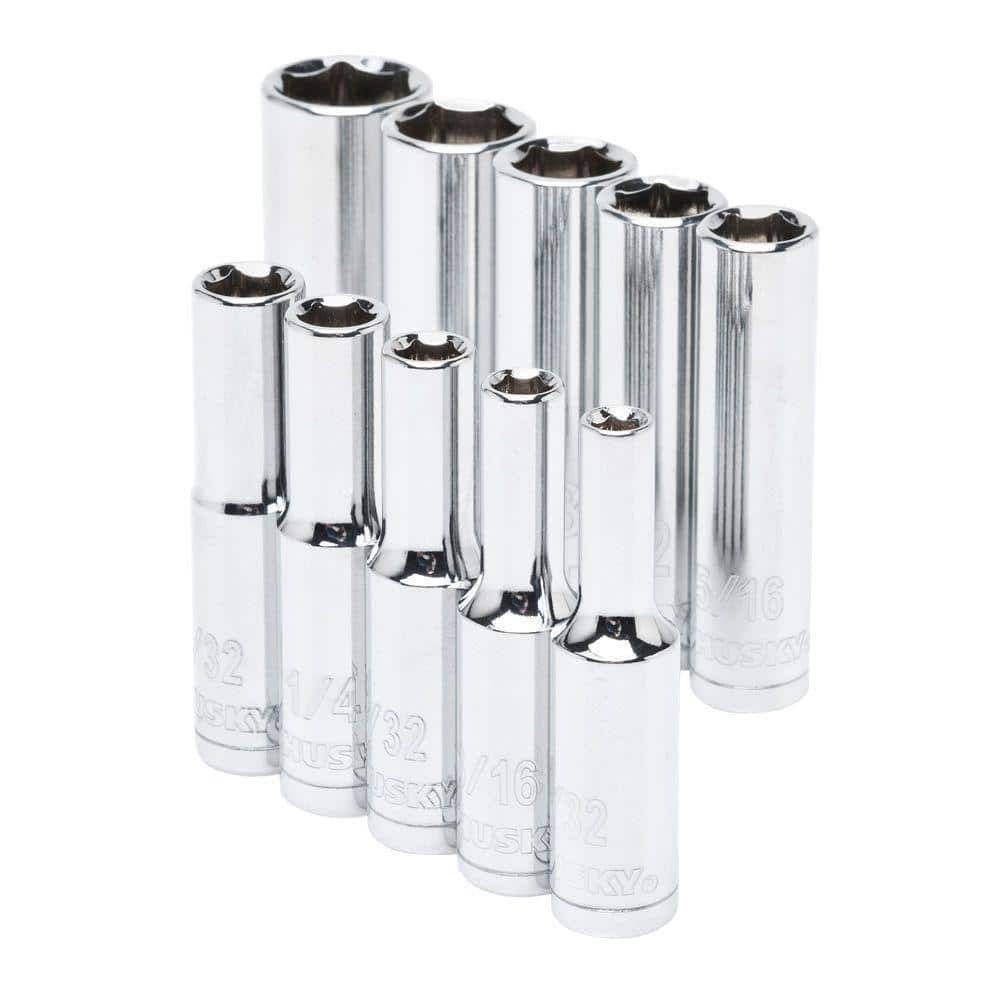
Husky 1/4 in. Drive Deep SAE Socket Set (10-Piece) H4DDPSAE10PC-02
LR Home Sincere Soft Gray Solid Cozy Poly- Fill 14 in. x 36 in. Lumbar Indoor Throw Pillow 1647A0084D9348
Designed to thrill, our pillow collection will add intricate mastery and eye-pleasing designs to any room. This solid pillow with a well-toned light gray hue is the perfect stand-alone accent or a great
Unger 6 Gal. Heavy-Duty Plastic Bucket DB02
The Unger 6-Gallon Heavy-Duty Professional Cleaning Bucket holds more than 6 Gal. of liquid. The bucket can accommodate a scrubber up to 14 in. L. This bucket features measurement marks and 2-pour spouts
Towel
Absorbs moisture and dries surfaces.
Adjustable Wrench
Fits various nut and bolt sizes with its adjustable jaw.
FRESHFOLDS Combed Cotton Absorbent Textured 6 Piece Hand Towel Set EC100757
Versatile, stylish, and functional are only a few ways to describe these bath towels. These towels are made with long cotton fibers that are looped to create a soft feel while still offering optimal absorbency
Husky 1/4 in. Drive Deep SAE Socket Set (10-Piece) H4DDPSAE10PC-02
Husky 1/4" drive deep sockets are forged from chrome alloy steel and heat treated for outstanding strength and wear protection, providing durability for a lifetime of hard use. Each socket features chamfered
Steps

Shut Off Water and Drain Tank
15 minsBegin by locating the water supply shutoff valve, typically on the wall behind the toilet. Turn the valve clockwise until it stops to cut off the water supply to the tank. Flush the toilet to drain the majority of the water from the tank. There will be about an inch of water left at the bottom; use a large sponge to soak up this remaining water, wringing it out into a bucket until the inside of the tank is completely dry. Place old towels on the floor around the base of the toilet to catch any residual drips.

Disconnect Water Supply Line
5 minsPosition a small bucket or towels directly under the point where the water supply line connects to the bottom of the toilet tank's fill valve. Using an adjustable wrench, grip the coupling nut on the supply line. Turn the nut counter-clockwise to loosen and disconnect it from the tank. A small amount of water may drip out, which the bucket or towels will catch.

Remove the Toilet Tank
20 minsLocate the two or three tank-to-bowl bolts that secure the tank. The nuts are on the underside of the toilet bowl's rear ledge. Use a deep-well socket or an adjustable wrench to hold the nut steady underneath while using a long screwdriver (usually a flathead) to turn the bolt head from inside the tank. Once the nuts are removed, carefully lift the tank straight up off the bowl. Be prepared for its weight and awkwardness. Set the tank down gently on the prepared towels or a piece of cardboard, placing it upside down or on its back.

Replace Gasket and Hardware
15 minsWith the tank removed, you will see the large, spongy tank-to-bowl gasket. Pull off the old gasket from the threaded outlet of the flush valve. Remove the old tank bolts and their rubber washers from inside the tank. Use a rag to thoroughly clean the area around the flush valve outlet on the bottom of the tank and the water inlet hole on the top of the bowl. Any grime or sediment can prevent a good seal. Install the new tank-to-bowl gasket by stretching it over the flush valve outlet. Install the new bolts by pushing them through the holes from inside the tank, ensuring the new rubber washers are on the inside to create a seal.

Reinstall the Toilet Tank
20 minsCarefully lift the tank and position it back onto the bowl, meticulously guiding the new bolts through their corresponding holes in the bowl ledge. Once seated, press down gently on the tank to help compress the new gasket. Working from underneath, place the new metal washers and nuts onto the bolts. Hand-tighten the nuts first. Then, using your wrench, tighten the nuts incrementally, alternating between them to ensure even pressure. Tighten until the tank is stable and does not wobble, but do not crank them down with excessive force.

Reconnect Water and Test for Leaks
15 minsReconnect the water supply line to the fill valve on the bottom of the tank. Hand-tighten the coupling nut, then use an adjustable wrench to give it a final quarter-turn to snug it up. Slowly turn the water supply valve counter-clockwise to turn the water back on. Listen and watch as the tank fills. Use dry paper towels to wipe around the new gasket and bolt nuts to check for any signs of moisture. Flush the toilet several times to put pressure on the new gasket. Continue to check for leaks. If a small drip appears from a bolt, tighten the corresponding nut another quarter-turn until it stops.
Common Problems
Do not overtighten the bolts, as this can crack the porcelain tank.
Solution: To avoid this issue: Be mindful of this warning and take appropriate precautions.
Hand-tighten first, then use a wrench for only a quarter to a half turn more. Overtightening will crack the porcelain tank.
Solution: To avoid this issue: Be mindful of this warning and take appropriate precautions.
Tighten the tank bolts evenly on both sides to prevent the tank from sitting crooked, which can cause leaks or stress fractures.
Solution: To avoid this issue: Be mindful of this warning and take appropriate precautions.
Tighten the tank bolts alternately and just enough to create a stable, non-wobbling seal. Overtightening can easily crack the porcelain tank or bowl.
Solution: To avoid this issue: Be mindful of this warning and take appropriate precautions.
Do not overtighten the tank bolts or the supply line nut. Overtightening can crack the porcelain or damage the fittings, causing leaks.
Solution: To avoid this issue: Be mindful of this warning and take appropriate precautions.
The new gasket may not be sealing properly, causing a slow leak.
Solution: Performing a 'three-flush test' is a good way to ensure the seal is holding under pressure.
Toilet leaks persist if the water level isn't correctly set.
Solution: If the water level in the tank is too high or too low, you can adjust it using the float on the new fill valve.
Frequently Asked Questions
How long does replacing a toilet tank-to-bowl gasket typically take for a beginner, and what's the estimated cost?
For a beginner, this project generally takes 1 to 2 hours from start to finish, including draining and refilling the tank. The cost is primarily the price of a new tank-to-bowl gasket and bolt kit, such as the Fluidmaster Universal 2 in. Tank-to-Bowl Toilet Gasket System (2602G-008-T5), which is usually under $20. It's considered a beginner-level DIY plumbing repair.
Are all the listed tools absolutely necessary, or can I use substitutes for some?
An adjustable wrench and a 6-in-1 screwdriver are essential for disconnecting and tightening hardware. While a socket set, like the Husky 1/4 in. Drive Deep SAE Socket Set, can make removing tank bolts easier, an adjustable wrench can often suffice. A heavy-duty plastic bucket and plenty of absorbent towels (e.g., WYPALL L40 or HDX Select-A-Size Paper Towel Roll) are crucial for managing water and cleanup.
What safety precautions should I take, and what's the best way to prepare my bathroom before starting this project?
Always shut off the water supply to the toilet at the wall valve before starting and flush the toilet multiple times to drain the tank and bowl as much as possible. Place a heavy-duty bucket, like the Unger 6 Gal. Heavy-Duty Plastic Bucket, and plenty of absorbent rags or towels around the toilet to catch any residual water. Be careful when lifting the tank, as it can be heavy and awkward even when empty.
I replaced the gasket, but my toilet is still leaking. What could be the problem?
If your toilet still leaks after replacing the gasket, first check that the tank-to-bowl bolts are tightened securely, but do not overtighten, as this can crack the tank. Ensure the new gasket is properly seated and not pinched or off-center. Also, inspect the water supply line connection for leaks, and check the tank and bowl for any hairline cracks that may have gone unnoticed.
Are all toilet tank-to-bowl gaskets universal, or do I need a specific type for my toilet?
While many two-piece toilets use a universal 2-inch tank-to-bowl gasket system, like the Fluidmaster 2602G-008-T5 mentioned, it's always best to verify. Measure the flush valve opening diameter or consult your toilet's manufacturer if you have an older or less common model. Some specialized or one-piece toilets may require specific gaskets not covered by universal kits.
What's the best way to ensure a leak-free reinstallation of the tank?
To ensure a leak-free reinstallation, make sure the new gasket is perfectly centered and seated on the flush valve. When reattaching the tank bolts, tighten them gradually and evenly, alternating between bolts until the tank is snug against the bowl, avoiding overtightening. Double-check that all rubber washers are properly positioned, and ensure the water supply line is securely connected without cross-threading.


