
How to Install and Level a Shower Pan Base
About This Project
A comprehensive guide to installing a new acrylic/fiberglass shower pan, focusing on creating a solid, level, and leak-proof foundation using a mortar bed. This process involves preparing the subfloor, installing the drain assembly, dry-fitting the pan, setting it in mortar, leveling it precisely, and securing it to the wall framing.
Best for advanced DIYers and professionals with basic plumbing knowledge and familiarity with power tools. Requires HDX Indoor Safety Glasses Clear (1-Pack) VS-9300, clear and Work Gloves and HDX Dust Mask 5 Pack E101W.
Tools & Materials

Mayhew Dominator Pry Bar Set (3-Piece) 61355
WallClaw Anchors LOC-N-LOAD Hammer-In Drywall Anchor 165 lbs. Max 100-Pack with Screws Master Carton MC-WC100-24YS-S
Milwaukee 12 Amp SAWZALL Reciprocating Saw with Case 6519-31

RIDGID 8 Amp 3/8 in. Corded Drill/Driver R70011
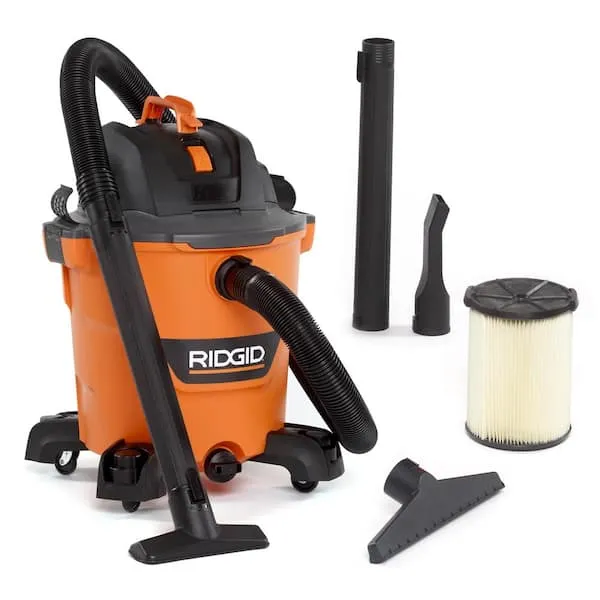
Wet-Dry Vacuum
Scraper
Mayhew Dominator Pry Bar Set (3-Piece) 61355
The Mayhew 3-Piece Dominator Pry Bar Set is built for the most demanding prying applications. The set includes three pry bars measuring 12 in., 17 in. and 25 in. long, all with custom-grip, patented ergonomic
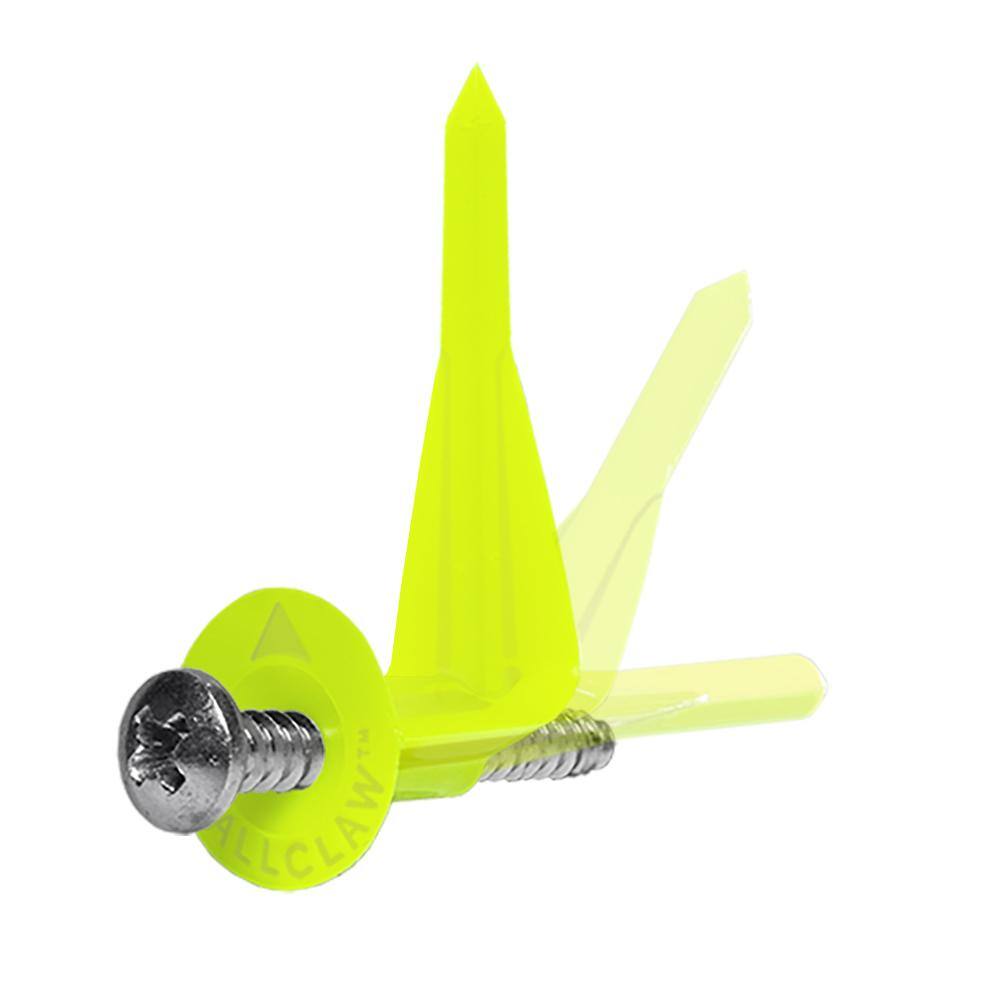
WallClaw Anchors LOC-N-LOAD Hammer-In Drywall Anchor 165 lbs. Max 100-Pack with Screws Master Carton MC-WC100-24YS-S
WallClaw LOC-N-LOAD Hammer-In drywall anchors are heavy-duty anchors that hammer-in to the wall like a nail. WallClaw LOC-N-LOAD anchors are the lowest cost drywall anchors per pound of load capacity.
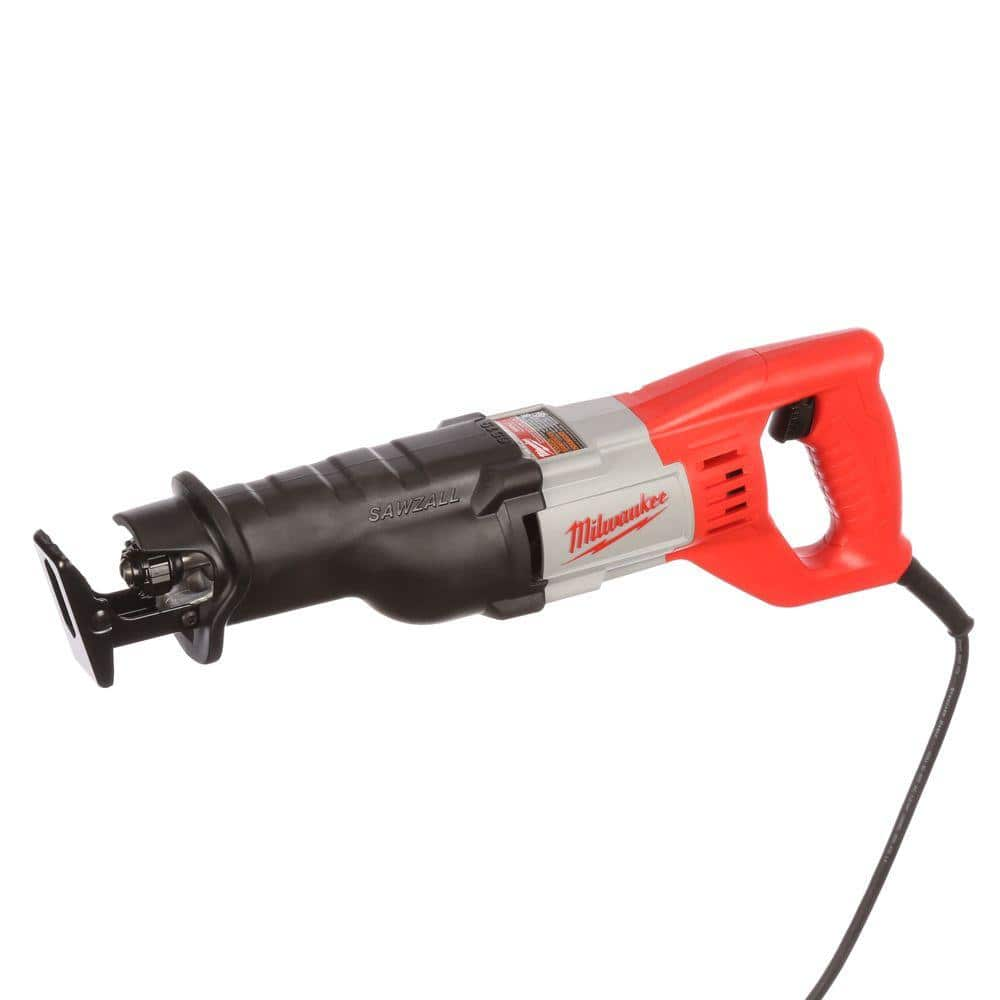
Milwaukee 12 Amp SAWZALL Reciprocating Saw with Case 6519-31
The 6519-31 Sawzall Recip Saw delivers best in class cut speed, durability and power with 0-3,000 strokes per minute, a 1-1/8" stroke length and a 12 Amp motor. The gear protecting clutch extends gear
RIDGID 8 Amp 3/8 in. Corded Drill/Driver R70011
The RIDGID 3/8 in. Corded Drill/Driver features an 8 Amp motor that provides 2,700 RPM for powerful drilling into a wide range of materials. With free registration, this tool is covered for life. Free
Wet-Dry Vacuum
Handles both wet and dry messes.
Scraper
Removes materials with a flat blade.
Steps

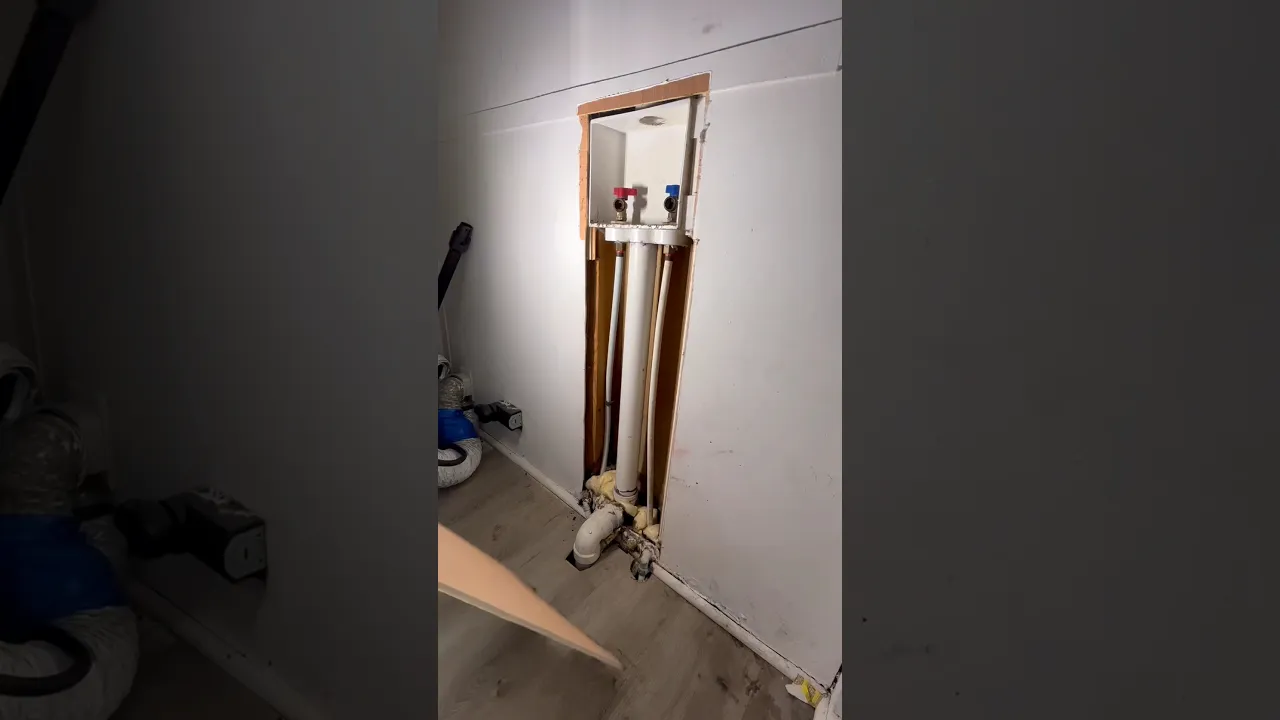
Prepare the Installation Area
60 minsBegin by preparing the shower alcove. If this is a replacement, carefully remove the old shower walls and base. Disconnect the old drain from the waste pipe. Thoroughly inspect the subfloor and wall studs for any signs of water damage, rot, or mold. Any damaged wood must be repaired or replaced before proceeding to ensure a solid foundation. Clean the area of all dust and debris using a shop vacuum.

Install the Drain Fitting
15 minsWith the shower pan turned upside down on a protected surface (like cardboard), install the drain assembly. Follow the manufacturer's instructions, which typically specify using either plumber's putty or 100% silicone caulk. Apply a rope of plumber's putty or a bead of silicone around the pan's drain opening. Insert the top drain flange from inside the pan, pressing it firmly into the sealant. From the underside, place the rubber gasket and then the bottom flange (or compression nut). Tighten the assembly using channel-lock pliers or a dedicated drain wrench until snug. Clean away any excess putty or silicone that squeezes out.

Dry-Fit and Mark the Pan
20 minsCarefully place the shower pan into the alcove. Push it tight against the studs. Place a 4-foot level across the top edges (thresholds) of the pan. Check for level side-to-side and front-to-back. The pan's floor is pre-sloped, but the thresholds must be perfectly level. If the subfloor is uneven, you may need to use shims under the pan's feet to temporarily achieve level during this dry fit. This helps you understand how much mortar will be needed. Use a pencil to trace the location of the drain opening onto the subfloor and mark the height of the pan's top flange on each stud.

Prepare Subfloor and Drain Pipe
15 minsRemove the pan from the alcove. Based on the drain location you marked, ensure the drain pipe in the floor is positioned correctly. You will likely need to cut the waste pipe to the correct height. For a solvent-weld drain, the top of the pipe should typically be about 1/2 inch below the top of the subfloor, allowing the drain assembly to slide over it. Use a PVC/ABS pipe cutter or a hacksaw for a clean cut. After cutting, place a piece of tape over the pipe opening to prevent mortar and debris from falling in. Give the subfloor one final cleaning with a shop vacuum.

Mix and Apply Mortar
20 minsIn a 5-gallon bucket, mix the mortar with water using a mixing paddle attached to a drill. Follow the manufacturer's ratio. Aim for a thick, stiff consistency, similar to packed sand or peanut butter. It should hold its shape and not be runny. Using a trowel, spread a layer of mortar 1 to 2 inches thick across the subfloor area where the pan will sit. Distribute it evenly in mounds, but leave a small open area immediately around the drain pipe to avoid getting mortar in the connection. Ensure the entire bottom of the pan will be supported.

Set and Level the Pan
15 minsRemove the tape from the drain pipe. Carefully lower the shower pan onto the fresh mortar bed, guiding the drain fitting over the waste pipe. Press down firmly and evenly across the entire floor of the pan. You can walk in the pan (with clean shoes) to fully bed it into the mortar. Immediately place your 4-foot level on the pan's thresholds again. Check for level in all directions. Gently press down on any high spots to push the pan further into the mortar until it is perfectly level. The mortar should support the pan, and it should not rock.

Connect the Waste Drain
5 minsOnce the pan is perfectly level, permanently connect the drain. For the assumed solvent-weld PVC drain, work quickly. Use a dauber to apply PVC primer to the outside of the waste pipe and the inside of the drain assembly fitting. Immediately follow with a liberal coat of PVC cement on both surfaces. Firmly push the pan's drain down onto the waste pipe, giving it a slight twist to spread the cement. Hold it in place for 30 seconds to prevent it from pushing back up. Clean any excess cement with a rag.

Secure Flanges to Studs
15 minsWith the pan level and the drain connected, secure the vertical mounting flanges to the wall studs. Drill pilot holes through the pre-marked spots on the flange directly into the center of each wall stud. Fasten the flange using 1-1/4 inch galvanized roofing nails or pan-head screws with large washers. The large head of the nail or washer prevents it from pulling through the plastic flange. Install one fastener per stud. Do not overtighten, as this can stress and crack the flange.
Allow Mortar to Cure
24 minsThe installation is mechanically complete, but the mortar must fully cure to provide its final strength. Do not stand in, place tools in, or otherwise disturb the shower pan for at least 24 to 48 hours. Refer to the mortar bag for specific curing times. After the curing period, carefully step into the pan and walk around. It should feel completely solid and have zero flex or movement underfoot. This solid feel confirms a successful installation.
Common Problems
Mortar too wet or too dry causes the shower pan to be uneven and unstable.
Solution: The consistency of the mortar is key; it should be firm enough to hold its shape but wet enough to bond to the pan.
Work quickly once the mortar is mixed, as it will begin to set. Only mix as much as you can use within its working time.
Solution: To avoid this issue: Be mindful of this warning and take appropriate precautions.
Uneven door installation due to unlevel shower pan sides.
Solution: It is very important that the sides where the glass doors will be installed are perfectly level to save time and money on the glass installation.
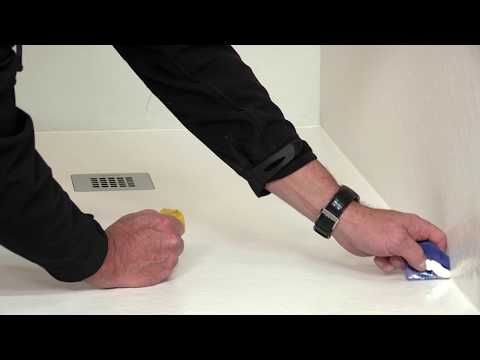
Be gentle with the razor scraper to avoid scratching or damaging the shower wall finish.
Solution: To avoid this issue: Be mindful of this warning and take appropriate precautions.
When grinding the inside of the pipe, avoid being overly aggressive to prevent thinning or damaging the pipe wall.
Solution: To avoid this issue: Be mindful of this warning and take appropriate precautions.
Ensure the surface is completely clean and dry before applying silicone to guarantee proper adhesion.
Solution: To avoid this issue: Be mindful of this warning and take appropriate precautions.
The entire bottom of the shower base must be in contact with the subfloor for proper support.
Solution: To avoid this issue: Be mindful of this warning and take appropriate precautions.
Frequently Asked Questions
How difficult is it to install a shower pan for a DIYer, and what's the realistic time commitment?
This is an intermediate project, requiring precision and patience, especially with leveling and mortar work. While the estimated time is 16 hours, allow extra time for potential subfloor repairs or unexpected issues. Rushing can lead to costly mistakes, so take your time and don't skip steps.
Why is a mortar bed crucial for a new acrylic/fiberglass shower pan, and which type should I use?
A mortar bed provides essential solid support beneath the shower pan, preventing flex, squeaks, and potential cracking over time. It also allows you to precisely level the pan for proper drainage. The project specifically calls for Type S mortar, such as Greencore or Quikrete mortar mix.
What are the most critical steps to ensure my shower pan is perfectly level and drains correctly?
Accurate leveling begins with a solid, level subfloor. Dry-fit the pan multiple times, marking its position and checking it with a long level in all directions. When setting the pan into the mortar, continuously check for level and adjust the mortar bed as needed before the mortar begins to set.
What precautions should I take to prevent leaks around the drain assembly and where the pan meets the wall?
Ensure the drain fitting is properly installed and sealed according to its manufacturer's instructions, using plumber's putty or silicone caulk as recommended. Secure the pan's flanges to the wall studs precisely, and apply a waterproof sealant where the pan meets the wall before installing wall coverings to prevent moisture intrusion.
Are all the listed tools absolutely necessary, or can I substitute some, and what materials are non-negotiable?
While some specific tools like pry bars might be substituted with similar demolition tools, a good level, drill, reciprocating saw, and wet-dry vacuum are essential for preparation and installation. Non-negotiable materials include the shower pan, the correct type of mortar (Type S), the drain assembly, and robust subfloor materials like pressure-treated plywood if replacements are needed.
What are the most common mistakes DIYers make when installing a shower pan, and how can I avoid them?
Common mistakes include not thoroughly cleaning and preparing the subfloor, insufficient mortar coverage, failing to level the pan precisely, and improperly connecting the drain. To avoid these, meticulously follow each step, double-check your work, and allow the mortar adequate curing time before proceeding with other parts of the bathroom renovation.


