How to Install a New Bathtub Faucet: A Step-by-Step DIY Guide
About This Project
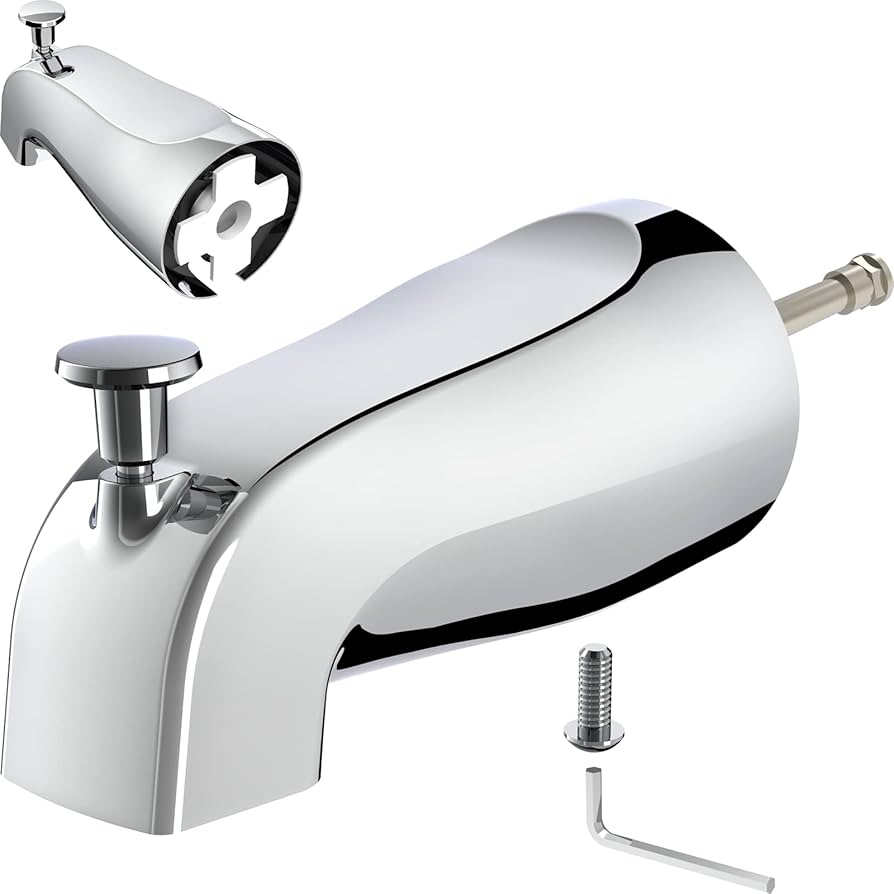
This DIY guide demonstrates how to install a new bathtub faucet. First, turn off the water supply valves and drain the lines to prevent spills. Depending on your plumbing setup, you may need to access the valves from behind the wall using an access panel. Next, remove the old faucet by disconnecting the water supply lines and unscrewing the mounting hardware. Inspect the new faucet to ensure it's the correct type for your tub, then insert the new fittings through the holes in the wall and connect the water supply lines to the correct fittings, making sure they are secure to avoid leaks. Finally, connect the faucet, hand-tighten all connections, and then give them a final tightening with a wrench. After installation, always check for leaks.
Best for experienced DIYers and homeowners with some experience.
Tools & Materials

Adjustable Wrench
Screwdriver (Multi)
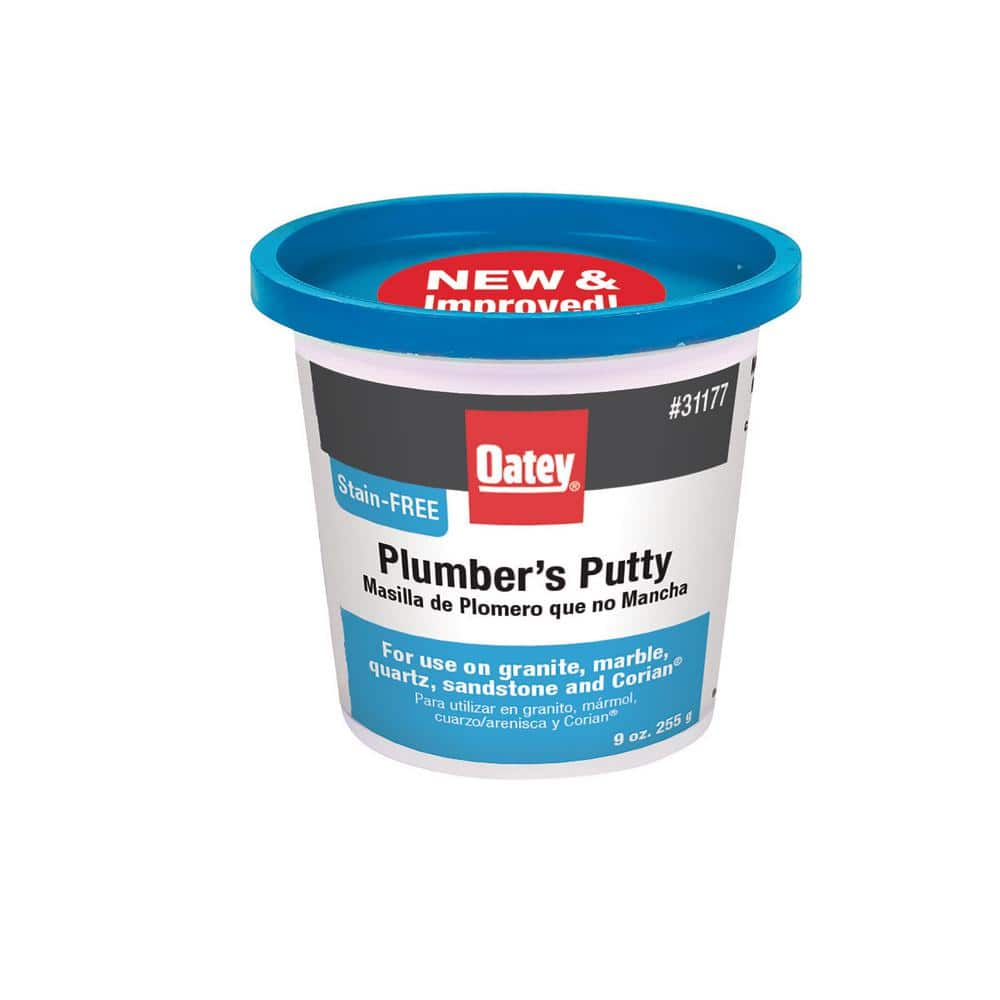
Oatey 9 oz. Stain-Free Plumber's Putty 31177
Adjustable Wrench
Fits various nut and bolt sizes with its adjustable jaw.
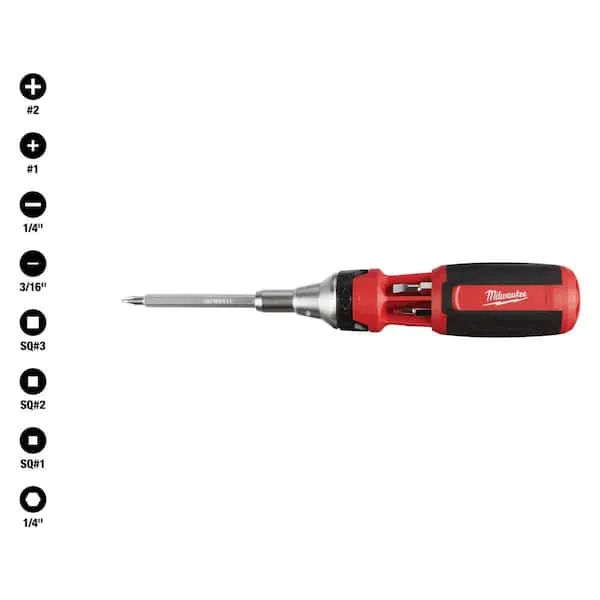
Screwdriver (Multi)
Multiple bits for versatile use.
Oatey 9 oz. Stain-Free Plumber's Putty 31177
For setting frames, faucets and basket strainers, use this Oatey 9 oz. Stain-Free Plumber's Putty on granite, marble, quartz, sandstone and other natural, porous materials. Will not crack or shrink. Cleans
Steps

Turn Off the Water Supply and Drain the Lines
5 minsBefore you begin, safety first! Turn off the water supply valves under the sink. These are usually separate valves for hot and cold water. Then, turn on the bathtub faucet to release any remaining water pressure in the lines. This prevents a mess later. Depending on your setup, you may need to access the water supply lines from behind the wall; have towels handy and consider enlisting help.
Watch: Preparation and Water Shut-off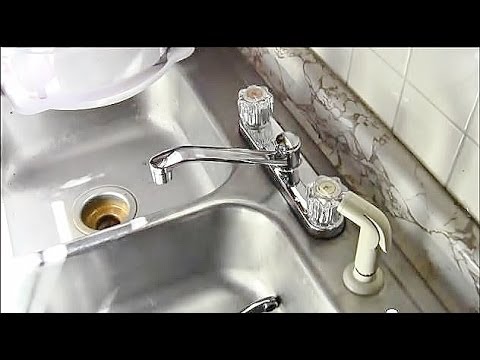
Disconnect the Water Supply Lines
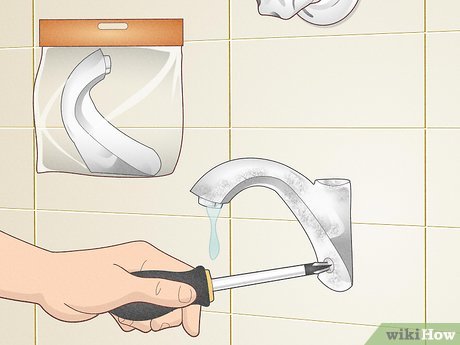
15 minsCarefully disconnect the water supply lines from the old faucet using an adjustable wrench. It's a good idea to have a rag or bucket ready to catch any water that might still drip out even after turning off the valves. For some setups, you may need to access the lines from behind the wall. Remember to note which line is hot and which is cold for easier reassembly.
Watch: Disconnect Water Supply Lines

Install the New Bathtub Faucet
30 minsNow, carefully follow the manufacturer's instructions to install your new faucet. This typically involves inserting the faucet into the mounting holes, securing it with the provided hardware, and connecting the water supply lines. Hand-tighten all connections first, then give them a final tightening with a wrench. Always check for leaks after installation.
Watch: Install New Faucet and Reconnect PlumbingCommon Problems
Make sure the water is completely shut off to avoid water damage.
Solution: To avoid this issue: Be mindful of this warning and take appropriate precautions.
Water spills and damages the cabinet below.
Solution: Having a bucket ready is essential to keep the cabinet dry.
Twisting the pipe in the wall can cause leaks or damage.
Solution: You may need to use a second wrench to hold the valve steady while loosening the fitting to prevent twisting the pipe in the wall.
If you cannot find or operate the shutoff valves under the sink, you will need to shut off the main water valve for the entire house.
Solution: To avoid this issue: Be mindful of this warning and take appropriate precautions.
Water damage from spills when replacing a bathtub faucet.
Solution: Keep a towel handy to clean up any spills immediately.
Tight faucet connections make it impossible to reach or turn nuts.
Solution: Use a basin wrench if the connections are tight.
Be careful not to scratch the faucet finish when removing the handle. Use metric Allen wrenches if standard sizes don't fit.
Solution: To avoid this issue: Be mindful of this warning and take appropriate precautions.
Frequently Asked Questions
How realistic is the 3-hour estimate for a beginner, and what common issues might extend the installation time?
While 3 hours is a good estimate for an experienced DIYer, beginners should budget more time, perhaps 4-6 hours. Unexpected challenges like rusted connections, stripped screws, limited access, or needing to retrieve forgotten tools can significantly extend the process. Patience is key, as rushing can lead to mistakes.
What are the absolute essential safety precautions I must take before starting to install a new bathtub faucet?
Always turn off the main water supply to your home and fully drain the lines by opening a lower-level faucet before beginning to prevent flooding. Ensure the work area is dry and well-lit to avoid slips. Be mindful of any nearby electrical outlets, though direct electrical work is not part of this project.
What are the most common mistakes that lead to leaks after installing a new bathtub faucet, and how can I prevent them?
Leaks often occur from improperly tightened connections (either too loose or overtightened, stripping threads). Ensure all supply line connections are hand-tightened, then given a final quarter to half-turn with a wrench. Always use plumber's tape on threaded connections and plumber's putty where recommended by the faucet manufacturer for seals around the base.
Are there any additional tools or materials, beyond those listed, that would be helpful for a smoother bathtub faucet installation?
Yes, having a bucket or old towels for draining water and potential drips is essential. A flashlight for working in tight, dark spaces is highly recommended. Depending on your current setup, a basin wrench might be invaluable for reaching nuts in confined areas, and plumber's tape is usually needed for threaded connections.
The guide mentions needing an access panel for valves. What if my tub doesn't have one, or the access is very limited?
If you don't have an existing access panel, you might need to work from the front of the tub, which can be challenging due to limited space and visibility. In some cases, a small access hole may need to be carefully cut in an adjacent wall for proper installation. If access remains extremely difficult, consider consulting a professional plumber.
When should I use plumber's putty versus thread seal tape (Teflon tape) during the installation process?
Plumber's putty, like the Oatey product listed, is typically used to create a watertight seal around the base of the faucet or escutcheon plates where they meet the tub or wall surface. Thread seal tape is applied directly to the threaded connections of pipes and fittings to prevent leaks by lubricating the threads and filling small gaps. Do not use putty on threaded pipe connections.