
How to Install a Bidet Toilet Seat
About This Project
This guide provides comprehensive, step-by-step instructions for installing a modern electric bidet toilet seat. The process involves shutting off the water supply, removing the existing toilet seat, mounting the new bidet seat and its hardware, connecting the water supply via a T-valve, and finally, powering on the unit and checking for leaks.
Best for homeowners and DIY enthusiasts with basic plumbing knowledge and familiarity with power tools.
Tools & Materials

HDX 5 qt. Small Mixing Bucket 05QHDX55024

Towel
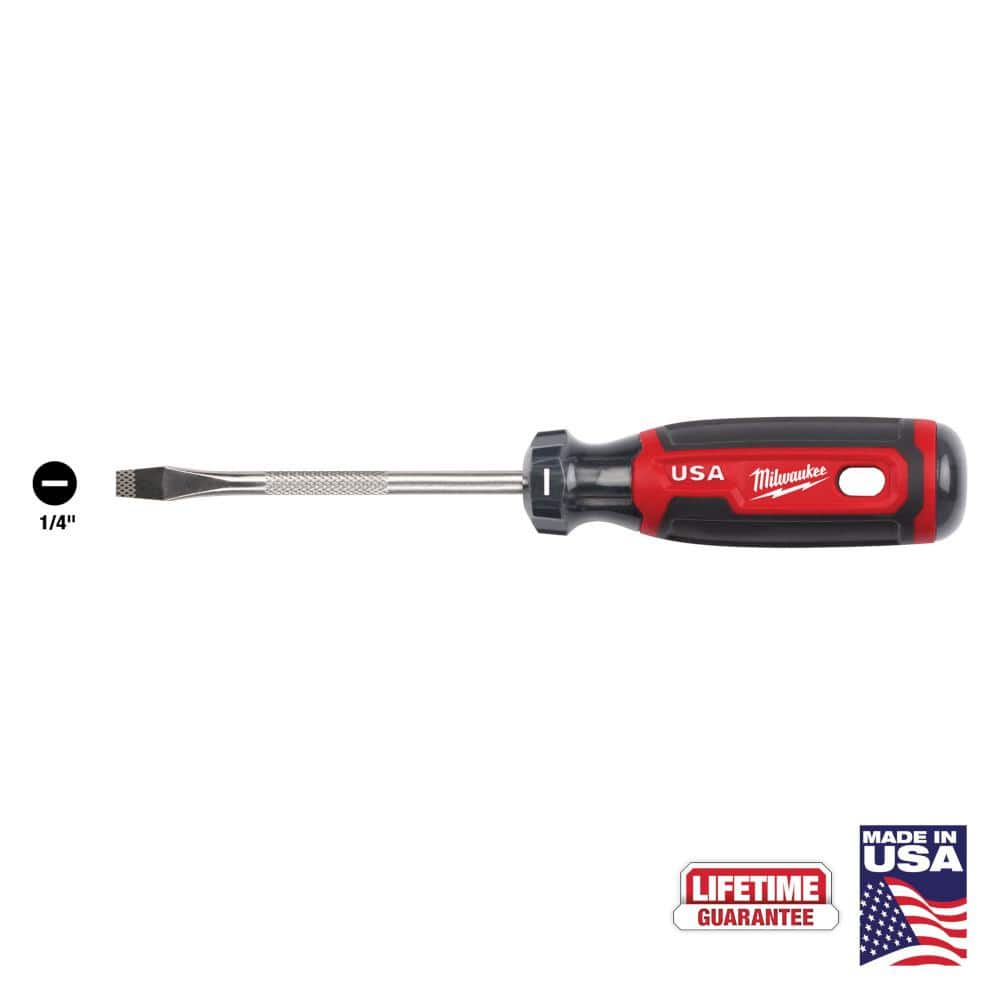
Milwaukee 4 in. x 1/4 in. Slotted Flat Head Screwdriver with Cushion Grip MT206
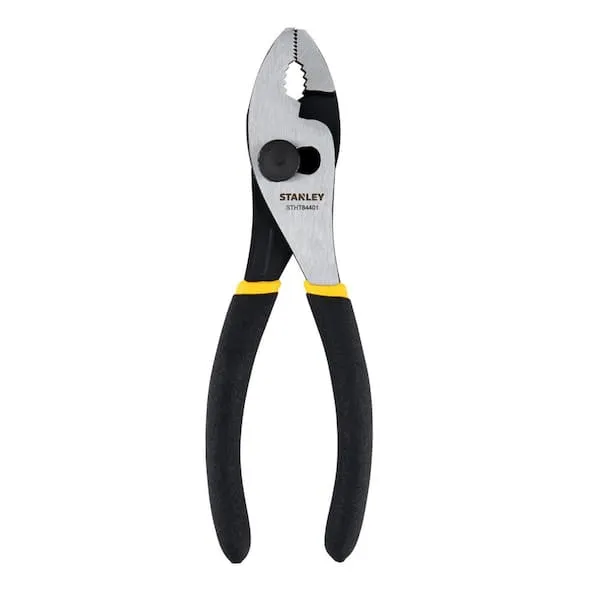
Pliers

THE CLEAN STORE Pink/White Microfiber Towels (Pack of 600) 79136C

Method 28 oz. AntiBac All-Purpose Cleaner Bamboo 317920
HDX 5 qt. Small Mixing Bucket 05QHDX55024
Use the HDX Plastic bucket to serve all painting, mixing and storage needs. The bucket's compact size is ideal for large or small jobs and allows for easy storage. This reusable plastic bucket is made
Towel
Absorbs moisture and dries surfaces.
Milwaukee 4 in. x 1/4 in. Slotted Flat Head Screwdriver with Cushion Grip MT206
The Milwaukee® 1/4" Slotted 4" Cushion Grip Screwdrivers (USA) are manufactured to give the professional the best-fitting screwdriver with max grip. These screwdriver tips are custom machined to deliver
Pliers
Grips and manipulates objects.
THE CLEAN STORE Pink/White Microfiber Towels (Pack of 600) 79136C
The Pull N Wipe Microfiber Cleaning Rags are the ideal cleaning cloths. Perfect for all your cleaning needs. These cleaning cloths come in prepackaged dispenser boxes to make your cleaning experience a convenient one.
Method 28 oz. AntiBac All-Purpose Cleaner Bamboo 317920
Tough on grease and grime, easy on surfaces. Plus, you'll be happy to know, it kills 99.9% of germs*, leaving behind a fresh scent and a smile. (*kills staphylococcus aureus, influenza a flu virus, rhinovirus,
Steps

Prepare Workspace and Shut Off Water
5 minsBegin by preparing your workspace. Lay an old towel on the floor around the base of the toilet to catch any water drips. Locate the water supply shut-off valve, typically on the wall behind the toilet (an oval or football-shaped handle). Turn the valve clockwise until it stops to shut off the water supply. Next, flush the toilet and hold the flush handle down to drain as much water as possible from the tank. You can use a small bucket to catch any water from the supply line in later steps.

Remove Existing Toilet Seat
5 minsLocate the caps covering the toilet seat bolts at the back of the toilet bowl. Use a flathead screwdriver to gently pry these caps open. Underneath, you will find the heads of the bolts. From under the toilet bowl rim, locate the plastic or metal nuts holding these bolts in place. Use a screwdriver to hold the bolt head steady while you unscrew the nuts by hand or with a pair of pliers. Once the nuts are removed, lift the old toilet seat and lid straight up and off the bowl. This is a good opportunity to thoroughly clean the surface of the toilet bowl where the old seat was mounted using a cleaning rag and an all-purpose cleaner.

Install Bidet Mounting Plate
5 minsUnpack the bidet's mounting hardware. Place the mounting plate over the two bolt holes on the back of the toilet bowl. Insert the square guide rails into the mounting plate and then slide the mounting bolts through the guides and the holes in the toilet bowl. From underneath, thread the nuts onto the bolts and hand-tighten them so the plate is snug but can still be moved slightly for adjustment.
Mount the Bidet Seat
5 minsAlign the bidet toilet seat with the mounting plate that you just installed. Gently slide the seat backward along the plate until you hear and feel a solid 'click'. This sound confirms that the seat is securely locked onto the bracket. Now, check the seat's alignment with the front of the toilet bowl. Adjust as needed by slightly loosening the nuts, shifting the seat and plate together, and then re-tightening the nuts securely from underneath with a screwdriver.

Disconnect Toilet Tank Supply Hose
5 minsWith the water off, place your bucket or towel directly under the connection point where the flexible water supply hose meets the bottom of the toilet tank. Using an adjustable wrench or channel-lock pliers, grip the coupling nut on the supply hose and turn it counter-clockwise to loosen and disconnect it from the tank's fill valve. A small amount of water will drain from the hose and tank, so be prepared.

Install Water Supply T-Valve
5 minsTake the T-valve that was included with your bidet seat. Inspect it to ensure the black rubber cone washer is correctly seated inside the top female-threaded connection. Carefully thread the T-valve by hand onto the male-threaded fill valve at the bottom of the toilet tank. Once it's hand-tight, use your adjustable wrench to give it an additional quarter-turn to create a snug, leak-proof seal. Do not overtighten.

Connect All Water Hoses
5 minsYou will now connect two hoses to the new T-valve. First, take the original flexible water supply hose (coming from the wall valve) and connect it to the bottom male-threaded connection of the T-valve. Hand-tighten, then snug with a wrench. Second, take the new, smaller bidet hose supplied with the kit. Connect one end to the side outlet of the T-valve and the other end to the water inlet port on the bidet seat itself. All these connections should be hand-tightened first, then given a gentle quarter-turn with the wrench.

Turn On Water, Check for Leaks, and Power On
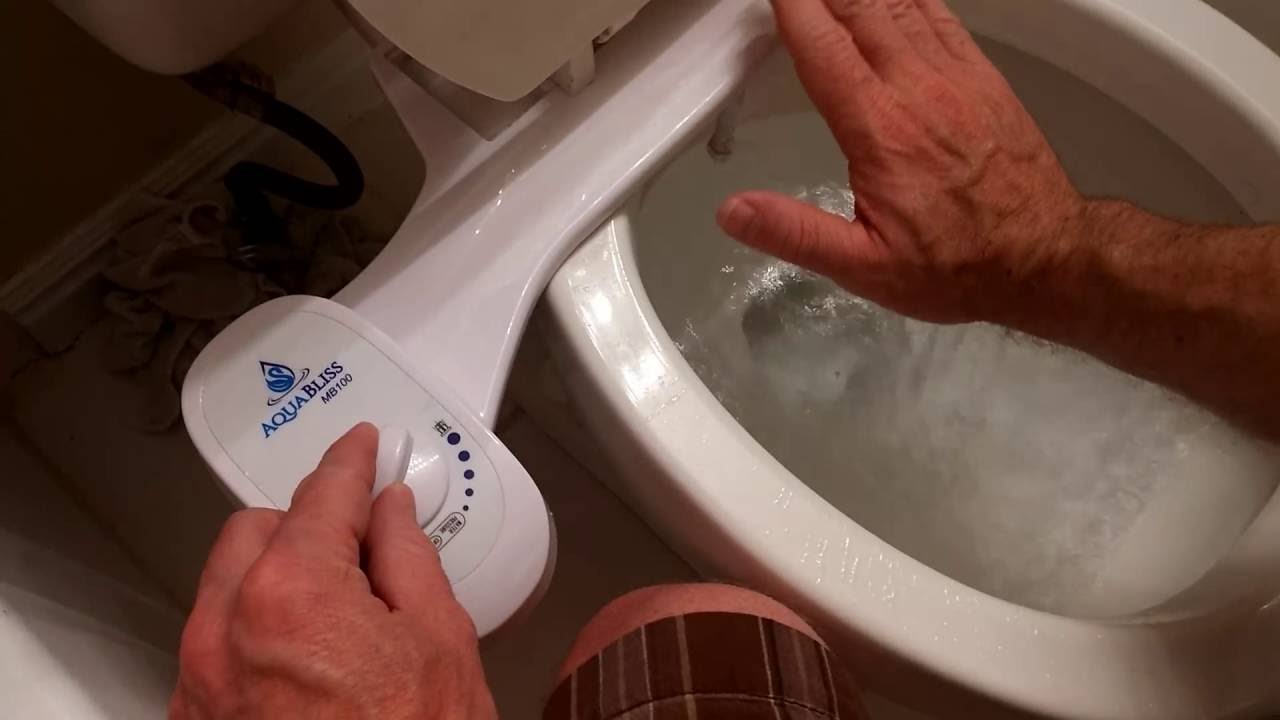
5 minsTurn the water supply shut-off valve at the wall counter-clockwise very slowly. This prevents a sudden pressure surge, known as water hammer. Listen for the sound of the toilet tank refilling. As it fills, carefully inspect all three connections on and around the T-valve for any signs of moisture or drips. Use a dry paper towel and wipe each connection point; the paper will make even the smallest leak immediately obvious. If all connections are dry, plug the bidet's power cord into the GFCI outlet. The bidet will likely make a sound as it initializes. Test the functions using the remote control or side panel.
Common Problems
Water spills onto the floor when disconnecting the toilet's water supply line.
Solution: Place a towel or small bucket under the supply line connection to catch any remaining water.
Toilet won't flush or leaks after bidet installation.
Solution: Marking the water level before you begin is a crucial reference point for ensuring the toilet is set up correctly after the repair.
Water spills onto the floor when removing the fill valve.
Solution: Using a tray is essential to keep the floor dry, as a fair amount of water will drain from the tank when the fill valve is removed.
Ignoring this step can lead to water leaks when installing a bidet.
Solution: The video uses a dry demo toilet, but this step is essential for any toilet connected to a water supply.
Bidet nozzle guard obstructs toilet bowl.
Solution: Make sure the bidet is positioned far enough back so the nozzle guard doesn't hit the inside of the bowl.
Do not go too tight with the screws to avoid damaging the plastic components.
Solution: To avoid this issue: Be mindful of this warning and take appropriate precautions.
It is critical to be sitting on the seat when testing the spray to prevent water from spraying all over the bathroom.
Solution: To avoid this issue: Be mindful of this warning and take appropriate precautions.
Frequently Asked Questions
How long does a typical electric bidet seat installation take, and is it suitable for someone with no plumbing experience?
This project is generally beginner-friendly and takes about 30-60 minutes. The most crucial steps involve shutting off the water supply, connecting hoses, and tightening connections properly, which don't require advanced plumbing skills.
What specific tools are absolutely essential for installing this bidet seat, beyond what might come in the box?
You'll primarily need an adjustable wrench to tighten water connections securely, a screwdriver (multi-head or flat/Phillips) for mounting the seat hardware, and possibly pliers for stubborn nuts. Most basic household toolkits will have these, and some bidet kits even include a small wrench.
What are the most important safety steps to prevent water damage or electrical hazards during the installation?
Always shut off your toilet's water supply valve completely before starting, and unplug any existing bidet if applicable. After connecting water lines, turn the supply on slowly and meticulously check all connections for leaks before plugging in the new electric bidet seat to avoid electrical issues.
How do I ensure this electric bidet seat will fit my toilet, and what if my toilet bowl shape is unusual?
Measure your toilet bowl from the front edge to the center of the bolt holes to confirm if it's 'round' or 'elongated,' as bidet seats are specifically designed for one or the other. The provided SmartBidet model is for round toilets, so verify your toilet matches this specification for proper fit and function.
I've installed my bidet, but I'm experiencing low water pressure or a small drip. What should I check first?
First, ensure your toilet's water supply valve is fully open and check for any kinks or obstructions in the bidet's supply hose or T-valve filter. For drips, gently tighten all connections by hand first, then use an adjustable wrench for an additional quarter turn, being careful not to overtighten and strip threads.
What's the most common mistake DIYers make when installing an electric bidet seat, and how can I avoid it?
A frequent mistake is overtightening plastic water connections, which can crack them and lead to leaks. Hand-tighten plastic parts until snug, then use a wrench only for metal connections or for a very gentle, final quarter-turn on plastic if a drip persists after hand-tightening.


