How to Find & Fix Hidden Water Leaks at Home
About This Project
This project details how to find and fix hidden water leaks in your home. The first step is to perform a visual inspection of all visible plumbing fixtures and appliances, looking for drips, stains, or warping. Next, conduct a water meter test to confirm the presence of a hidden leak by shutting off all water usage and observing the meter for any movement. If a leak is detected, isolate the leak by systematically turning off the water supply to individual areas and repeating the water meter test. Once you've isolated the general area, use specialized leak detection tools like acoustic listening devices, thermal imaging cameras, or moisture meters to pinpoint the exact leak source. Finally, repair or replace the leaking component, ensuring all connections are secure and watertight before turning the water back on.
Best for advanced DIYers and professionals with basic plumbing knowledge.
Tools & Materials
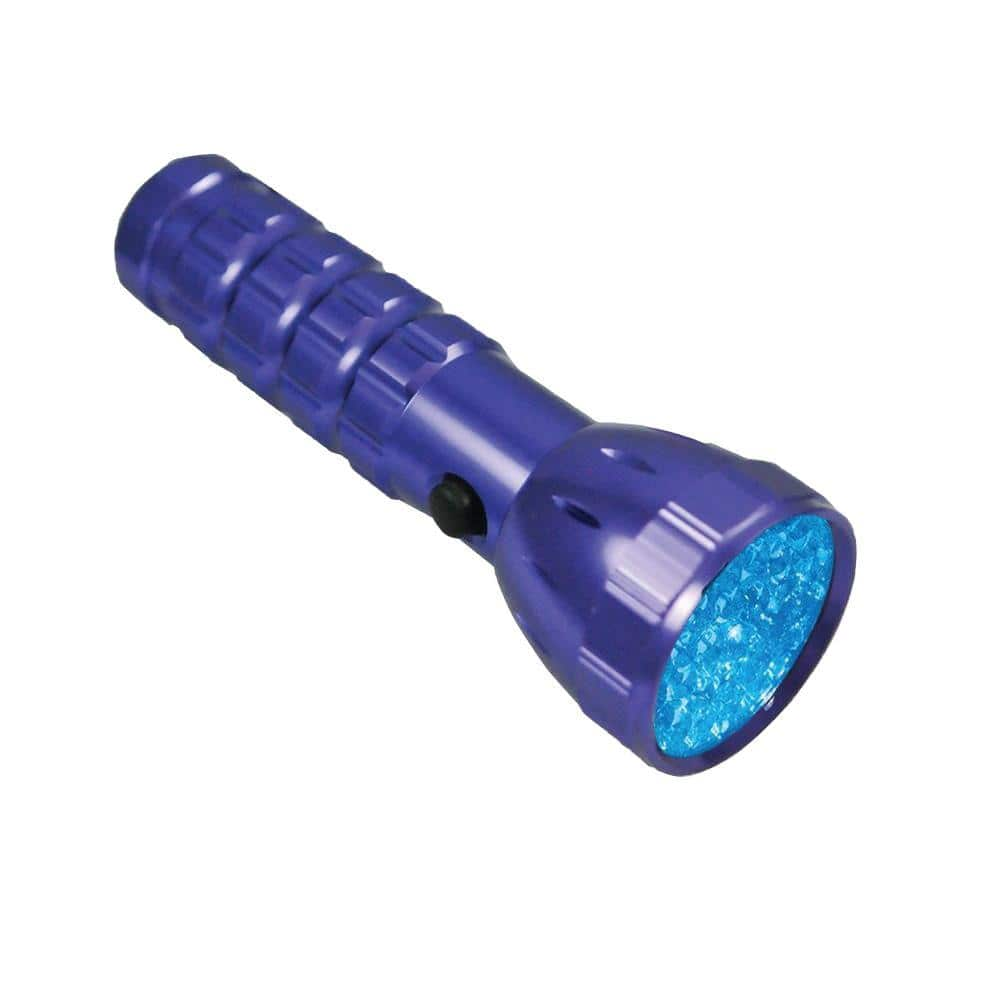
LED UV Backlight Flashlight 900221
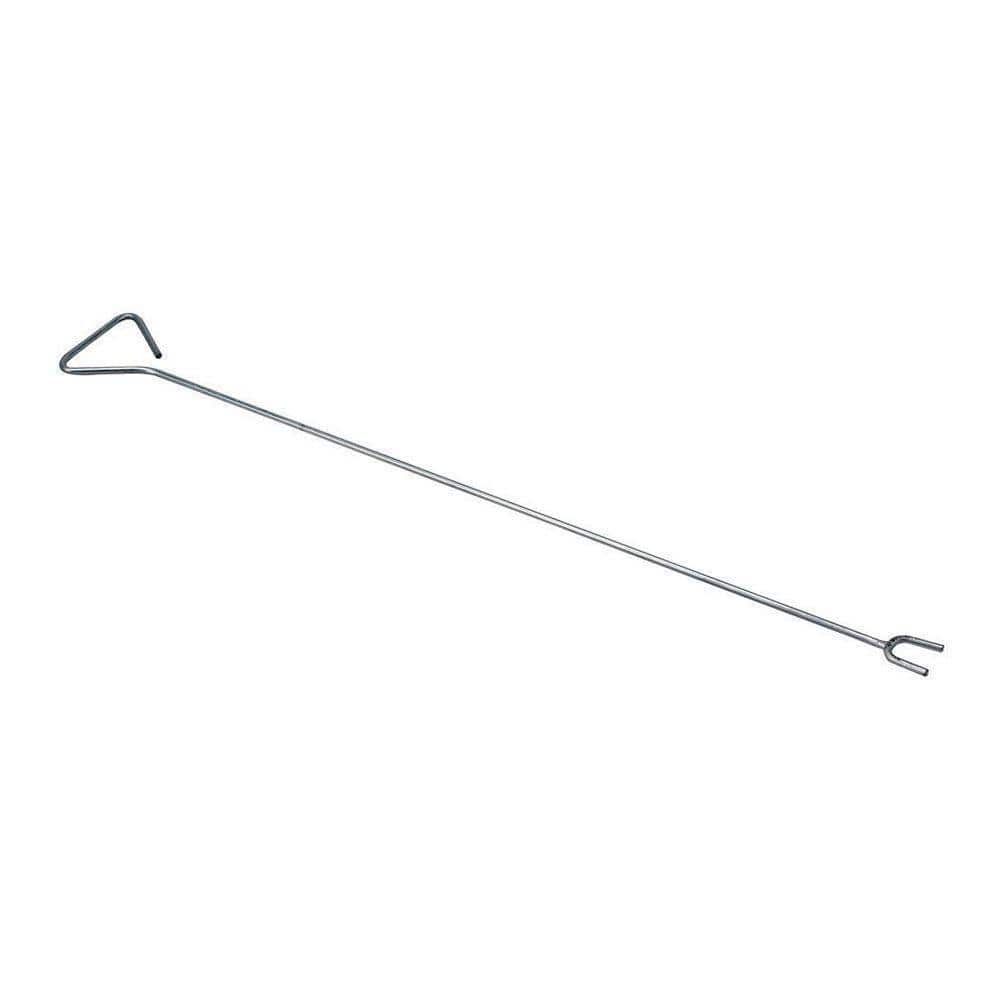
54 in. Steel Sprinkler Valve Key 410-407-0111

3M WorkTunes Connect Hearing Protector with Bluetooth Technology 90543H1-DC-PS
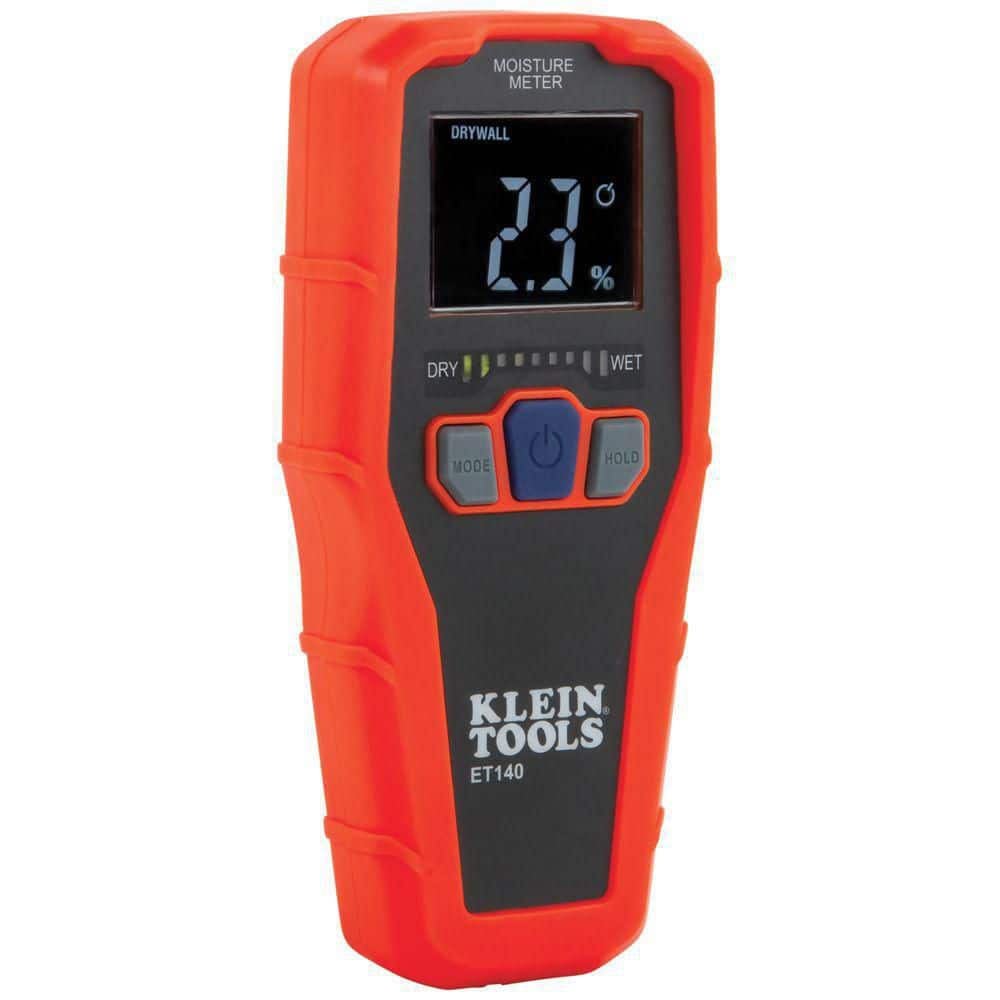
Klein Tools Pinless Moisture Meter ET140
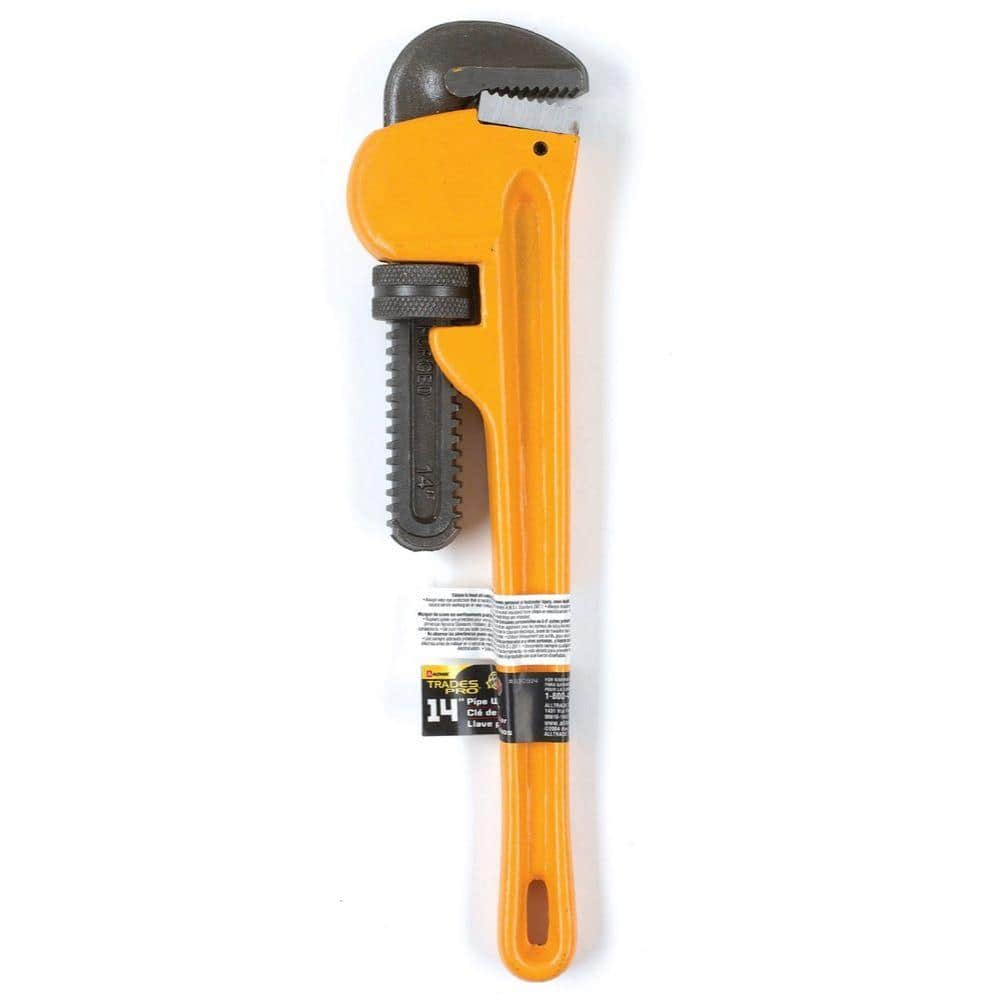
TradesPro 14 in. HD Pipe Wrench 830914
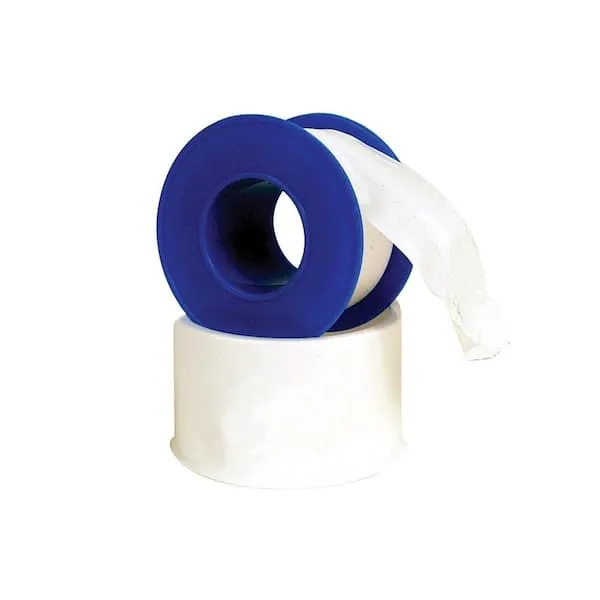
Teflon Tape
LED UV Backlight Flashlight 900221
This ultra-bright 28 LED UV blacklight flashlight has a durable rugged aluminum construction design. This blacklight flashlight will make scorpions glow brilliantly, illuminating and revealing themselves
54 in. Steel Sprinkler Valve Key 410-407-0111
This is a Sprinkler Valve Key Wrench. It is used for turning off and on manual sprinkler control valves. It is most commonly used with in ground lawn sprinkler systems.
3M WorkTunes Connect Hearing Protector with Bluetooth Technology 90543H1-DC-PS
3M WorkTunes Connect Wireless Hearing Protector with Bluetooth wireless technology combines a modern, comfortable design with high-fidelity sound quality. This innovative hearing protection lets you conveniently
Klein Tools Pinless Moisture Meter ET140
Klein Tools ET140 Moisture Meter is designed to non-invasively detect hidden relative moisture content up to 3/4-Inch (19 mm) depth. Easily select between materials with mode button to test surface of
TradesPro 14 in. HD Pipe Wrench 830914
A simple tool that's simply irreplaceable around the house, yard, garage and worksite. Nothing works better at biting, clamping and turning stubborn pipes, fittings and more. This wrench has all the essentials
Teflon Tape
Seals pipe threads without leaks.
Steps

Visual Inspection: Check for Obvious Leaks
30 minsBegin by thoroughly inspecting all visible plumbing fixtures: faucets, toilets, showerheads, and pipes. Look for any signs of dripping water, stains, or warping that indicate water damage. Don't forget to check appliances like washing machines, dishwashers, and water heaters for leaks.
Watch: Prepare for the Leak Test
Water Meter Test: Detect Hidden Leaks
1 minTo identify hidden leaks, shut off all water-using appliances and fixtures. Carefully note your water meter reading. Wait for 30-60 minutes, then check the meter again. Any increase in the reading indicates a leak somewhere in your plumbing system.
Watch: Check the Water Meter
Isolate the Leak: Sectioning Your Plumbing System
1 minIf the water meter test confirms a leak, systematically isolate sections of your plumbing. Turn off the water supply to individual areas (e.g., bathroom, kitchen) and repeat the water meter test for each section. This process helps narrow down the leak’s location.
Watch: Test the repair
Pinpoint the Leak: Using Specialized Tools
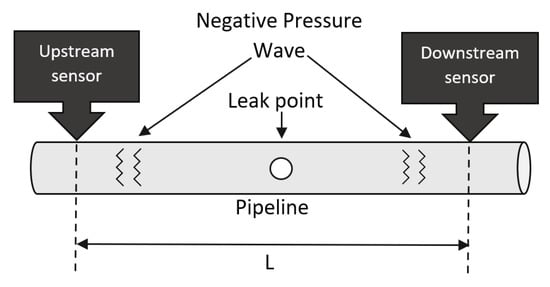
2 minsOnce you've narrowed down the general area, utilize specialized leak detection tools to pinpoint the exact source. These might include acoustic listening devices, thermal imaging cameras, or moisture meters. Accessing the leak might require opening walls or floors, depending on its location.
Watch: Cut an Access Hole in the Drywall
Repair or Replace the Leaking Component
1 minOnce the leak is located, carefully repair or replace the faulty component. This may involve patching a pipe, replacing a fitting, or installing a new fixture. Make sure all connections are secure and watertight before restoring water flow.
Watch: Install the New PipeCommon Problems
Electrical issues or no power
Solution: Double-check all connections and follow the installation steps carefully.
Prevention: Exercise caution when using power tools or accessing concealed plumbing.
Frequently Asked Questions
The project is rated 'intermediate' with an 8-hour estimate. How realistic is this for someone new to plumbing, and what specific challenges might make it longer?
The 8-hour estimate covers the detection and repair process for a typical leak, assuming you have the tools ready. For beginners, it might take longer, especially if you need to learn how to use specialized tools like the Klein Tools Pinless Moisture Meter or locate obscure shut-off valves. Accessing a leak hidden behind walls, floors, or in difficult-to-reach areas can significantly extend the overall time required.
The project lists specialized tools like an LED UV Backlight Flashlight and a Klein Tools Pinless Moisture Meter. Are these essential, or are there alternatives for DIYers on a budget?
While not all specialized tools are strictly essential for *every* leak, they greatly increase your chances of accurate detection and reduce the need for unnecessary demolition. A pinless moisture meter helps identify moisture in non-invasive ways, and a UV flashlight can reveal leaks from specific substances or dyes. For budget-conscious DIYers, consider renting equipment from a local tool rental shop or checking if a neighbor has tools you can borrow, but basic visual inspection and the water meter test are always free first steps.
What are the most important safety precautions to take when searching for and repairing hidden water leaks, especially when dealing with potentially wet areas?
Always prioritize safety when working with water and electricity. Before attempting any repairs, shut off the main water supply to prevent further flooding and potential water damage. Be extremely cautious of electrical outlets or wiring in wet areas; if there's any risk, shut off power to that circuit at your breaker box. Wear appropriate personal protective equipment (PPE) like gloves and use hearing protection, such as the 3M WorkTunes Connect Hearing Protector, if using noisy tools or working in confined spaces.
The water meter test is crucial for detecting hidden leaks. What are common mistakes people make during this test that could lead to false negatives or positives?
A common mistake is not ensuring *all* water-consuming appliances and fixtures are completely off and not running, including ice makers, automatic toilet fillers, and irrigation systems. Another error is not waiting long enough (at least 1-2 hours) for the meter to register movement, especially with very slow leaks. Ensure your main shut-off valve is fully closed for isolation steps to get accurate readings and prevent any water from passing through.
Once I pinpoint the leak, how do I know if I should repair it myself or call a professional? What kind of repairs are typically DIY-friendly?
Minor leaks like a loose pipe fitting, a corroded pipe joint that needs re-taping with Teflon Tape, or a leaking valve seal are generally DIY-friendly if you're comfortable with basic plumbing. However, if the leak involves major pipe replacement, significant structural damage, or is in an inaccessible location requiring extensive wall or floor demolition, it's often best to call a licensed plumber. They have the expertise and specialized tools to ensure a safe, compliant, and lasting repair.
What if I've systematically done the water meter test, isolated areas, but still can't pinpoint the exact source of the leak, even with specialized tools?
If you've exhausted your DIY detection methods and specialized tools like the Klein Tools Pinless Moisture Meter haven't identified the exact source, the leak might be in a less obvious location like an underground pipe, within a concrete slab, or in a drain line. In such cases, it's advisable to consult a professional leak detection service or a licensed plumber. They often have even more advanced equipment like ground penetrating radar, acoustic amplification, or sewer cameras to locate these extremely hidden leaks.
Since these are *hidden* leaks, how should I deal with potential damage to walls, floors, or ceilings once I find the leak, and what precautions should I take during demolition?
Finding a hidden leak often means carefully cutting into walls, floors, or ceilings to access the source. Plan to make precise, minimal cuts to limit the area of demolition, which will make repairs easier later. Before closing up the area, ensure all water damage is thoroughly dried, and address any mold or mildew growth with appropriate cleaners to prevent future health or structural issues. Document the damage with photos for potential insurance claims.