How to Increase Water Pressure in Your House
About This Project
This project details how to improve water pressure in your house. It involves three main steps: 1. **Check Your Main Water Valve:** Ensure the main shut-off valve is completely open to avoid restricting water flow. This valve is usually located near your water meter. 2. **Inspect and Adjust or Replace the Pressure Reducing Valve (PRV):** The PRV is often the culprit for low water pressure. Locate it (typically near the main water line), inspect for damage, and adjust the screw if possible. If faulty, replace it. 3. **Clean or Replace Faucet and Showerhead Aerators:** Mineral deposits can clog aerators. Remove and clean them, replacing them if necessary to restore water flow.
Best for experienced DIYers and homeowners with some experience with basic plumbing knowledge.
Tools & Materials
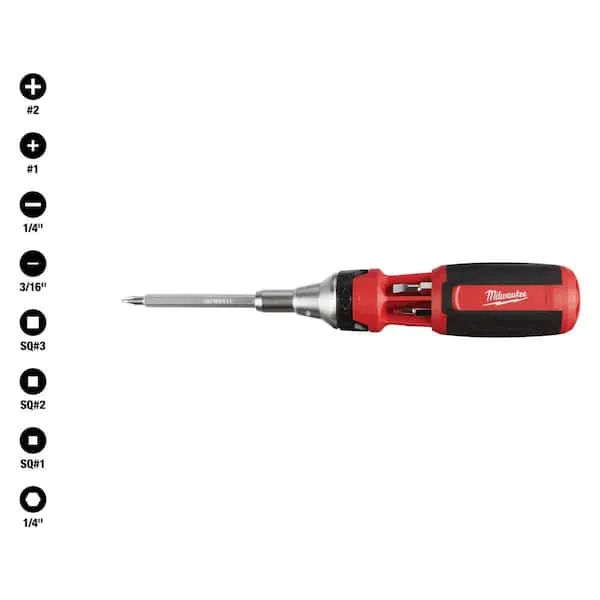
Screwdriver (Multi)
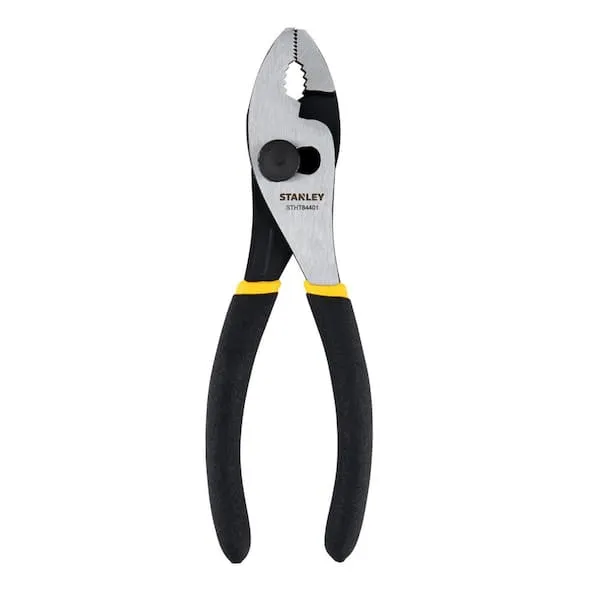
Pliers
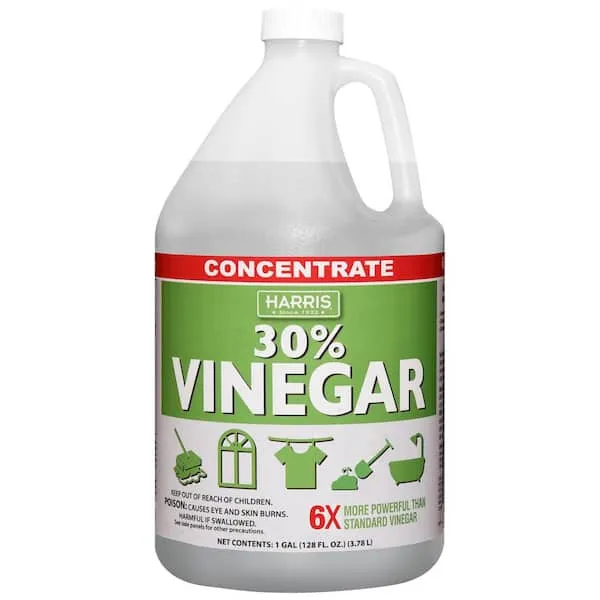
Vinegar
Screwdriver (Multi)
Multiple bits for versatile use.
Pliers
Grips and manipulates objects.
Vinegar
Natural cleaner and culinary ingredient.
Steps

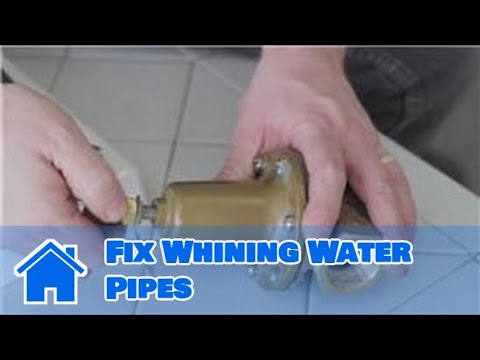
Inspect and Adjust or Replace the Pressure Reducing Valve (PRV)
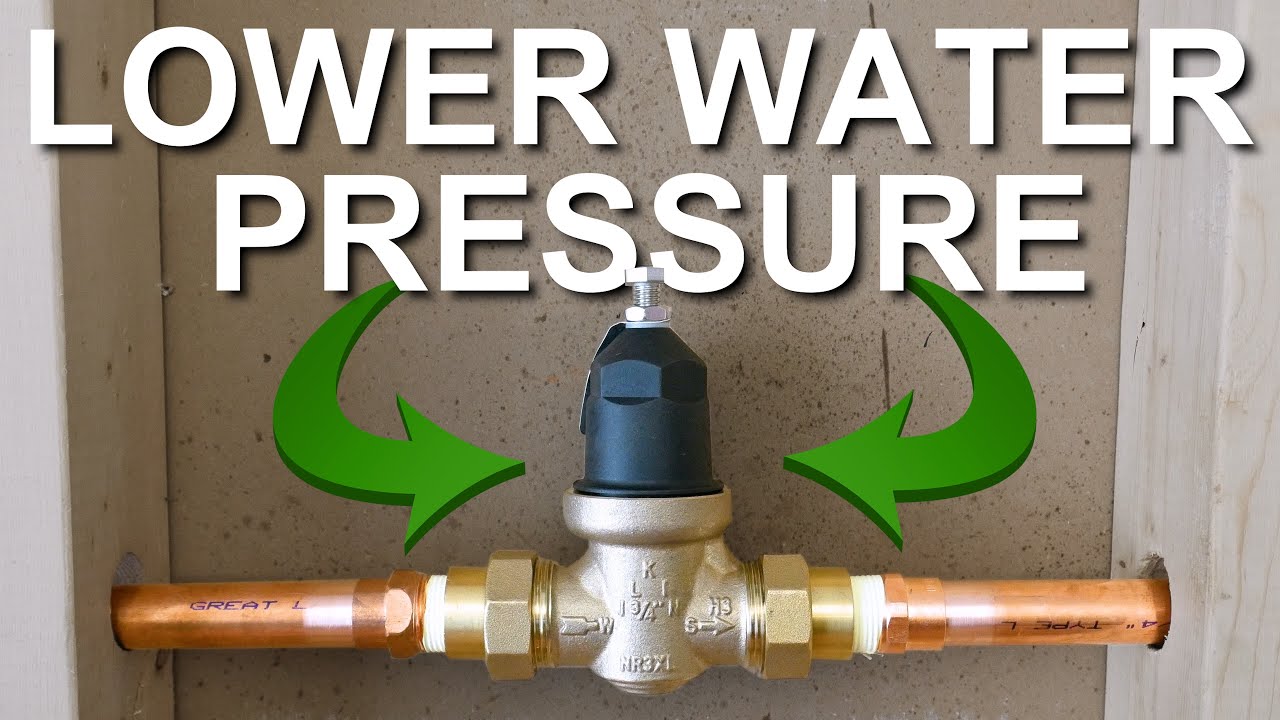
30 minsLocate your Pressure Reducing Valve (PRV), typically near the main water line. Carefully inspect it for any visible damage. If the pressure is too low, you might be able to adjust the screw on the PRV to increase it. However, if the PRV is faulty, replacement is necessary.
Watch: Locate the Valve
Clean or Replace Faucet and Showerhead Aerators
30 minsMineral deposits in your faucets and showerheads can restrict water flow, leading to low pressure. Carefully remove the aerators (usually by twisting them off) and clean them thoroughly. Replace if cleaning doesn't restore adequate water flow.
Watch: Inspect and Clean Main Hose Check ValveCommon Problems
Safety concern: Always turn off the main water supply before working on any plumbing.
Solution: Take proper safety precautions. Always turn off the main water supply before working on any plumbing.
Prevention: Always follow safety guidelines before starting the project.
This is an advanced job that involves cutting your main water pipe. Proceed with caution or hire a professional.
Solution: To avoid this issue: Be mindful of this warning and take appropriate precautions.
Showerhead scratched or damaged when removing restrictor valve.
Solution: Use a rag or towel to avoid scratching the showerhead when prying off the restrictor valve. Be gentle to avoid damaging the showerhead.
Ensure the o-ring is properly in place to prevent water leaks.
Solution: To avoid this issue: Be mindful of this warning and take appropriate precautions.
Be extremely careful when drilling inside the valve body. Use a bit that matches the hole size and do not remove excess brass, as this could permanently damage the valve.
Solution: To avoid this issue: Be mindful of this warning and take appropriate precautions.
Scratched chrome finishes on faucets from tool slippage.
Solution: When using pliers on a finished faucet, wrap the jaws with a cloth or tape to prevent scratching the chrome.
Incorrect check valve replacement leads to continued low water pressure.
Solution: The replacement part number for the hose check valve is 48224.
Frequently Asked Questions
What specific tools, beyond a multi-screwdriver and pliers, might I need for this water pressure project?
You might also need an adjustable wrench for the PRV or stubborn aerators, and a bucket to catch any water during disassembly. Having a small brush or a de-scaling agent can be very helpful for thoroughly cleaning mineral deposits from aerators.
Are there any crucial safety precautions I should take before starting to work on my home's water pressure?
Always shut off the main water supply to your house before attempting to adjust or replace the PRV or clean aerators. This prevents accidental flooding or leaks. Also, wear gloves to protect your hands from grime and potential sharp edges.
How much should I expect to spend if I need to replace parts like a Pressure Reducing Valve or multiple aerators?
A new Pressure Reducing Valve (PRV) can cost $50 to $200 for the part itself, depending on the model and features. Individual faucet or showerhead aerators are much more affordable, typically ranging from $5 to $15 each. Factor these potential costs if simple cleaning or adjustments don't resolve the issue.
I've checked the main water valve and cleaned my aerators, but my water pressure is still low. What should I troubleshoot next?
If the main valve is fully open and aerators are clean, the Pressure Reducing Valve (PRV) is the next most likely culprit. Locate the PRV and try adjusting its screw clockwise to increase pressure. If adjustment doesn't help, or if the valve appears damaged, it likely needs replacement.
Where are the main water shut-off valve and the Pressure Reducing Valve (PRV) typically located in a house?
The main water shut-off valve is usually found where the main water line enters your home, often in a basement, utility closet, or near your outdoor water meter. The Pressure Reducing Valve (PRV) is commonly located on the main water line just after the shut-off valve or water meter.
What should I do if I've tried all the suggested steps and my water pressure issues persist?
If checking the main valve, adjusting/replacing the PRV, and cleaning/replacing aerators don't solve the problem, there might be a more significant issue. This could include a partial blockage in your main line, heavily corroded internal piping, or a problem with your municipal water supply. At this point, it's best to consult a professional plumber for diagnosis.
How difficult is it for a beginner to replace a Pressure Reducing Valve (PRV) compared to just adjusting it?
Adjusting a PRV is generally beginner-friendly, requiring only a wrench or screwdriver to turn a simple adjustment screw. Replacing a PRV, however, is a more involved plumbing task that typically requires cutting pipes, soldering or using compression fittings, and applying pipe dope or Teflon tape, which might be better suited for an experienced DIYer or a professional plumber.