Prevent Frozen Pipes: A Winter Plumbing Protection Guide
About This Project
This guide helps you prevent frozen pipes during winter. First, disconnect and drain outdoor hoses and turn off the outside faucets to prevent freezing and potential pipe bursts. Next, locate and insulate exposed pipes in unheated areas like crawl spaces, attics, or garages using pipe insulation sleeves or heat tape. Finally, seal all air leaks around pipes where they enter your home using caulk or expanding foam sealant, paying close attention to areas around sill plates and exterior walls. This will help prevent cold air from reaching the pipes and causing them to freeze.
Best for homeowners and DIY enthusiasts with basic plumbing knowledge.
Tools & Materials
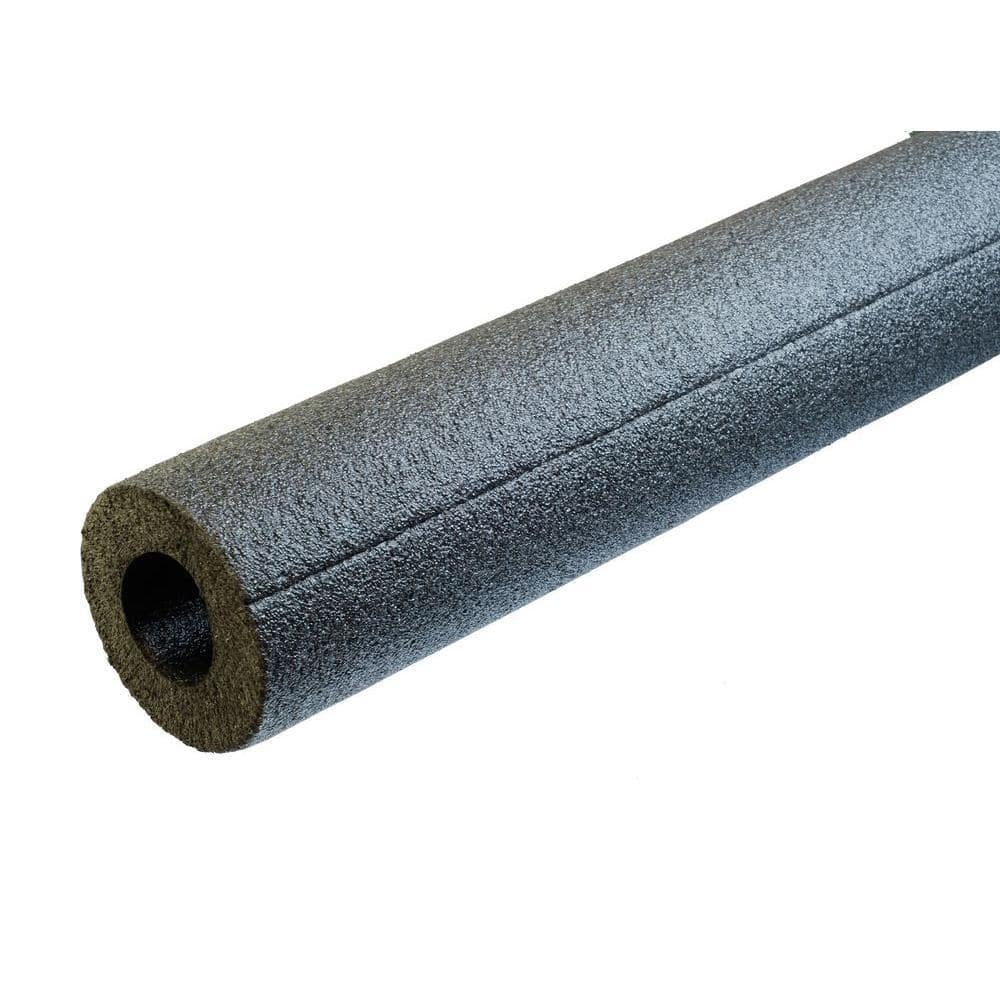
Everbilt 1 in. x 6 ft. Foam Pipe Insulation ORP11812
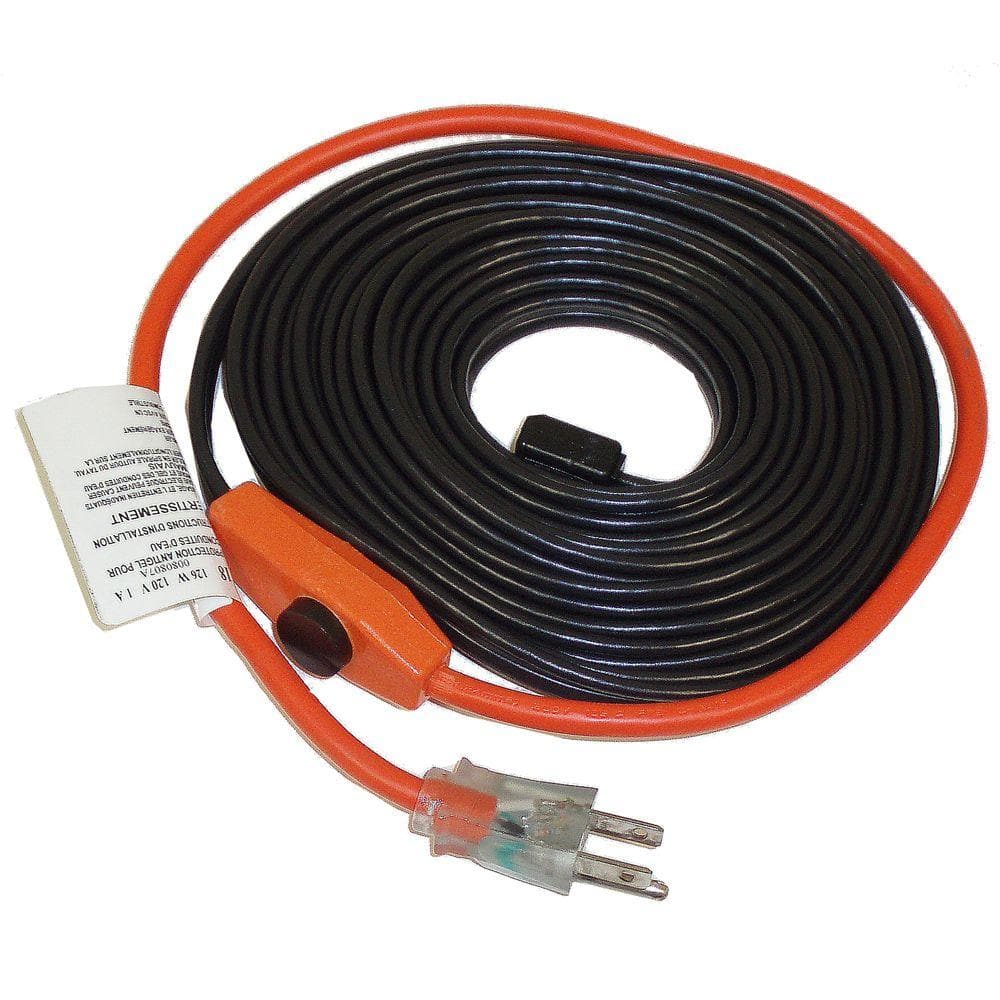
Frost King 6 ft. Electric Water Pipe Heat Cable HC6A
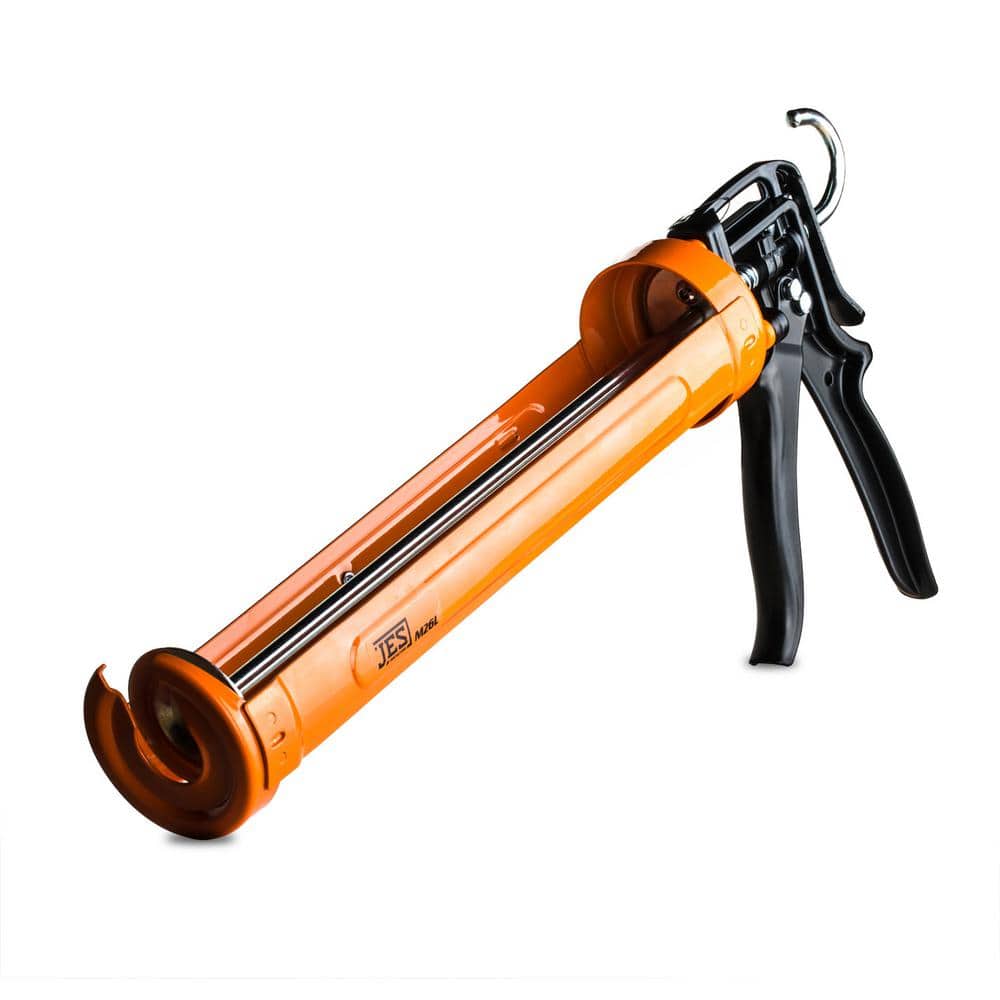
JES 1 Qt. 26:1 High-Thrust Caulk Gun M26L
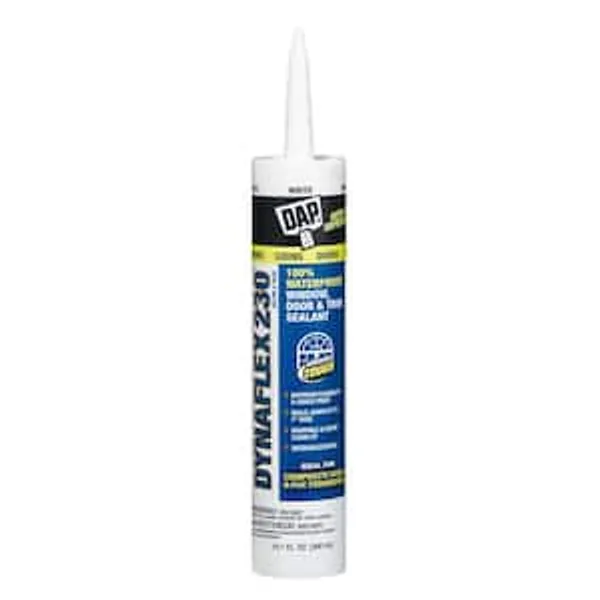
Caulk
Everbilt 1 in. x 6 ft. Foam Pipe Insulation ORP11812
Frost King 6 ft. Electric Water Pipe Heat Cable HC6A
This energy-saving Thermwell Products 6 ft. Electric Water Pipe Heat Cable can help protect your cold-water and hot-water pipes from freezing. This cable has a grounded safety plug and keeps water flowing
JES 1 Qt. 26:1 High-Thrust Caulk Gun M26L
Professional caulk and adhesive gun from JES Innovations with 26:1 high thrust ratio, perfect for applying thicker materials, adhesives, or when working in low temperature environments. Engineered for
Caulk
Seals gaps and seams waterproof.
Steps
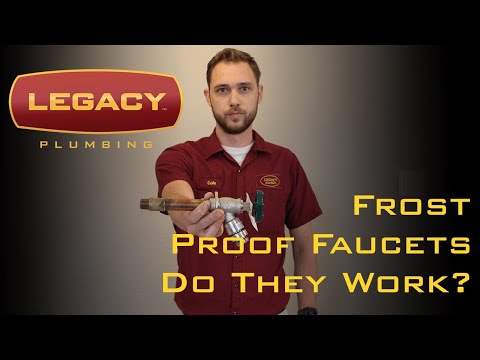
Disconnect and Drain Outdoor Hoses
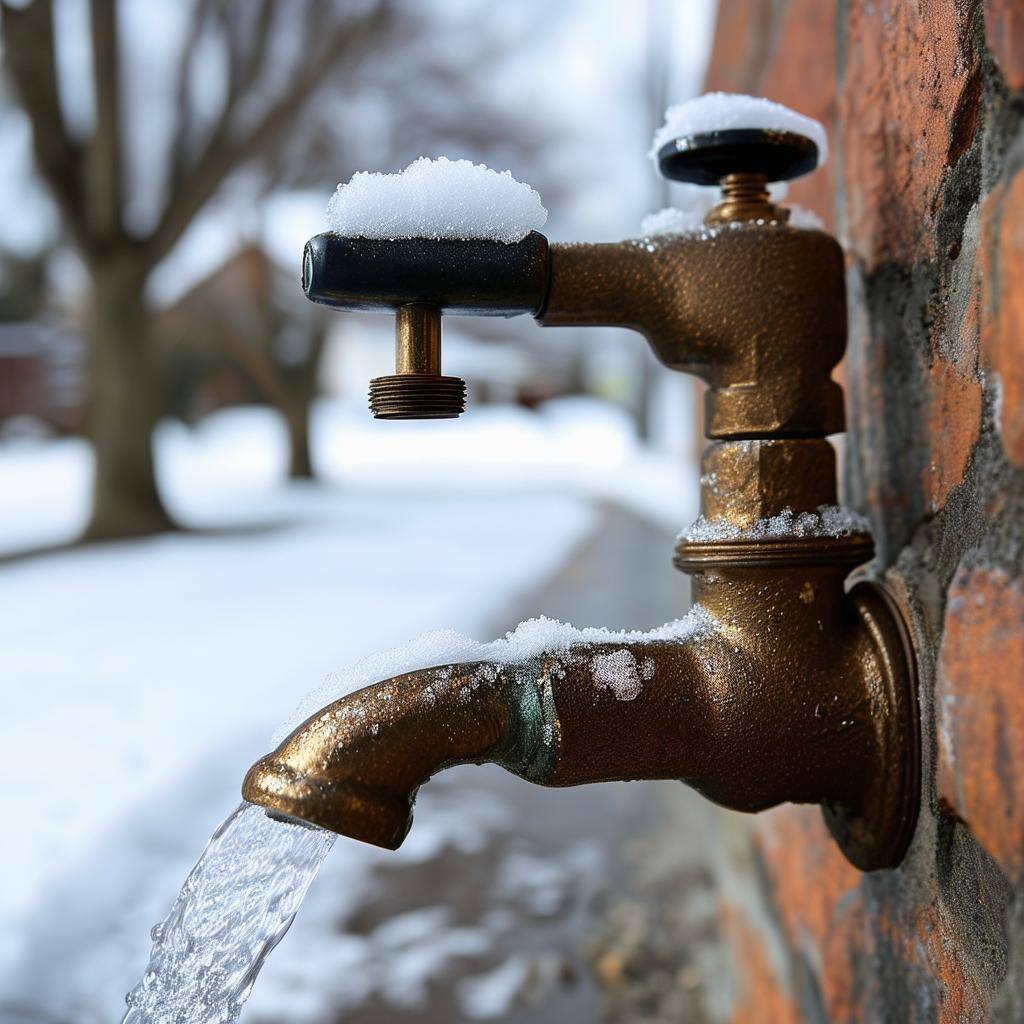
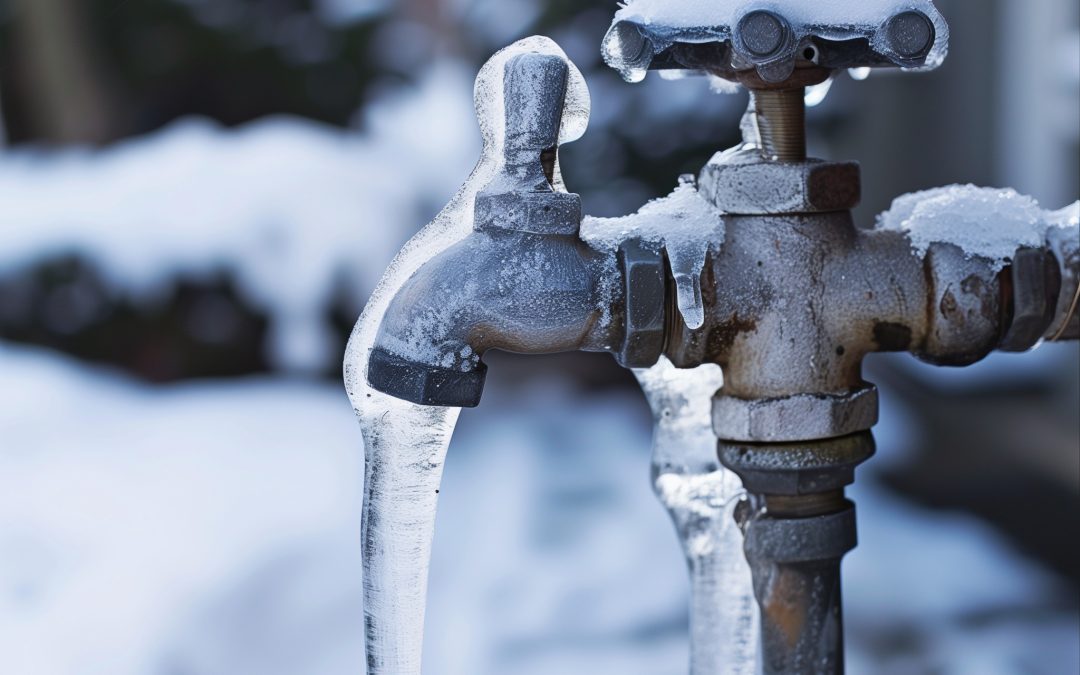
15 minsDisconnect all outdoor hoses and turn off outside faucets completely. This crucial step prevents water from freezing inside the hoses and potentially backing up into your pipes, leading to cracks and costly repairs. Remember to drain any remaining water from the hoses.
Watch: Understanding Faucet Freeze Breaks

Seal Air Leaks Around Pipes
30 minsCaulk or expanding foam sealant should be used to carefully seal any gaps or cracks where pipes enter your home. This prevents cold air from reaching the pipes and causing freezing. Pay close attention to areas around sill plates and exterior walls.
Watch: Seal the Wall PenetrationCommon Problems
Safety concern: Failing to adequately protect pipes can lead to bursting and significant water damage.
Solution: Take proper safety precautions. Failing to adequately protect pipes can lead to bursting and significant water damage.
Prevention: Always follow safety guidelines before starting the project.
This step is essential for outdoor installations or in damp areas like crawlspaces to prevent the insulation from becoming ineffective.
Solution: To avoid this issue: Be mindful of this warning and take appropriate precautions.
Hidden leaks can cause water damage and mold if not detected early.
Solution: Install leak alarms to alert you to issues with your plumbing.
Pipes freeze and burst when home is left unheated in winter.
Solution: When leaving home, keep your heat lowered to around 50 degrees Fahrenheit to prevent pipes from freezing.
Uncontrolled foam insulation can block pipes or create uneven coverage.
Solution: A little foam goes a long way. Apply in short bursts to control the expansion.
Moisture prevents foam from adhering, leading to gaps and ineffective insulation.
Solution: Ensure the area is clean and dry before applying the foam.
Wear gloves to avoid getting foam on your hands.
Solution: To avoid this issue: Be mindful of this warning and take appropriate precautions.
Frequently Asked Questions
Do I need any specialized tools other than a caulk gun for this project, or just what's listed?
While a caulk gun is essential for sealing, you'll also need a utility knife to cut pipe insulation sleeves to size. Work gloves and safety glasses are highly recommended for protection, especially when working in tight or dusty spaces.
How do I decide between foam pipe insulation and electric heat cable for my exposed pipes?
Foam insulation sleeves are suitable for pipes in moderately cold unheated areas like basements or garages. Electric heat cable is recommended for highly vulnerable spots, such as pipes near exterior vents or in extremely cold, exposed locations, as it provides active heating to prevent freezing.
When sealing air leaks, what specific areas around the sill plate should I pay close attention to?
Focus on any gaps where pipes penetrate exterior walls or the foundation. Also, inspect along the entire length of the sill plate, which is where your house's framing sits on the foundation, for cracks or openings that could allow cold air to infiltrate.
Is 4 hours a realistic estimate for a beginner, and what's a typical cost range for materials?
For a beginner, 4 hours is a reasonable estimate for a typical home, though it might take longer if you have extensive plumbing or difficult-to-reach areas. The materials like insulation, caulk, and heat tape usually cost between $50 and $150, depending on the quantity and specific products needed.
What are the most important safety precautions to take, especially when dealing with outdoor faucets and electrical heat tape?
For outdoor faucets, always ensure the interior shut-off valve is completely closed before disconnecting hoses. When using electric heat tape, strictly follow the manufacturer's installation instructions, ensure it's properly grounded, and plug it into a GFCI-protected outlet to prevent electrical hazards.
What's a common mistake people make when insulating pipes that I should avoid?
A frequent error is leaving gaps or uncovered sections, especially around elbows, valves, or pipe connections. These small uninsulated spots become vulnerable cold points where water can still freeze, leading to a potential burst. Ensure all exposed pipe surfaces are fully covered and sealed.
Why is it so important to disconnect and drain outdoor hoses, and not just turn off the spigot?
Even if the spigot is turned off, water can remain trapped within the hose and the faucet's internal mechanism. As this trapped water freezes, it expands, potentially cracking the hose, damaging the spigot, or even causing the pipe inside your wall to burst due to pressure.