Fix Toilet Flush: Troubleshooting & Repair Guide
About This Project
This project provides a detailed guide to diagnose and fix common toilet flush problems. The steps involve preparing the toilet for repair by turning off the water supply and emptying the tank and bowl. Next, you inspect and repair or replace the fill valve, making sure the tank fills correctly and the refill tube is clear. After that, you carefully inspect and adjust or replace the toilet flapper and chain, ensuring it's in good condition and properly adjusted for a complete seal. Tools like sponges, screwdrivers, and pliers are recommended. A Fluidmaster flapper and fill valve are suggested replacements.
Best for experienced DIYers and homeowners with some experience.
Tools & Materials
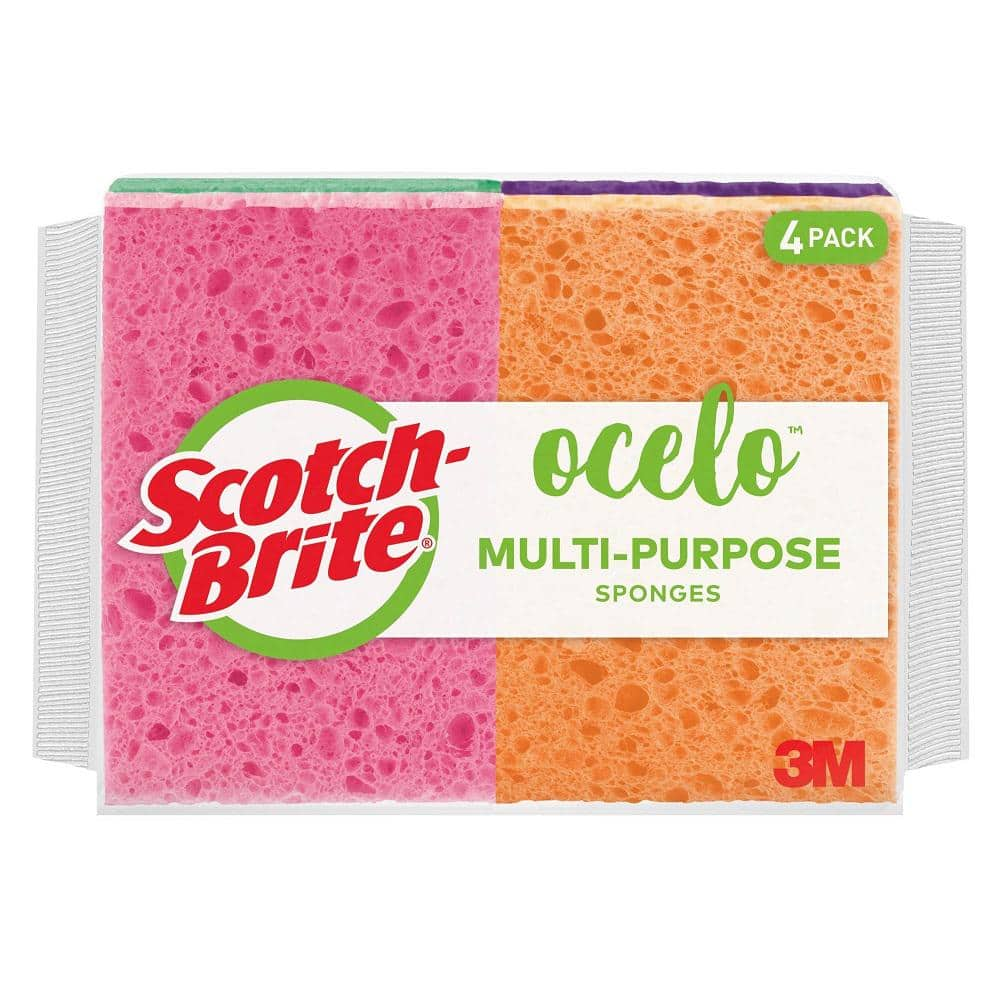
ocelo Handy Sponges (4-Pack) 7271-T-CC
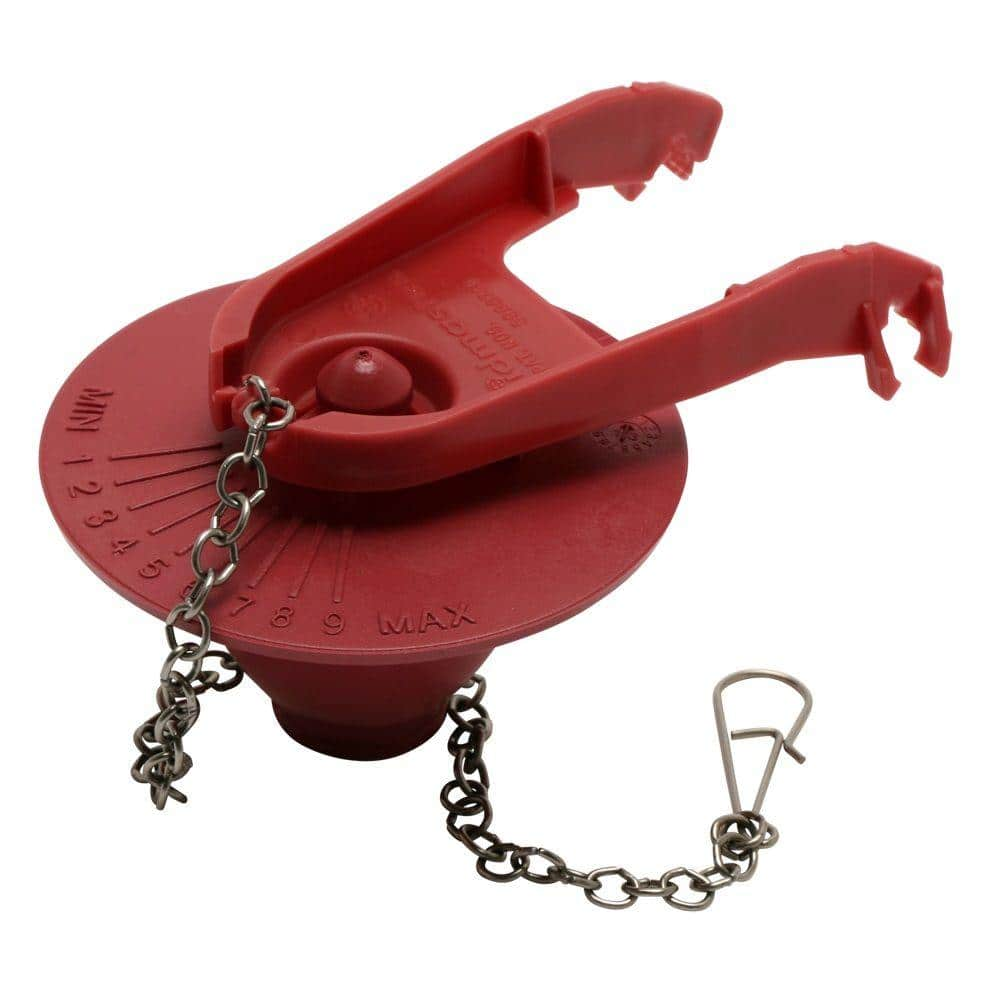
Fluidmaster 2 in. PerforMAX Universal High Performance, Water-Saving Toilet Tank Flapper 502P21
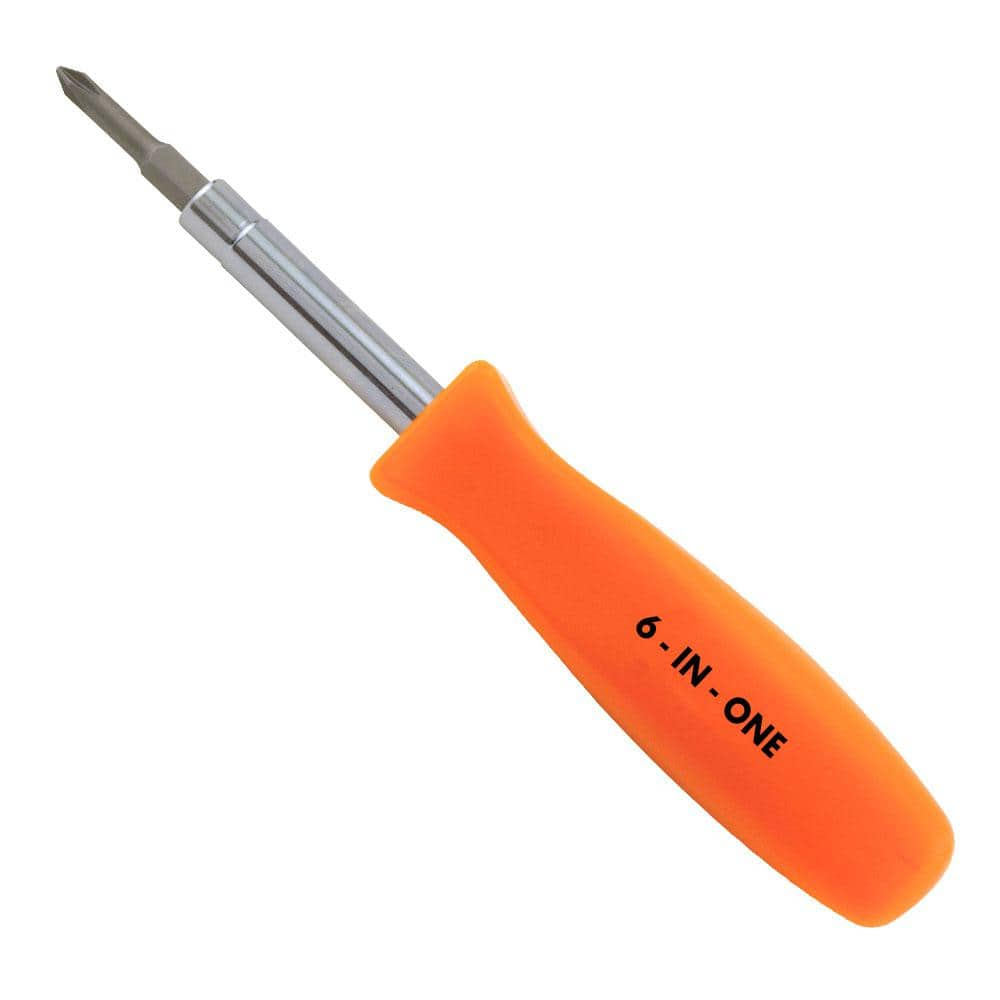
HDX 3-1/4 in. 6-in-1 Screwdriver 120SD12D
ocelo Handy Sponges (4-Pack) 7271-T-CC
From a small counter-top spill to a pile of dishes, Scotch-Brite ocelo Multi-Purpose sponges are up to the task. These colorful, handy sponges are made from 100% plant-based fibers, and ideal for day-to-day
Fluidmaster 2 in. PerforMAX Universal High Performance, Water-Saving Toilet Tank Flapper 502P21
The Fluidmaster 502 PerforMAX 2 in. Water-Saving Flapper is a top choice for flush efficiency. Featuring the PerforMAX water-saving adjustable dial to optimize your flush performance and water usage. A toilet flapper built durable, featuring Microban and corrosive resistant materials for a long life. While the solid frame ensures a secure seal with every flush. The universal design fits most 2 in. flush valve toilets, from 1.28 HET to 3.5 GFP designs. A highly effective design that offers simple and easy installation saving on DIY toilet repair time. Save water and money, while solving common flush and running toilet problems with this 2 in. toilet flapper replacement. Only Fluidmaster has toilet flappers with built-in Microban protection. The Microban protection keeps the flapper cleaner by fighting flapper breakdown due to bacteria on the flapper itself.
HDX 3-1/4 in. 6-in-1 Screwdriver 120SD12D
The HDX 3-1/4 in. 6-in-1 Screwdriver features double-sided bits with the four most common screwdriver tip styles, including a #1 Phillips bit, a #2 Phillips bit, a 3/16 in. flathead bit and a 1/4 in. flathead bit. Both ends of the shaft can be used as 1/4 in. nut drivers when the bits are removed, offering convenient, versatile use. The high-visibility orange handle makes the handy tool easy to find on a job site or in a toolbox.
Steps


Inspect and Repair or Replace the Fill Valve
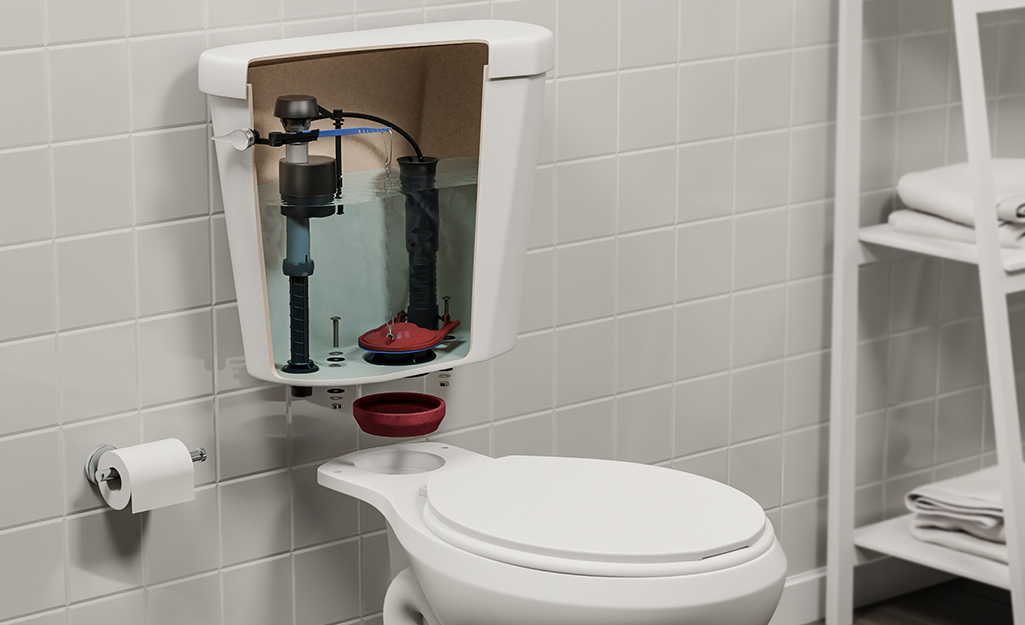
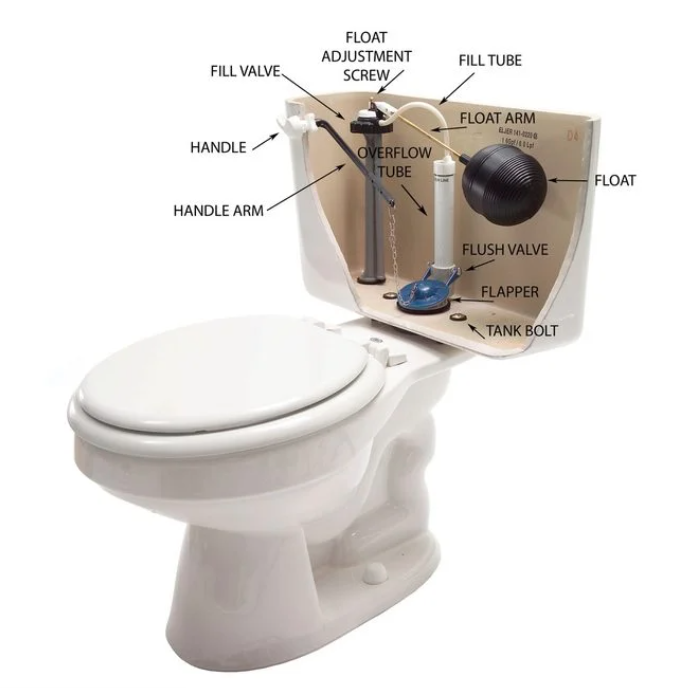
30 minsExamine the fill valve. If the tank isn't filling to the correct level, adjust the float or replace the valve. Make sure the refill tube isn't kinked or obstructed. If replacing, follow the manufacturer’s instructions carefully.
Watch: Prepare the New Fill ValveCommon Problems
Safety concern: Always turn off the water supply valve before working on your toilet to prevent accidental flooding.
Solution: Take proper safety precautions. Always turn off the water supply valve before working on your toilet to prevent accidental flooding.
Prevention: Always follow safety guidelines before starting the project.
Toilet won't flush properly due to incorrect water level.
Solution: The correct water level is often marked on the inside wall of the tank or on the overflow tube itself.
Toilet won't flush correctly if valve height is wrong.
Solution: Matching the height of the new valve to the old one is a good starting point for proper installation.
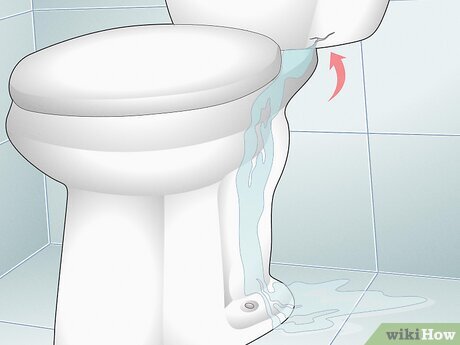
If any leaks are present, turn off the water and re-tighten the connections. Do not proceed until all leaks are fixed.
Solution: To avoid this issue: Be mindful of this warning and take appropriate precautions.
Incorrect water level persists without flushing between adjustments.
Solution: You may need to flush and refill the tank between adjustments to see the final water level.
Toilet won't flush or constantly leaks due to incorrect chain tension.
Solution: If the chain is too tight, water will constantly leak into the bowl. If it's too loose, the toilet won't flush properly.
Toilet won't flush properly due to incorrect lift arm length.
Solution: Lift arm length and hole positions can vary, so adjustments may be necessary.
Frequently Asked Questions
Do I need specific tools like the HDX 6-in-1 Screwdriver, or can I use basic household tools for this repair?
While a basic screwdriver set (Phillips and flathead) and adjustable pliers will likely suffice for most adjustments, the HDX 6-in-1 offers versatility for various screw types. Sponges are crucial for managing spills and emptying the tank effectively. Ensure you have at least these essentials on hand.
What are the most critical safety precautions I should take before starting this toilet repair project?
The most critical step is to completely shut off the water supply to the toilet using the valve behind or underneath it, then flush to empty the tank and bowl. This prevents accidental flooding and makes the repair process much cleaner and safer. Also, consider wearing gloves for hygiene, as toilets can harbor bacteria.
Is the 2-hour estimated time realistic for someone new to toilet repair, and what's the typical cost for replacement parts?
For a beginner, the 2-hour estimate is achievable, but allow some extra time for learning and unexpected issues. The suggested Fluidmaster flapper and fill valve typically cost around $10-$20 and $15-$25 respectively. This DIY approach is significantly more cost-effective than hiring a professional, often saving you over $100.
My toilet still runs after replacing the flapper and adjusting the chain. What's a common mistake I might have made or what should I check next?
A common mistake is incorrect flapper chain length; if too long, it won't seal, if too short, it won't lift fully. Ensure the chain has just a small amount of slack when the flapper is closed. Also, verify that the new flapper is seated perfectly flat against the flush valve opening to create a complete, watertight seal.
My toilet is constantly running even after replacing the fill valve. What specific part of the fill valve system should I troubleshoot?
After replacing the fill valve, ensure the refill tube is correctly inserted into the overflow tube of the flush valve and is not positioned too far down, which can cause siphoning. Also, check that the fill valve's water level adjustment is set appropriately, preventing the water from continuously flowing over the overflow tube.
Are the Fluidmaster parts mentioned in the materials list absolutely necessary, or can I use other brands or universal replacement parts?
While Fluidmaster is a highly recommended and widely available brand, many universal replacement flappers and fill valves from other reputable brands will also work effectively. The key is to ensure the replacement parts match the size (e.g., 2-inch or 3-inch flapper) and type of your toilet's existing components for proper fit and function.