Fix Toilet Flush & Refill: Valve & Flapper Guide
About This Project
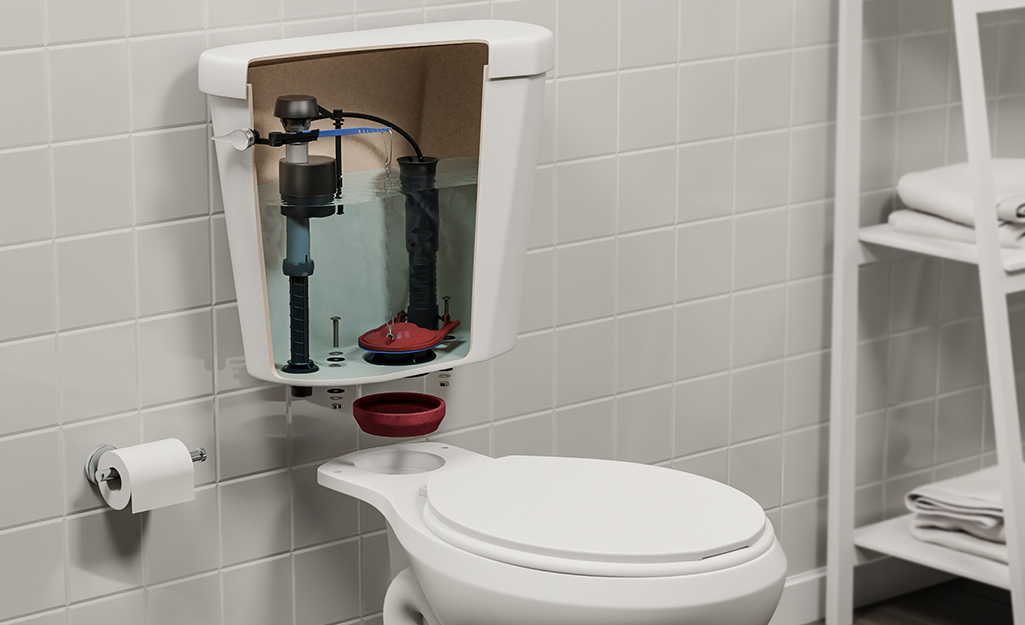
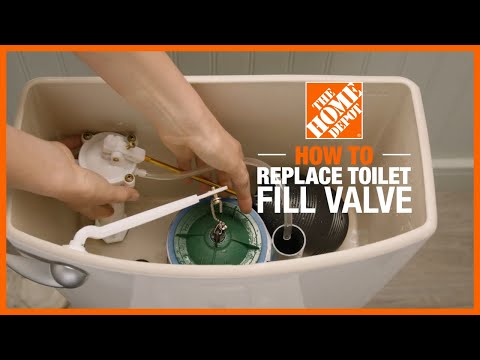
This guide demonstrates how to replace a toilet fill valve and flapper. First, turn off the water supply behind the toilet and flush to empty the tank, using a sponge to soak up remaining water. Next, remove the old fill valve by disconnecting the water supply line and unscrewing the lock nut. Install the new fill valve, attaching the refill tube and adjusting the height. Then, remove the old flapper and install the new one. Finally, turn the water back on, check for leaks, and adjust the water level as needed.
Best for homeowners and DIY enthusiasts.
Tools & Materials
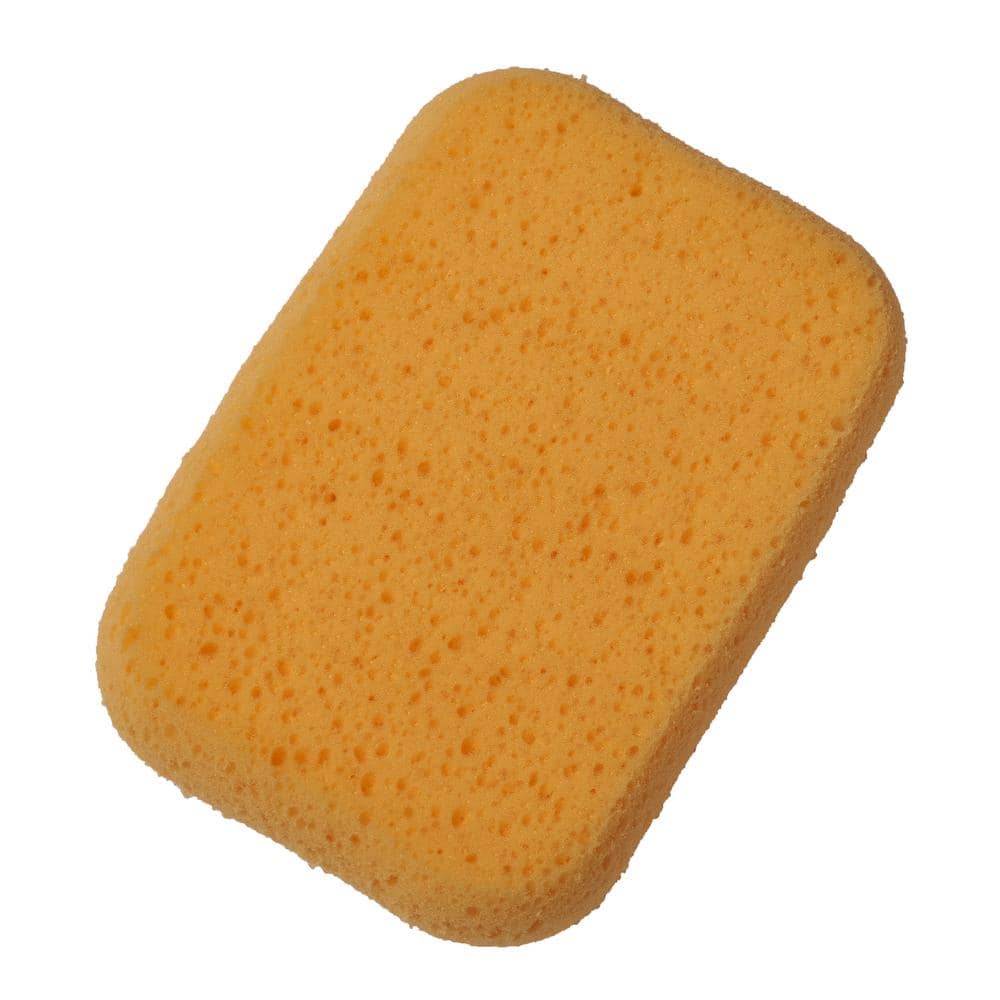
HDX Multi-Purpose Sponge (2- Sponges) 32242
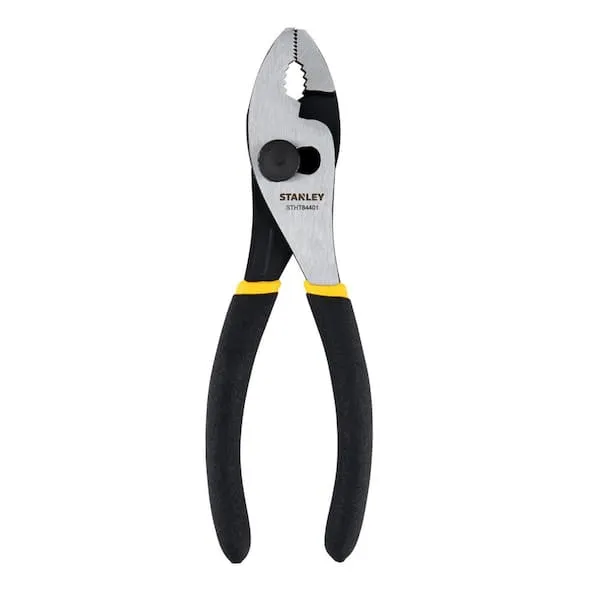
Pliers

Adjustable Wrench
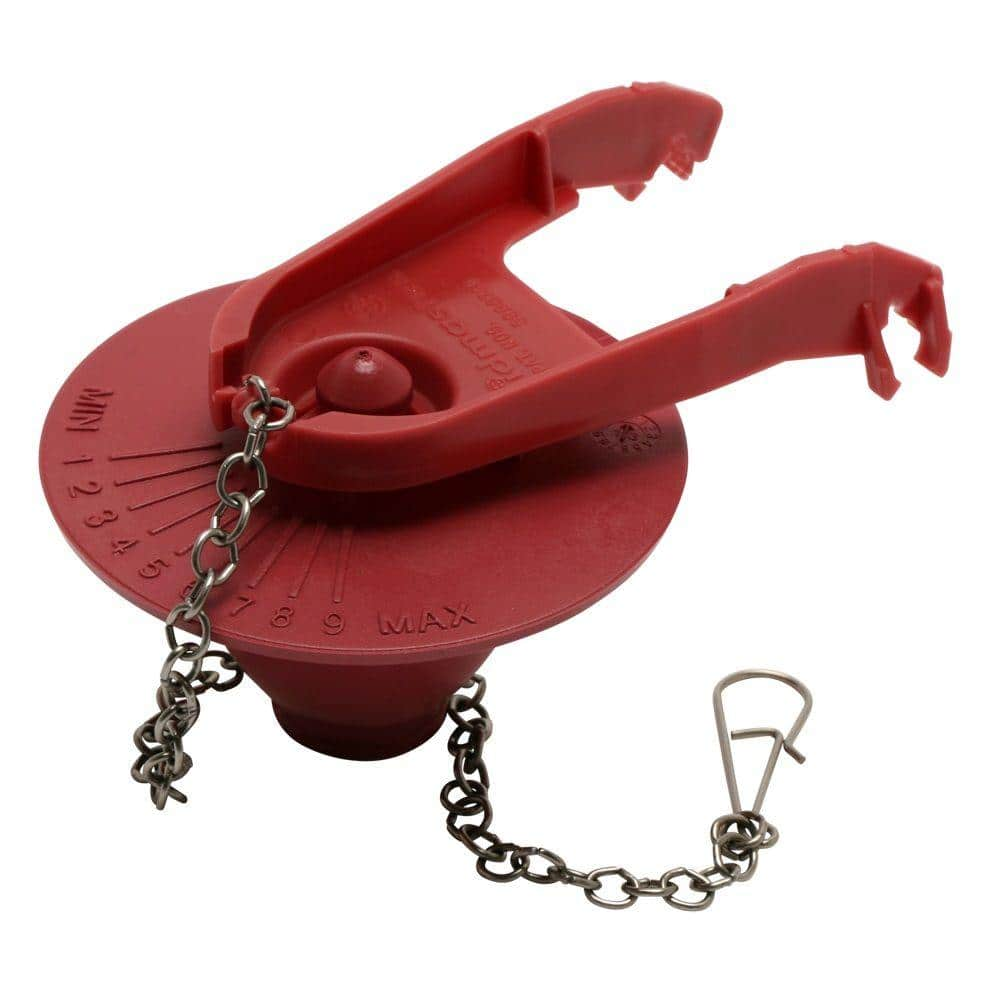
Fluidmaster 2 in. PerforMAX Universal High Performance, Water-Saving Toilet Tank Flapper 502P21
HDX Multi-Purpose Sponge (2- Sponges) 32242
HDX Hydrophilic Sponge 7.25 in. x 5 in. x 1.875 in. (2-Pack) highly absorbent, the HDX Sponge washes, wipes, and rinses faster. Strong enough for use with acid based products like TSP. Heavy-duty polyester
Pliers
Grips and manipulates objects.
Adjustable Wrench
Fits various nut and bolt sizes with its adjustable jaw.
Fluidmaster 2 in. PerforMAX Universal High Performance, Water-Saving Toilet Tank Flapper 502P21
The Fluidmaster 502 PerforMAX 2 in. Water-Saving Flapper is a top choice for flush efficiency. Featuring the PerforMAX water-saving adjustable dial to optimize your flush performance and water usage. A toilet flapper built durable, featuring Microban and corrosive resistant materials for a long life. While the solid frame ensures a secure seal with every flush. The universal design fits most 2 in. flush valve toilets, from 1.28 HET to 3.5 GFP designs. A highly effective design that offers simple and easy installation saving on DIY toilet repair time. Save water and money, while solving common flush and running toilet problems with this 2 in. toilet flapper replacement. Only Fluidmaster has toilet flappers with built-in Microban protection. The Microban protection keeps the flapper cleaner by fighting flapper breakdown due to bacteria on the flapper itself.
Steps


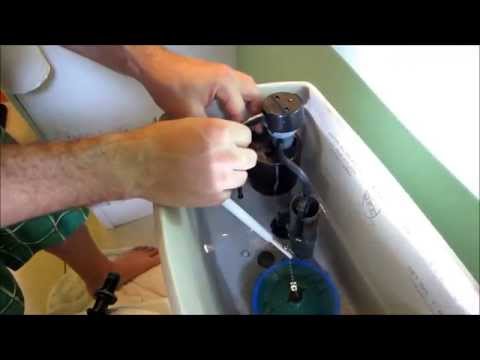
Install the New Fill Valve
15 minsCarefully follow the manufacturer's instructions to install the new fill valve. Insert it into the tank, secure it with the nut, and reconnect the water supply line. Adjust the fill height according to the manufacturer's guidelines.
Watch: Prepare and Install New Fill Valve
Test, Adjust, and Check for Leaks
10 minsTurn the water supply back on slowly and check for leaks around all connections. Flush the toilet several times to ensure proper filling and flushing. Adjust the fill valve as needed to achieve the correct water level.
Watch: Turn On Water Supply and AdjustCommon Problems
Do not overtighten the wing nuts. Tighten them just enough to make the tank stable and prevent it from wobbling.
Solution: To avoid this issue: Be mindful of this warning and take appropriate precautions.
Tighten the tank bolts evenly on both sides to prevent the tank from sitting crooked, which can cause leaks or stress fractures.
Solution: To avoid this issue: Be mindful of this warning and take appropriate precautions.
Toilet overfills or doesn't fill completely if valve height is incorrect.
Solution: Matching the height of the new valve to the old one is a good starting point for proper installation.
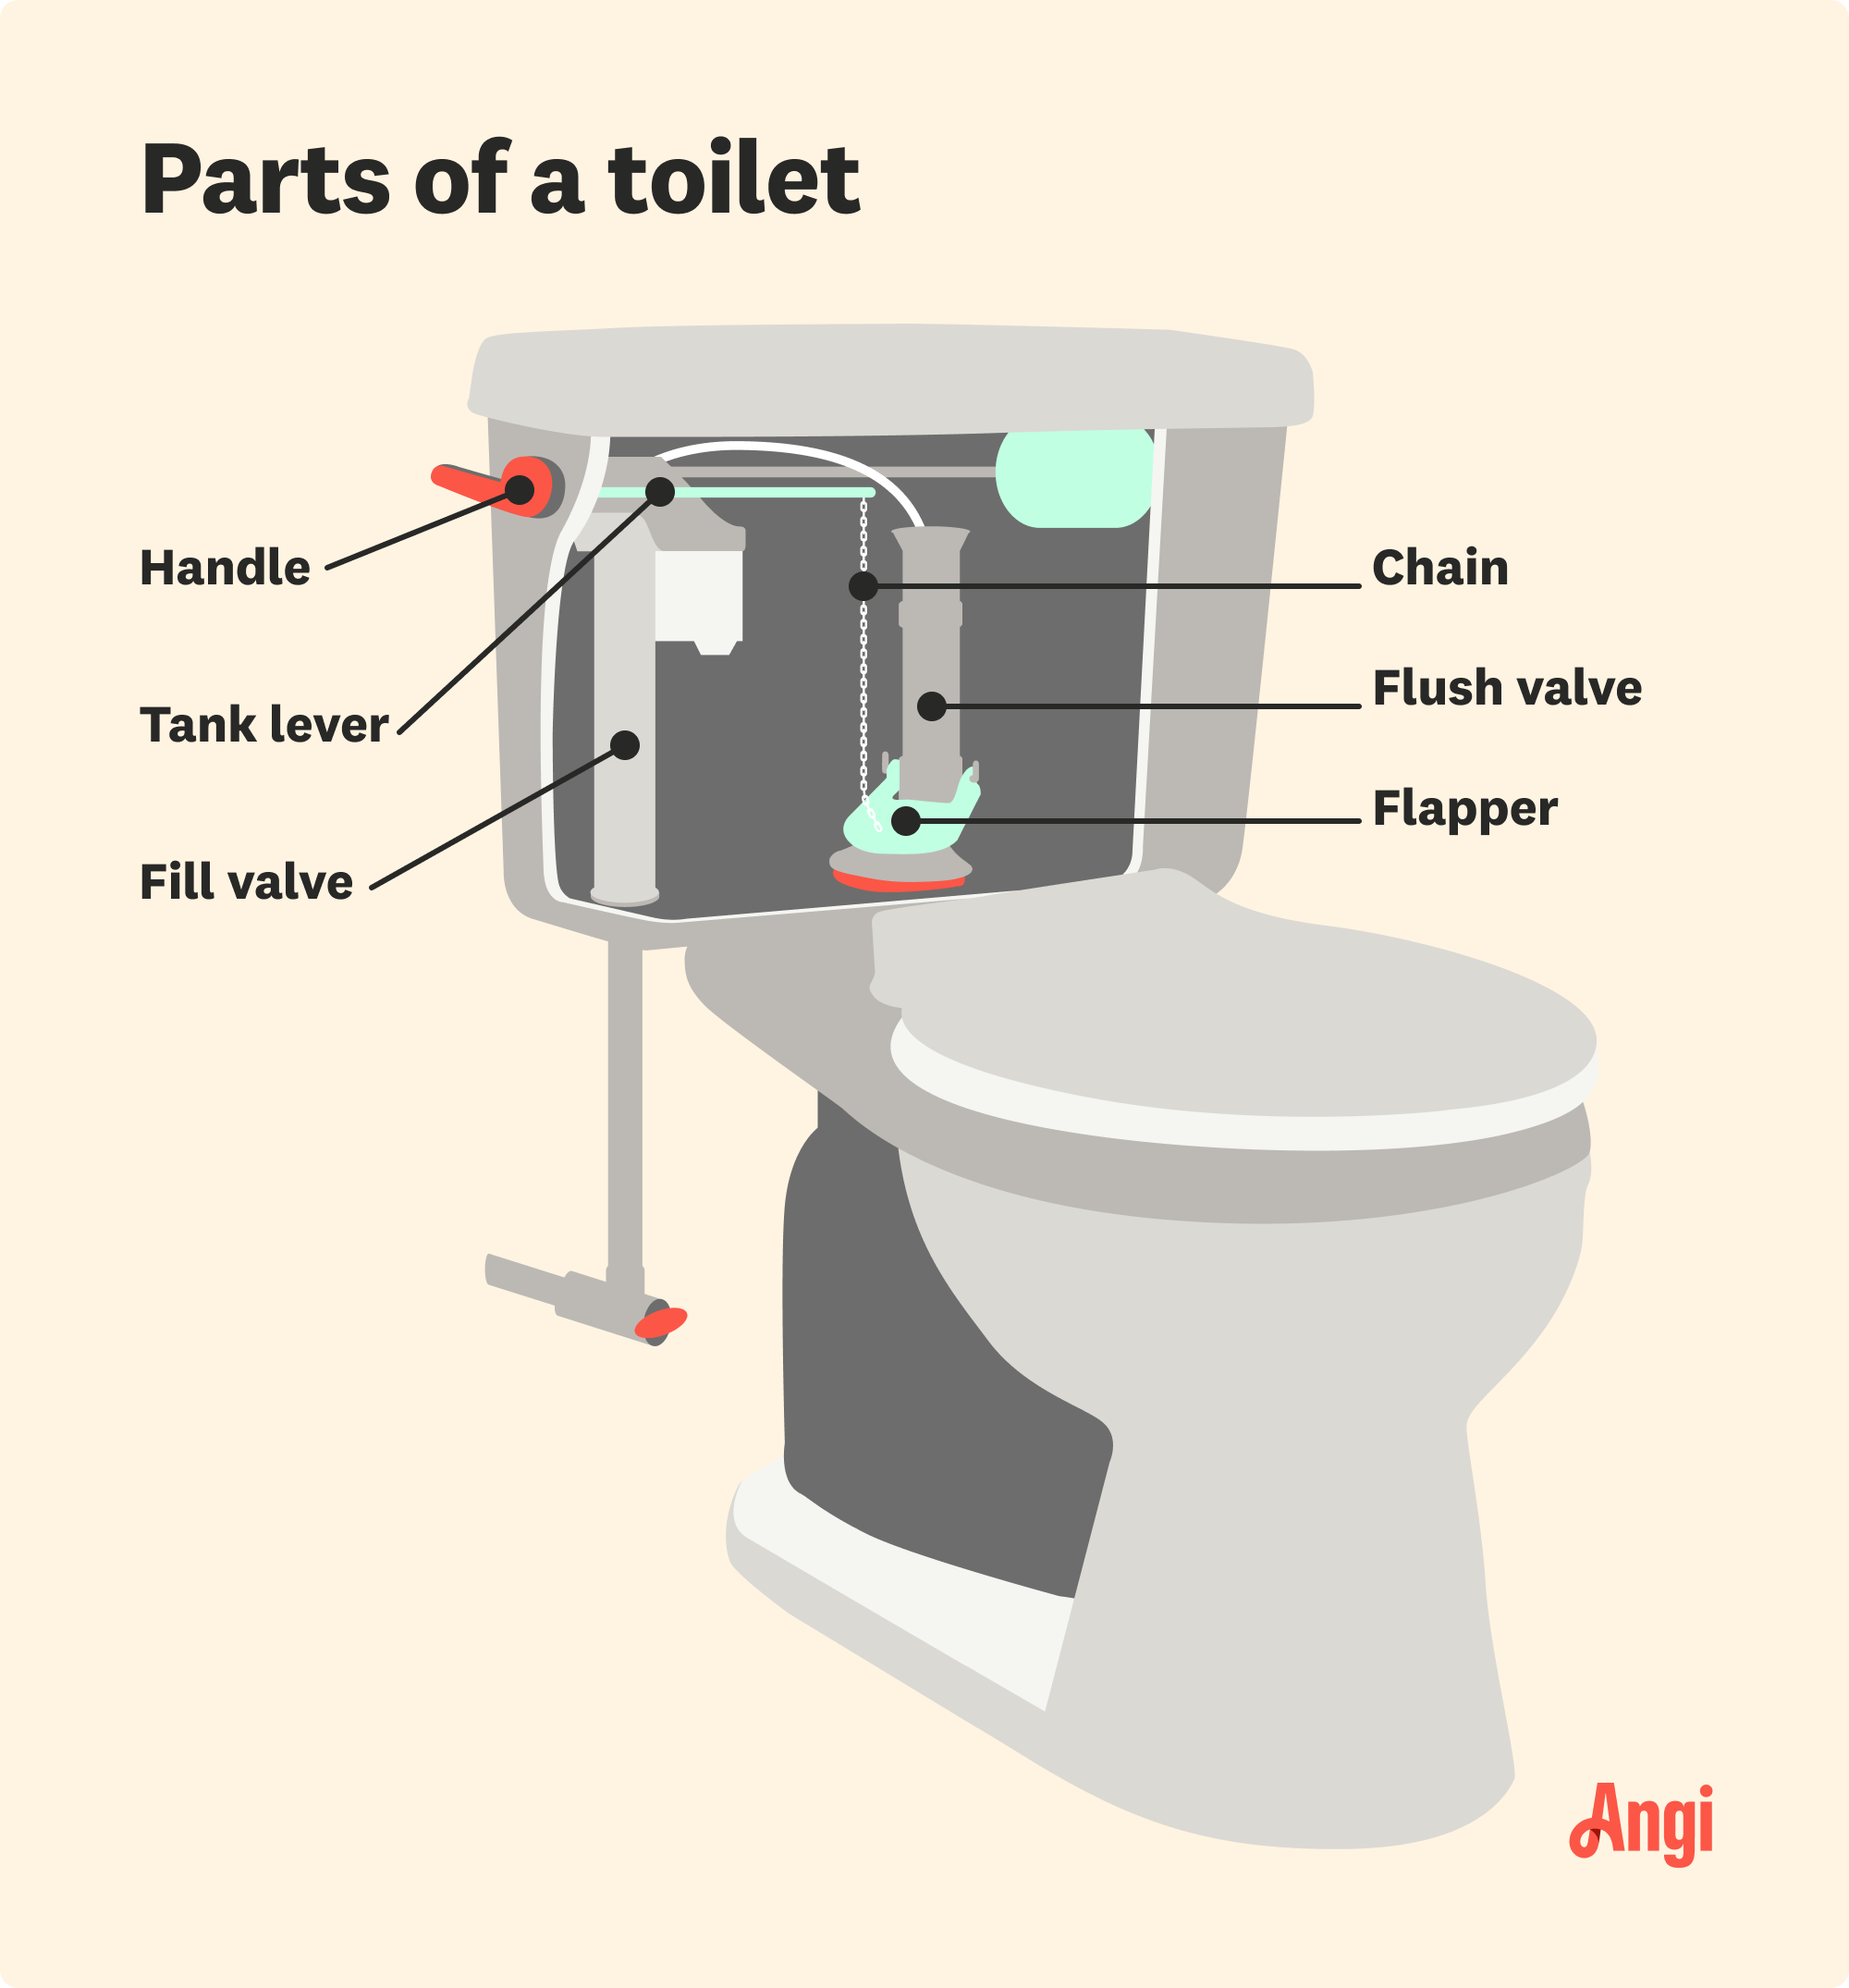
Toilet won't flush properly or runs constantly due to incorrect chain slack.
Solution: The correct chain slack is crucial. Test the flush lever to ensure it lifts the flapper completely without holding it open.
Toilet won't flush or seal due to incorrect chain slack.
Solution: Ensure there is only a small amount of slack in the chain. Too much slack will prevent a proper flush, and too little will cause the flapper to not seal properly.
Toilet doesn't refill properly or overflows.
Solution: Adjust the water level by squeezing the adjustment clip and moving the float up or down.
Leaky connections go unnoticed, wasting water and causing damage.
Solution: Use a dry paper towel to wipe around the connections; any moisture will be immediately obvious on the paper.
Frequently Asked Questions
Is replacing a toilet fill valve and flapper truly a beginner-friendly DIY project, and can I really complete it within the estimated 2 hours?
Yes, this is a very common beginner-level DIY project. The most challenging part is often working in tight spaces. Most DIYers can complete it within 1-2 hours, especially if they have the replacement parts readily available.
Besides an adjustable wrench, are there any other tools or specific materials recommended to make this job easier or prevent issues?
While an adjustable wrench is the primary tool, a utility knife can be helpful for trimming the refill tube to the correct length. A bucket for any residual water and the specified HDX Multi-Purpose Sponge for thoroughly drying the tank are also highly recommended to prevent mess.
What are the most common reasons for leaks after installing a new fill valve or flapper, and how can I prevent them?
Leaks commonly occur from an improperly tightened water supply line connection or a misaligned washer on the new fill valve shank. Ensure all connections are hand-tightened first, then given a quarter to half turn with the adjustable wrench, and verify that the fill valve gasket is seated correctly against the tank bottom.
What crucial safety precautions or preparatory steps should I take beyond just turning off the water supply?
Always turn off the water supply behind the toilet and flush to drain the tank completely before beginning. Use the sponge to remove all remaining water from the tank to prevent spills. It's also a good idea to wear gloves and have adequate lighting to clearly see all connections.
After replacing the fill valve, the toilet tank isn't filling to the correct water level. What should I adjust?
Most new fill valves have an adjustment screw or a clip on the float mechanism that controls the water level. Refer to your specific fill valve's instructions to raise or lower the float, which directly impacts the water level in the tank. Also, ensure the refill tube is correctly inserted into the overflow pipe.
How do I know if I only need to replace the flapper, or if the entire fill valve needs to be replaced as well? What's the typical cost for these parts?
If your toilet runs continuously or flushes weakly, the flapper is often the culprit. If the tank fills too slowly, won't stop filling, or makes excessive noise during filling, the fill valve likely needs replacing. A new flapper usually costs $5-$15, while a fill valve typically ranges from $15-$30.