Fix Leaky Toilets: A Step-by-Step Guide to Replacing Your Fill Valve
About This Project
This project details how to fix a leaky toilet by replacing the fill valve. It involves six steps: 1. **Prepare for Toilet Fill Valve Replacement:** Turn off the water supply and empty the tank. 2. **Disconnect the Water Supply Line:** Disconnect the water supply line from the old fill valve. 3. **Remove the Old Fill Valve:** Unscrew and remove the old fill valve from the tank. 4. **Install the New Toilet Fill Valve:** Insert and secure the new fill valve, then reconnect the water supply line. 5. **Test and Adjust the New Fill Valve:** Turn the water back on, check for leaks, and adjust the water level. 6. **Final Check and Verification:** Replace the tank lid and flush to verify the repair.
Best for homeowners and DIY enthusiasts.
Tools & Materials
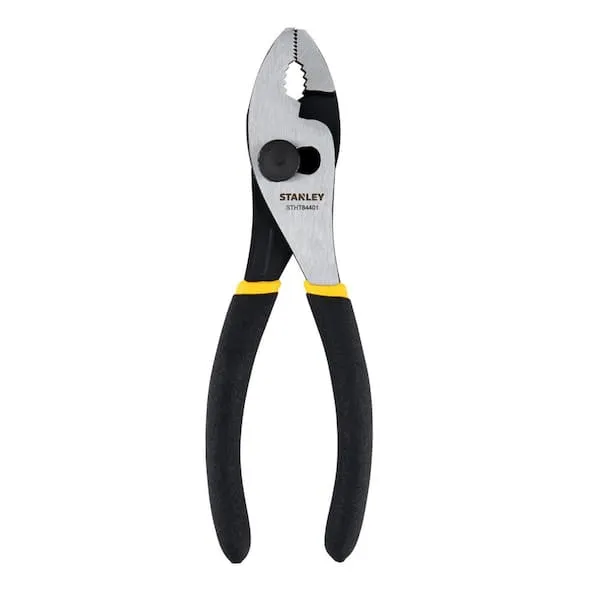
Pliers

Adjustable Wrench

Husky 12 in. Adjustable Wrench 90933
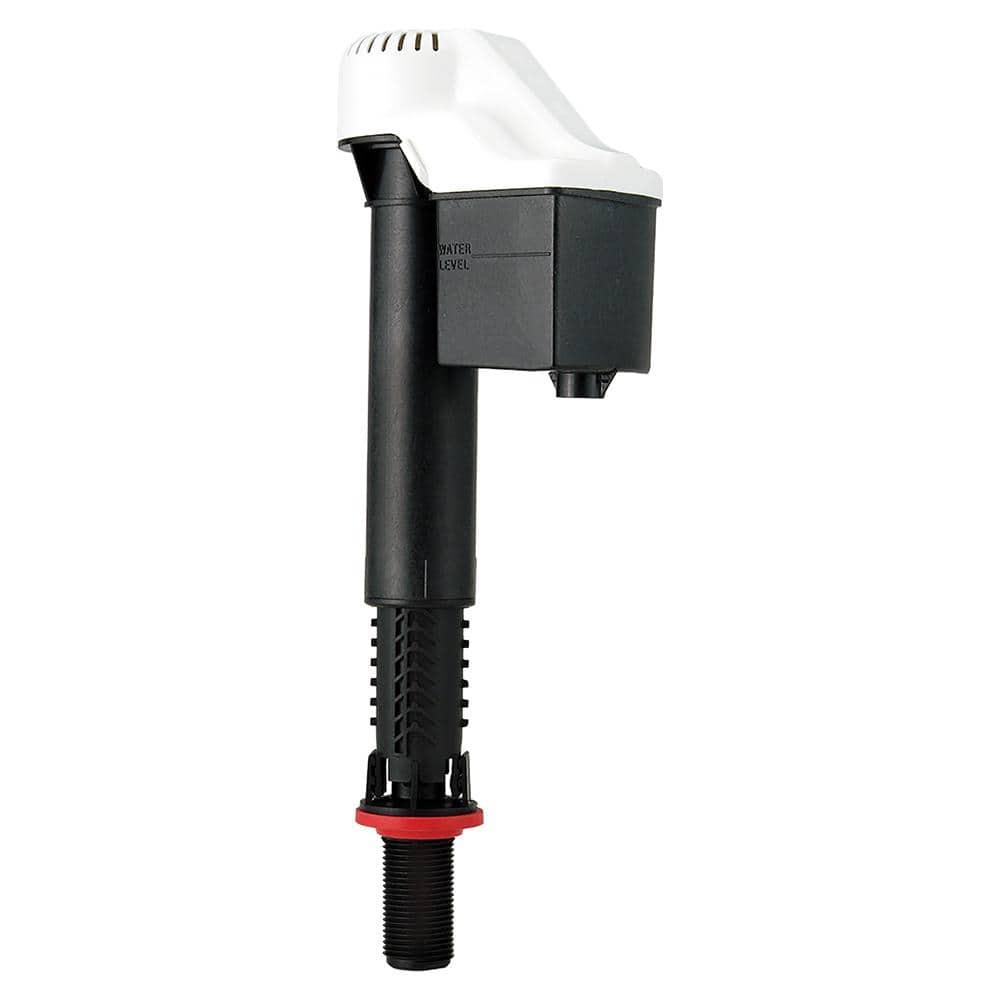
Korky QuietFill Toilet Fill Valve 528
Pliers
Grips and manipulates objects.
Adjustable Wrench
Fits various nut and bolt sizes with its adjustable jaw.
Husky 12 in. Adjustable Wrench 90933
The Husky 12 in. Adjustable Wrench features a durable, comfortable handle. A large knurl allows for easy adjustment and a tight-fitting hex jaw design reduces slippage and tightly grips the fastener for
Korky QuietFill Toilet Fill Valve 528
Designed to fix no/slow refilling, running, and noisy toilets, the Korky QuietFILL Toilet Fill Valve is quieter than other fill valves. It has a universal design to fit all brands and features a wide range of adjustability to fit most 2-piece and 1-piece toilets. The QuietFILL Fill Valve is very easy to install and adjust; no tools are required. Simply remove your old fill valve or ballcock, insert your new Korky fill valve, and adjust. The innovative twist-lock adjustment makes installation easy. Designed to fit more toilets, the QuietFILL toilet fill valve adjusts to fit both large and compact toilet tanks. Easy to install, the 528 includes: Toilet Fill Valve, Refill Tube and Clip, Tamper Proof Key and Instructions.
Steps


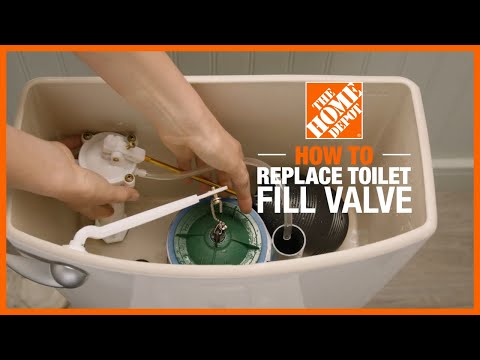
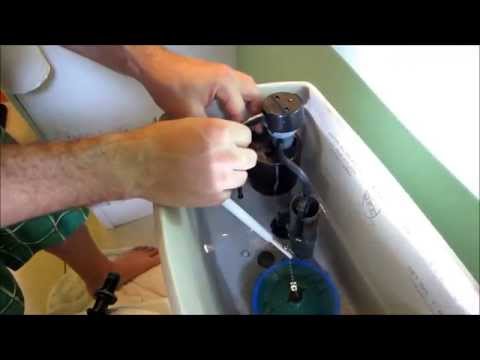
Test and Adjust the New Fill Valve
10 minsTurn the water supply back on slowly. Check for any leaks around the fill valve and supply line connections. Adjust the fill valve height as needed to achieve the correct water level in the tank (usually about ½ inch below the overflow tube).
Watch: Turn On Water and Adjust Level
Common Problems
Check for leaks after reconnecting the water supply.
Solution: To avoid this issue: Be mindful of this warning and take appropriate precautions.
Hand-tighten only. Using a wrench on the plastic locknut or supply line connector can cause cracking and lead to flooding.
Solution: To avoid this issue: Be mindful of this warning and take appropriate precautions.
Do not overtighten the plastic locknut or supply line nut, as this can cause them to crack and leak.
Solution: To avoid this issue: Be mindful of this warning and take appropriate precautions.
Water spills onto the floor during fill valve replacement.
Solution: Hold the flush lever down until the tank is as empty as possible to minimize water spillage.
Water spills onto the floor when removing the supply line.
Solution: Use a sponge or towel to absorb any drips when disconnecting the hose.
The tank is made of porcelain and can be heavy and fragile. Handle it with care to avoid dropping or cracking it.
Solution: To avoid this issue: Be mindful of this warning and take appropriate precautions.
Do not overtighten the plastic locknut, as this can easily crack the porcelain of the toilet tank.
Solution: To avoid this issue: Be mindful of this warning and take appropriate precautions.
Frequently Asked Questions
My new fill valve is leaking where it connects to the water supply line. What should I check?
First, ensure the connection is hand-tightened, then gently snug it with your adjustable wrench, being careful not to overtighten and strip the threads. Also, check that the rubber washer inside the coupling is properly seated and not pinched or missing; a new washer may be needed if it's damaged.
Is replacing a toilet fill valve truly a beginner-friendly project, and how much time should I set aside?
Yes, this project is very beginner-friendly and perfect for a first-time DIYer. Most people can complete the entire process, including preparation and testing, within 1 to 2 hours. Taking your time and carefully following each step will help ensure a successful repair.
What crucial safety precautions should I take before starting this toilet repair?
Always begin by turning off the water supply to the toilet, usually via a small shut-off valve at the wall or floor. After turning it off, flush the toilet to empty the tank as much as possible to minimize water spills when you disconnect lines and remove the old valve.
Besides an adjustable wrench, are there any other tools I might need for this project?
An adjustable wrench, like the Husky 12 in. Adjustable Wrench, is the primary tool you'll need. You might also find a bucket helpful to catch any residual water from the tank or supply line, and a sponge or old towel for easy cleanup of small spills.
After installing the new fill valve, my toilet keeps running constantly. How do I fix this?
A constantly running toilet usually indicates the water level in the tank is too high, causing water to flow into the overflow tube. Adjust the fill valve's height or the float mechanism (refer to your Korky QuietFill valve instructions) until the water level is just below the top of the overflow tube when the tank is full.
Are there different types of fill valves, and does it matter which one I choose for replacement?
While many modern fill valves, like the Korky QuietFill Toilet Fill Valve 528, are designed to be universal, some older or specialized toilets might require specific models. It's important to choose a valve that fits your tank's height and provides the correct water level for proper flushing. The Korky 528 is a reliable choice for most standard toilets.
What if the water shut-off valve behind my toilet doesn't work or won't turn off completely?
If your local shut-off valve is faulty, you must turn off the main water supply to your entire house before beginning the project to prevent flooding. This is a critical safety step. You should also plan to repair or replace the faulty toilet shut-off valve as soon as possible after completing your fill valve replacement.