Fix a Leaky Outdoor Faucet: Water Intake Repair Guide
About This Project
This project provides a step-by-step guide on how to repair a leaky outdoor faucet at the water intake connection. The steps involve: 1) Turning off the water supply to the outdoor faucet and draining any remaining water. 2) Disconnecting the supply pipe from the old faucet, using two wrenches if necessary to prevent pipe twisting. 3) Cleaning the threads of both the supply pipe and faucet intake with a wire brush and inspecting for damage. 4) Applying Teflon tape clockwise to the male threads of the supply pipe to ensure a watertight seal and possibly pipe dope for extra sealing. 5) Reconnecting the supply pipe to the faucet, tightening it clockwise with an adjustable wrench, but avoiding overtightening. 6) Turning the water supply back on gradually and checking for leaks around the intake connection, repeating steps 2-5 if necessary.
Best for homeowners and DIY enthusiasts.
Tools & Materials
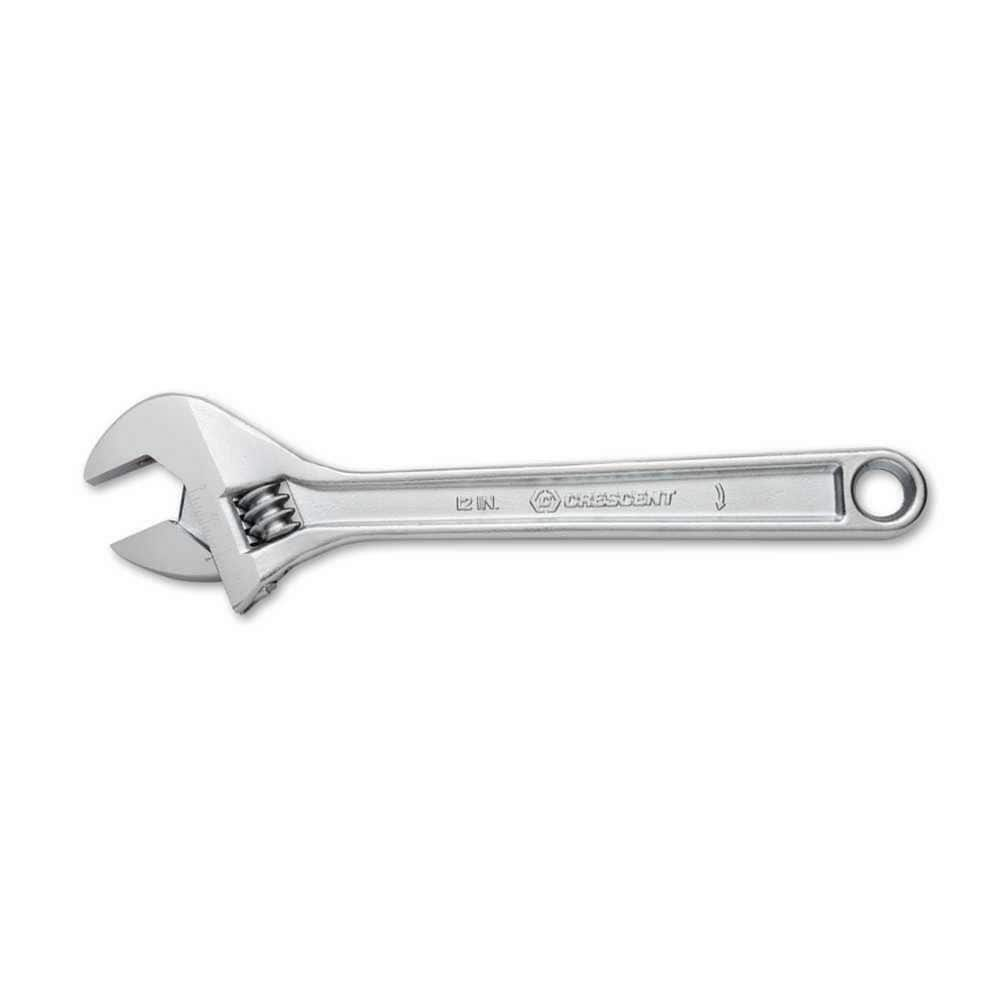
Crescent 12 in. Chrome Adjustable Wrench AC212VS

Unger 6 Gal. Heavy-Duty Plastic Bucket DB02
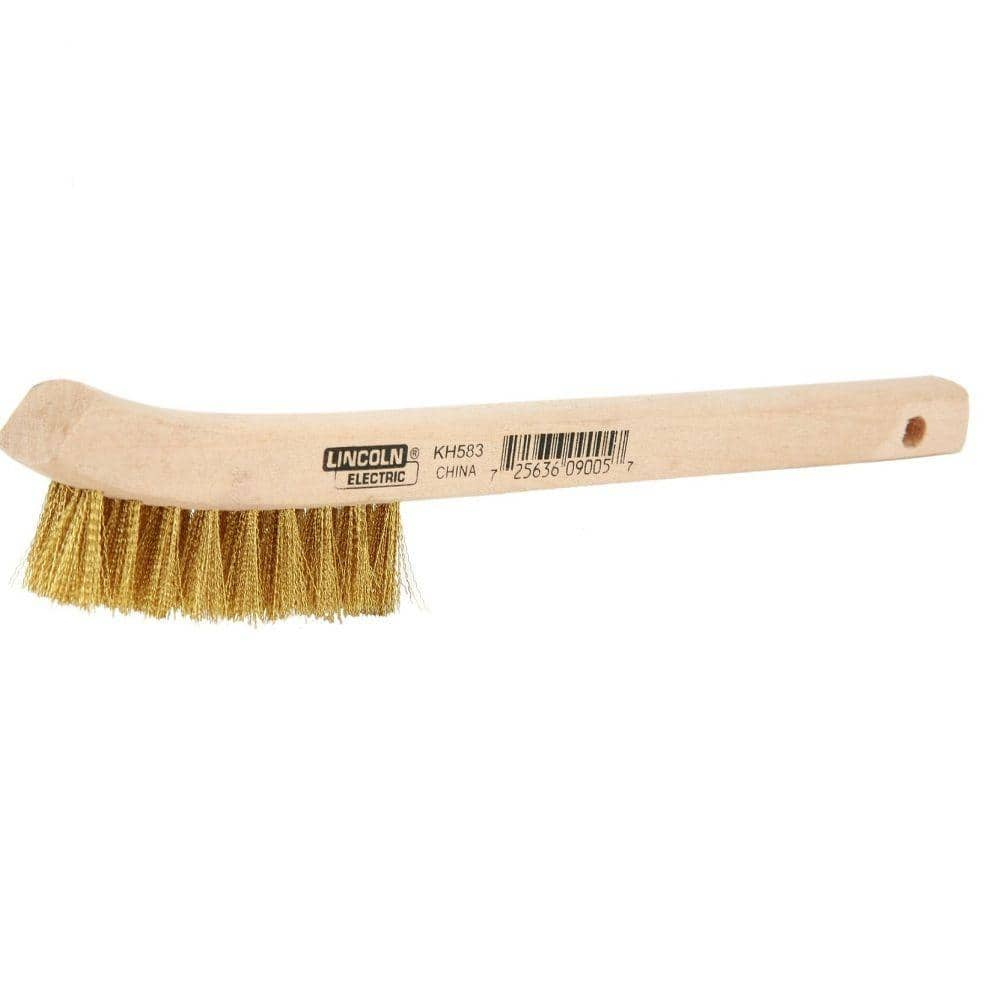
Lincoln Electric 9 in. Long Wooden Handled Brass Welding Wire Brush (.4 in. x 2.6 in. Bristle Area 2 x 9 Row) for Cleaning Aluminum KH583
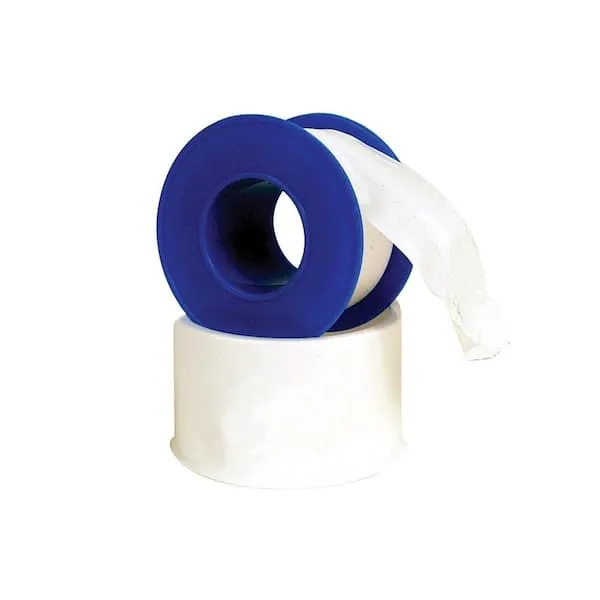
Teflon Tape
Crescent 12 in. Chrome Adjustable Wrench AC212VS
Since the introduction of the original Crescent wrench in the early 1900s, the Crescent brand has become synonymous with adjustable wrenches. Crescent Adjustable Wrenches feature a large knurl for easy
Unger 6 Gal. Heavy-Duty Plastic Bucket DB02
The Unger 6-Gallon Heavy-Duty Professional Cleaning Bucket holds more than 6 Gal. of liquid. The bucket can accommodate a scrubber up to 14 in. L. This bucket features measurement marks and 2-pour spouts
Lincoln Electric 9 in. Long Wooden Handled Brass Welding Wire Brush (.4 in. x 2.6 in. Bristle Area 2 x 9 Row) for Cleaning Aluminum KH583
Lincoln Electric Wood-Handled Brass Bristle Brush is for general-purpose cleaning and welding projects, including delicate or finish work. The brass bristles are durable. The brush measures 8-3/4 in. long. The bristle area is 3/8 in. x 2-1/2 in.
Teflon Tape
Seals pipe threads without leaks.
Steps

Shut Off the Outdoor Faucet's Water Supply
5 minsBefore you begin, safety first! Turn off the water supply to your outdoor faucet. This shut-off valve is typically located indoors, near where the main water line enters your home. Once the water is off, open the outdoor faucet to release any remaining water pressure.
Watch: Drain Remaining Water from Pipes
Disconnect the Supply Pipe from the Faucet
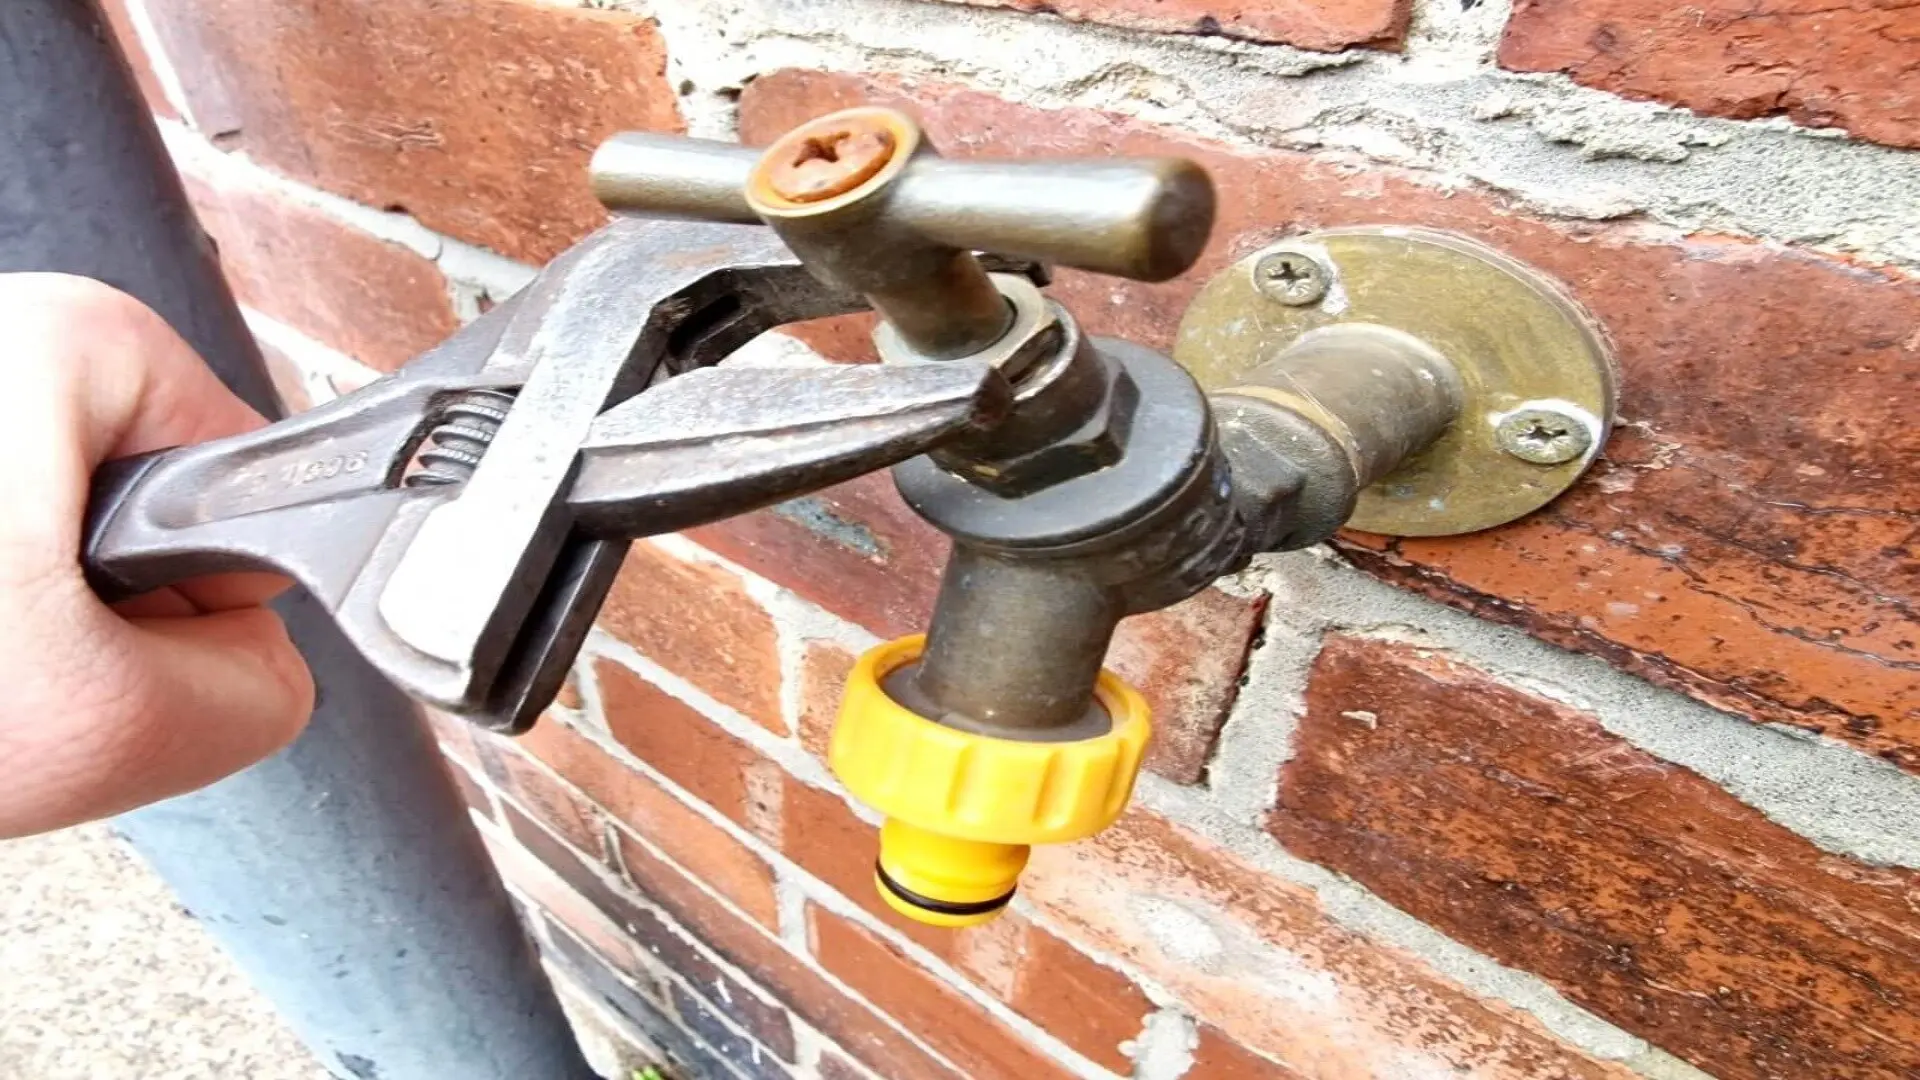
15 minsUse an adjustable wrench to carefully disconnect the supply pipe. For threaded connections, use two wrenches – one to hold the faucet body steady, the other to turn the pipe counter-clockwise. Prepare a bucket to catch any remaining water.
Watch: Disconnect the Supply Line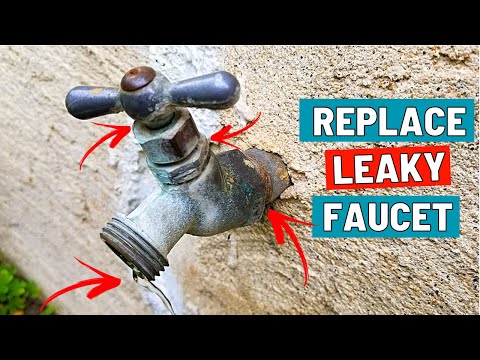


Test for Leaks and Restore Water Flow
5 minsGradually turn the water supply back on and carefully check for leaks around the intake connection. Tighten the connection slightly more if leaks persist. If the leak continues, repeat steps 2-5 ensuring clean threads and proper Teflon tape application.
Watch: Check for LeaksCommon Problems
Tape unravels, causing a poor seal and continued leaks.
Solution: Wrap the tape in the same direction that the nut will be tightened (clockwise) to prevent it from unraveling.
Pay close attention to which pipe is hot and which is cold. If the hot and cold water pipes are reversed, the thermostat function may not work properly.
Solution: To avoid this issue: Be mindful of this warning and take appropriate precautions.
Unscrewing and leaks occur if faucet tape is wrapped counter-clockwise.
Solution: Wrapping the tape clockwise prevents it from bunching up or unwrapping when you tighten the female fitting onto it.
Leaky faucet connection due to insufficient thread sealant.
Solution: Wrap the tape around the threads 3-4 times to create a good seal.
Turn the tap slowly and avoid forcing it, which could damage the fitting's threads permanently.
Solution: To avoid this issue: Be mindful of this warning and take appropriate precautions.
Damaged faucet threads lead to persistent leaks after repair.
Solution: If threads are badly damaged, it's better to replace the part than to attempt a repair that might leak.
Leaky faucet threads after installation.
Solution: You can wrap the faucet's threads with Teflon tape before screwing it in to help create a better seal and prevent leaks.
Frequently Asked Questions
What if my outdoor faucet is leaking from the handle or spout, not the intake connection?
This guide specifically addresses leaks at the supply pipe connection (the intake). Leaks from the handle or spout usually indicate worn-out internal components like a packing nut or washer, which require a different repair process. You'd likely need to replace specific internal parts, not just reseal the threads on the supply pipe.
Why is it important to use two wrenches when disconnecting the supply pipe?
Using two wrenches—one to hold the existing pipe steady and the other to turn the faucet—prevents twisting and damaging your home's main water supply pipes. Twisting can lead to a larger, more serious leak inside your wall or foundation, making this a critical safety step.
Can I use pipe dope instead of or in addition to Teflon tape for sealing the threads?
Yes, you can use pipe dope in addition to Teflon tape for an extra layer of sealing security, especially for outdoor connections. Apply 4-6 wraps of Teflon tape clockwise to the male threads first, then a thin layer of pipe dope over it. While pipe dope alone can work, the combination offers superior leak prevention for threaded connections.
I've reconnected everything, but the intake connection is still leaking slightly. What should I do?
First, ensure the water supply is completely off again. The most common issues are insufficient Teflon tape, incorrect application (not clockwise), or damaged threads. Disassemble, clean threads thoroughly with a wire brush, apply 4-6 wraps of Teflon tape clockwise, and ensure the connection is tightened firmly but without overtightening. Inspect the threads for pitting or major damage.
How can I tell if the threads on my supply pipe or faucet are too damaged to simply reseal?
After cleaning with a wire brush, visually inspect the threads closely. Look for any flattened, stripped, or deeply corroded areas (pitting) that prevent a smooth, continuous spiral. If more than a couple of threads are compromised or the damage is severe, resealing might not be effective, and you may need to replace the faucet or repair the pipe's threaded end.
What's the biggest mistake a beginner might make during this repair, and how can I avoid it?
The most common mistake is overtightening the connection, which can strip threads or crack the faucet body, creating a worse leak. Tighten the connection clockwise until it feels snug, then give it an additional quarter to half turn with your adjustable wrench. Stop immediately if you feel significant resistance.
How can I prevent my outdoor faucet from leaking at the intake in the future?
Regular inspection of your outdoor faucet for drips can help catch issues early. Ensure hoses are disconnected during freezing temperatures to prevent damage from expanding ice. When making new connections, always use ample Teflon tape applied correctly (clockwise on male threads) and avoid overtightening to preserve thread integrity.