:max_bytes(150000):strip_icc()/how-to-change-a-shower-head-1798745-hero-c5b235bc7f8c474b83d540bf21e7ce02.jpg)
DIY Shower Faucet Replacement: A Step-by-Step Guide
About This Project
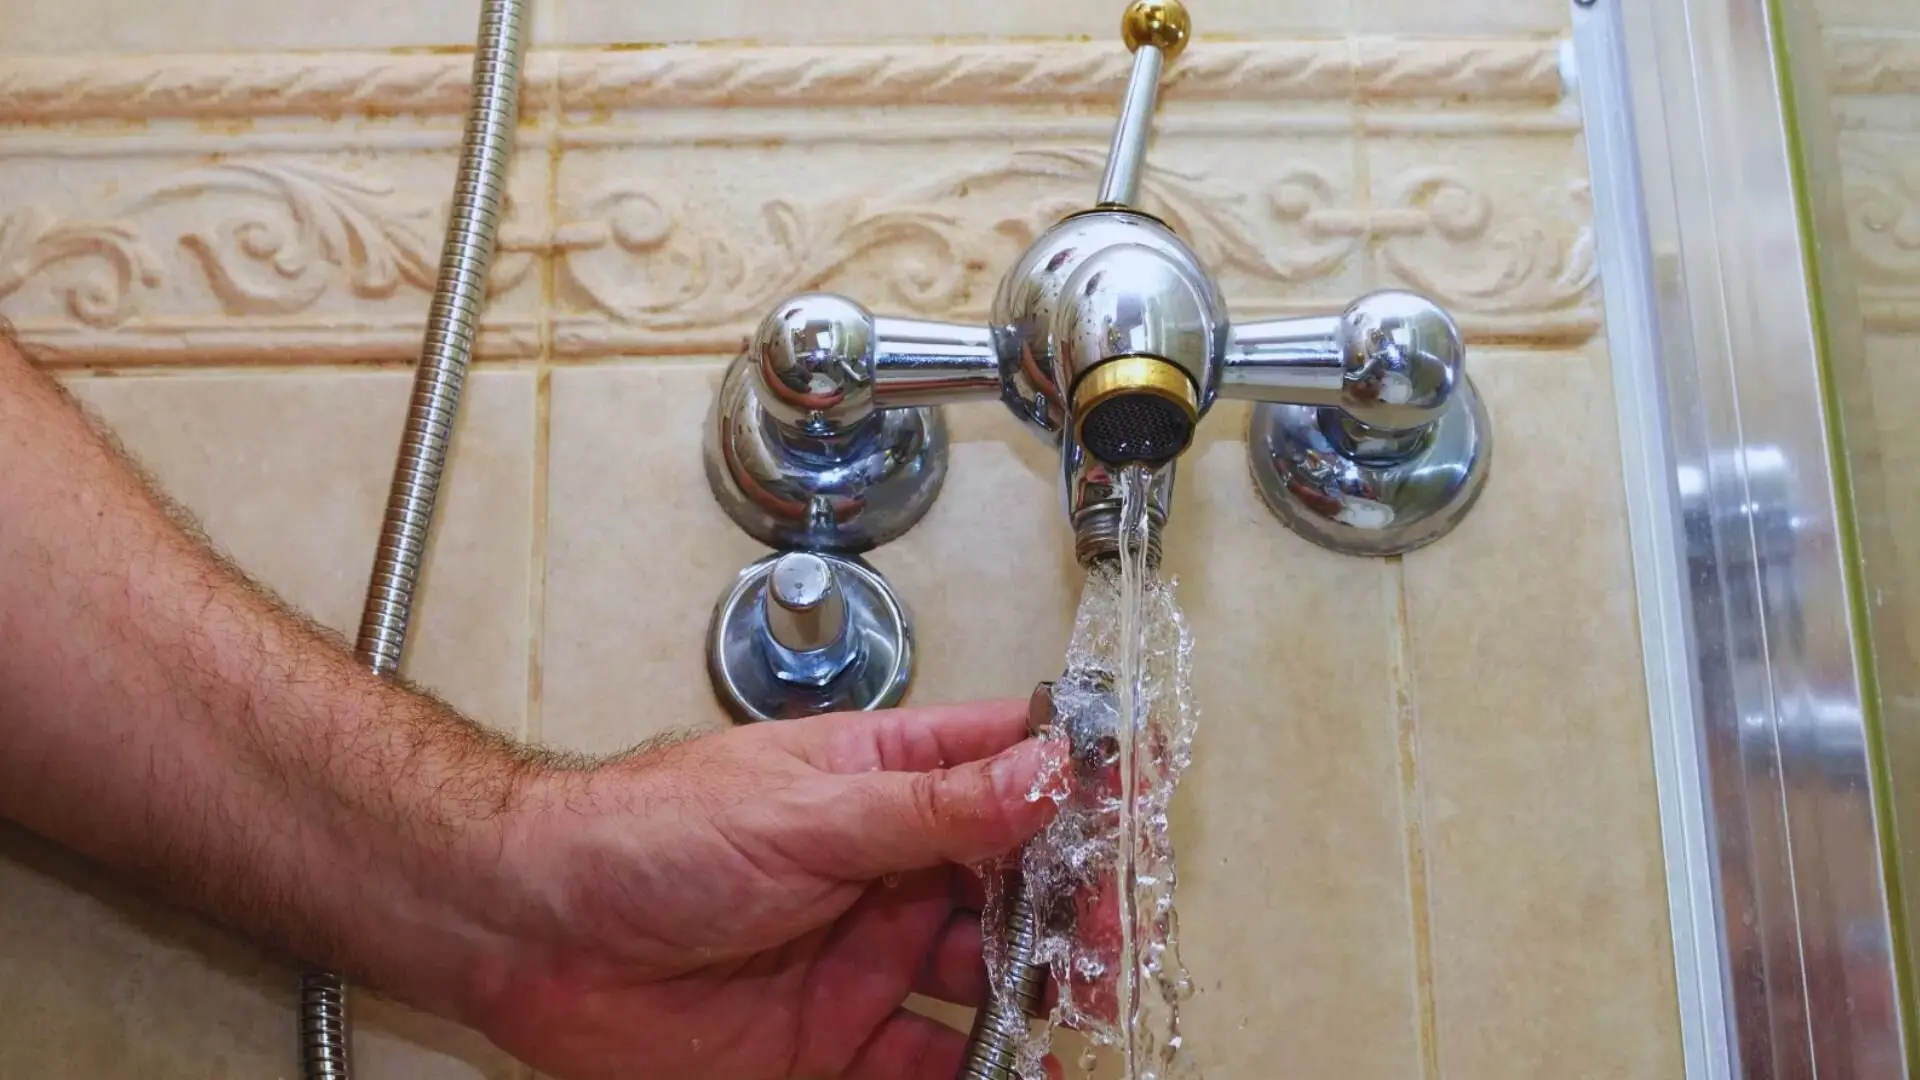
This DIY guide details the steps for a shower faucet replacement. First, turn off the water supply to the shower. Next, remove the old faucet handle, escutcheon plate, and valve. Install the new shower faucet valve and trim. Then connect water supply lines. Finally, turn the water back on, check for leaks, and ensure proper hot and cold water flow.
Best for experienced DIYers and homeowners with some experience.
Tools & Materials
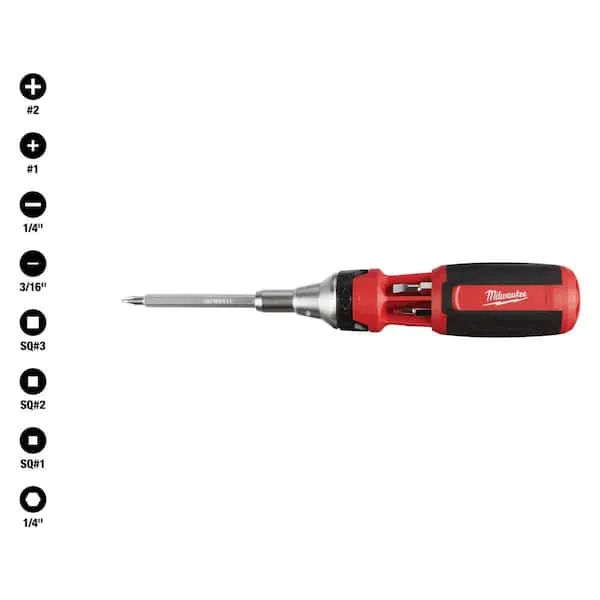
Screwdriver (Multi)
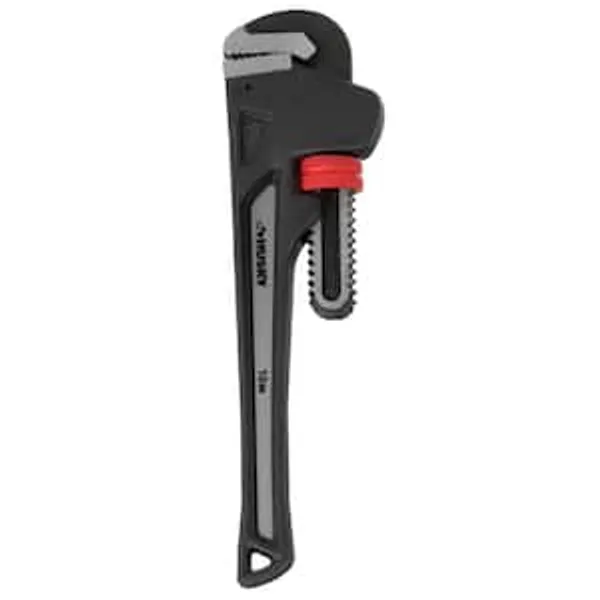
Wrench

Adjustable Wrench
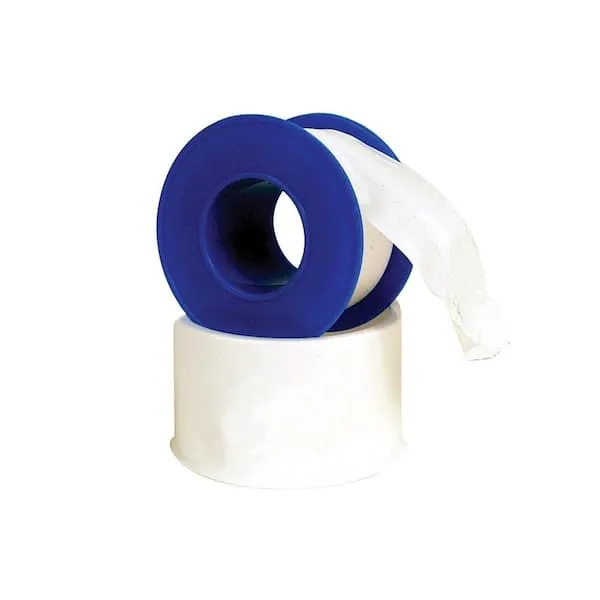
Teflon Tape
Screwdriver (Multi)
Multiple bits for versatile use.
Wrench
Turns objects with grip and leverage.
Adjustable Wrench
Fits various nut and bolt sizes with its adjustable jaw.
Teflon Tape
Seals pipe threads without leaks.
Steps


Common Problems
Use caution with the utility knife to avoid scratching the finish of the plate or the shower surround.
Solution: To avoid this issue: Be mindful of this warning and take appropriate precautions.
Lost screws down the drain during faucet replacement.
Solution: Place a rag over the drain to catch any dropped screws.
Stuck shower handles prevent removal.
Solution: If the handles are stuck, try using a penetrating oil or gently tapping them with a rubber mallet.
Be careful not to scratch the shower surround or the faceplate when prying.
Solution: To avoid this issue: Be mindful of this warning and take appropriate precautions.
The central mistake of the project occurred here: the retainer clip for the valve cartridge was not installed. This clip is essential for holding the cartridge in place against water pressure.
Solution: To avoid this issue: Be mindful of this warning and take appropriate precautions.
Cross-threaded or stripped screw holes from overtightening.
Solution: Hand-tighten screws first to avoid cross-threading, then snug them down with a screwdriver. Do not overtighten.
Incompatible trim kits can lead to mismatched finishes and improper sealing.
Solution: The homeowner selected a Danze trim kit because they preferred its brushed nickel finish over the Moen options.
Frequently Asked Questions
What's the absolute first thing I need to do before touching anything, and why is it so important?
Before starting any work, you *must* shut off the main water supply to your shower, or ideally, your entire home. This prevents accidental flooding and ensures your safety while working with plumbing connections.
As a beginner, is it realistic to complete this project in 3 hours, and what makes it 'beginner-friendly'?
Yes, for many standard faucet replacements, 3 hours is a realistic estimate for beginners, especially with a clear guide. It's considered beginner-friendly because it primarily involves basic mechanical steps like unscrewing and re-screwing components, with minimal complex plumbing or pipe cutting typically required.
Beyond a multi-screwdriver and adjustable wrench, are there any other tools or materials I should have on hand for a smoother installation?
While the listed tools are primary, consider having a utility knife for cutting caulk, a scrub brush or wire brush for cleaning the old valve area, and extra rags or a bucket for catching residual water. A headlamp can also be very useful for better visibility in tight spaces.
What's the most common reason for leaks after a new faucet installation, and how can I prevent them?
The most common cause of leaks is improper sealing at the threaded connections. Always apply Teflon tape clockwise (the direction the threads tighten) to all male pipe threads for a secure, watertight seal. Don't overtighten, but ensure connections are snug.
I've turned the water back on, and now I have a small drip or leak. What should I do?
Immediately shut off the water supply again. Identify the source of the leak; often it's a connection that wasn't tightened enough or where Teflon tape wasn't applied correctly. Disassemble the leaking connection, reapply Teflon tape carefully, and retighten, then retest.
How much money can I realistically save by doing this shower faucet replacement myself instead of hiring a plumber?
You can save significantly on labor costs, which typically range from $100-$300 or more for a faucet replacement. By DIYing, you only pay for the new faucet and any minor supplies, making it a very cost-effective home improvement.
/how-to-replace-a-shower-valve-5197461-10_reattach_23668-86d35b214a3849a796f94e0b38fab900.jpg)