Delta Monitor Shower Faucet Installation & Replacement Guide
About This Project
This project details how to install or replace a Delta Monitor shower faucet. 1. **Shut Off the Shower's Water Supply:** Turn off the water supply to the shower using the main shut-off valve or individual hot and cold water line valves. Double-check to prevent flooding. 2. **Remove the Old Shower Faucet Trim:** Remove the old faucet handles, escutcheon plate, and showerhead by unscrewing or unclipping them. Penetrating oil can be used on stubborn screws. Take photos as a reference for reassembly. 3. **Install the New Delta Monitor Valve Cartridge:** After removing the old cartridge, install the new one, ensuring the correct orientation and lubricating with silicone grease. A gear puller may be needed for cartridge removal. 4. **Install the New Delta Monitor Trim Kit:** Install the new trim kit, which includes the handle, escutcheon, and showerhead. Make sure connections are secure and sealed with plumber's putty or Teflon tape where appropriate. 5. **Test for Leaks and Functionality:** Turn the water back on slowly. Inspect for leaks and ensure the faucet and temperature controls work correctly. Tighten any loose connections and adjust temperature if needed.
Best for advanced DIYers and professionals.
Tools & Materials
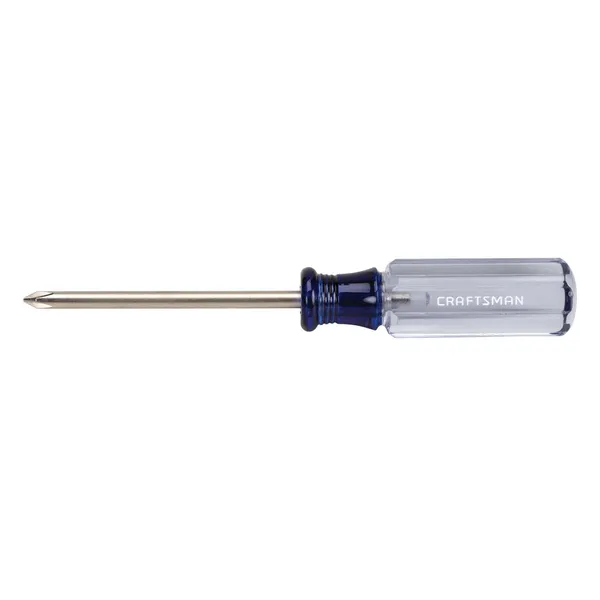
Phillips head screwdriver
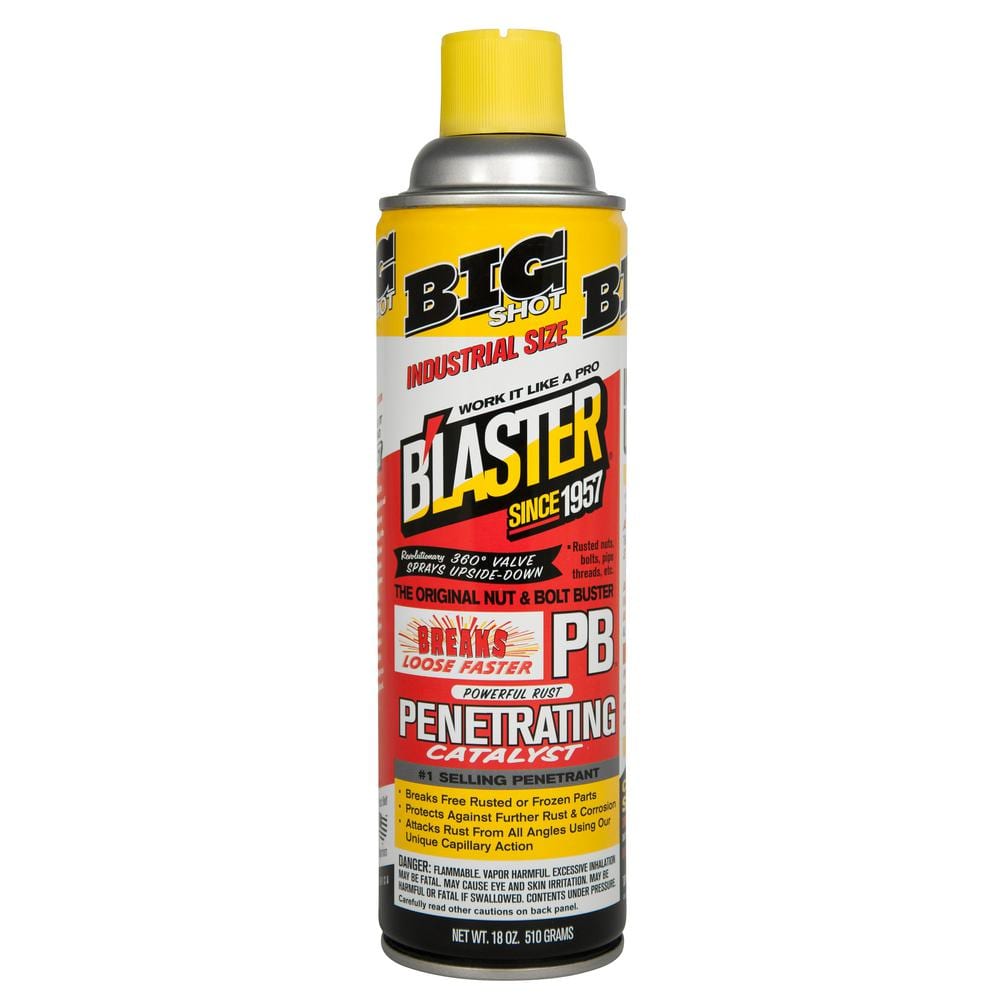
Blaster 18 oz. PB Penetrating Oil 26-PB
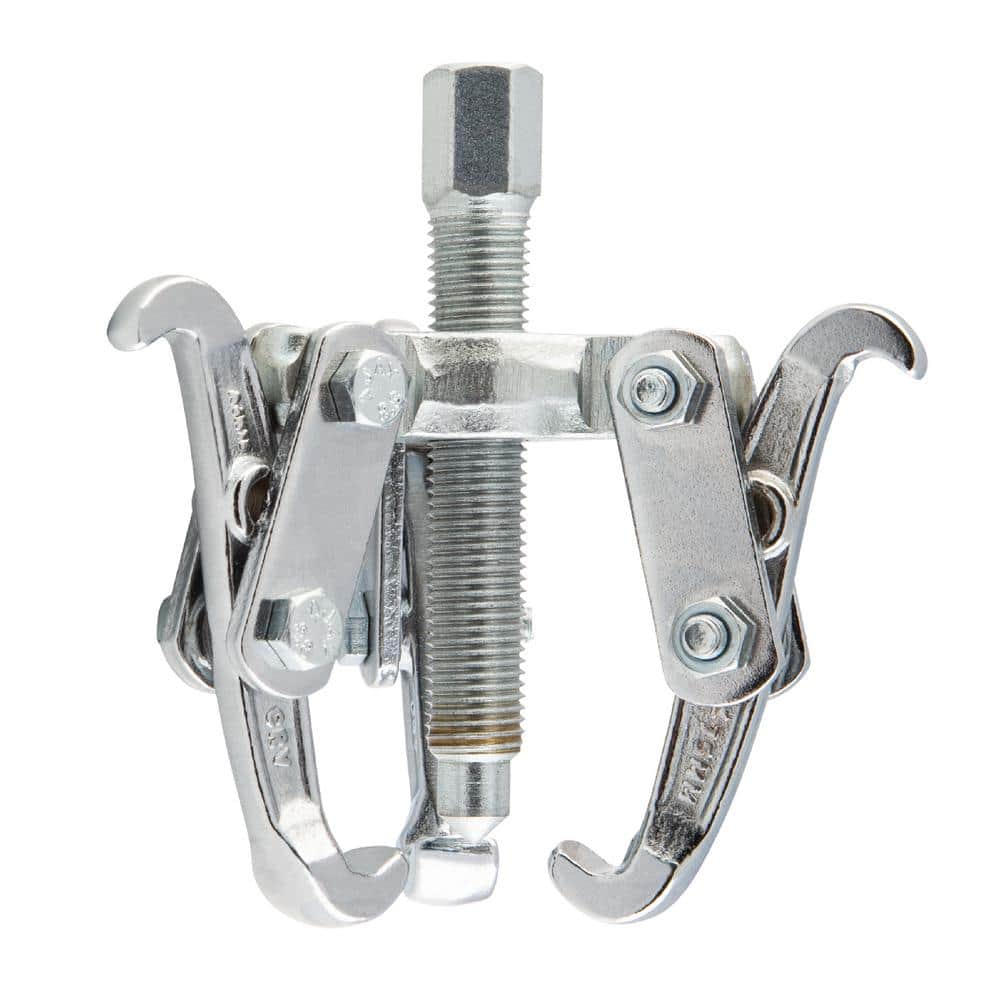
Arcan Hardened 3 in. Gear Puller AS3GP
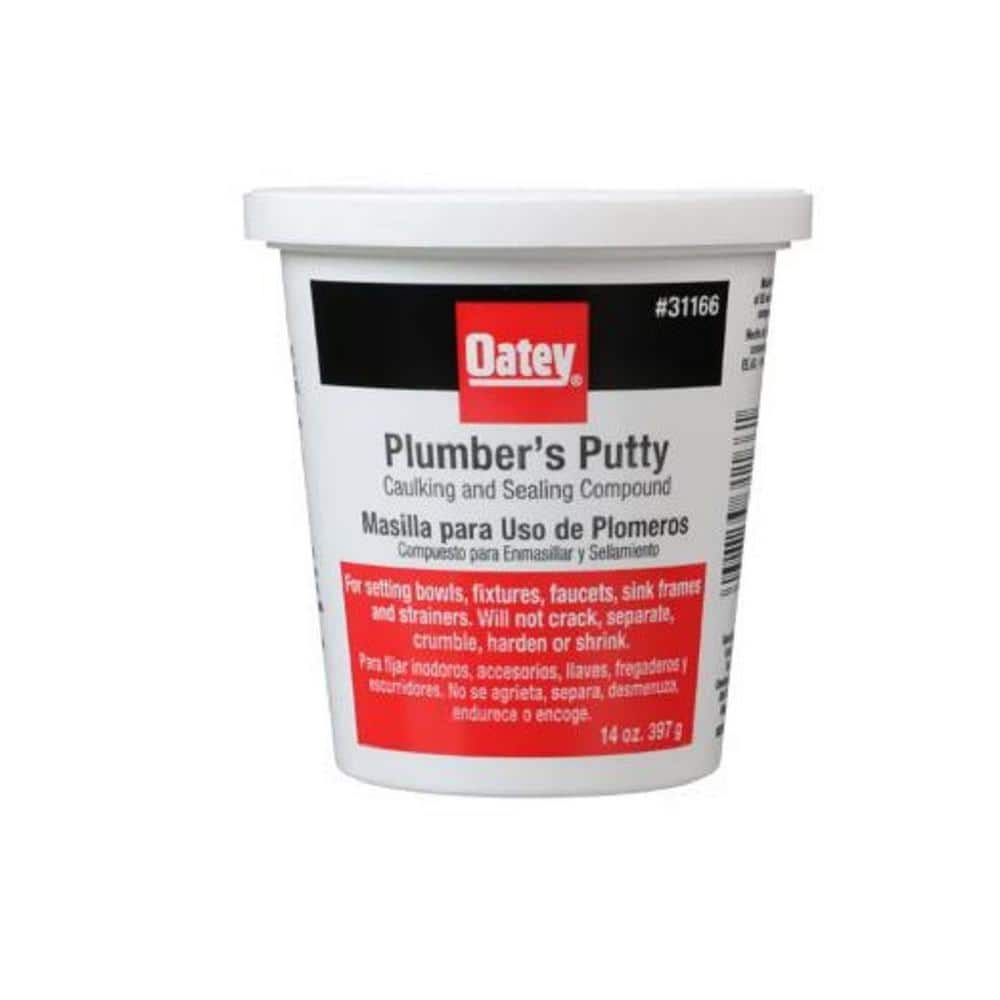
Oatey 14 oz. Plumber's Putty 311662
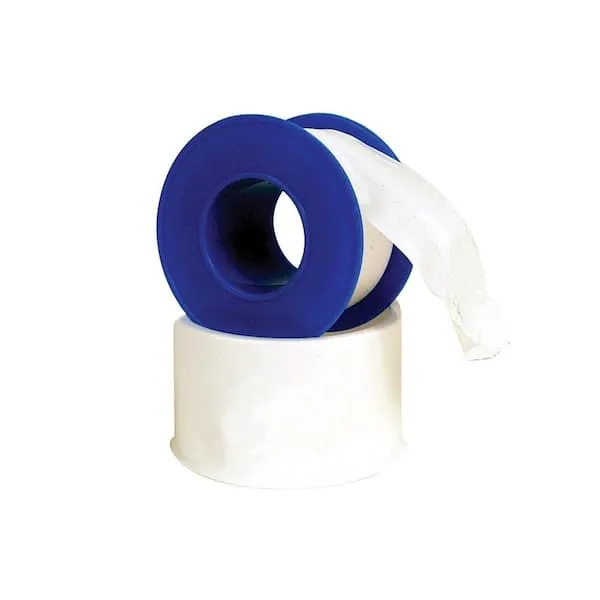
Teflon Tape
Phillips head screwdriver
This is a type of screwdriver that has a cross-shaped tip.
Blaster 18 oz. PB Penetrating Oil 26-PB
The #1-selling penetrant since 1957, PB Blaster quickly busts loose rusted or frozen parts caused by rust and corrosion. PB Blaster penetrant also contains a non-evaporating lubricant that protects against
Arcan Hardened 3 in. Gear Puller AS3GP
The Arcan AS3GP Hardened 3 in. Gear Puller has reversible jaws with 8-adjustable positions that allow for inside and outside grip. Made from heat treated chrome vanadium steel, these gear pullers have
Oatey 14 oz. Plumber's Putty 311662
The Oatey 14 oz. Plumber's Putty is an easy-to-mold setting compound designed for use with stainless-steel sealing applications such as frames, faucets and strainer baskets. Not for use on plastic, marble,
Teflon Tape
Seals pipe threads without leaks.
Steps

Shut Off the Shower's Water Supply
5 minsBefore starting, completely shut off the water supply to your shower. This is usually done via the main water shut-off valve or individual valves for hot and cold water lines. Always double-check that the water is completely off to prevent accidental flooding.
Watch: Turn Off Water Supply
Remove the Old Shower Faucet Trim
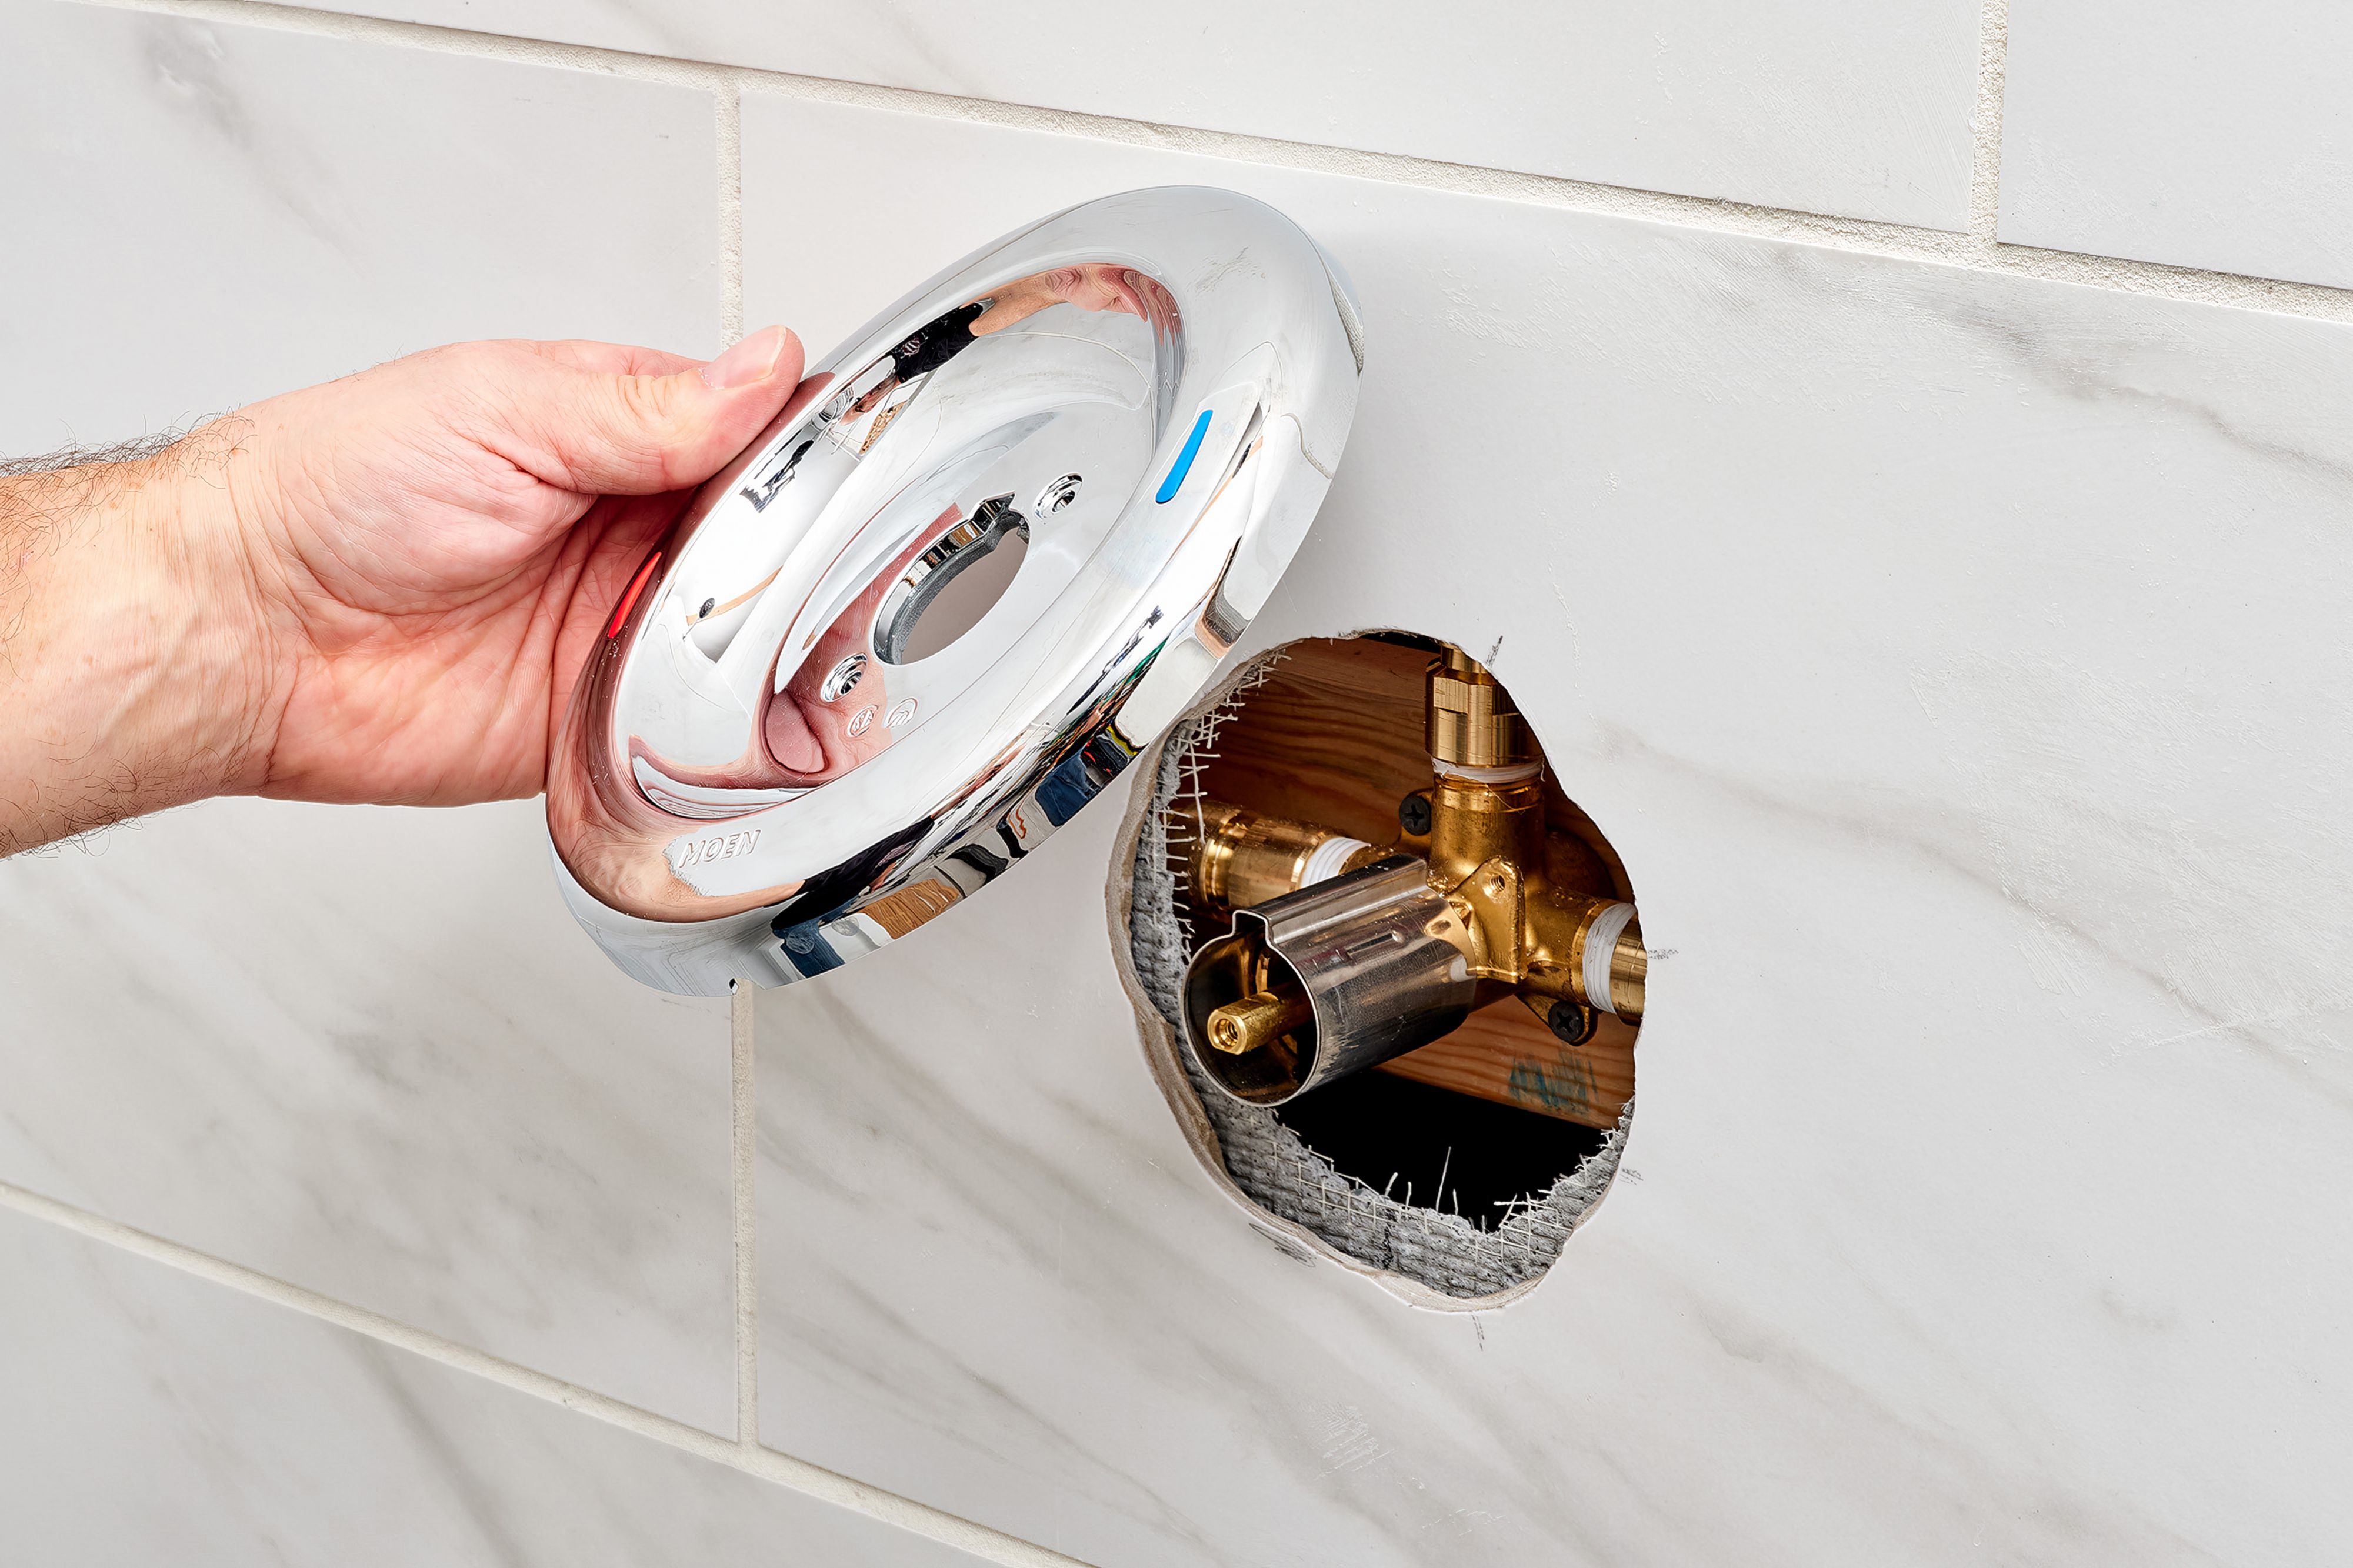
30 minsCarefully remove the old faucet handles, escutcheon plate, and showerhead. Unscrewing or unclipping these components is typically involved. Penetrating oil may help loosen stubborn screws. Take photos before disconnecting to aid reassembly.
Watch: Disconnecting Plumbing Fixtures
Install the New Delta Monitor Valve Cartridge
1 minRemove the old valve cartridge and install the new Delta Monitor valve cartridge, carefully following the manufacturer's instructions. Ensure correct orientation. Lubricate parts with silicone grease for easier installation and better sealing.
Watch: Install New Cartridge
Install the New Delta Monitor Trim Kit
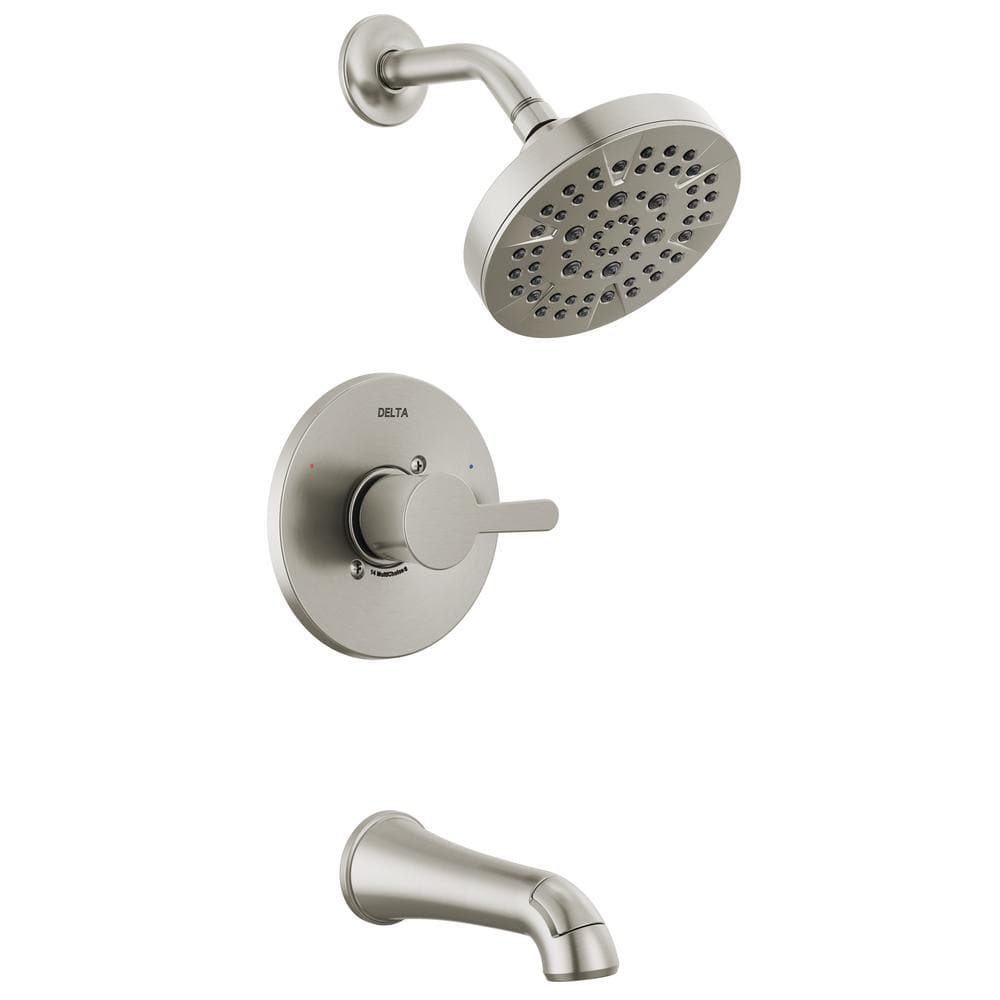
1 minInstall the new Delta Monitor trim kit (handle, escutcheon, and showerhead) according to the manufacturer's instructions. Ensure all connections are secure and properly sealed with plumber's putty or Teflon tape where needed.
Watch: Install New Shower Arm and Head
Common Problems
Leaky shower head connection.
Solution: Apply Teflon tape to the shower arm threads before reinstalling the shower head.
Do not forget to slide the escutcheon plate onto the shower arm before installing the shower head.
Solution: To avoid this issue: Be mindful of this warning and take appropriate precautions.
The central mistake of the project occurred here: the retainer clip for the valve cartridge was not installed. This clip is essential for holding the cartridge in place against water pressure.
Solution: To avoid this issue: Be mindful of this warning and take appropriate precautions.
Water seeps behind the wall, causing damage, without a sealed escutcheon.
Solution: Apply a bead of silicone caulk around the top and sides of the escutcheon plate to prevent water from getting behind the wall.
Plumber's tape unravels, causing leaks when screwing in the shower arm.
Solution: Wrap plumber's tape clockwise on the threads so it doesn't unravel when you screw the arm in.
Scratched or marred finish on new shower arm.
Solution: Protect the finish of the new shower arm by wrapping it with a cloth or rag before gripping it with pliers.
Unnoticed moisture at connections can lead to leaks.
Solution: Use a dry paper towel to wipe the connections; any moisture will be easy to spot.
Frequently Asked Questions
What specific tools are essential for replacing a Delta Monitor shower faucet?
You'll primarily need a Phillips head screwdriver for trim removal and installation. A crucial specialized tool is an Arcan Hardened 3 in. Gear Puller AS3GP, which is often necessary for removing a stubborn old valve cartridge. Have penetrating oil and silicone grease ready as well.
What's the most important safety precaution I need to take before starting this project?
The most critical step is to completely shut off the water supply to the shower. This can be done at the main house shut-off valve or by turning off individual hot and cold water lines if available. Double-check that no water flows from the shower before proceeding to prevent flooding.
I'm a beginner. How difficult is this project, and how long should I expect it to take?
This project is classified as beginner difficulty, meaning it's manageable for those new to DIY. The estimated time for completion is around 3 hours. However, this can vary depending on the condition of your old faucet and any unexpected issues, so allow some extra time.
What should I do if my old shower cartridge is stuck and won't come out?
A common issue is a stubborn old cartridge. First, try applying penetrating oil around the cartridge base and let it sit for a few minutes to help loosen it. If it still doesn't budge, you will likely need to use a gear puller, such as the Arcan Hardened 3 in. Gear Puller AS3GP, to extract it safely without damaging the valve body.
After installing the new Delta Monitor faucet, what are common reasons for leaks and how can I fix them?
Leaks often occur if connections aren't tight enough or if seals aren't properly seated. Double-check all threaded connections, ensuring they are snug and that Teflon tape or plumber's putty was used where appropriate. A misplaced or damaged cartridge O-ring or improper cartridge orientation can also cause leaks, so verify the cartridge is correctly installed and fully seated.
How do I ensure the hot and cold water temperature is set correctly with the new Delta Monitor trim kit?
Delta Monitor trim kits typically have a temperature limit stop or adjustment ring behind the main handle, designed for safety and comfort. You'll need to consult the specific instructions that came with your new trim kit for how to set this. This often involves rotating a plastic ring or setting a physical stop to your desired maximum hot water temperature.
Do I need to buy a specific Delta Monitor valve cartridge, or are they universal?
Delta Monitor cartridges are not universal; you must ensure you purchase the correct model compatible with your specific Delta Monitor valve body. While many Delta valves use a common 13/14 or 17 series cartridge, it's crucial to identify your existing valve series or consult Delta's documentation to ensure proper fit and function, preventing future issues.