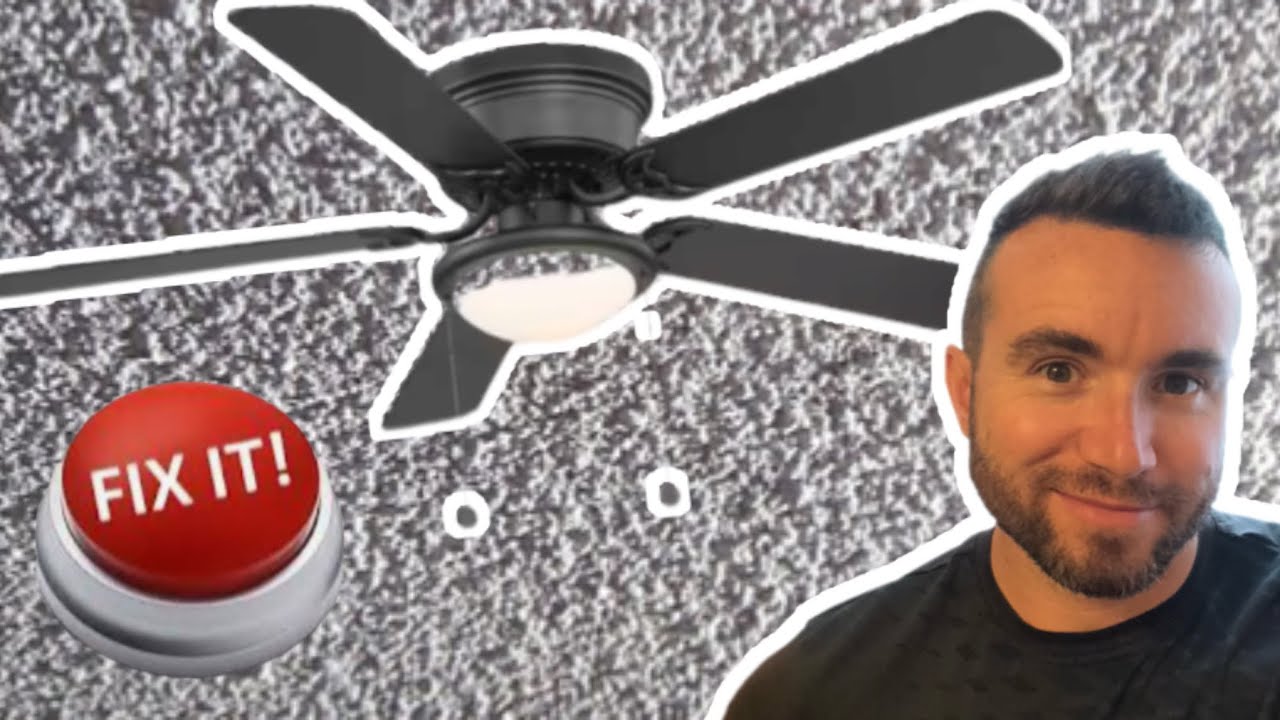
Ceiling Fan Repair
About This Project
Provide a high-level outline for diagnosing and repairing common ceiling fan issues, covering electrical checks, mechanical adjustments, and component replacement.
Tools & Materials
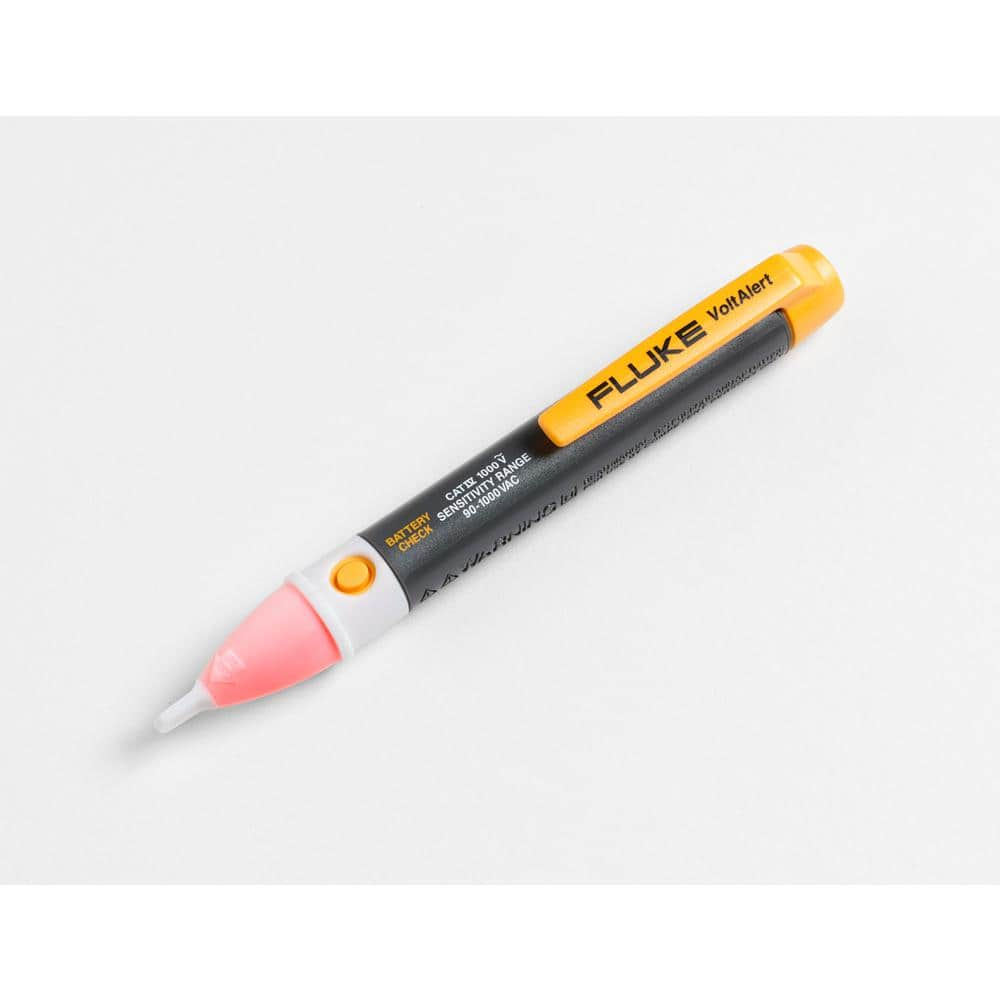
FLUKE 1AC-A1-II VoltAlert Non-Contact Voltage Tester 2432932
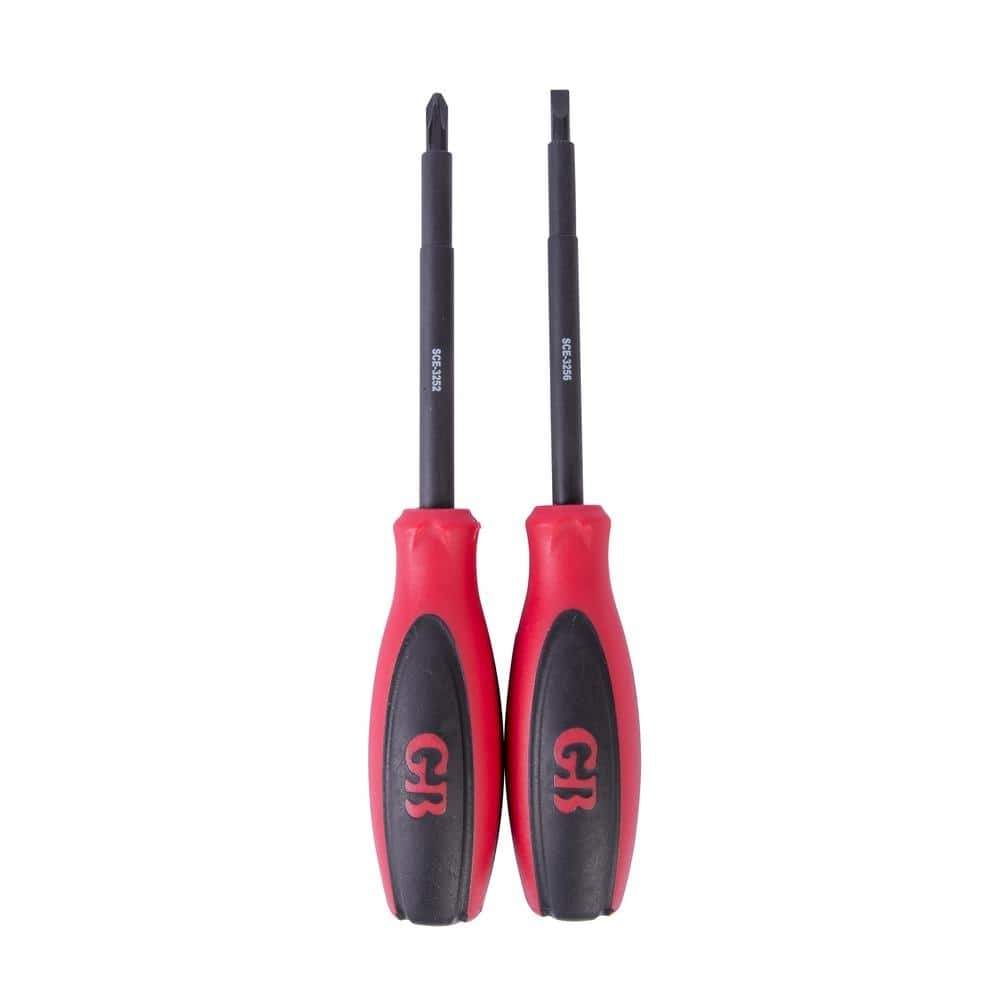
Gardner Bender #2 Phillips and 3/16 Standard Insulated Screwdriver Set (2-Piece) SCE-3262
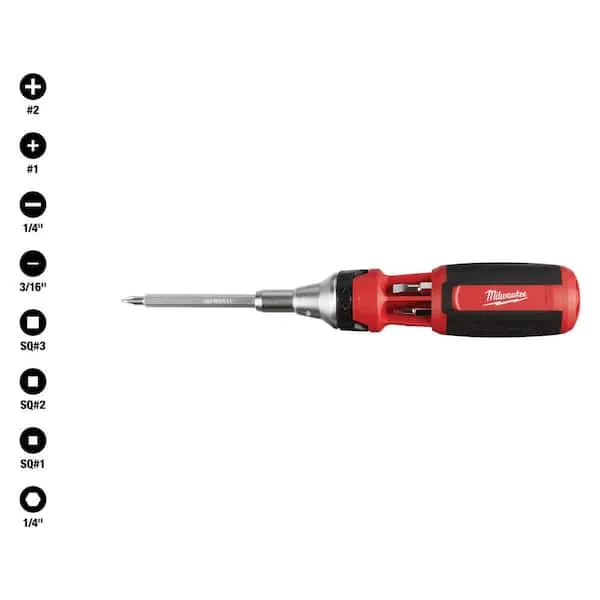
Screwdriver (Multi)
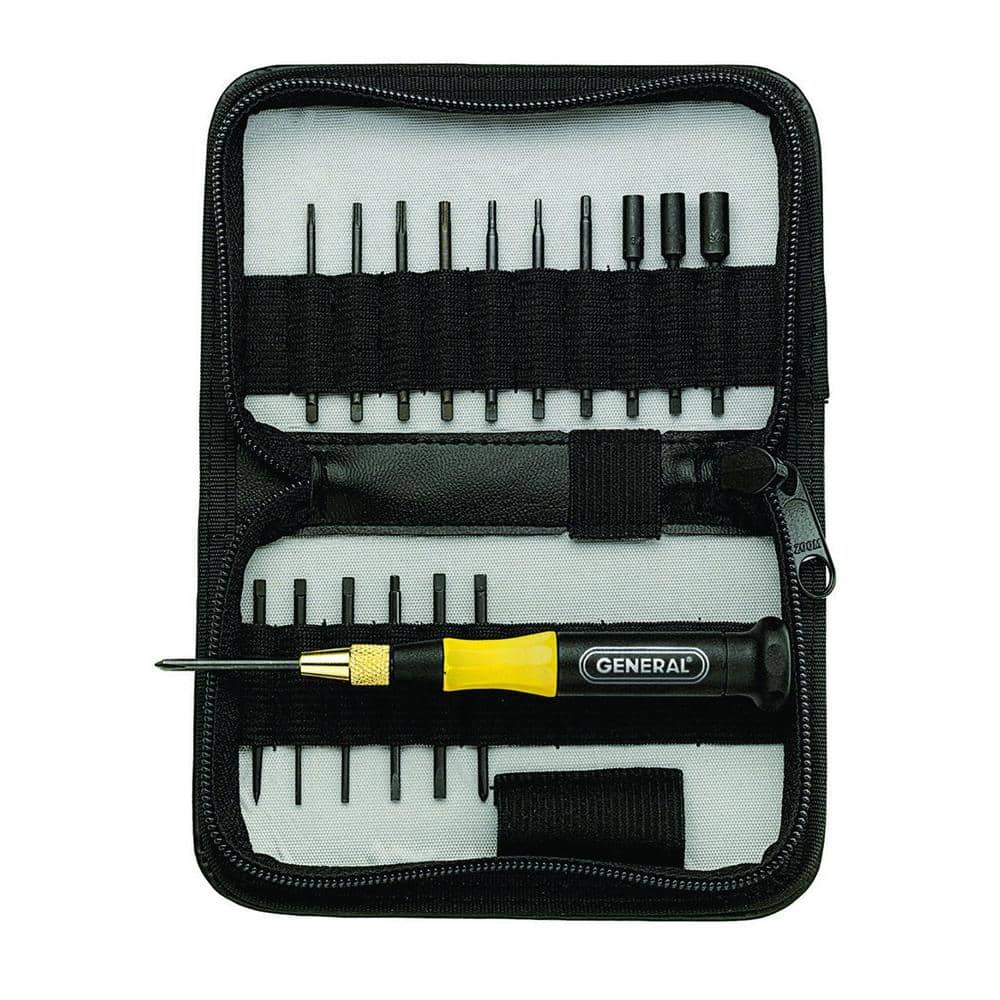
General Tools Screwdriver Set (18-Piece) 63518
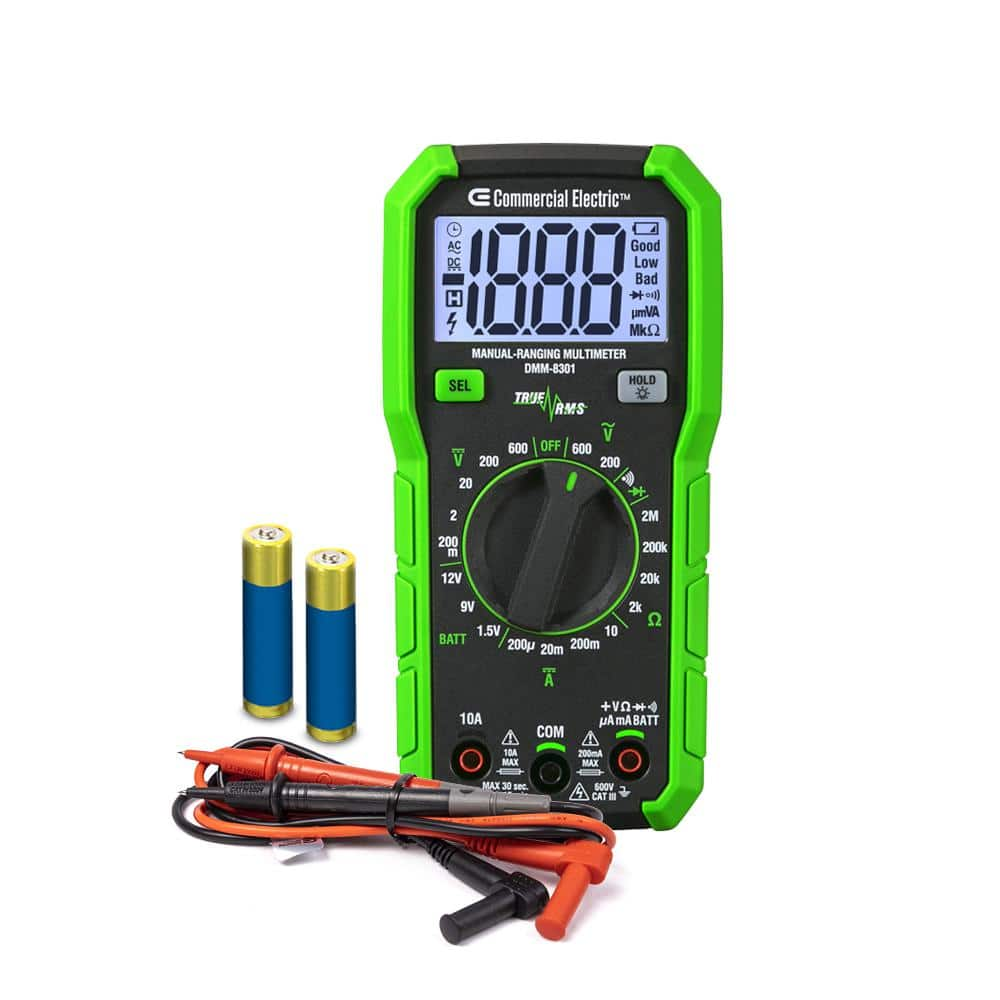
Commercial Electric 600-Volt True RMS Manual-Ranging Digital Multimeter DMM-8301

Klein Tools 600-Volt Digital Multi-Meter, Manual-Ranging MM325
FLUKE 1AC-A1-II VoltAlert Non-Contact Voltage Tester 2432932
The portable 1 AC II non-contact voltage tester from Fluke are easy to use - just touch the tip to a terminal strip, outlet or supply cord. When the tip glows red and the unit beeps, you know there's voltage present. Electricians, maintenance, service, safety personnel and homeowners can quickly test for energized circuits in the workplace or at home and even detect miswires of an electrical outlet.
Gardner Bender #2 Phillips and 3/16 Standard Insulated Screwdriver Set (2-Piece) SCE-3262
Hand tools are a part of every toolbox. With exclusive features for safety, durability, reliability and life strength, Gardner Bender hand tools offer superior performance on every job. This screwdriver
Screwdriver (Multi)
Multiple bits for versatile use.
General Tools Screwdriver Set (18-Piece) 63518
General Tools has grown to become the recognized industry leader for specialty hand tools and instruments. The General Tools 18-Piece Screwdriver Set features a diversified assortment of extended-shaft
Commercial Electric 600-Volt True RMS Manual-Ranging Digital Multimeter DMM-8301
The Commercial Electric 600-Volt True RMS Manual-Ranging Digital Multimeter (DMM-8301) is a True RMS manual-ranging multimeter known for its durable construction and rubberized shell, ensuring both reliability
Klein Tools 600-Volt Digital Multi-Meter, Manual-Ranging MM325
Klein Tools MM325 Multimeter is a manual-ranging multimeter that measures AC/DC voltage, DC current and resistance. It can also test batteries, diodes and continuity. Klein Tools' Test and Measurement
Steps

Verify Power is Off
10 minutesLocate the electrical panel for your home. Identify the circuit breaker that controls the ceiling fan. Flip the breaker to the 'Off' position. If there is no label, you may need to test by turning off breakers one by one until the fan loses power. Use a non-contact voltage tester at the fan's wiring connections to confirm power is off.
Watch: Turn Off Power and Verify
Inspect Fan Blades and Mount
15 minutesVisually inspect each fan blade for any signs of cracking, bending, or warping. Ensure that the screws attaching the blades to the blade holders (arms) are tight. Check that the blade holders are securely fastened to the motor housing. Gently try to wobble the entire fan unit to assess the stability of its mounting to the ceiling junction box.
Watch: Inspect Fan Blades for Looseness
Check Fan Speed Control and Capacitor
20 minutesRemove the fan's motor housing cover. Locate the capacitor, typically a small black or metal box with wires attached. Inspect the capacitor for any signs of bulging, leaking, or burn marks. If the capacitor appears damaged, it likely needs replacement. Test the capacitor's functionality using a multimeter if you are familiar with electrical testing procedures, though visual inspection is often sufficient for common failures.
Watch: Check Capacitor
Test Light Kit (if applicable)
15 minutesIf the fan has a light kit, first ensure the light bulbs are screwed in securely and are not burnt out. If bulbs are functional, check the wiring connections between the light kit and the fan motor housing. Examine the pull chain switch or wall control for the light for any signs of damage or malfunction. For wall controls, you may need to test continuity with a multimeter.
Watch: Address Non-Working LightInspect Motor and Wiring
25 minutesCarefully inspect the motor housing for any discoloration or melting, which indicates overheating. Check all wire connections within the fan, including those from the ceiling to the fan, within the motor housing, and to the light kit. Ensure wire nuts are secure and that there are no frayed or damaged wires. Look for any signs of corrosion on terminals.
Watch: Inspect Wiring Connections
Replace Faulty Components
30 minutesBased on your diagnosis, if a component like the capacitor, a pull chain switch, or the light kit is found to be faulty, carefully disconnect the old component and install the new one. Ensure all wire connections are made correctly and securely. For capacitors, match the microfarad rating and voltage. For switches, ensure the correct type (e.g., number of speeds) is used. Reassemble any covers or housing that were removed.
Watch: Disassemble Light Kit and Locate Capacitor
Reassemble and Test Fan
15 minutesOnce all repairs are made and components are replaced, reassemble the fan's motor housing and any other covers that were removed. Ensure all screws are tightened and parts are securely in place. Go back to the electrical panel and flip the circuit breaker back to the 'On' position. Test the fan's speed settings, direction, and the light kit (if applicable) to confirm everything is working correctly.
Watch: Restore Power and Test FanCommon Problems
You feel a tingle or get a shock when working on the fan, or the circuit breaker trips immediately when you turn power back on. This means the power was not fully or correctly turned off, or there's a short circuit.
Solution: 1. **STOP IMMEDIATELY.** Do not touch anything else. 2. Go to your home's main electrical panel (breaker box). 3. Locate the breaker for the room you are working in (it might be labeled, or you might need to flip switches until the fan circuit is dead). Flip it to the "OFF" position. 4. Return to the ceiling fan and use your non-contact voltage tester (like the FLUKE VoltAlert) to confirm there is absolutely no power to any wires in the junction box. The tester should not light up or beep. 5. If the breaker trips immediately when you try to turn power back on, it indicates a short circuit, likely from wires touching that shouldn't. You'll need to recheck all your wire connections, ensuring no bare wires are exposed or touching each other inside the wire nuts or the fan housing.
Prevention: ALWAYS use your non-contact voltage tester (FLUKE VoltAlert) on all wires in the fan's junction box *before* you touch anything and *after* you think you've turned the power off. Test it again occasionally during the repair, especially before touching newly exposed wires.
The fan shakes or wobbles a lot when it's running, which can be noisy and even dangerous if it gets too loose.
Solution: 1. Turn off the power to the fan at the wall switch and then at the main circuit breaker. 2. Carefully check that the ceiling fan is securely mounted to the ceiling electrical box. Ensure all mounting screws are tight. 3. Inspect each fan blade arm (the metal part connecting the blade to the motor housing). Make sure these are not bent and are tightly screwed to the motor. 4. Check that each blade is securely attached to its blade arm using the appropriate screwdriver (e.g., TEKTON High-Torque Screwdriver Set). 5. If all connections are tight, the blades might be unbalanced. Many fans come with a balancing kit (small weights and a clip). Follow the kit's instructions to find the unbalanced blade and attach weights until the wobble stops.
Prevention: Before fully reassembling, ensure the mounting bracket is firmly attached to the ceiling box. When attaching blades, tighten all screws firmly but don't overtighten, and ensure blades are installed in the correct orientation. A slight wobble is normal, but excessive wobbling indicates an issue.
You've finished the repair, turn the power back on, and the fan doesn't respond to the wall switch or pull chain.
Solution: 1. **Verify Power:** First, check that the circuit breaker is back in the "ON" position and that the wall switch for the fan is on. 2. **Loose Connections:** Turn off power at the breaker again. Carefully lower the canopy (the part that covers the ceiling box) and inspect all wire connections. Ensure every wire nut is securely twisted onto its wires and that no wires have come loose or slipped out. Gently tug on each wire at the wire nut to confirm it's secure. 3. **Wall Switch/Pull Chain:** If you replaced a wall switch or a pull chain (like the Gardner Bender GSW-31), double-check its wiring. Ensure the "line" (incoming power) and "load" (going to the fan) wires are connected correctly. A multimeter (like the Klein Tools MM325) can be used to test for continuity across the switch when it's "on" (power off must be verified first). 4. **Tripped GFCI/AFCI:** Check if any GFCI outlets in the room or AFCI breakers in your electrical panel have tripped.
Prevention: Before buttoning up the fan completely, briefly restore power (after ensuring all connections are safe) and test the fan's basic functions. Ensure wire connections are tight by gently tugging on wires after twisting on wire nuts. Take pictures of original wiring if you're unsure before disconnecting anything.
The fan works, but the light kit doesn't turn on, even with new bulbs.
Solution: 1. **Check Bulbs:** Ensure the bulbs (like the Feit Electric A15 LED) are screwed in tightly and are the correct type and wattage for your fan's light kit. Confirm the base type (E26) matches your fixture. 2. **Verify Switch Wiring:** Turn off power at the breaker. If you replaced the light kit's pull-chain switch (like the Gardner Bender GSW-31), double-check its wiring. There's usually a black wire from the fan motor to the switch, and another black wire from the switch to the light kit. Make sure these are securely connected. 3. **Loose Connections:** Inspect the wiring connections *inside* the light kit housing and where the light kit connects to the fan's main body. A loose wire nut or a wire that pulled out can prevent the lights from working.
Prevention: Always use bulbs specified by the fan manufacturer or those known to be compatible (e.g., matching base size like E26). When wiring a new pull-chain switch, pay close attention to which wire goes to which terminal; sometimes they are color-coded or labeled.
The fan operates much slower than it used to, or only works on one speed setting instead of all high/medium/low settings. This is a common sign of a failing capacitor.
Solution: 1. **Power Off:** Turn off power at the circuit breaker. 2. **Locate Capacitor:** The capacitor is usually a small, rectangular or cylindrical box with several wires, often wrapped in electrical tape or tucked into the fan's motor housing. Note its location and wire connections carefully, taking a picture if needed. 3. **Replace Capacitor:** Disconnect the old capacitor by unwiring it (note which wire goes where). Connect the new capacitor's wires to match the old ones, using wire nuts to secure connections. Ensure the new capacitor has the same microfarad (µF) ratings (e.g., 4.5µF, 5µF, 6µF) as the old one for each speed; these are usually marked on the capacitor itself. (Note: The A/C Compressor Cut-Out Relay RY-429 listed in materials is generally not used as a fan speed capacitor; ensure you have the correct multi-speed capacitor for your fan). 4. **Test:** Reassemble enough to safely test, turn power on, and check all fan speeds.
Prevention: If you notice the fan starting to slow down gradually over time, replacing the capacitor early can prevent complete failure and potentially extend the motor's life. Always obtain a replacement capacitor with identical µF ratings to the original.
The head of a screw gets rounded out (stripped) when trying to loosen or tighten it, making it impossible to turn. Or, a plastic part cracks because a screw was tightened too much.
Solution: 1. **Stripped Screw:** * If slightly stripped, try a slightly larger screwdriver bit (e.g., a #3 Phillips for a #2 screw, or a flathead that wedges in the Phillips head). * For stubborn screws, using pliers (like needle-nose from your General Tools Screwdriver Set) to grip the head and turn it might work if the head is accessible. * If the screw is completely stripped and inaccessible with pliers, you may need a screw extractor (not in your listed tools). 2. **Damaged Plastic:** If a plastic part is cracked from over-tightening, it may lose its ability to hold the screw securely. Depending on the part (e.g., light kit housing, blade arm), you might need to replace the damaged component. Sometimes, a strong epoxy can repair small cracks, but structural integrity might be compromised.
Prevention: ALWAYS use the correct size and type of screwdriver bit for the screw (e.g., a #2 Phillips from your Gardner Bender or TEKTON set for #2 Phillips screws). Apply firm, downward pressure while turning to prevent the screwdriver from slipping. When tightening, turn until the screw feels snug, then give it no more than a quarter to a half-turn extra. Avoid brute force, especially on plastic components.
Frequently Asked Questions
What's the most critical safety precaution I need to take before starting any ceiling fan repair?
Always turn off the power to the ceiling fan at your home's circuit breaker before touching any wiring. Use a non-contact voltage tester, like the FLUKE VoltAlert, to confirm that the power is completely off at the fan's wiring to prevent electric shock.
Are specialized electrical tools like a multimeter or non-contact voltage tester absolutely necessary for ceiling fan repair?
Yes, a non-contact voltage tester is essential for verifying power is off, and a multimeter (e.g., Klein Tools MM325) is highly recommended for diagnosing electrical issues like continuity or voltage drops. These tools help safely and accurately identify problems with wiring, switches, or capacitors, preventing guesswork and potential hazards.
My ceiling fan wobbles excessively or makes a loud humming noise. How can I fix these common mechanical issues?
For wobbling, first ensure all blade screws and the mounting bracket are securely tightened. Check for warped blades or uneven blade weight, and use a fan balancing kit if needed. A humming noise might indicate loose motor housing screws or an issue with the capacitor.
My ceiling fan isn't turning on, or the light kit isn't working. What are the first steps to troubleshoot these electrical problems?
Start by checking the wall switch and pull chain for proper function and continuity using a multimeter. If the fan isn't spinning, test the capacitor or motor wiring for faults. For the light kit, first try replacing the bulb (e.g., Feit Electric A15 LED), then check the light kit's wiring and pull-chain switch (Gardner Bender GSW-31).
How difficult is ceiling fan repair for a beginner, and what's a realistic time estimate for common fixes?
Ceiling fan repair is generally considered a beginner-friendly DIY project, especially for common issues like wobbling, loose connections, or component replacement. Most basic repairs can be completed within 1-2 hours, though more complex electrical diagnostics or motor issues might extend it to the estimated 4 hours.
What are some common mistakes beginners should avoid when attempting to repair a ceiling fan?
A common mistake is not fully disconnecting power, leading to shock hazards. Another is overtightening screws, which can strip threads or crack plastic components. Always ensure all wire connections are secure and properly insulated with wire nuts to prevent short circuits or fire risks.