Troubleshooting No Hot Water: Fixing Your Water Heater
About This Project
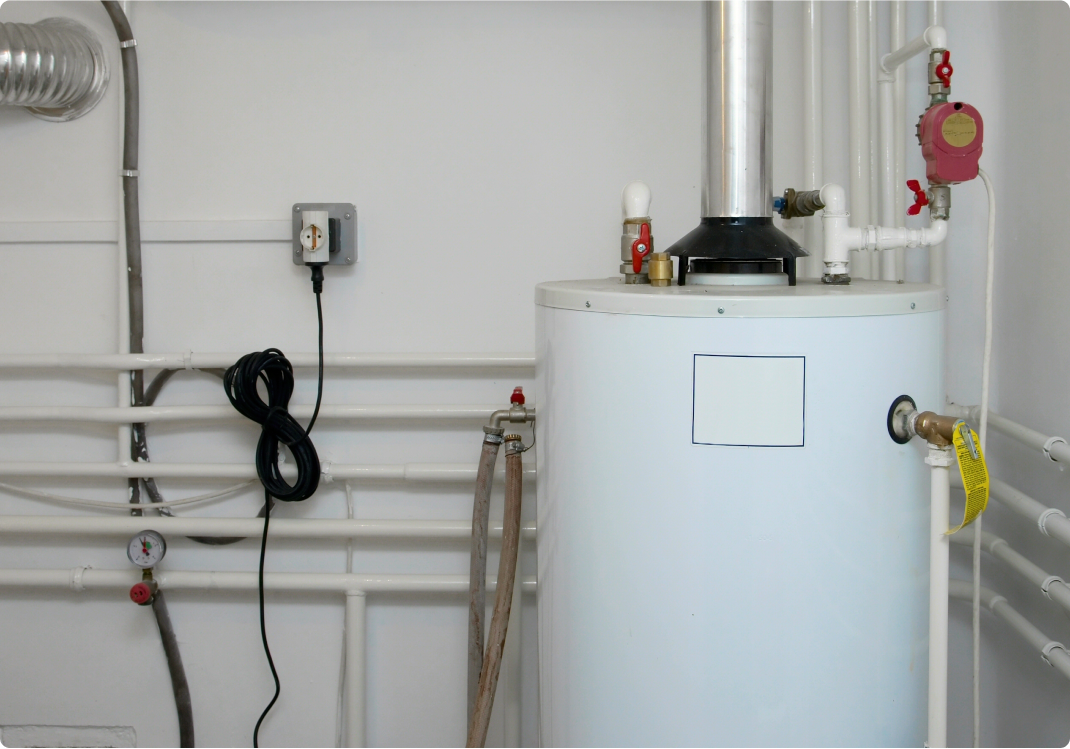
This project outlines how to troubleshoot a water heater that's not producing hot water. The steps involve safety precautions (turning off power and water), inspecting and potentially adjusting the thermostat, and testing the heating element's resistance with a multimeter to determine if it's faulty and needs replacement.
Best for experienced DIYers and homeowners with some experience. Requires access to electrical panel.
Tools & Materials
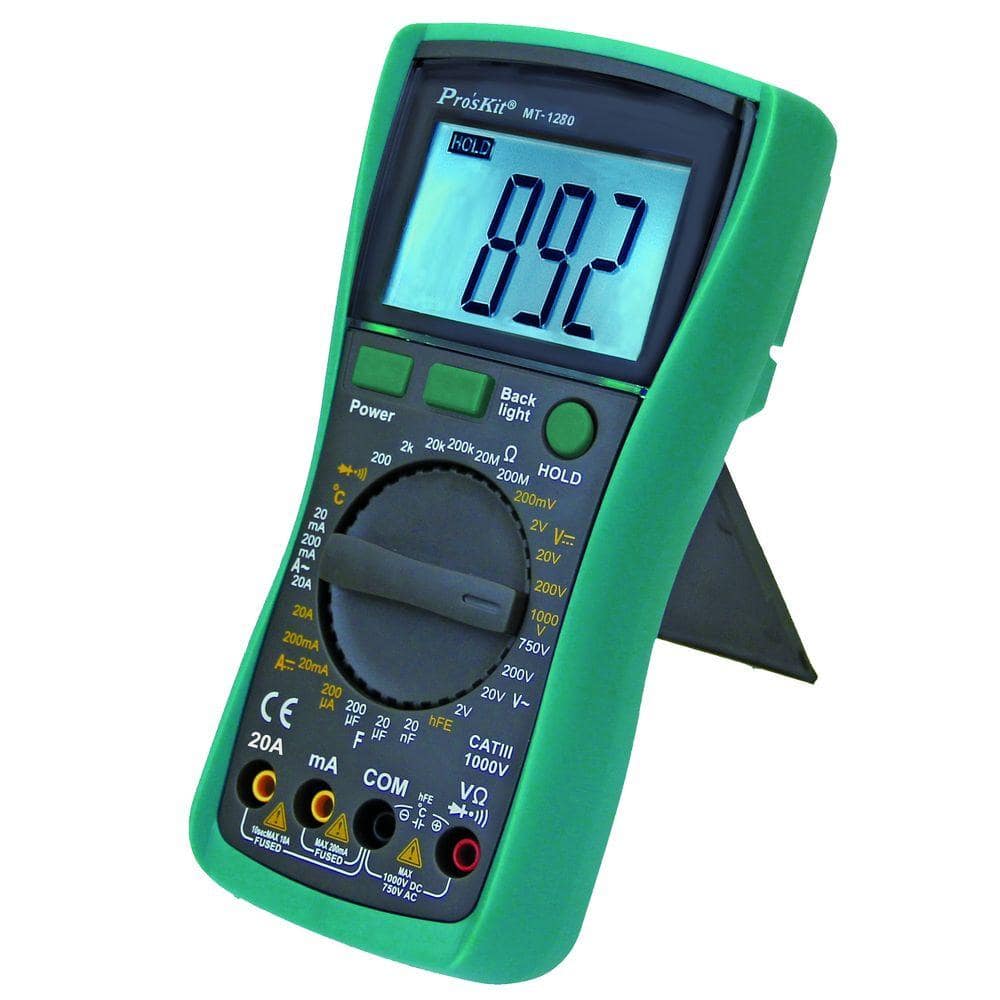
Pro'sKit Digital Multimeter MT-1280
Pro'sKit Digital Multimeter MT-1280
This meter features a large easy to read display with back lighting. It's an ideal tool for lab, factory and home use. Used on measuring DCV, ACV, DCA, ACA, resistance, capacitance, diode, transistor,
Steps

Safety First: Turn Off Power and Water
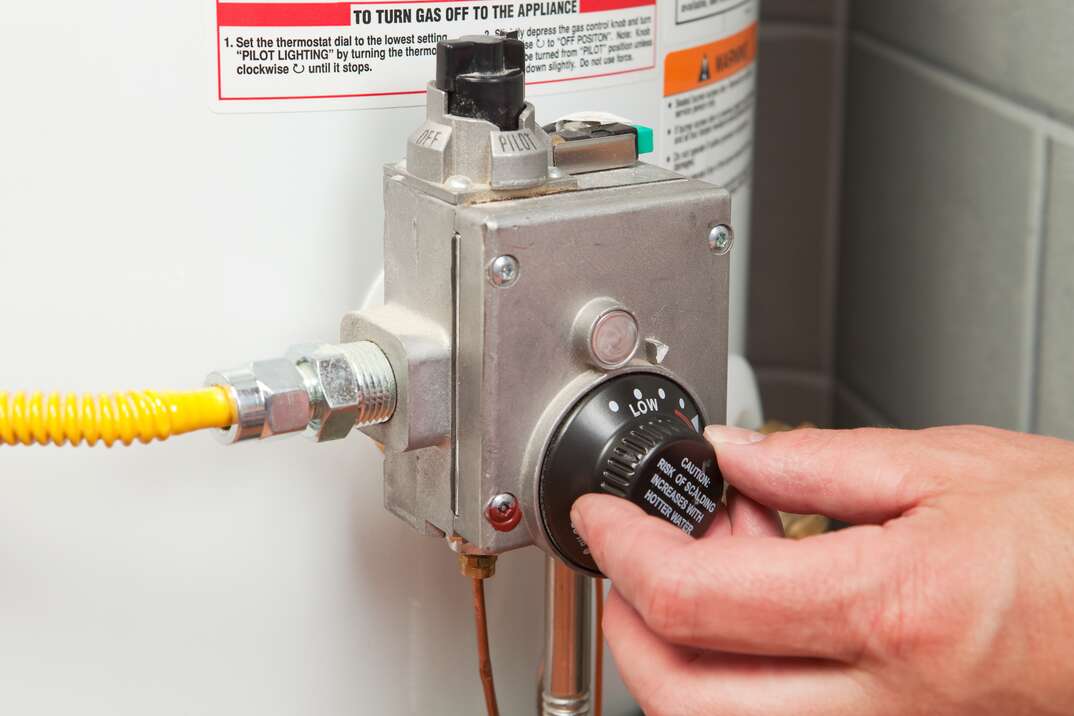
5 minsBefore starting any repairs, prioritize safety. Turn off the power to your electric water heater at the circuit breaker. For gas water heaters, turn the gas control knob to the 'off' position. Then, turn off the water supply valves to the water heater.
Watch: Turn Off Gas Supply
Inspect the Water Heater Thermostat
5 minsCheck the water heater's thermostat settings. Make sure it's set to the desired temperature (around 120°F is recommended). If the setting is too low, carefully adjust it upwards. If the thermostat is malfunctioning, consider replacement.
Watch: Replace Covers and Set Temperature
Testing the Heating Element (Electric Water Heaters)
30 minsFor electric water heaters, use a multimeter to test the heating element's resistance. Set your multimeter to ohms and measure the resistance across the element's terminals. A reading between 10 and 30 ohms (typically around 12, 16, or 18 ohms) indicates a functional element; an 'OL' (open line) reading suggests a faulty element requiring replacement.
Watch: Check Elements (Continuity)Common Problems
Electrical issues or no power
Solution: Double-check all connections and follow the installation steps carefully.
Prevention: Double-check that the power is off before proceeding.
Frequently Asked Questions
Why is turning off both the power and water supply the very first step in troubleshooting?
This is crucial for your safety. Turning off the power prevents electric shock, while shutting off the water supply prevents scalding and potential flooding if a component needs to be removed or replaced. Always confirm both are off before touching any part of the water heater.
Do I absolutely need a multimeter like the Pro'sKit Digital Multimeter MT-1280 for this project?
Yes, a multimeter is essential for accurately testing the resistance of electric heating elements. Without it, you cannot reliably determine if an element is faulty, which is a key diagnostic step for electric water heaters. It helps avoid unnecessary part replacements.
How difficult is this water heater troubleshooting for a beginner, and is the 2-hour estimated time realistic?
This project is rated beginner-friendly because it focuses on clear, step-by-step diagnostics. The 2-hour estimate is realistic for diagnosing the problem, assuming no immediate parts replacement is needed. If a heating element needs to be replaced, it might take a bit longer.
What if my water heater is gas, not electric? Are these troubleshooting steps still applicable?
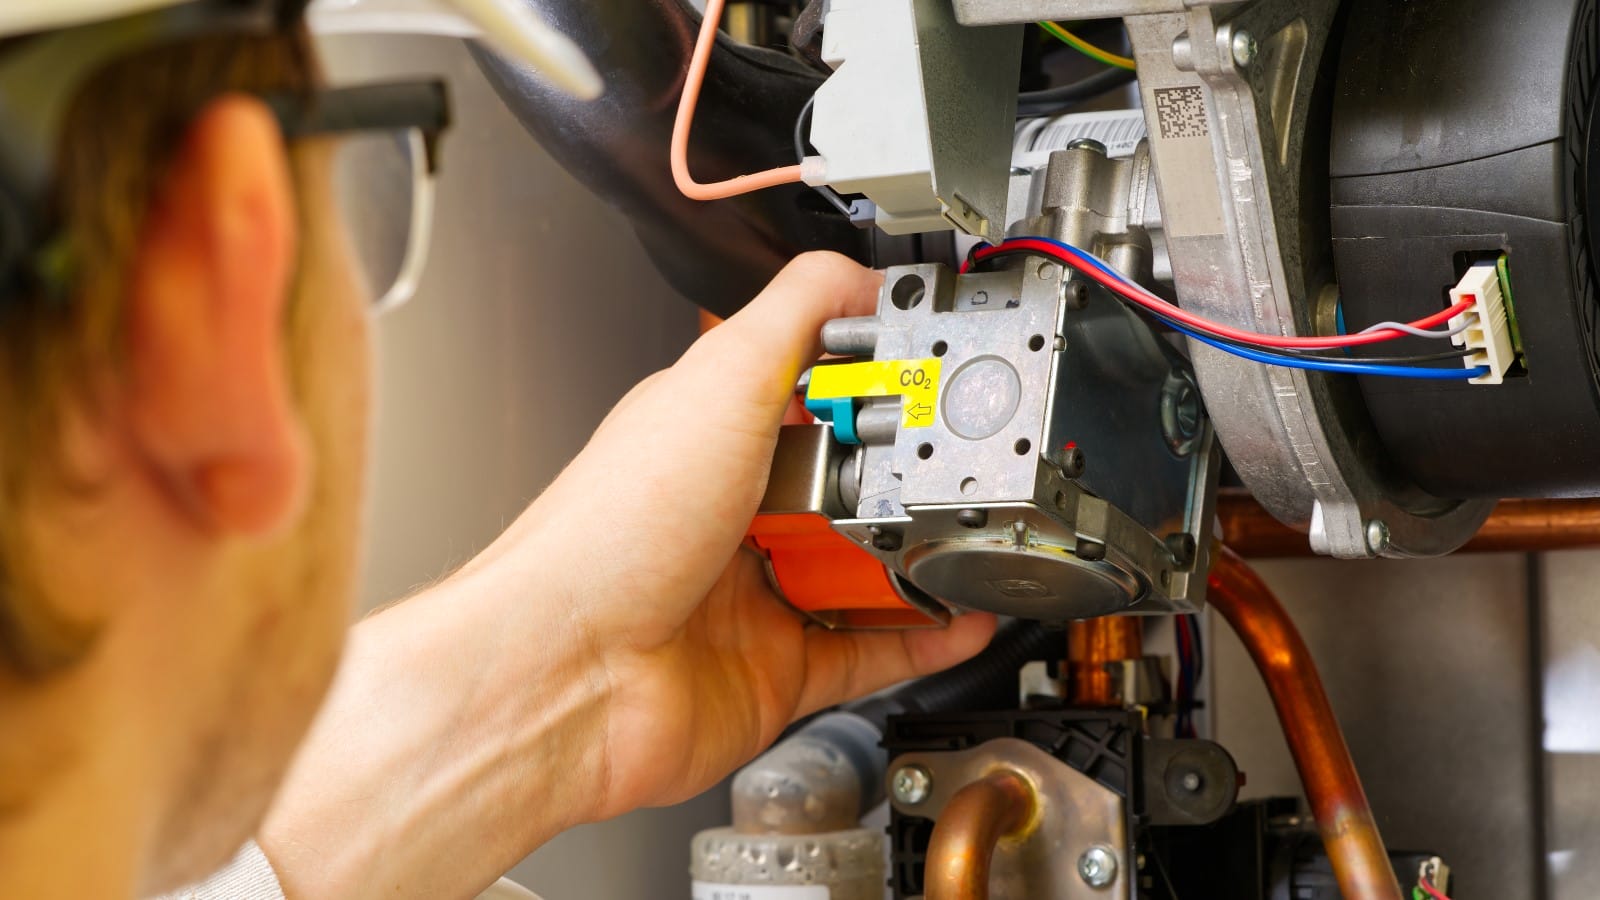
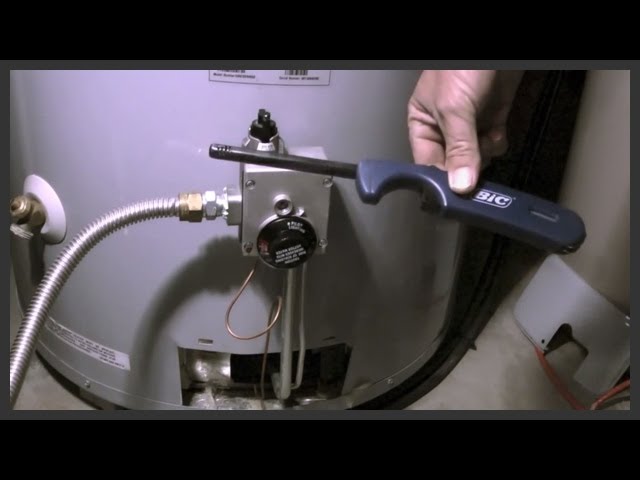
These specific steps, particularly testing heating elements, apply to electric water heaters only. Gas water heaters require different troubleshooting, typically focusing on the pilot light, thermocouple, or gas valve, and should not attempt electric element tests.
I've followed all the steps, but my water is still cold. What should I check next before calling a professional?
First, ensure the high-limit reset button (usually red) on the upper thermostat hasn't tripped; press it firmly. If the elements tested fine and the reset didn't work, consider issues with the thermostat itself or call a qualified plumber for further diagnosis of more complex internal problems.
What is the typical cost involved if I need to replace a faulty heating element myself?
Replacing a heating element is relatively inexpensive, with most elements costing between $15-$40. The main investment is typically the multimeter itself and your time. This DIY approach can save significantly on labor costs compared to hiring a professional.