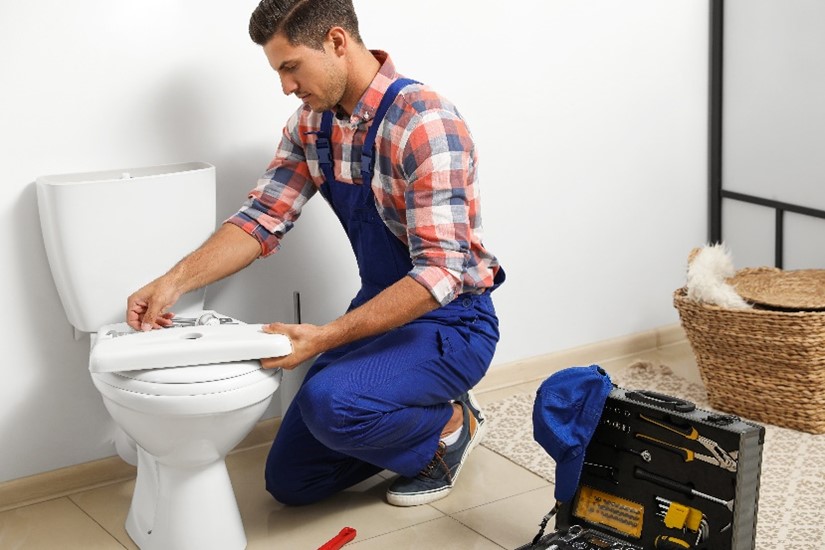
Toilet Fill Valve Replacement: A Step-by-Step DIY Guide
About This Project
This project details how to perform a toilet fill valve replacement. First, the water supply is shut off, and the toilet is flushed to empty the tank. Next, the old fill valve lock nut is removed to take the valve out of the tank, then disconnect the water supply line and absorb any excess water with a sponge. Install the new fill valve and lock nut into place. Finally, turn the water back on and check for leaks before flushing the toilet multiple times to ensure proper function and water levels below the overflow tube.
Best for homeowners and DIY enthusiasts.
Tools & Materials
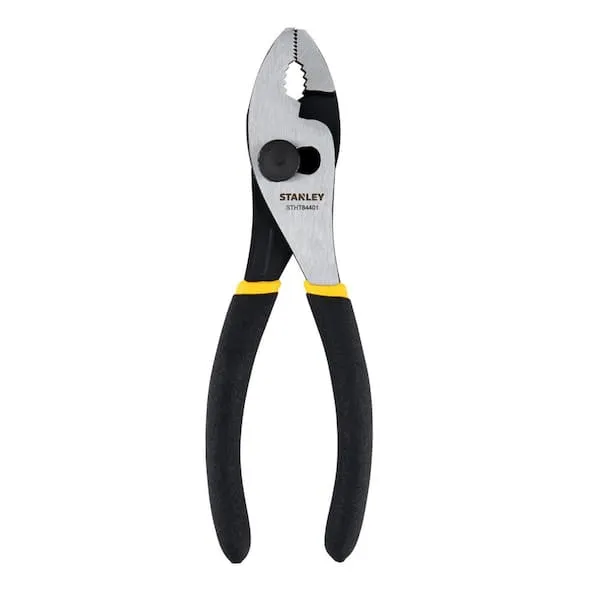
Pliers

HDX Multi-Purpose Sponge (2- Sponges) 32242
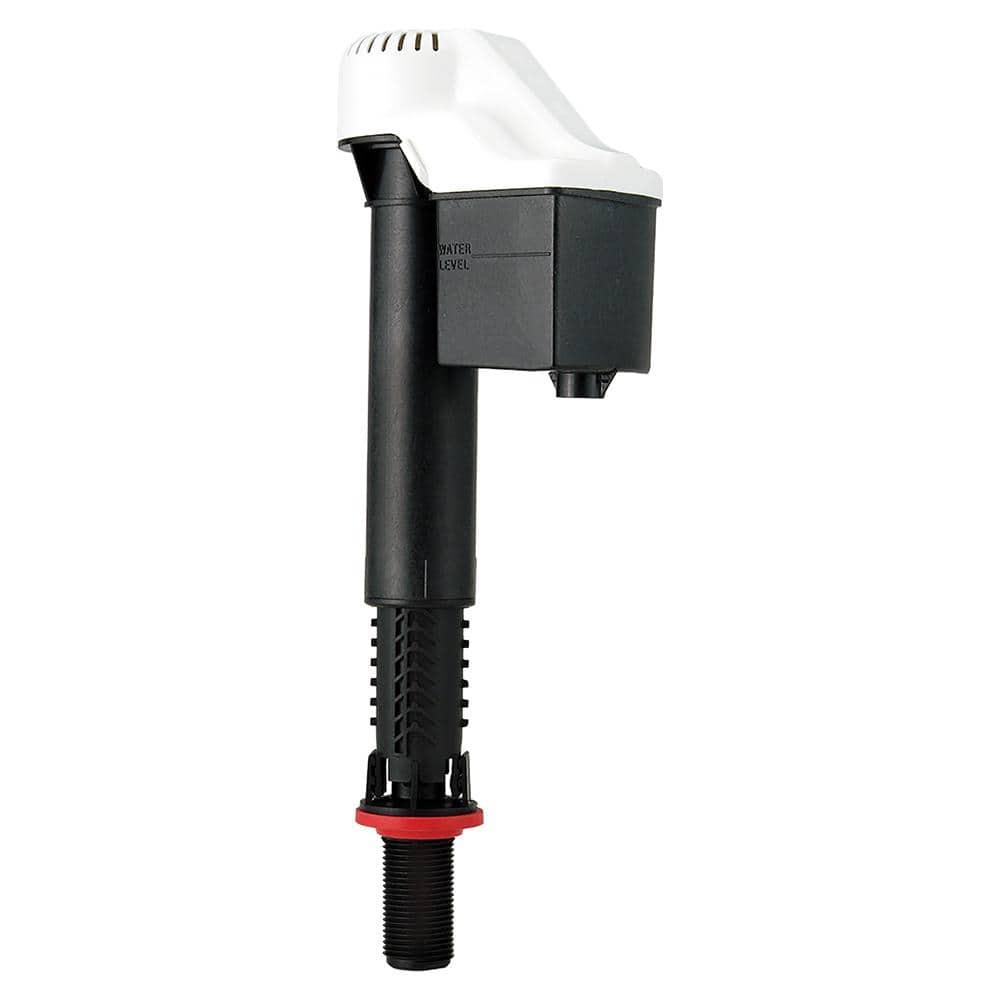
Korky QuietFill Toilet Fill Valve 528
Pliers
Grips and manipulates objects.
HDX Multi-Purpose Sponge (2- Sponges) 32242
HDX Hydrophilic Sponge 7.25 in. x 5 in. x 1.875 in. (2-Pack) highly absorbent, the HDX Sponge washes, wipes, and rinses faster. Strong enough for use with acid based products like TSP. Heavy-duty polyester
Korky QuietFill Toilet Fill Valve 528
Designed to fix no/slow refilling, running, and noisy toilets, the Korky QuietFILL Toilet Fill Valve is quieter than other fill valves. It has a universal design to fit all brands and features a wide range of adjustability to fit most 2-piece and 1-piece toilets. The QuietFILL Fill Valve is very easy to install and adjust; no tools are required. Simply remove your old fill valve or ballcock, insert your new Korky fill valve, and adjust. The innovative twist-lock adjustment makes installation easy. Designed to fit more toilets, the QuietFILL toilet fill valve adjusts to fit both large and compact toilet tanks. Easy to install, the 528 includes: Toilet Fill Valve, Refill Tube and Clip, Tamper Proof Key and Instructions.
Steps

Shut Off Water Supply and Flush Toilet
5 minsBegin by turning off the water supply to your toilet. Locate the shut-off valve (usually behind the toilet near the floor or wall) and turn it clockwise to stop the water flow. Then, flush the toilet to completely empty the tank. A sponge or towel can help remove any remaining water.


Common Problems
If any leaks are present, turn off the water and re-tighten the connections. Do not proceed until all leaks are fixed.
Solution: To avoid this issue: Be mindful of this warning and take appropriate precautions.
Incorrect water level after replacing the fill valve.
Solution: You may need to flush and refill the tank between adjustments to see the final water level.
Toilet won't stop running or won't fill properly.
Solution: Adjust the water level by squeezing the adjustment clip and moving the float up or down.
Toilet won't stop running or refill too slowly after replacement.
Solution: The process can be one of trial and error, so you may need to flush and adjust a few times.
Incorrect water levels or leaks due to a loose fill valve lock ring.
Solution: The water level in the tank should be just below the top of the overflow tube. The water level in the bowl should be at the desired level without spilling into the overflow tube. Be sure to tighten the lock ring on the fill valve to prevent issues when adjusting.
Toilet won't stop running, or flushes weakly.
Solution: The water level should be about a half-inch to an inch below the top of the overflow pipe.
Do not overtighten the plastic locknut, as this can easily crack the porcelain of the toilet tank.
Solution: To avoid this issue: Be mindful of this warning and take appropriate precautions.
Frequently Asked Questions
How long should a beginner expect this toilet fill valve replacement project to take?
For a beginner, this project typically takes about 30-60 minutes from start to finish. Most of the time is spent on preparation, ensuring the water is off, and then careful installation to prevent leaks. Rushing can lead to mistakes or water damage.
What specific tools are essential for replacing a toilet fill valve, beyond the new valve itself and a sponge?
You will primarily need an adjustable wrench or channel lock pliers to loosen and tighten the lock nut and water supply line. A small bucket or old towels are also highly recommended to catch any residual water from the tank or supply line.
What are the most common reasons for leaks after installing a new fill valve, and how can I fix them?
Leaks often occur at the connection points: where the supply line meets the valve, or where the valve secures to the tank. Ensure all connections are hand-tightened first, then a quarter to half turn with a wrench; avoid overtightening which can damage plastic threads. Double-check that the rubber washer (gasket) is seated correctly under the lock nut inside the tank.
Is it crucial to shut off the main house water supply, or just the toilet's shut-off valve, before starting this project?
You only need to shut off the individual toilet's water supply valve, usually located on the wall or floor beneath the toilet. Confirm it's fully closed by flushing the toilet and ensuring no more water enters the tank. Only shut off the main supply if the toilet's valve is faulty or inaccessible.
How do I properly adjust the water level in the tank once the new fill valve is installed?
Most new fill valves, like the Korky QuietFill, have an adjustment rod or screw on the top or side. After the tank fills, turn the screw or slide the clip to raise or lower the float cup until the water level is approximately one inch below the top of the overflow tube. This prevents water from constantly draining into the overflow.
Are all toilet fill valves universally compatible, or do I need to buy a specific model for my toilet?
Most modern fill valves, including the Korky QuietFill, are designed to be universal and fit a wide range of standard toilets. However, always check the height of your toilet tank and the adjustable range of the fill valve to ensure proper fit before purchase, especially for older or non-standard toilets.