Shower Fixture Installation & Replacement: A Complete DIY Guide
About This Project
This DIY guide details the process of installing or replacing shower fixtures, including the faucet. 1. **Turn Off the Shower's Water Supply:** Locate the shut-off valves, typically near the shower or on the main water line, and turn them clockwise until they stop. Confirm the water is off by checking faucets. 2. **Remove the Old Shower Fixtures:** Carefully remove existing fixtures (showerhead, arm, handle, escutcheon plate, valve trim) using a screwdriver or appropriate tools. Photograph the plumbing before disassembly. 3. **Install the New Shower Valve and Trim:** Install the new valve and trim according to the manufacturer's instructions. This may involve soldering copper pipes or using PEX/CPVC fittings. Ensure secure, leak-free connections. 4. **Install the Remaining Shower Fixtures:** Install the new showerhead, arm, handle(s), and escutcheon plate, ensuring tight connections. 5. **Thoroughly Test for Leaks:** Turn the water supply back on slowly and check all connections for drips. Fix any leaks immediately.
Best for advanced DIYers and professionals.
Tools & Materials
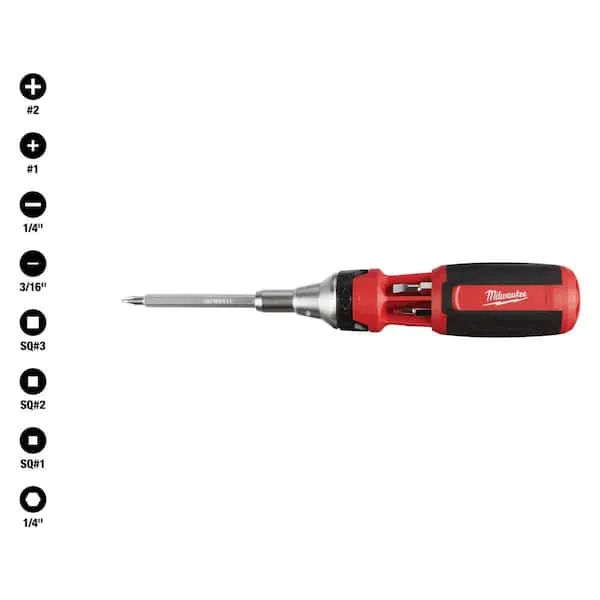
Screwdriver (Multi)
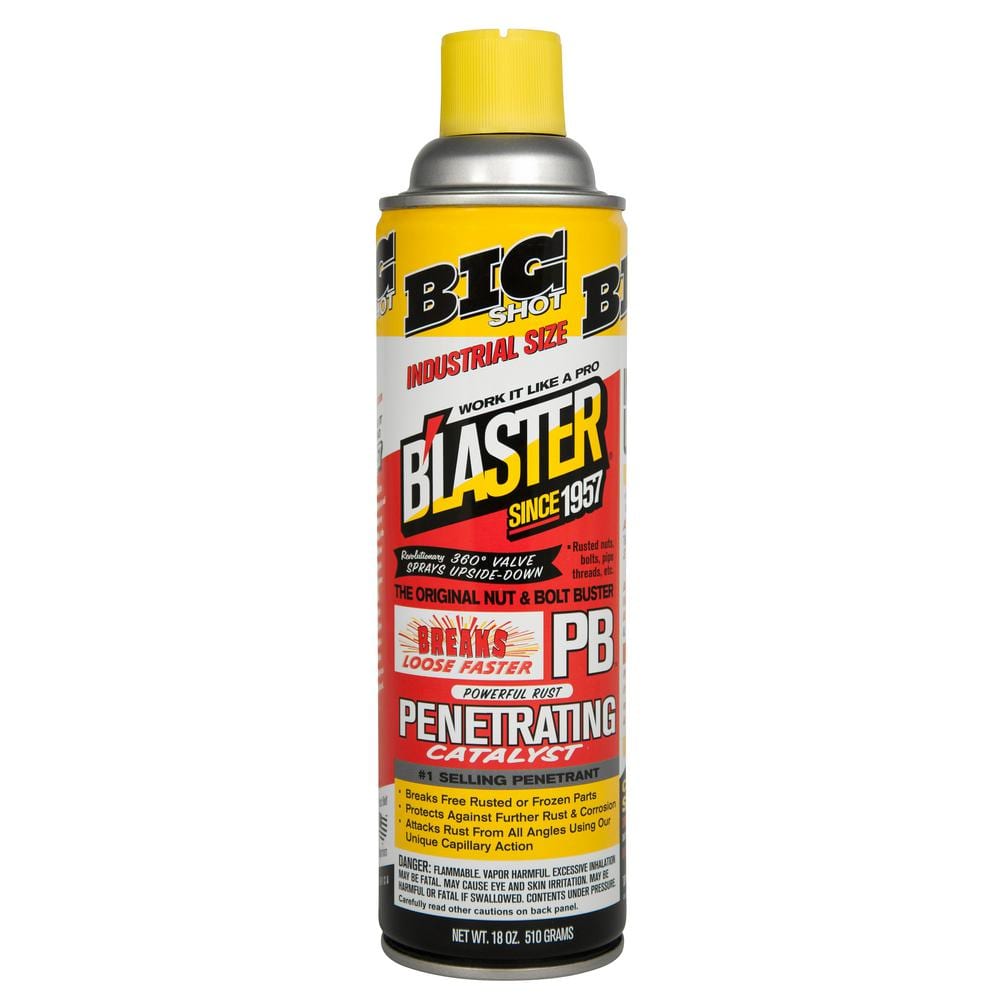
Blaster 18 oz. PB Penetrating Oil 26-PB
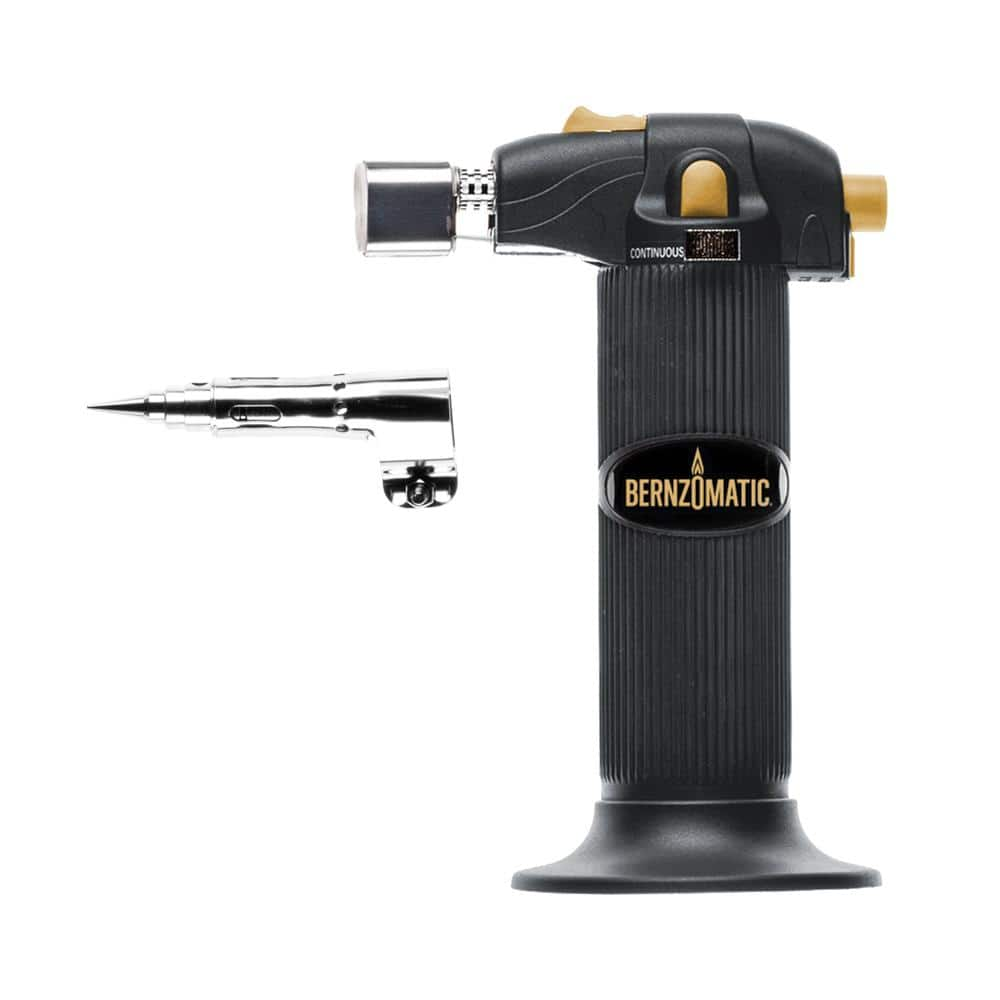
Bernzomatic Butane Detail Torch with Soldering Tip, Trigger Ignition and Flame Lock ST2200T
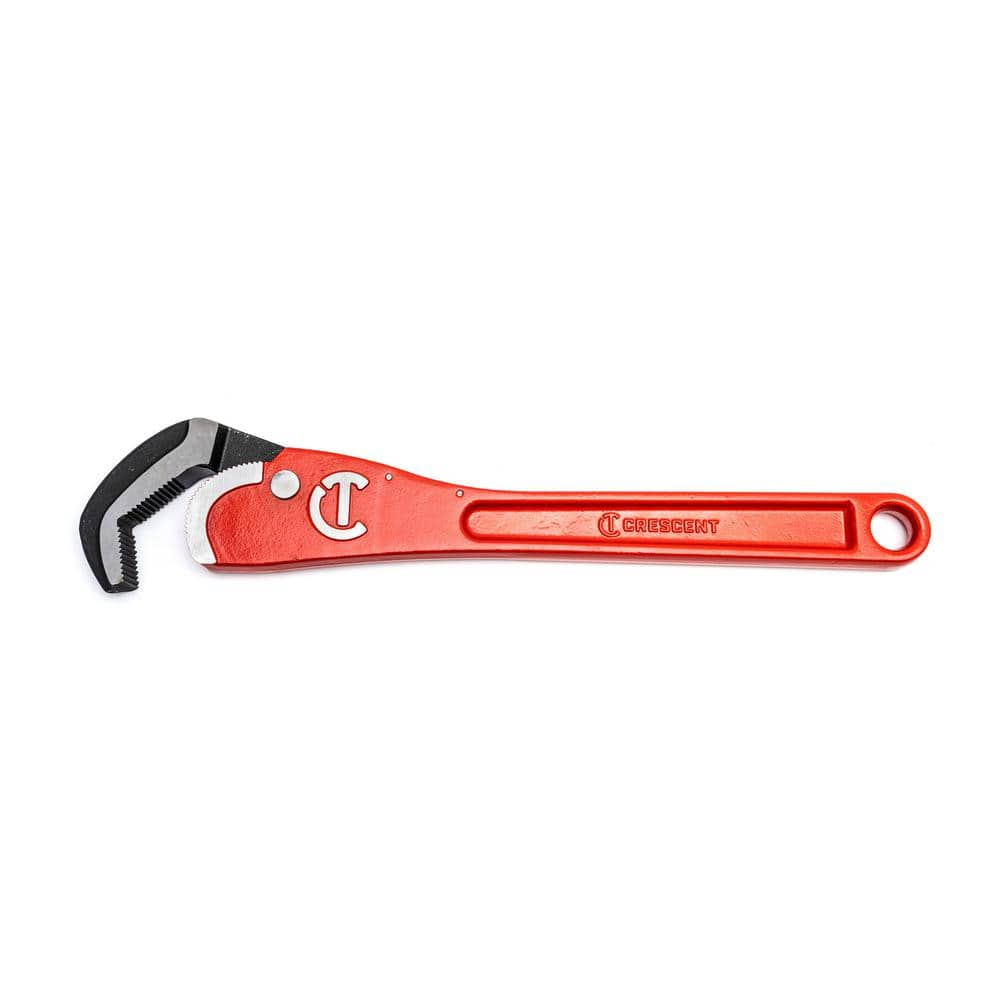
Crescent 16 in. Self Adjusting Pipe Wrench CPW16S
Oatey Safe Flo 1 lb. Lead-Free Silver Solder Wire 290252

Adjustable Wrench
Screwdriver (Multi)
Multiple bits for versatile use.
Blaster 18 oz. PB Penetrating Oil 26-PB
The #1-selling penetrant since 1957, PB Blaster quickly busts loose rusted or frozen parts caused by rust and corrosion. PB Blaster penetrant also contains a non-evaporating lubricant that protects against
Bernzomatic Butane Detail Torch with Soldering Tip, Trigger Ignition and Flame Lock ST2200T
The Bernzomatic Detail Torch with trigger start ignition provides instant flame activation and adjustable flame control for precise heat application. Its ergonomic design offers a comfortable grip, reducing
Crescent 16 in. Self Adjusting Pipe Wrench CPW16S
The Crescent Self-Adjusting Pipe Wrench features a unique head design that instantly grips and releases pipes and other types of fasteners with a fast ratcheting action. It is ideal for most surfaces including black iron, galvanized, PVC, and copper pipes, as well as nuts, bolts, and couplings. The spring-loaded head features a quick-grip and quick-release function that allows the wrench to be used with one hand.
Oatey Safe Flo 1 lb. Lead-Free Silver Solder Wire 290252
This Oatey 1 lb. Safe-Flo Silver Wire Solder is made from a lead-free alloy specifically formulated for use on lines that carry drinking water. This solder requires the use of flux (not included) and features a wide melting range, from 415 degrees Fahrenheit to 455 degrees Fahrenheit. Meets the requirements of the Safe Drinking Water Act.
Adjustable Wrench
Fits various nut and bolt sizes with its adjustable jaw.
Steps

Turn Off the Shower's Water Supply
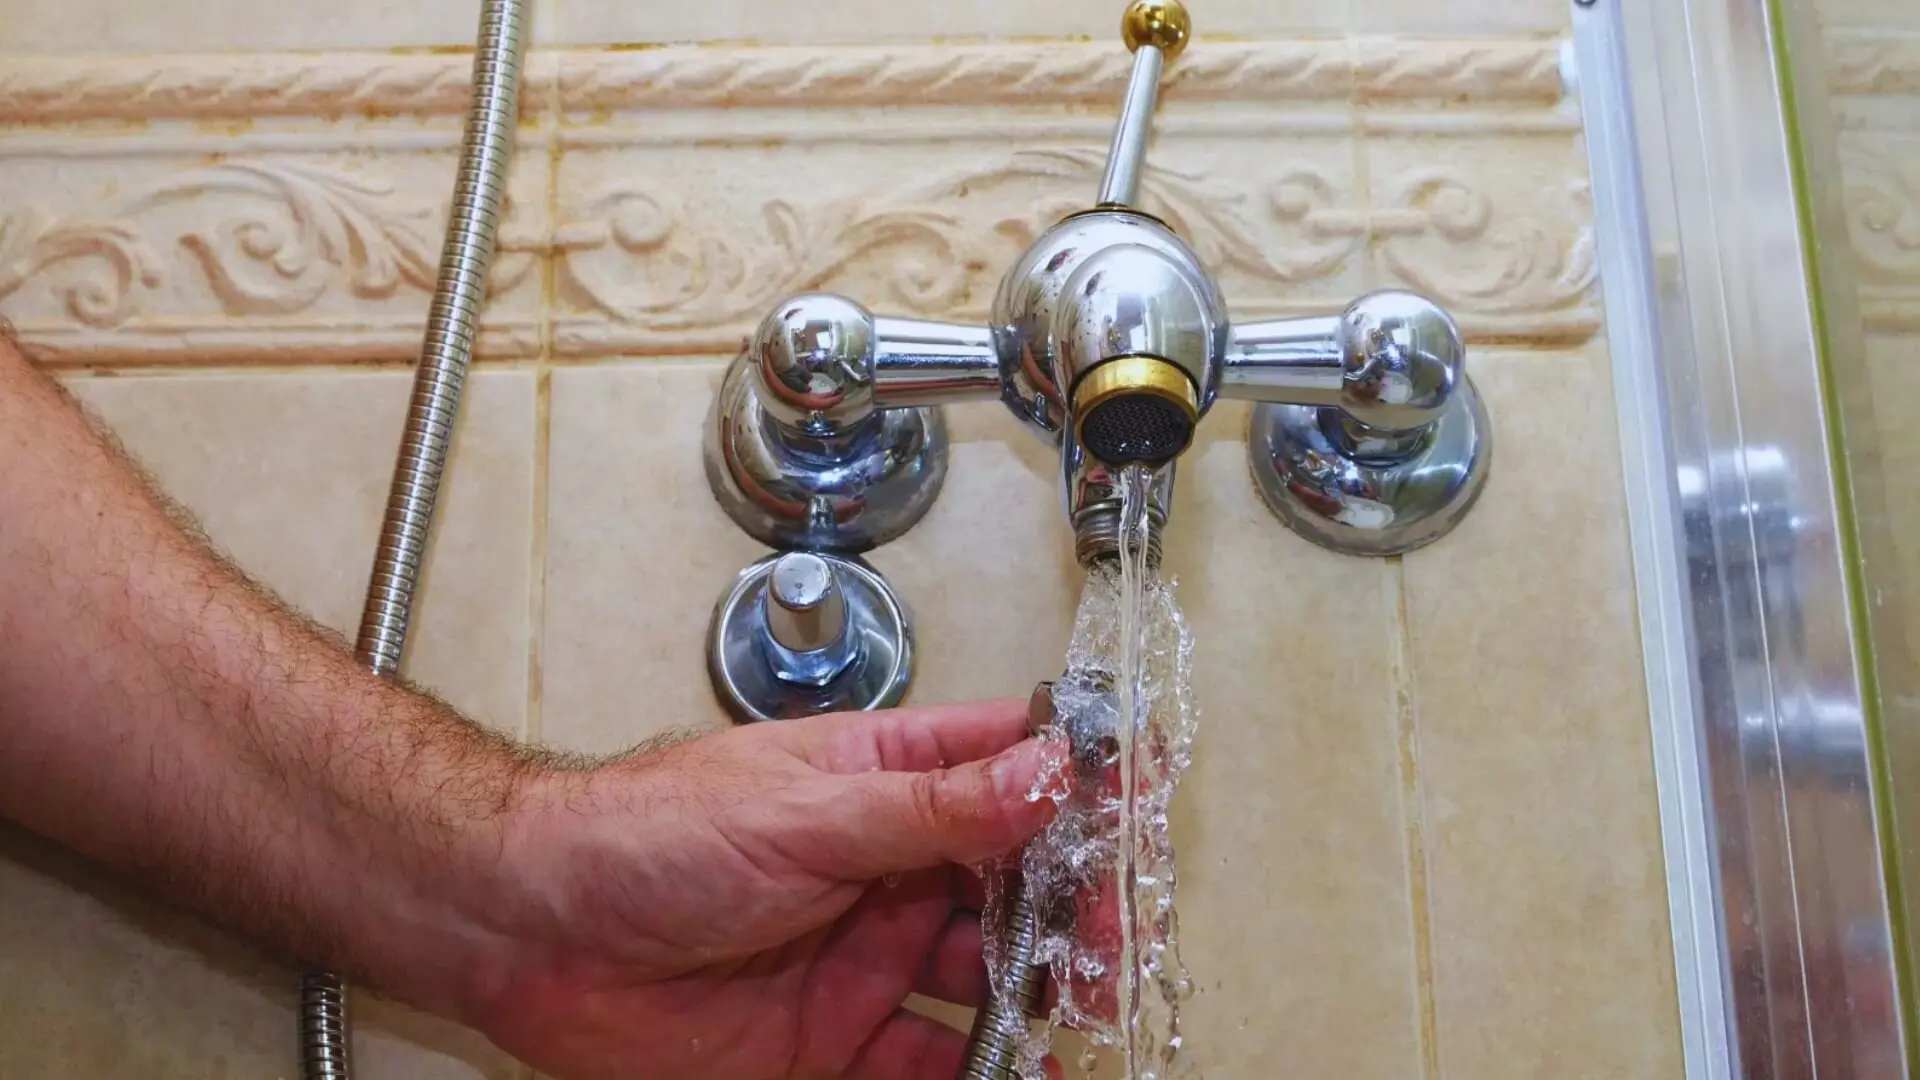
5 minsBefore starting, always turn off the water supply to the shower. Locate the shut-off valves near the shower or on the main water line and turn them clockwise to stop the water flow. Double-check that the water is completely off.
Watch: Turn off water supply
Remove the Old Shower Fixtures
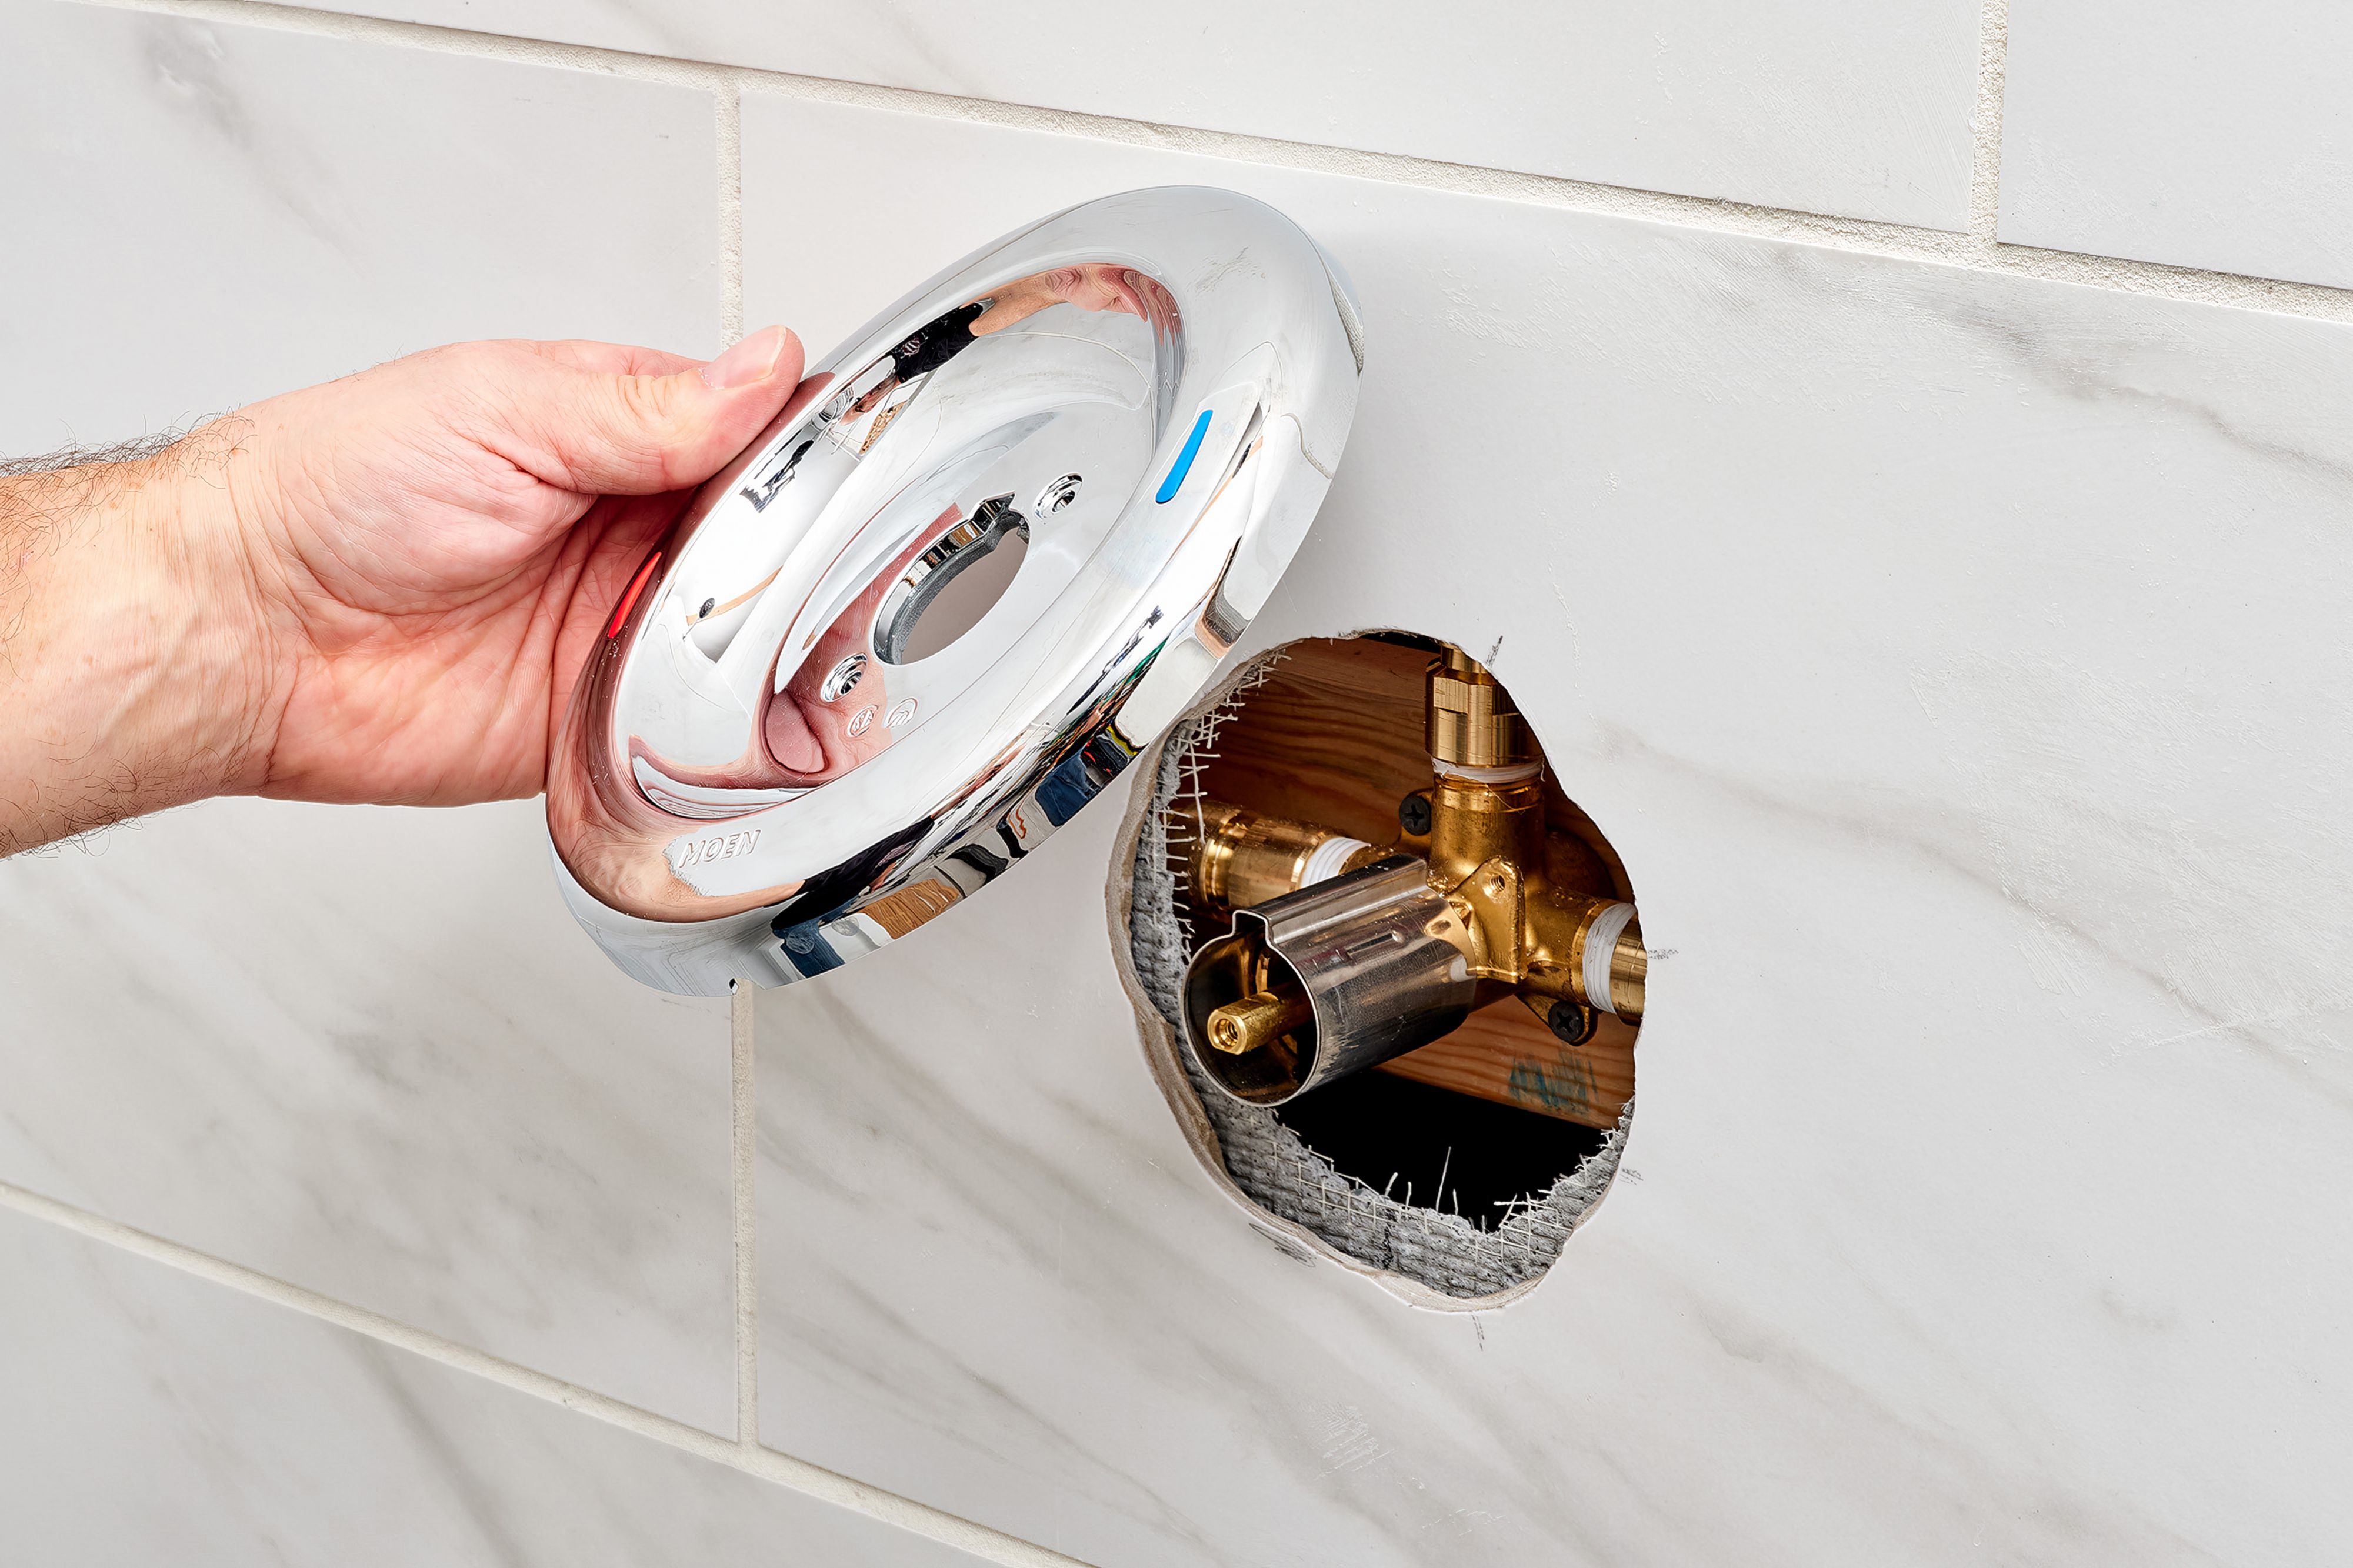
30 minsCarefully remove the old shower fixtures. This includes the showerhead, arm, handle(s), escutcheon plate, and valve trim. Use a screwdriver or the appropriate tool to loosen and remove each component. Take photos before disassembly to assist with reassembly.
Watch: Disassemble the Shower Fixture
Install the New Shower Valve and Trim
1 minInstall the new shower valve and trim, following the manufacturer's instructions precisely. This might involve soldering copper pipes or connecting PEX/CPVC fittings. Ensure all connections are secure and leak-free.
Watch: Solder the copper pipes and fittings

Common Problems
Joints corrode due to uncleaned, acidic flux residue.
Solution: After soldering, immediately wipe the joints with a damp cloth. This cleans off residual flux, which is acidic and can cause corrosion over time.
Soldering creates high heat and open flames. Take extreme caution and have a fire extinguisher nearby.
Solution: To avoid this issue: Be mindful of this warning and take appropriate precautions.
Plumber's tape unravels, causing leaks when screwing in the shower arm.
Solution: Wrap plumber's tape clockwise on the threads so it doesn't unravel when you screw the arm in.
Scratched or damaged finish on new shower arm.
Solution: Protect the finish of the new shower arm by wrapping it with a cloth or rag before gripping it with pliers.
Stripped threads or scratched finishes on the shower arm from improper tightening.
Solution: Inserting plier handles into the shower arm provides good leverage for tightening without scratching the finish.
Turn the water back on slowly to prevent a sudden surge of pressure that could damage fittings.
Solution: To avoid this issue: Be mindful of this warning and take appropriate precautions.
Sudden water surges and pipe banging can occur.
Solution: Turn the water on slowly to allow air to escape the pipes and to avoid a water hammer effect.
Frequently Asked Questions
The project difficulty is listed as 'beginner' and estimated at 4 hours. Is this realistic if I've never done plumbing before?
While 'beginner' refers to the skills needed, plumbing can be unpredictable. Allow extra time, especially if you encounter old, stubborn fixtures or need to adapt to existing plumbing. Having the right tools and watching a few video tutorials beforehand will greatly increase your chances of success within the estimated timeframe.
My project lists a soldering torch, but I'm uncomfortable with soldering. Are there alternatives for connecting the new shower valve?
Absolutely! Many modern shower valves are designed for PEX or CPVC connections, which use crimp, push-to-connect (e.g., SharkBite), or solvent weld fittings. These methods are often more beginner-friendly than soldering copper pipes and eliminate the need for a torch, if your existing plumbing can be adapted.
What's the most common reason for leaks after installing new shower fixtures, and how can I prevent them?
Leaking typically occurs due to improperly tightened connections or damaged seals. Always apply plumber's tape (PTFE tape) or pipe dope on all threaded connections before tightening. Hand-tighten first, then use a wrench for another quarter to half turn, being careful not to overtighten and strip threads. Test thoroughly before closing up walls.
I can't find a specific shut-off valve for my shower. What should I do?
If your shower doesn't have dedicated shut-off valves, you'll need to turn off the main water supply to your entire home. Locate your main water shut-off valve, usually in your basement, utility closet, or near the water meter outside. Always confirm the water is off by checking other faucets before proceeding with any disassembly.
What if my old shower fixtures are corroded or stuck and won't come off easily?
Corrosion is common with older fixtures. Apply penetrating oil (like WD-40) and let it sit for a while to loosen rusted parts. Use appropriate tools like a pipe wrench or channel locks for added leverage, but be careful not to damage surrounding tile or plumbing. Sometimes a little focused heat (from a hair dryer, not a torch) can help expand stubborn metal parts.
Beyond the listed tools, what's one essential item a beginner might overlook for this project?
A good flashlight or headlamp is incredibly useful, especially when working in cramped, dark shower recesses. Also, have a bucket and plenty of rags handy for unexpected drips or spills, and some plumber's tape (PTFE tape) for threaded connections, even if not explicitly listed as a primary tool.
How much should I expect to spend on new shower fixtures for a typical replacement project?
The cost of new shower fixtures varies widely based on brand, material, and features, ranging from about $50 for basic sets to several hundred dollars for high-end options. Consider your budget and the desired aesthetic, but prioritize quality for internal valve components to ensure longevity and reliable performance.