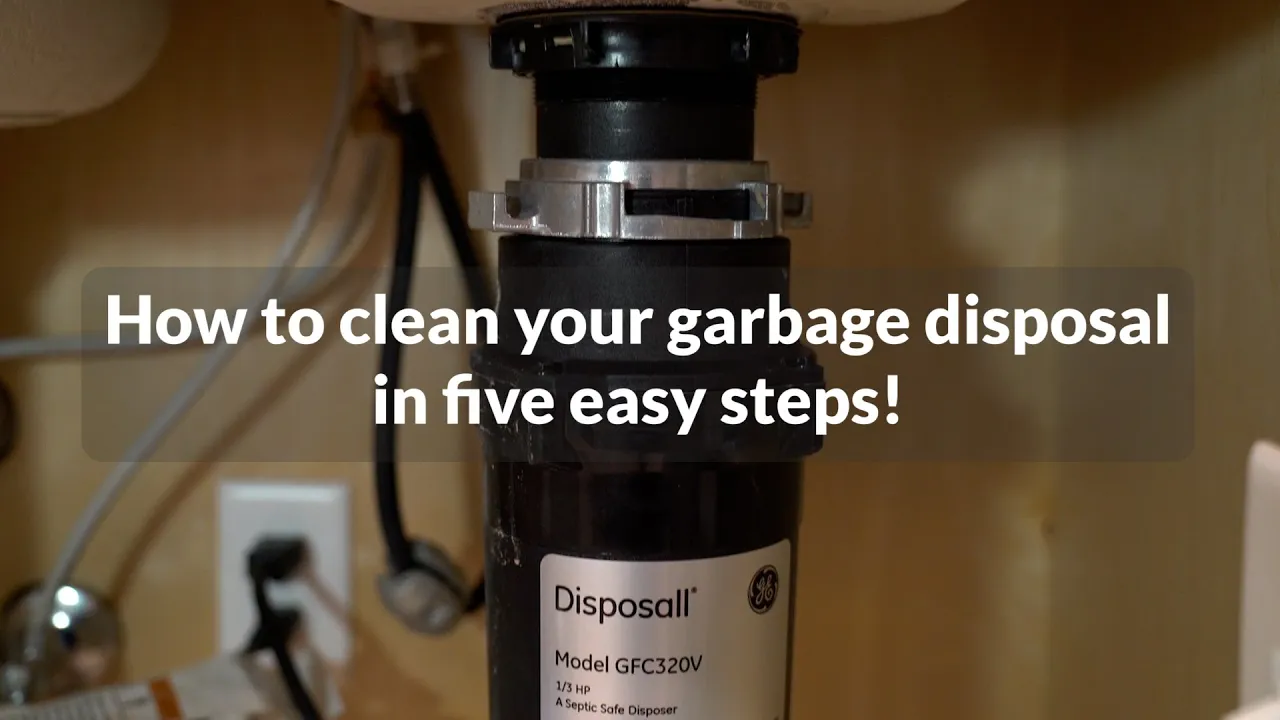
Sears Kenmore Garbage Disposal Removal: A Step-by-Step DIY Guide
About This Project
1. **Disconnect Power:** Turn off the power to the garbage disposal at the circuit breaker to prevent electrical shock. 2. **Disconnect the P-trap:** Place a bucket below the P-trap to catch spills and disconnect it from the disposal and drain line using pliers or a basin wrench. 3. **Disconnect Dishwasher Drain (if applicable):** If connected, disconnect the dishwasher drain line from the disposal by loosening the clamp and detaching the hose. 4. **Detach the Disposal from the Sink:** Loosen and remove the mounting ring, supporting the disposal from below. Disconnect the electrical wiring after lowering the disposal.
Best for experienced DIYers and homeowners with some experience.
Tools & Materials
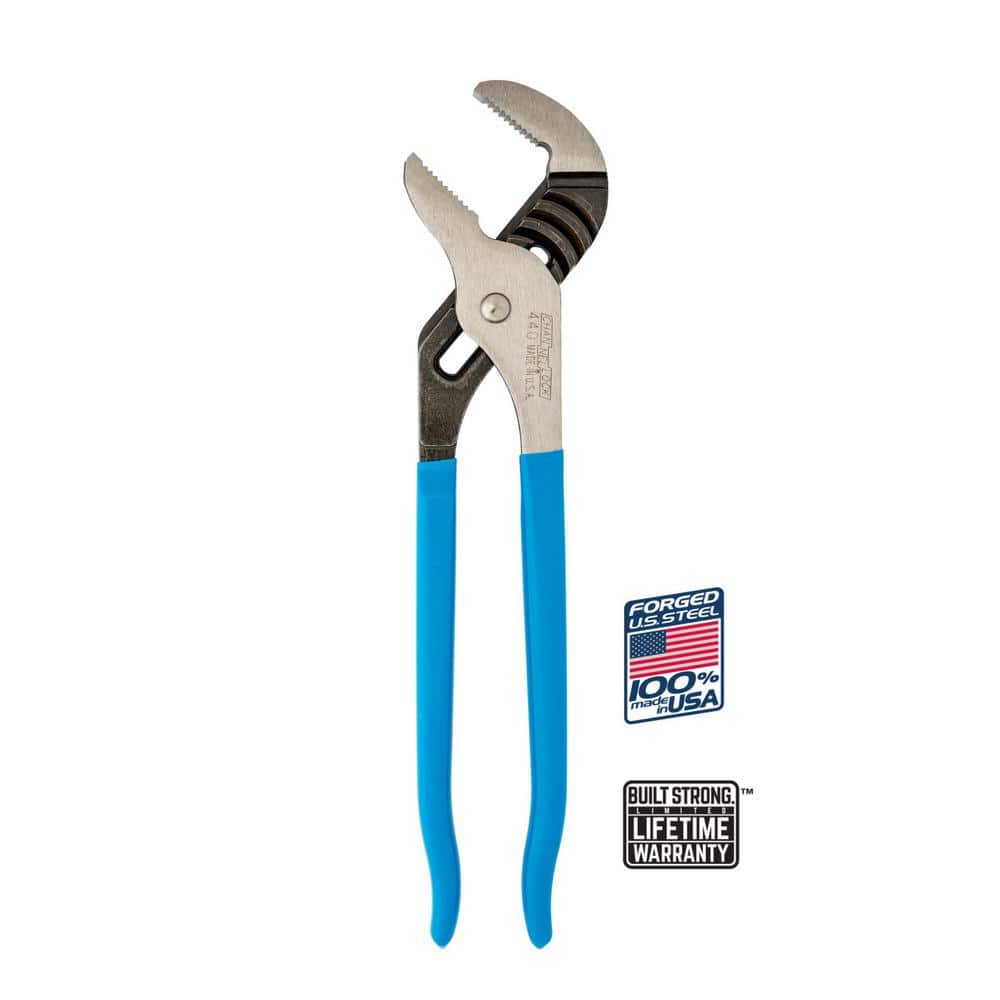
Channellock 12 in. Tongue and Groove Slip Joint Pliers 440

Unger 6 Gal. Heavy-Duty Plastic Bucket DB02
Screwdriver
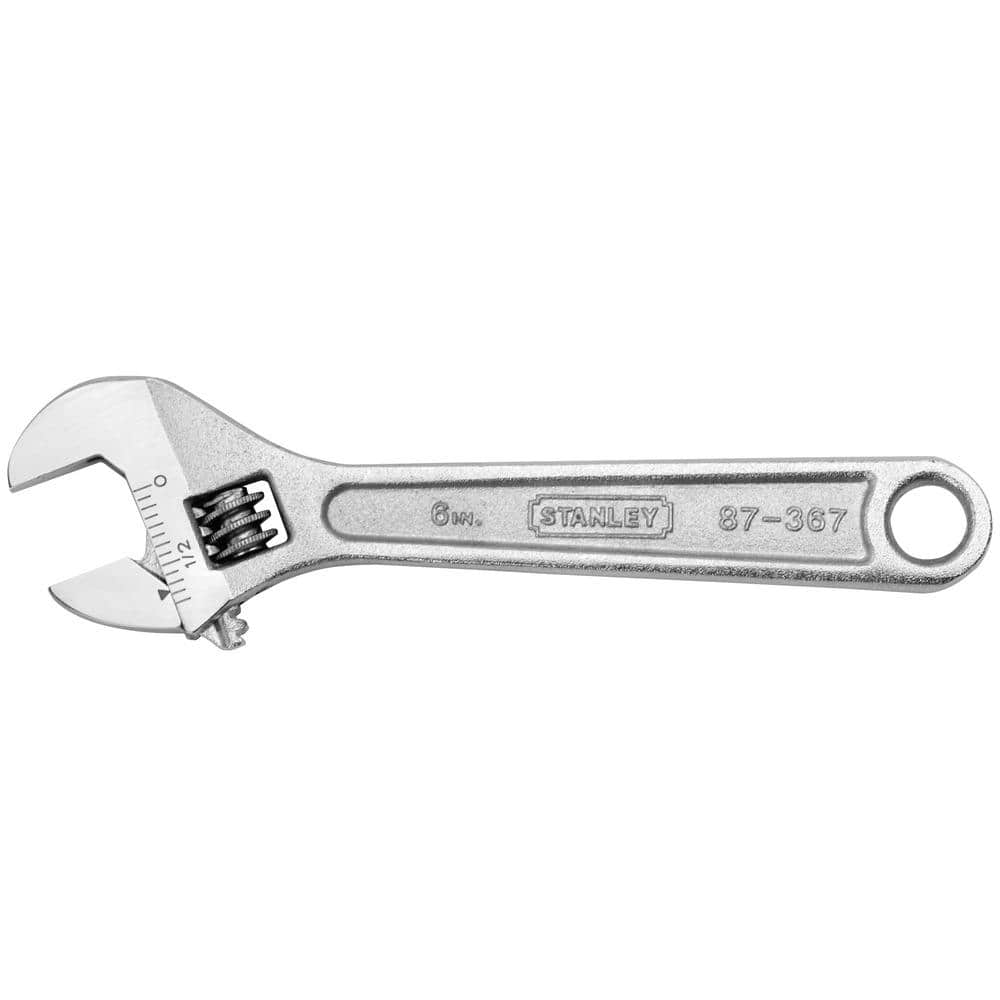
Stanley 6 in. Adjustable Wrench 87-367L
Channellock 12 in. Tongue and Groove Slip Joint Pliers 440
The Channellock 12 in. Straight Jaw Tongue and Groove Pliers are constructed with high-carbon C1080 steel. The tool is fashioned with laser heat-treated teeth that clamp down perpendicularly for strong,
Unger 6 Gal. Heavy-Duty Plastic Bucket DB02
The Unger 6-Gallon Heavy-Duty Professional Cleaning Bucket holds more than 6 Gal. of liquid. The bucket can accommodate a scrubber up to 14 in. L. This bucket features measurement marks and 2-pour spouts
Screwdriver
Essential for assembling the cart with screws and installing hardware like gate latches.
Stanley 6 in. Adjustable Wrench 87-367L
The Stanley 6 in. Chrome Adjustable Wrench features an adjustable jaw design that allows tool to grip many fastener sizes with ease. The Knurl adjusting mechanism allows for precise adjustment. Laser-etched
Steps

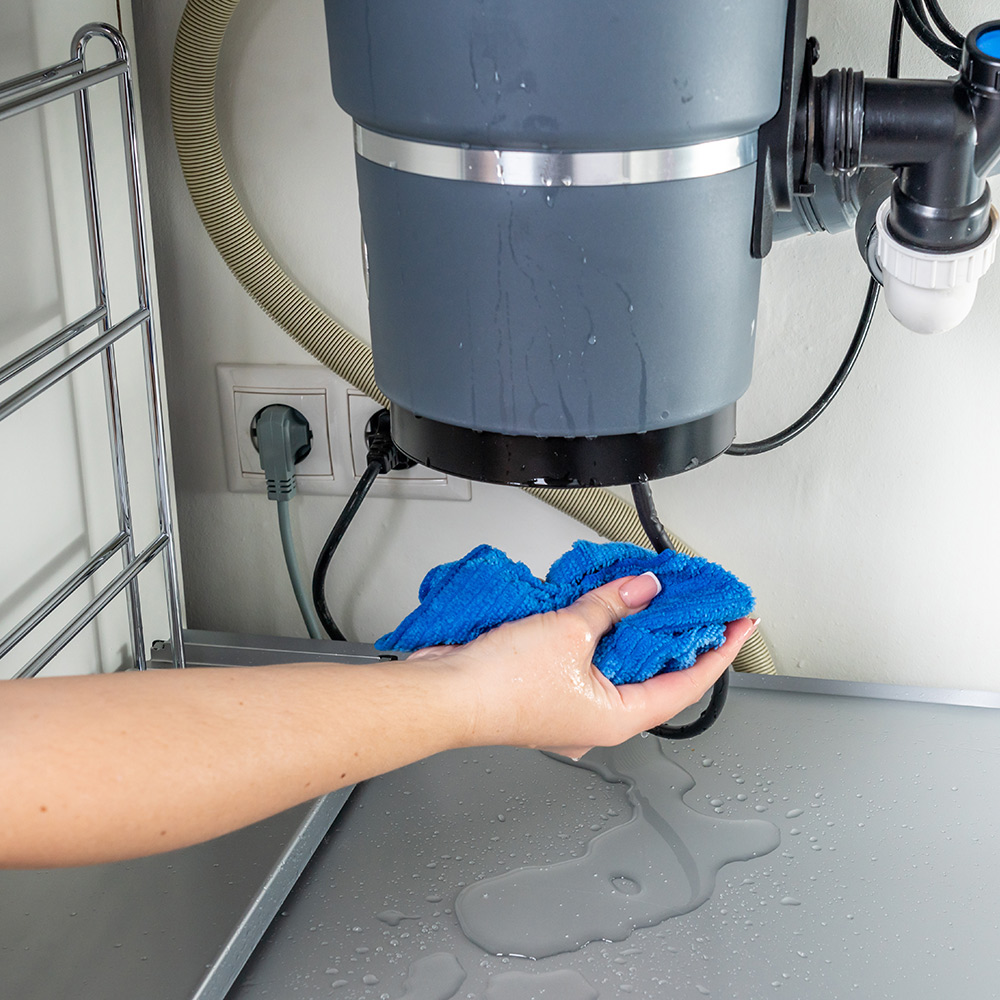
Disconnect Power: Safety First
5 minsBefore beginning any work, always prioritize safety. Turn off the power to the garbage disposal at the circuit breaker. Then, double-check that the power is completely off by attempting to turn on the disposal switch. This crucial step prevents electrical shock.


Detach the Disposal from the Sink
30 minsLoosen and remove the mounting ring holding the disposal to the sink flange. This typically involves rotating the ring counter-clockwise. Support the disposal from below while carefully removing the mounting bolts. Gently lower the disposal and disconnect the electrical wiring.
Common Problems
Safety concern: Always disconnect power before working on any electrical appliance.
Solution: Take proper safety precautions. Always disconnect power before working on any electrical appliance.
Prevention: Always follow safety guidelines before starting the project.
Always verify the power is off before proceeding. This is the most critical safety step.
Solution: To avoid this issue: Be mindful of this warning and take appropriate precautions.
This is the most important safety step. Always ensure the power is off before putting tools or hands near the disposal.
Solution: To avoid this issue: Be mindful of this warning and take appropriate precautions.
Accidental re-energization of the disposal during removal.
Solution: Post a sign on the breaker box to let others know you are working on the circuit.
Failure to disconnect power can result in severe injury. This is the most important step.
Solution: To avoid this issue: Be mindful of this warning and take appropriate precautions.
This is the most critical step. Never put your hands or any object into the disposal unless you are absolutely certain the power is off.
Solution: To avoid this issue: Be mindful of this warning and take appropriate precautions.
Failure to disconnect the power can result in serious injury. Double-check that the unit has no power before proceeding.
Solution: To avoid this issue: Be mindful of this warning and take appropriate precautions.
Frequently Asked Questions
How do I ensure I don't get electrocuted when working with the disposal's electrical wiring?
Always start by turning off the power to the garbage disposal at your home's main electrical panel or circuit breaker. It's crucial to then use a non-contact voltage tester to confirm that no power is reaching the disposal's wiring before you touch any electrical components, even after flipping the breaker.
Are the specified tools, like Channel lock pliers and a basin wrench, absolutely necessary, or can I use regular tools?
While some connections might be managed with standard tools, Channel lock pliers provide a superior grip for the P-trap and drain lines, reducing slipping. A basin wrench is highly recommended for reaching and loosening the mounting nuts in the tight space under the sink, making the job significantly easier and less frustrating.
What's the best way to prevent water spills and a messy cleanup when disconnecting the P-trap?
To prevent water damage and a mess, always place a large, sturdy bucket directly underneath the P-trap before you begin to disconnect it. This will catch any residual water, food debris, or sludge that might still be in the trap and drain lines, keeping your cabinet clean.
Is this project genuinely suitable for a beginner, and can it realistically be completed within the 2-hour estimate?
Yes, this project is rated beginner-friendly, as it primarily involves disconnecting existing components. The 2-hour estimate is reasonable for someone with basic DIY experience, assuming you have all the tools ready and don't encounter heavily corroded or seized parts. Allowing a little extra time for unforeseen issues is always a good idea.
My dishwasher drains into the disposal; how do I handle this connection properly during removal?
If your dishwasher drain hose is connected to the disposal, you'll need to locate the clamp securing it, usually on a small inlet on the side of the disposal. Use a screwdriver or pliers to loosen this clamp, then carefully pull the hose off. Be prepared with a rag to catch any small amount of water remaining in the hose.
What should I do if the disposal's mounting ring is stuck, or the unit feels too heavy to support while detaching?
For a stuck mounting ring, try spraying a penetrating lubricant, like WD-40, on the threads and connections, allowing it to soak for a few minutes. If the disposal feels too heavy, recruit a helper to support it from below, or use a car jack (with a block of wood) or a stack of books to temporarily hold its weight while you work on the mounting ring.