

Leaky Garbage Disposal Repair: Bottom Seal Replacement Guide
About This Project
This guide helps you repair a leaky garbage disposal, focusing on replacing the bottom seal. It starts by emphasizing safety, instructing you to disconnect the power supply at the breaker or outlet. Next, you'll disconnect the plumbing, including the drain trap and discharge pipe, using pliers and a basin wrench while having a bucket handy. The final step involves installing the new garbage disposal, connecting the plumbing and wiring according to the manufacturer's instructions, and testing for leaks.
Best for experienced DIYers and homeowners with some experience. Requires access to electrical panel.
Tools & Materials
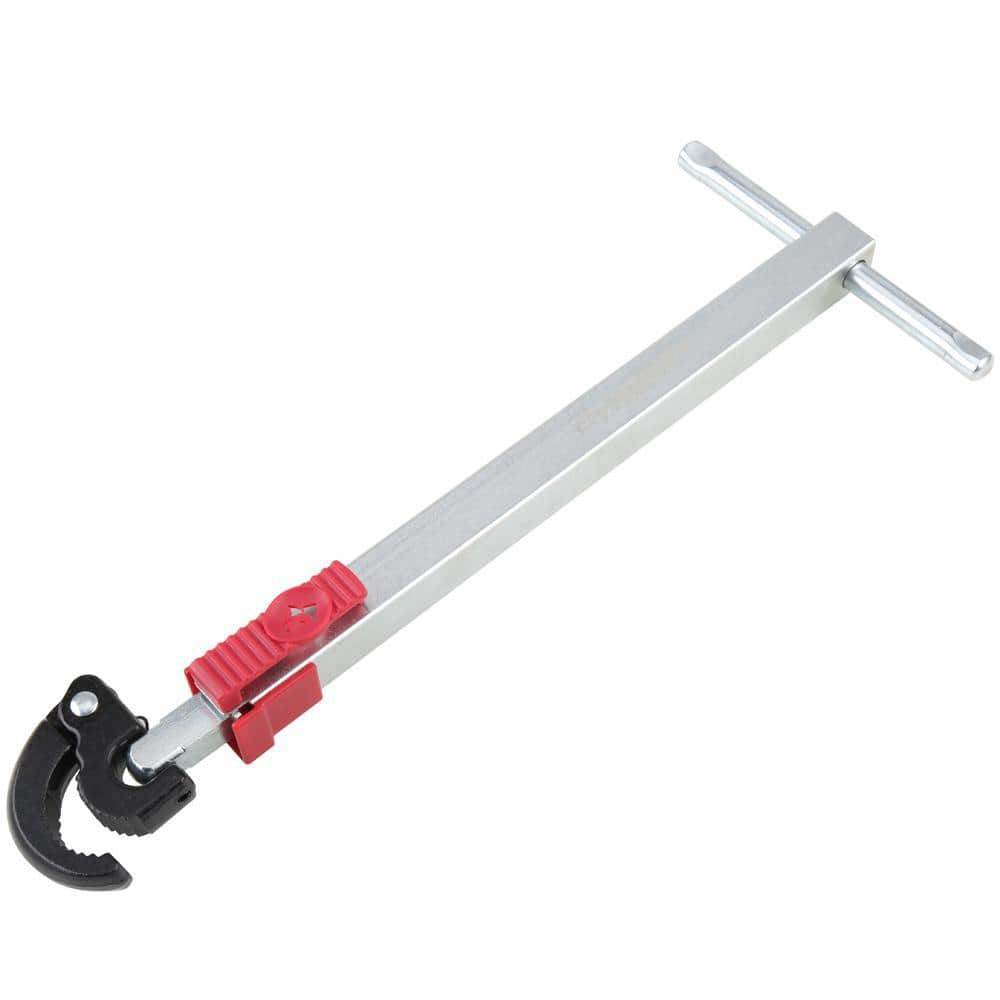
Husky 1-1/2 in. Quick-Release Telescoping Basin Wrench 80-546-111

Unger 6 Gal. Heavy-Duty Plastic Bucket DB02
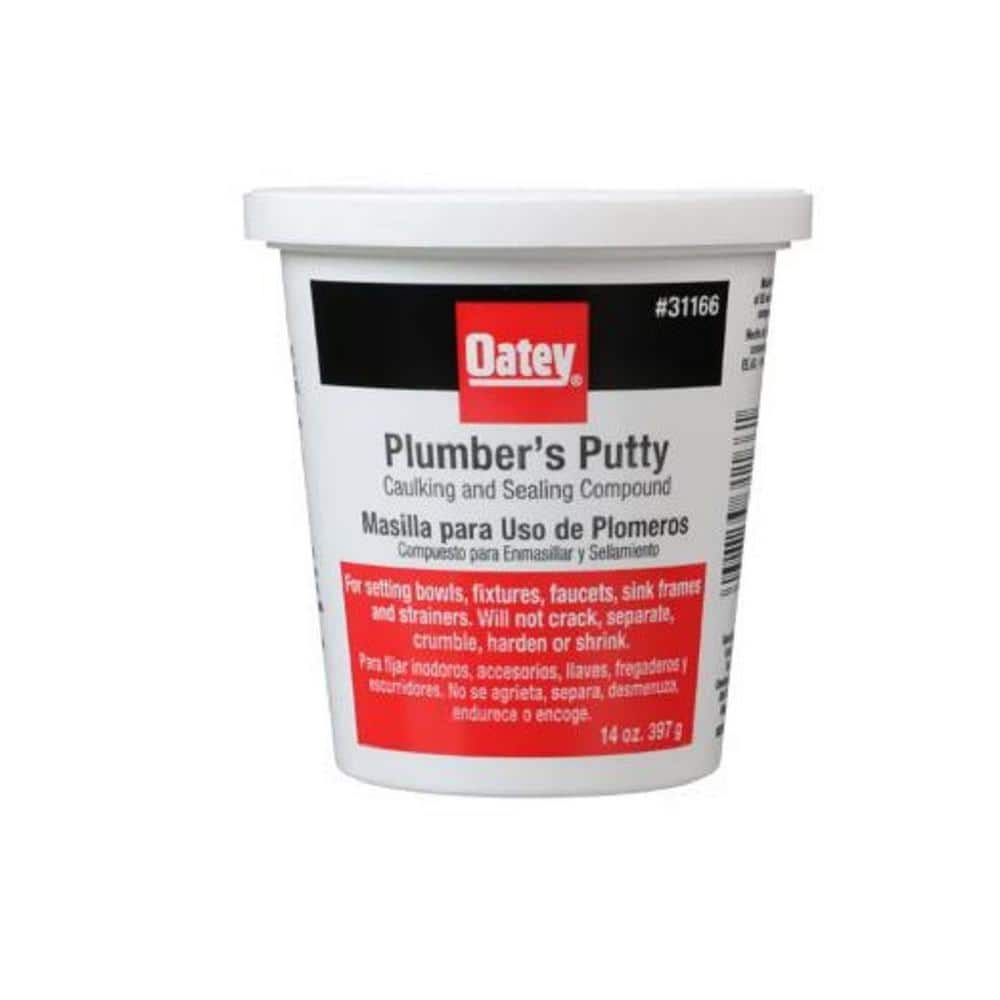
Oatey 14 oz. Plumber's Putty 311662
Husky 1-1/2 in. Quick-Release Telescoping Basin Wrench 80-546-111
Husky's Quick Release Telescoping Plumbing Basin Wrench is ideal for tightening and removing faucet and fill valve nuts. It features a versatile, multi-position telescoping range of 12-1/2 in. up to 19
Unger 6 Gal. Heavy-Duty Plastic Bucket DB02
The Unger 6-Gallon Heavy-Duty Professional Cleaning Bucket holds more than 6 Gal. of liquid. The bucket can accommodate a scrubber up to 14 in. L. This bucket features measurement marks and 2-pour spouts
Oatey 14 oz. Plumber's Putty 311662
The Oatey 14 oz. Plumber's Putty is an easy-to-mold setting compound designed for use with stainless-steel sealing applications such as frames, faucets and strainer baskets. Not for use on plastic, marble,
Steps

Disconnect the Power Supply
5 minsBefore starting any repairs, safety is paramount. Turn off the power to your garbage disposal. This can be done by switching off the breaker in your electrical panel that corresponds to the garbage disposal or by unplugging it from the outlet. Place a bucket under the disposal to catch any dripping water.

Disconnect the Plumbing
20 minsCarefully disconnect the plumbing from your garbage disposal. This usually involves removing the P-trap and the discharge pipe. Use appropriate tools, such as a basin wrench or slip-joint pliers, to gently loosen and disconnect these connections. Have a bucket or towels ready to catch any residual water.

Install the New Garbage Disposal Unit
1 minGiven the leak, replacing the entire garbage disposal is often the most effective solution. Install the new unit according to the manufacturer's instructions. This typically includes connecting the plumbing, wiring, and securing the unit to the sink. Remember to test for leaks after the installation is complete.
Common Problems
Electrical issues or no power
Solution: Apply plumber's putty to the flange before mounting the new disposal.
Prevention: Double-check the power is off by trying to turn on the disposal.
Frequently Asked Questions
Why is it so crucial to disconnect the power at the breaker or outlet before starting this repair?
Disconnecting power is the most critical safety step to prevent severe electrical shock or injury while working with the unit. Always verify the power is off at the breaker or by unplugging the unit directly before touching any wires or plumbing connections.
Is a basin wrench truly essential for this project, or can I use regular pliers?
A basin wrench is highly recommended as it's specifically designed to reach and loosen the nuts in the tight, awkward spaces under the sink that regular pliers often cannot access. While pliers might work for some visible nuts, a basin wrench will make the job significantly easier and help prevent stripped fasteners.
As a beginner, how confident should I be about completing this within the estimated 3 hours, and what if I'm not familiar with plumbing?
This project is rated 'beginner' because it primarily involves disconnecting and reconnecting pre-existing parts, not complex plumbing theory or pipe soldering. The 3-hour estimate accounts for potential learning curves, gathering tools, and careful testing, making it achievable for most first-timers if instructions are followed diligently.
What are the most common reasons a new garbage disposal might leak immediately after installation, and how can I prevent it?
The most common causes for leaks are improper sealing around the sink flange or loose plumbing connections. To prevent this, ensure you apply a generous, continuous rope of plumber's putty around the sink flange before seating the disposal, and meticulously hand-tighten all pipe connections before a final quarter-turn with tools.
The project description mentions 'bottom seal replacement' but also 'installing the new garbage disposal unit.' Am I replacing just a seal or the entire unit?
While the project title refers to a 'bottom seal replacement,' garbage disposal units are typically sealed systems where individual internal seals are not serviceable by DIYers. This guide implicitly assumes you are replacing the entire disposal unit to resolve the leak, as replacing the whole unit is the most common and effective solution for a bottom-seal leak.
Beyond the new garbage disposal unit itself, what other material costs should I factor into my budget?
In addition to the new disposal unit, you'll definitely need plumber's putty for proper sealing around the sink flange. It's also wise to budget for potential replacement parts like new drainpipe sections, a new dishwasher drain hose connector, or electrical wire nuts if your existing components are old, corroded, or damaged during removal.