Replace Your Bathroom Faucet: A Step-by-Step Guide
About This Project
This project details the steps involved in replacing a bathroom faucet. First, turn off the water supply using the shut-off valves under the sink to prevent leaks. Next, disconnect the water supply lines from the old faucet using an adjustable wrench. After that, clean the sink surface to remove any old putty or sealant. Then, install the new faucet by aligning it with the sink holes and tightening the mounting nuts. Finally, turn the water back on and check for any leaks to ensure a proper seal.
Best for experienced DIYers and homeowners with some experience.
Tools & Materials

Husky 12 in. Adjustable Wrench 90933

Unger 6 Gal. Heavy-Duty Plastic Bucket DB02

Adjustable Wrench
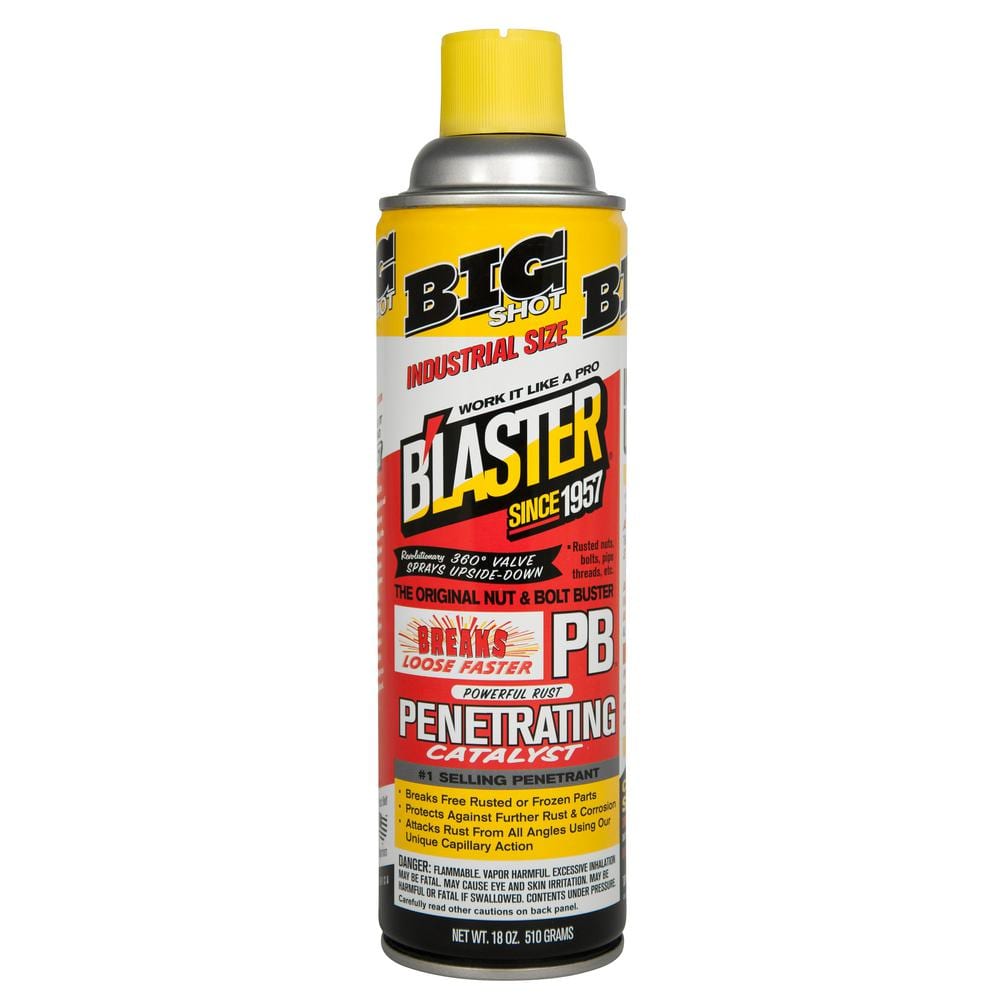
Blaster 18 oz. PB Penetrating Oil 26-PB

THE PINK STUFF 850 g Miracle Cleaning Paste All-Purpose Cleaner MEGA 100551317

HDX Multi-Purpose Sponge (2- Sponges) 32242
Husky 12 in. Adjustable Wrench 90933
The Husky 12 in. Adjustable Wrench features a durable, comfortable handle. A large knurl allows for easy adjustment and a tight-fitting hex jaw design reduces slippage and tightly grips the fastener for
Unger 6 Gal. Heavy-Duty Plastic Bucket DB02
The Unger 6-Gallon Heavy-Duty Professional Cleaning Bucket holds more than 6 Gal. of liquid. The bucket can accommodate a scrubber up to 14 in. L. This bucket features measurement marks and 2-pour spouts
Adjustable Wrench
Fits various nut and bolt sizes with its adjustable jaw.
Blaster 18 oz. PB Penetrating Oil 26-PB
The #1-selling penetrant since 1957, PB Blaster quickly busts loose rusted or frozen parts caused by rust and corrosion. PB Blaster penetrant also contains a non-evaporating lubricant that protects against
THE PINK STUFF 850 g Miracle Cleaning Paste All-Purpose Cleaner MEGA 100551317
THE PINK STUFFf Miracle Cleaning Paste is a mild-abrasive, multi-purpose paste cleaner that works instantly on all kinds of tough and dirty surface stains. Millions of people have been turning to this
HDX Multi-Purpose Sponge (2- Sponges) 32242
HDX Hydrophilic Sponge 7.25 in. x 5 in. x 1.875 in. (2-Pack) highly absorbent, the HDX Sponge washes, wipes, and rinses faster. Strong enough for use with acid based products like TSP. Heavy-duty polyester
Steps

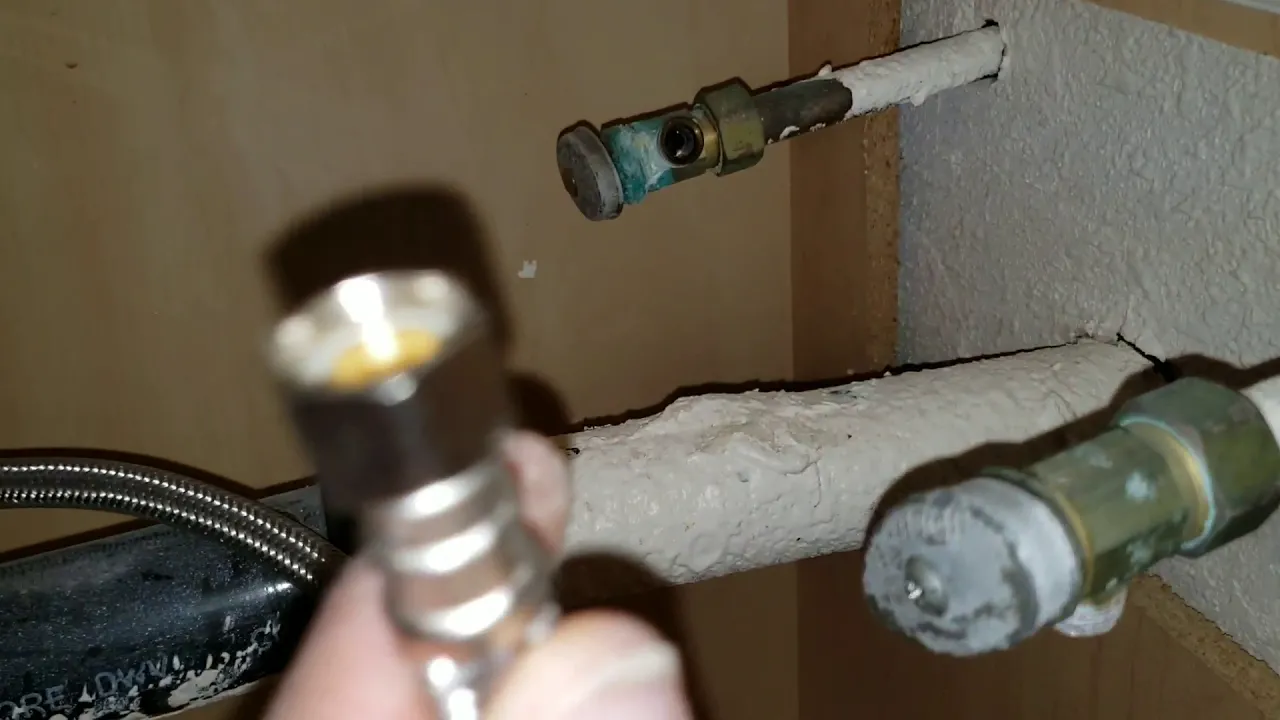
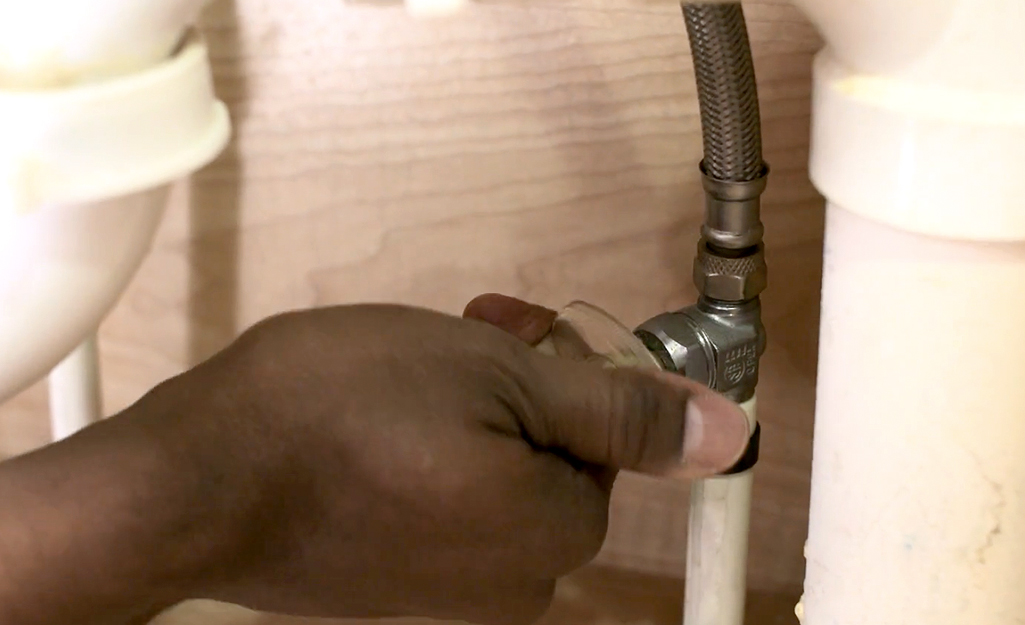
Disconnect the Faucet's Water Supply Lines
15 minsUsing an adjustable wrench, carefully disconnect the supply lines from the old faucet. Place a bucket under the sink to catch any drips. If the connections are stubborn, try applying a penetrating oil like WD-40 and waiting 30 minutes before attempting again.


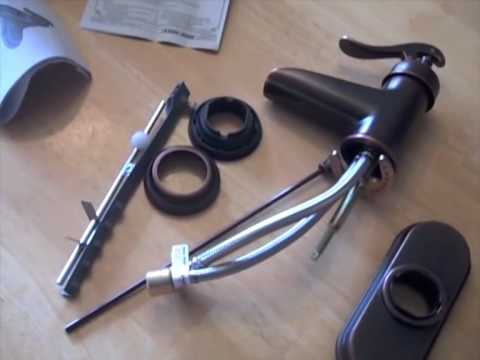
Install the New Bathroom Faucet
30 minsCarefully follow the manufacturer's instructions for your specific faucet model. Generally, this involves aligning the faucet with the sink holes, securing it with mounting hardware from below, and connecting the supply lines. Apply plumber's putty or sealant to create a watertight seal.

Common Problems
Using a metal scraper can easily scratch stainless steel or porcelain sinks. A plastic tool is highly recommended.
Solution: To avoid this issue: Be mindful of this warning and take appropriate precautions.
Water leaks around the faucet base.
Solution: The video features Gorilla brand waterproof silicone, which is a good choice for this application.
Difficulty reaching and tightening faucet nuts in tight cabinet spaces.
Solution: Long arms are an advantage when working in deep, narrow cabinets. If needed, you can tighten the nuts with a basin wrench.
Corroded faucet lines or nuts make removal difficult or impossible.
Solution: Apply a penetrating lubricant if the lines or nuts are corroded.
Incorrectly connecting hot and cold supply lines.
Solution: The supply lines are color-coded: red for hot and blue for cold.
Faucet won't fit sink due to mismatched hole configurations.
Solution: If you are buying a new sink for this faucet, choose one with a single hole for a cleaner look.
Avoid over-tightening the mounting nuts, as this could damage the sink or the faucet.
Solution: To avoid this issue: Be mindful of this warning and take appropriate precautions.
Frequently Asked Questions
What should I do if I can't find or turn the water shut-off valves under my sink?
If the shut-off valves are stuck or inaccessible, try applying penetrating oil and letting it sit. If they still won't budge, you'll need to turn off the main water supply to your house, usually located in your basement, garage, or outside. This is a crucial step to prevent flooding.
Are the two adjustable wrenches listed sufficient, or are there other tools that would make this job easier for a beginner?
While adjustable wrenches are essential, a basin wrench can be incredibly helpful for reaching and loosening stubborn nuts in tight spaces under the sink. A utility knife or scraper can also assist in cleaning the old sealant effectively. Always have a bucket and towels handy for drips.
How thoroughly do I need to clean the sink surface before installing the new faucet?
It's crucial to clean the sink surface thoroughly to remove all traces of old plumber's putty, silicone, and grime. Use a cleaning paste like 'THE PINK STUFF' and a sturdy sponge to ensure the surface is perfectly clean and dry. A clean surface ensures a proper, watertight seal for your new faucet.
What's the most common reason for leaks after installing a new faucet, and how can I prevent them?
The most common reasons for leaks are improperly tightened supply lines or mounting nuts, or an inadequate seal at the faucet base. Ensure all connections are hand-tightened first, then snugged with a wrench without overtightening. Always check manufacturer instructions for any specific sealants or gaskets required.
The project says 'beginner' and '3 hours'. Is that realistic for someone who's never replaced a faucet before?
The 'beginner' rating means the steps are straightforward, but the 3-hour estimate is for someone with some DIY experience. For a first-timer, especially if dealing with old, corroded parts or tight spaces, it's wise to budget 4-6 hours. Take your time with each step to avoid mistakes.
What should I do if the old faucet's mounting nuts are corroded or difficult to reach during removal?
For corroded nuts, apply penetrating oil and let it soak for 15-30 minutes before trying to loosen them with an adjustable or basin wrench. If they still won't budge, you might need to use a hacksaw or oscillating tool to carefully cut the nuts or the faucet shank, being mindful of pipes and the sink itself.