

How to Replace Wall-To-Wall Stair Carpet with Removable Treads
About This Project
This project involves removing existing wall-to-wall carpet from stairs and installing individual, removable stair treads. The process will include preparing the stairs, fitting and securing the new treads, and ensuring they are safe and easy to remove.
Tools & Materials
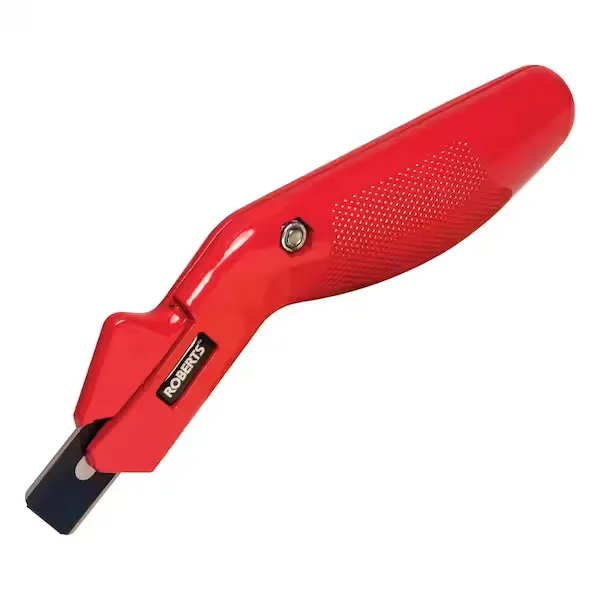
Carpet Knife
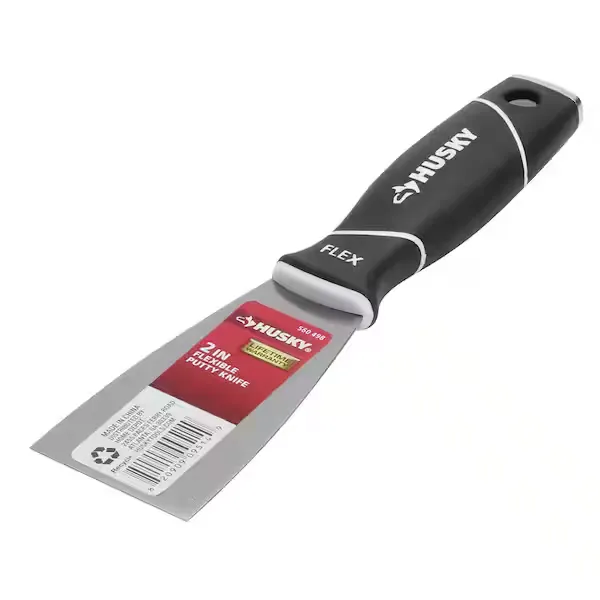
Putty knife
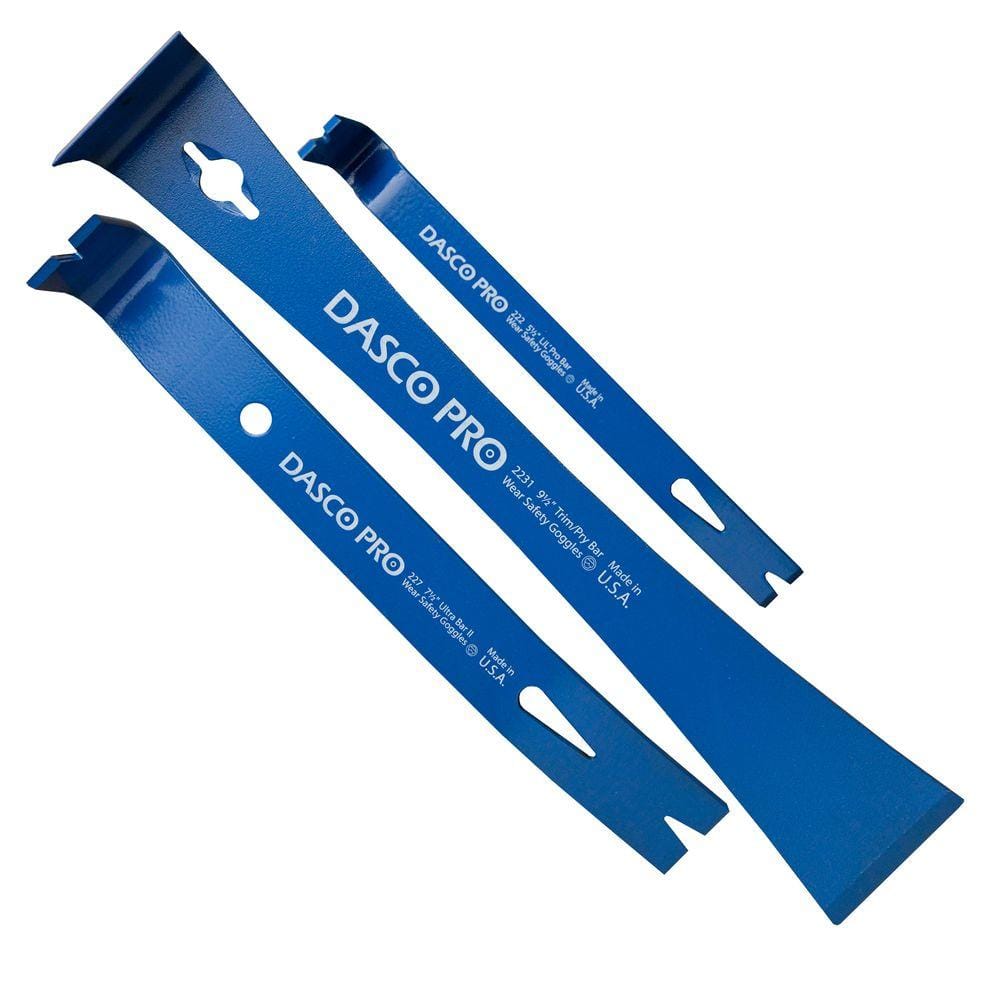
Dasco Pro Pry Bar Set (3-Piece) 91
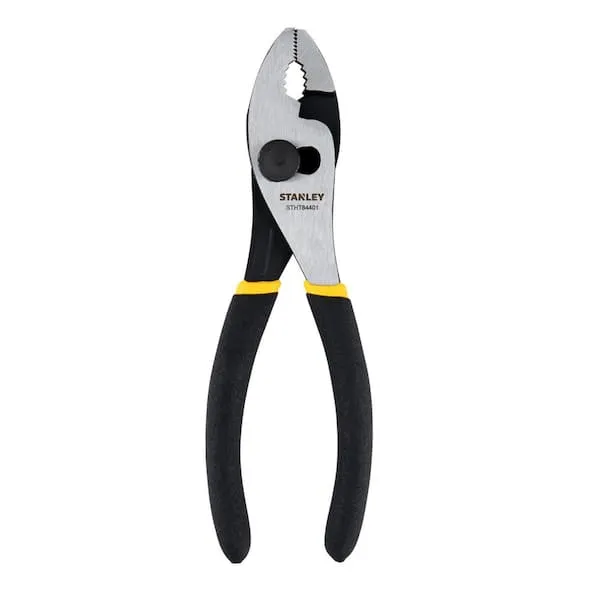
Pliers
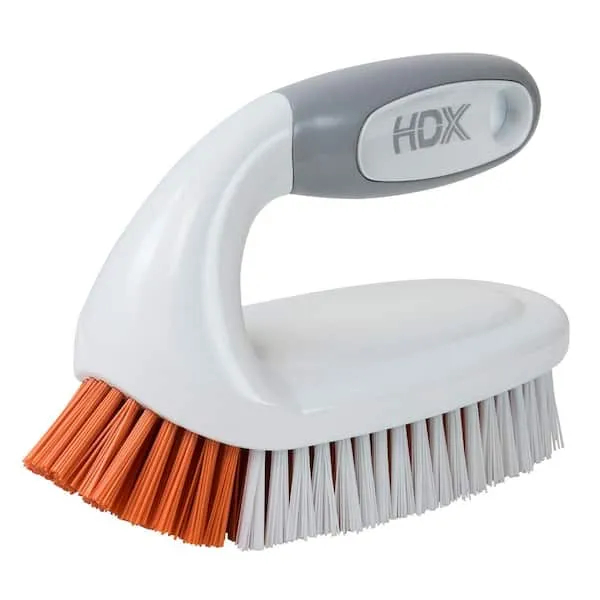
Scrub Brush
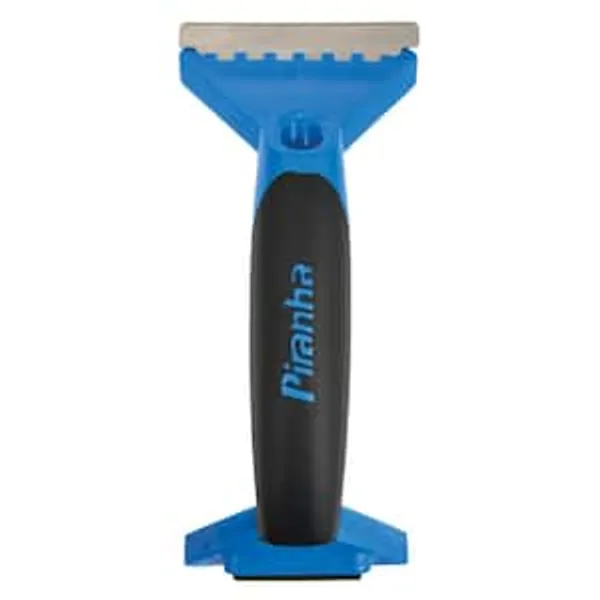
Scraper
Carpet Knife
Precision blade crafted for carpet cuts.
Putty knife
Spreads putty with its flat blade.
Dasco Pro Pry Bar Set (3-Piece) 91
The Dasco Pro 3-Piece Pry Bar Set is well suited to a wide variety of prying and scraping applications. This bar kit includes three popular small bar styles that are perfect for do-it-yourselfers and pros alike. Designed in a compact size that fits just about anywhere, these bars work great for prying trim and molding, scraping excess paint, opening paint cans and pulling nails.
Pliers
Grips and manipulates objects.
Scrub Brush
Tackles tough stains with stiff bristles.
Scraper
Removes materials with a flat blade.
Steps

Remove Existing Carpet and Padding
60 minutesBegin at the top of the staircase. Grip the edge of the carpet and pull it up and away from the stairs. If the carpet is difficult to remove, use a putty knife or flathead screwdriver to help lift the edge. Cut the carpet into smaller, more manageable strips using a utility knife. Continue this process down each step, removing both the carpet and the underlying padding. Pay close attention to the edges of the stairs and the risers to ensure all carpet material is removed. Once the carpet and padding are lifted, inspect the stair treads for any remaining staples or tack strips, and carefully pry them up with a pry bar or pliers.
Watch: Remove the Carpet
Prepare Stair Treads
45 minutesAfter removing the carpet and padding, thoroughly clean each stair tread. Use a stiff brush or scraper to remove any old adhesive, paint drips, or stubborn dirt. For a cleaner finish, vacuum the stairs to remove all loose dust and debris. If there are any splinters, rough patches, or significant unevenness on the wood treads, use sandpaper to smooth them down. Start with a coarser grit sandpaper (e.g., 80-grit) for major imperfections and progress to a finer grit (e.g., 120-grit) for a smoother finish. Ensure the entire surface of each tread is smooth to the touch. Wipe down the treads again with a damp cloth to remove any sanding dust, and allow them to dry completely.
Watch: Sand & Prepare Stair Surfaces
Measure and Cut Stair Treads
90 minutesFor each stair tread, measure the width from wall to wall, and the depth from the front edge of the tread to the riser. Record these measurements accurately. If your stair treads have a bullnose (an extended, rounded front edge), measure the depth from the very front of the bullnose to the riser. Use these measurements to mark the new stair treads. Employ a table saw or circular saw to carefully cut the treads to the exact dimensions for each step. Ensure the cuts are straight and precise. Test fit each cut tread on its corresponding step to confirm it fits snugly. Make any necessary adjustments for a perfect fit.
Watch: Measure, Cut, and Install Stair Treads
Install Stair Treads
75 minutesApply a generous bead of construction adhesive along the back and sides of the stair tread, ensuring it covers most of the surface that will contact the original tread. Also, apply adhesive along the front edge of the tread. Carefully place the cut stair tread onto the prepared step, aligning it properly with the front edge and side walls. Press down firmly to ensure good contact with the adhesive. To further secure the tread, drive wood screws through the tread and into the underlying stair structure. Pre-drill pilot holes to prevent the wood from splitting. Typically, two screws near the front and two near the back of each tread are sufficient. Ensure screws are countersunk slightly below the surface of the tread.
Watch: Install Remaining Treads and Risers
Install Anti-Slip Tape (Optional)
20 minutesFor added safety, especially in high-traffic areas or if the treads are prone to being slippery, apply anti-slip tape. Cut strips of anti-slip tape to the width of each stair tread, or as desired. Peel off the backing of the tape and carefully apply it to the front edge of the tread, ensuring it adheres firmly. Press down firmly along the entire length of the tape to eliminate any air bubbles and ensure a strong bond. Make sure the tape extends to the edges of the tread for maximum coverage.
Watch: Apply Anti-Slip Strip
Clean Up and Final Inspection
30 minutesOnce all stair treads are installed and any optional anti-slip tape is applied, thoroughly clean the entire work area. Dispose of all carpet scraps, padding, and packaging materials properly. Sweep or vacuum the stairs and surrounding areas to remove any dust or debris generated during the project. Carefully inspect each stair tread. Push and pull on them to check for any looseness or instability. Ensure all screws are properly countersunk and no sharp edges are exposed. Walk on each tread to test its stability and ensure it feels solid underfoot. Address any issues found before considering the project complete.
Watch: Complete Installation and Final Inspection

