

How to Build a Small Set of Porch Steps
About This Project
This project outlines the process of building a small set of DIY porch steps. It covers planning, material selection, cutting, assembly, and finishing, ensuring a safe and sturdy addition to your home's exterior.
Tools & Materials
Measuring Tape

Pencil
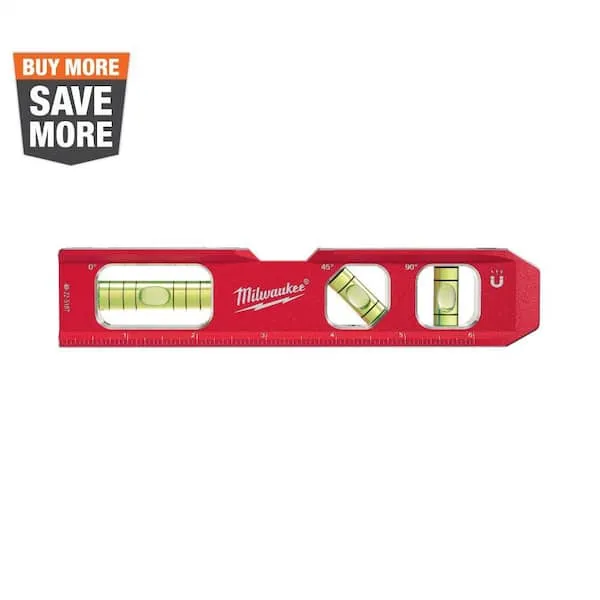
Level

Rite in the Rain All-Weather 8-1/2 in. x 11 in. 100 lbs. Printer Paper, White (250-Sheet Pack) 1008511
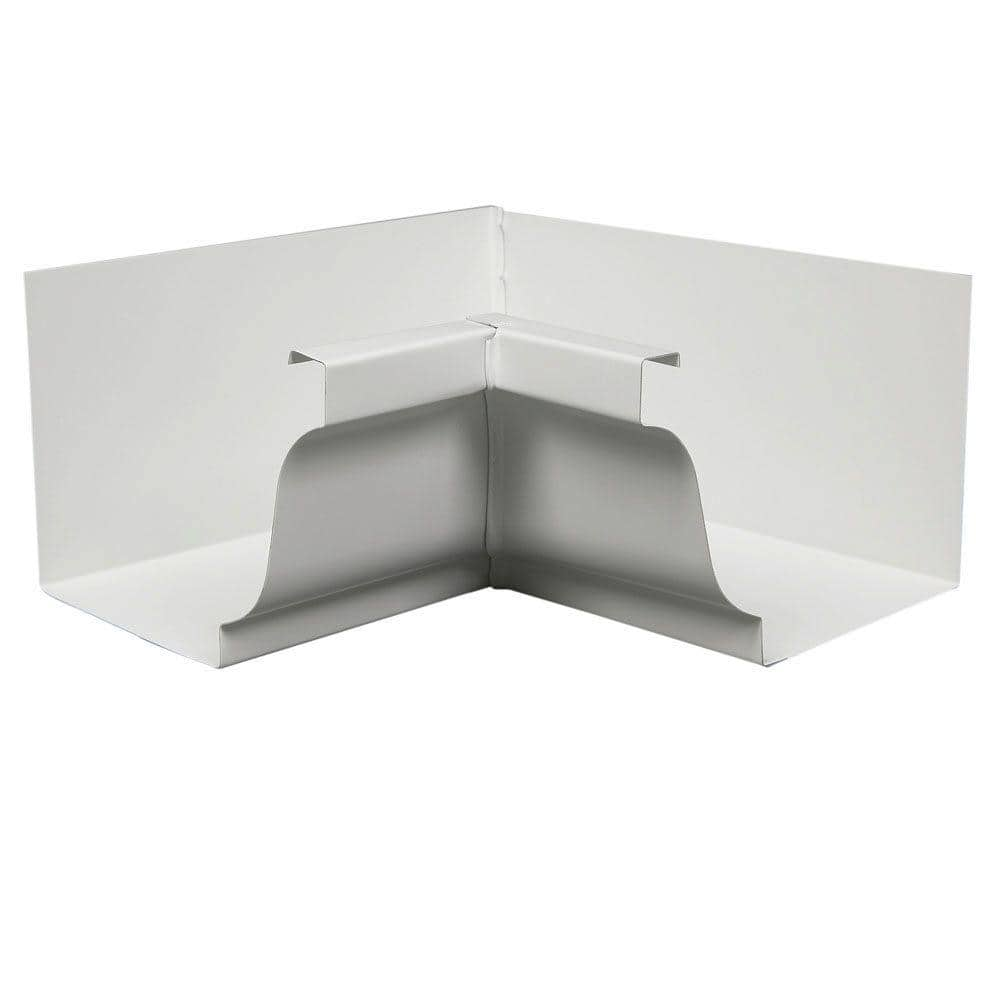
Amerimax Home Products 6 in. White Aluminum K-Style Inside Gutter Miter 47001

Milescraft MC-Square150 6 in. Framing Square 84090003
Measuring Tape
For accurate measurements of plywood and components, ensuring proper assembly.
Pencil
Marks and draws with ease.
Level
Ensures surfaces are just right.
Rite in the Rain All-Weather 8-1/2 in. x 11 in. 100 lbs. Printer Paper, White (250-Sheet Pack) 1008511
Copy or laser print your own all-weather forms, charts, maps and worksheets on patented 8-1/2 in. x 11 in. Rite in the Rain all weather copier paper. Now you can have the convenience of using your existing
Amerimax Home Products 6 in. White Aluminum K-Style Inside Gutter Miter 47001
The Amerimax Home Products 6 in. Aluminum Inside Gutter Mitre features rust-free aluminum construction for durability and a baked-on white enamel finish for low maintenance. To install, snip the back of the gutter, overlap the pieces, and rivet them together. Sealant is required for installation (not included). This product attaches with screws or pop rivets (not included)
Milescraft MC-Square150 6 in. Framing Square 84090003
The multi-functional MC-Square150 is the perfect reference measurement and marking tool for precise woodworking, remodeling, and many other applications. With the built-in easy angle readout, you can also mark 30-degree and 45-degree angles. Need to draw a circle, This square can do that too, simply remove the fence and secure the square with a nail or screw.
Steps

Plan and Measure for Porch Steps
60 minutesMeasure the total vertical distance from the ground to the porch landing. Divide this height by the desired number of steps to determine the rise of each step. A common rise is 6-7 inches. Then, calculate the run (depth) of each step, typically around 10-12 inches. Ensure the total run will not obstruct any pathways or doors. Mark these dimensions on paper for your plan.
Watch: Calculate Stair Dimensions
Select and Cut Stringers
180 minutesSelect pressure-treated lumber or naturally rot-resistant wood like cedar or redwood for outdoor use. For each step, you'll need two stringers. Using your measurements and a framing square, mark the rise and run on the lumber. Carefully cut along these marks to create the notches for the treads. Ensure both stringers for each side are identical.
Watch: Mark and Cut Stringers
Cut Treads and Risers (Optional)
120 minutesCut the tread boards to the determined width of your steps. If you are including risers, cut these boards to match the height of each step's rise and the width of the steps. Ensure all tread and riser pieces are cut to the same dimensions.
Watch: Installing Step Treads and Risers
Attach Stringers to Porch and Ground
90 minutesPosition the stringers against the porch landing. For attachment to the porch, use sturdy metal brackets or toenail screws/nails into the porch frame. Ensure the stringers are plumb and level. At the bottom, the stringers should rest on a solid foundation. This could be a concrete pad, pre-cast concrete blocks, or pressure-treated 4x4 posts set in concrete. Secure the stringers to this base using appropriate fasteners.
Watch: Securing Stringers to Landing Pad with Base Plate
Install Treads
150 minutesPosition the first tread board on the lowest step notch of the stringers. Ensure it is flush with the front of the stringer (or has your desired overhang) and is level. Secure the tread to each stringer using exterior-grade screws. Work your way up, installing each subsequent tread. If installing risers, attach them to the back of the tread above and the front of the tread below, ensuring a snug fit.
Watch: Install Treads
Add Railings (Optional but Recommended)
240 minutesIf installing railings, you'll need to attach railing posts securely to the stringers or the porch frame. Posts should be at least 4x4 lumber and securely bolted. Then, attach the top rail and any intermediate rails, ensuring they are at a safe height (check local codes, typically 36-42 inches from the tread surface). Balusters or pickets are then installed between the rails, spaced according to code (usually no more than 4 inches apart).
Watch: Install Railing and Balusters
Finishing Touches
120 minutesOnce the steps are fully assembled and all fasteners are tight, you can apply a protective sealant, stain, or paint. Ensure the wood is clean and dry before application. For outdoor projects, choose products specifically designed for exterior wood protection against UV rays and moisture. Apply multiple coats as recommended by the product manufacturer.
Watch: Apply Protective Finish

