

How to Install Solar Post-Cap Lights on Deck Stair Railings
About This Project
Outline for installing solar-powered post-cap lights on deck stair railings.
Tools & Materials
Measuring Tape

Pencil

NATURE POWER Solar Powered LED Amorphous Panel Indoor/Outdoor Swivel Light (4-Pack) 24804
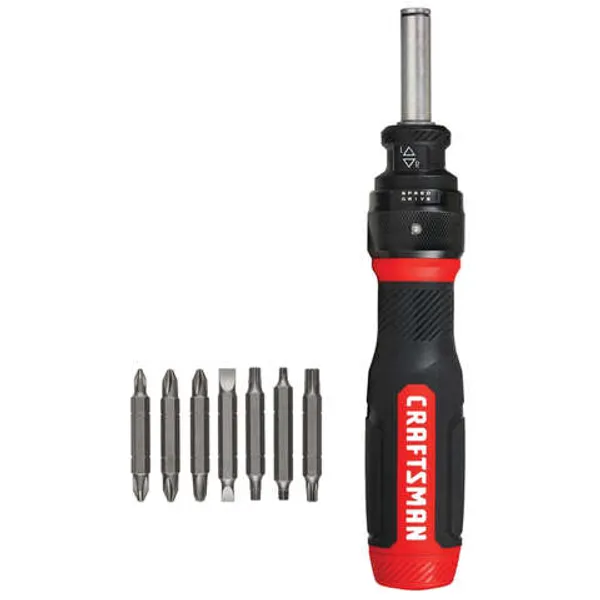
Screwdriver

Drill
Drill Bits
Measuring Tape
For accurate measurements of plywood and components, ensuring proper assembly.
Pencil
Marks and draws with ease.
NATURE POWER Solar Powered LED Amorphous Panel Indoor/Outdoor Swivel Light (4-Pack) 24804
This multi-function light requires no wiring and allows for complete, hands free freedom for your lighting needs. It uses a long-lasting LED light bulb technology that is environmentally safe. Its white
Screwdriver
A tool used to turn screws.
Drill
A power tool used for drilling holes in various materials.
Drill Bits
Various sizes for different drilling tasks, including making holes for screws and latches.
Steps
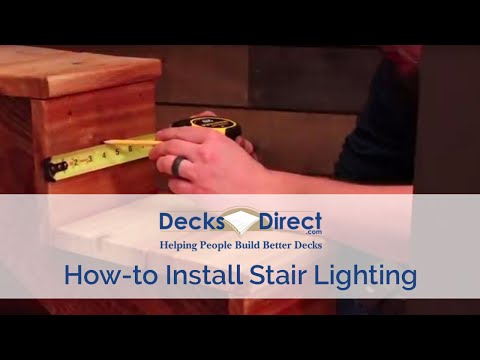
Determine Light Placement
15 minutesCarefully measure and mark the top of each deck stair railing post where the solar light will be mounted. Consider the aesthetic placement and ensure the lights will effectively illuminate the stairs without creating glare or being easily damaged. Double-check that the chosen locations do not interfere with any existing hardware or the structural integrity of the railing.
Watch: Mark Light Placement
Test Lights and Batteries
30 minutesRemove the solar post-cap lights from their packaging. Locate any protective film or tab covering the solar panel or battery compartment. If there's a tab, remove it. Place the lights in direct sunlight for a few hours, or follow the manufacturer's instructions for initial charging. After charging, test each light, typically by covering the solar panel to simulate darkness and checking if the light turns on. Ensure all lights are functioning as expected before proceeding.
Watch: Unbox and Activate Solar Lights
Mount the Lights
45 minutesFollowing the manufacturer's specific instructions for your model of solar post-cap lights, attach them to the marked locations on top of the railing posts. This may involve simply placing them over the posts if they are designed to fit snugly, or it might require using screws, adhesive, or mounting brackets. Ensure each light is firmly attached and aligned correctly.
Watch: Install Solar Post Cap LightsFinal Check and Activation
10 minutesOnce all lights are mounted, conduct a thorough check to ensure they are stable, properly aligned, and that no wires (if any were used for non-solar variants, though these are solar) are exposed or dangling. If the lights have an 'on/off' switch that needs to be set to 'on' for automatic nighttime operation, ensure this is done. Cover the solar panels of each light with your hand or a dark cloth to simulate nighttime conditions and verify that each light illuminates correctly.
Watch: Verify Installation at Night

