How to Replace a Stair Light Switch with a Dimmer
About This Project
Outline for replacing a standard stair light switch with a dimmer switch to control lighting intensity.
Tools & Materials
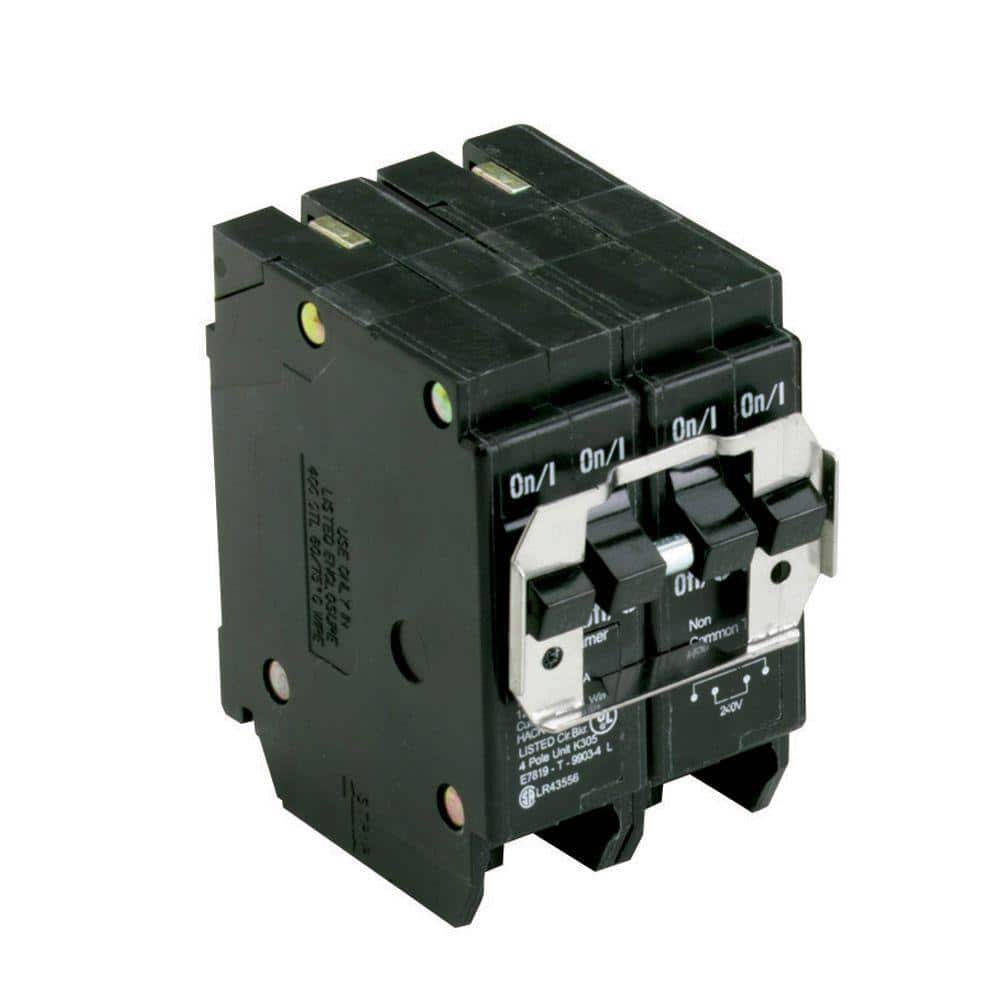
Eaton BR 1-20 Amp 2 Pole and 1-50 Amp 2 Pole BQC (Common Trip) Quad Circuit Breaker BQC220250

FLUKE 1AC-A1-II VoltAlert Non-Contact Voltage Tester 2432932
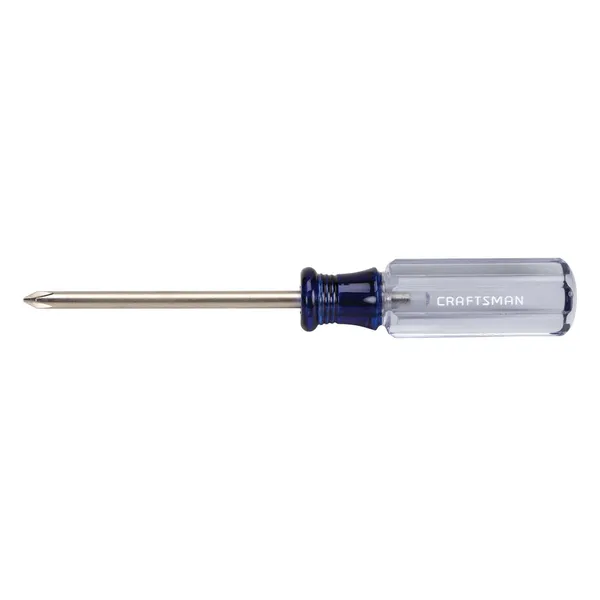
Phillips head screwdriver

Screwdriver

CityPost 8 ft. Stair Cable Railing in White CP-8-W-S

Pliers
Eaton BR 1-20 Amp 2 Pole and 1-50 Amp 2 Pole BQC (Common Trip) Quad Circuit Breaker BQC220250
Circuit breakers protect the wires in your home from overheating (referred to as an overload) and fault currents (referred to as short circuits). The Eaton Cutler-Hammer Quadplex or Quad type Circuit Breaker is designed to create (4) circuits in (2) spaces. This allows for 240-Volt circuits. The BQC style breaker has a common trip as well as a rejection tab feature. These breakers are designed for use in BR type load centers and should be installed only in panel positions that have notched bus stabs that accommodate the rejection clip. Also, BQC circuit breakers are UL approved genuine replacement breakers for load centers made by Westinghouse, Challenger, and Bryant.
FLUKE 1AC-A1-II VoltAlert Non-Contact Voltage Tester 2432932
The portable 1 AC II non-contact voltage tester from Fluke are easy to use - just touch the tip to a terminal strip, outlet or supply cord. When the tip glows red and the unit beeps, you know there's voltage present. Electricians, maintenance, service, safety personnel and homeowners can quickly test for energized circuits in the workplace or at home and even detect miswires of an electrical outlet.
Phillips head screwdriver
This is a type of screwdriver that has a cross-shaped tip.
Screwdriver
A tool used to turn screws.
CityPost 8 ft. Stair Cable Railing in White CP-8-W-S
CityPost 36 in. tall cable railing kits can be ordered to fit your needs regardless of your project layout. All kits come with enough posts to install at a maximum center-to-center spacing of 6 ft. (example:
Pliers
Grips and manipulates objects.
Steps

Turn Off Power
5 minutesLocate your home's main electrical panel or breaker box. Identify the circuit breaker that controls the lighting in the area where the stair light switch is located. Flip the breaker to the 'OFF' position. It is recommended to also test the switch to ensure the power is indeed off before proceeding.
Watch: Turn off Power at Breaker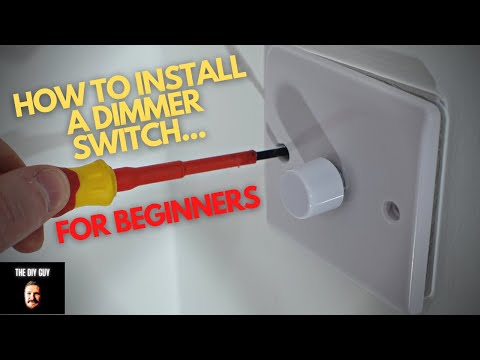

Remove the Old Switch
10 minutesOnce the switch plate is off, you will see the light switch secured to the electrical box with two screws, usually one at the top and one at the bottom. Unscrew these two screws. Gently pull the switch out from the electrical box, being careful not to tug on the wires. The wires will be connected to the switch terminals with screws or push-in connectors. Note which wire is connected to which terminal. Most switches will have two 'hot' wires (often black) connected to the same colored screws on one side, and a ground wire (usually green or bare copper) connected to a green screw on the other side. If there is a third wire (often red or white), it is likely a 'traveler' wire if it is a 3-way switch, or a neutral wire.
Watch: Remove Old Light Switch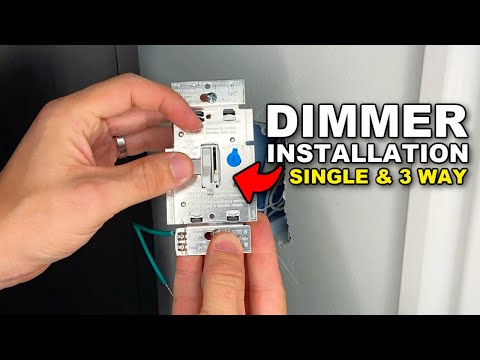
Wire the New Dimmer Switch
15 minutesRefer to the installation instructions that came with your new dimmer switch. Typically, you will connect the ground wire (green or bare copper) to the green screw on the dimmer. The two 'hot' wires (usually black) will connect to the two screw terminals on the dimmer switch that are not green. If the dimmer has wire leads instead of screw terminals, use wire nuts to connect the corresponding wires. Ensure all connections are secure and no bare wire is exposed beyond the terminal or wire nut.
Watch: Connect New Dimmer Switch Wiring
Mount the Dimmer Switch
5 minutesCarefully tuck the wired dimmer switch back into the electrical box. Ensure wires are not pinched. Align the mounting holes on the dimmer switch with the threaded holes in the electrical box. Screw the dimmer switch into place using the provided mounting screws. Once the switch is secure, place the new switch plate cover over the dimmer and secure it with its screws.
Watch: Mount and Test the New Dimmer
Restore Power and Test
5 minutesReturn to the electrical panel and flip the circuit breaker back to the 'ON' position. Go back to the newly installed dimmer switch and test its functionality. Turn the light on and off, and adjust the dimmer to ensure it controls the light intensity as expected. Check for any flickering or buzzing sounds, which might indicate an issue.
Watch: Restore Power and Test Functionality