
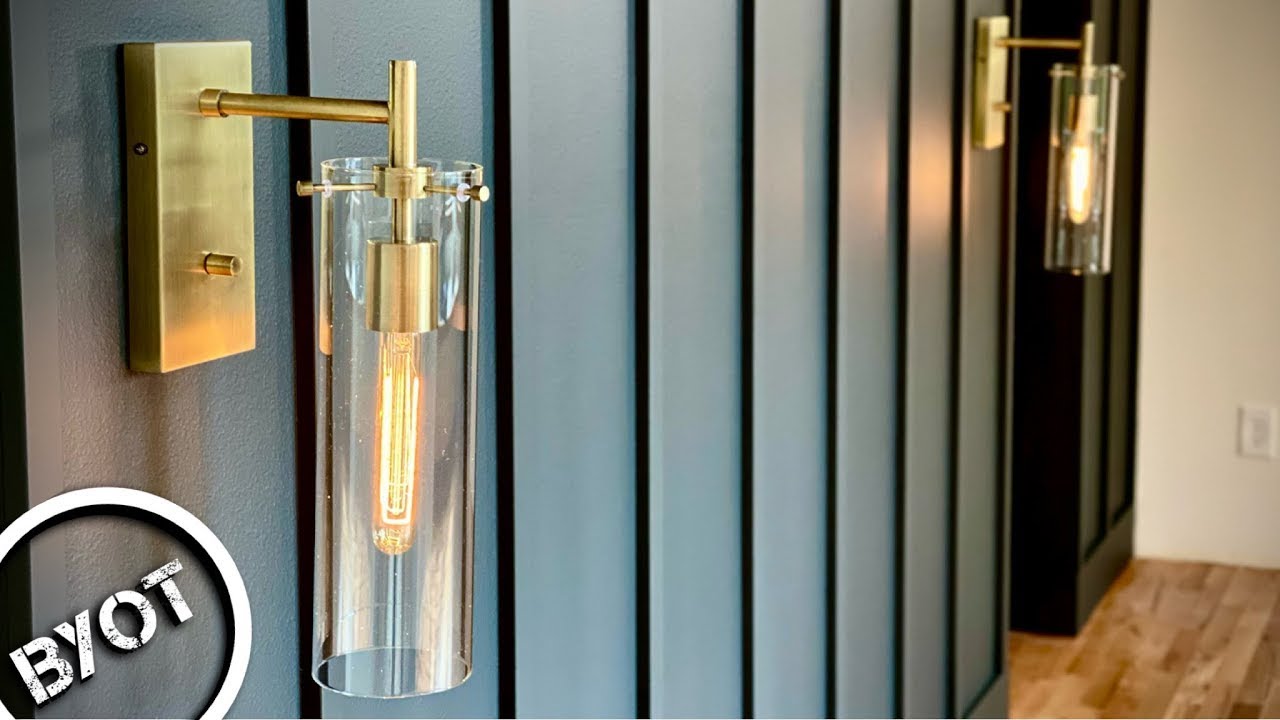
How to Install a Wall Sconce in a Stairwell
About This Project
Outline for installing a wall sconce in a stairwell, including electrical considerations, mounting, and finishing.
Tools & Materials
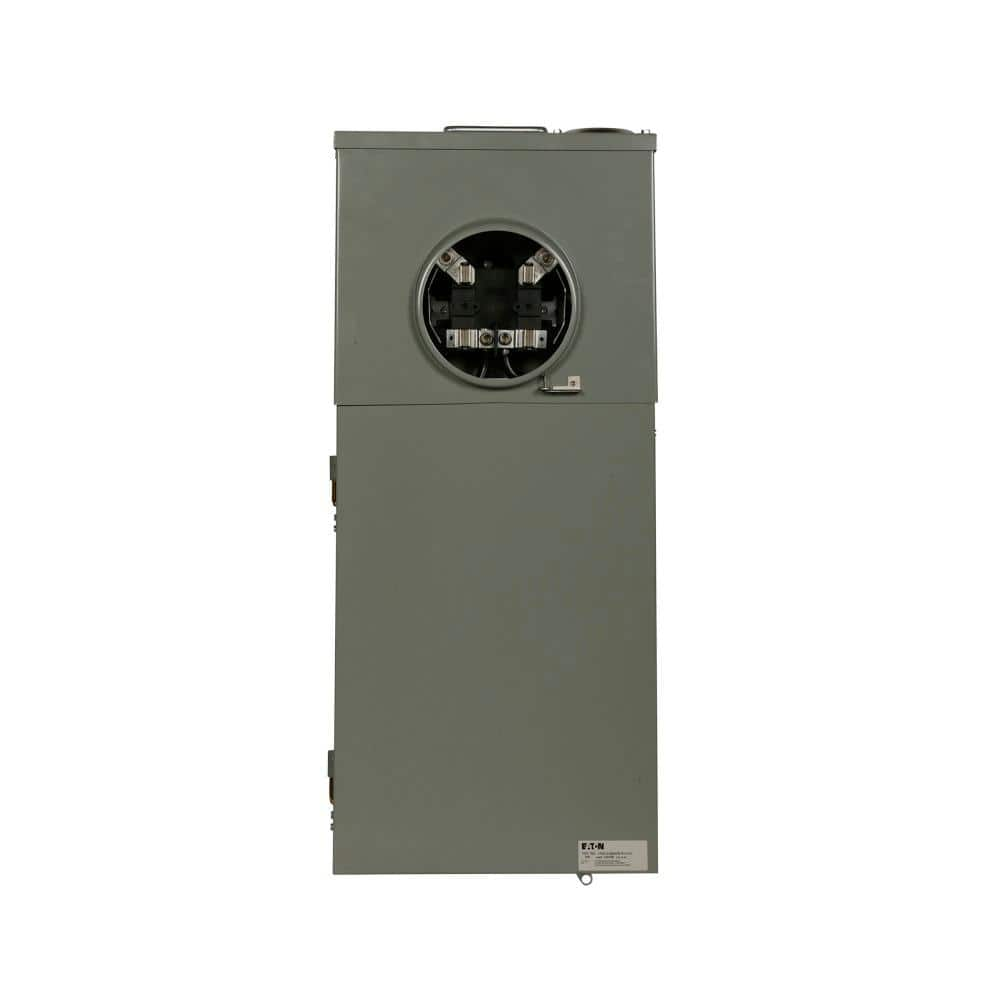
Eaton CH 200 Amp 12-Space 12-Circuit Non-EUSERC Meter Breaker Panel CMB1212B200BTS
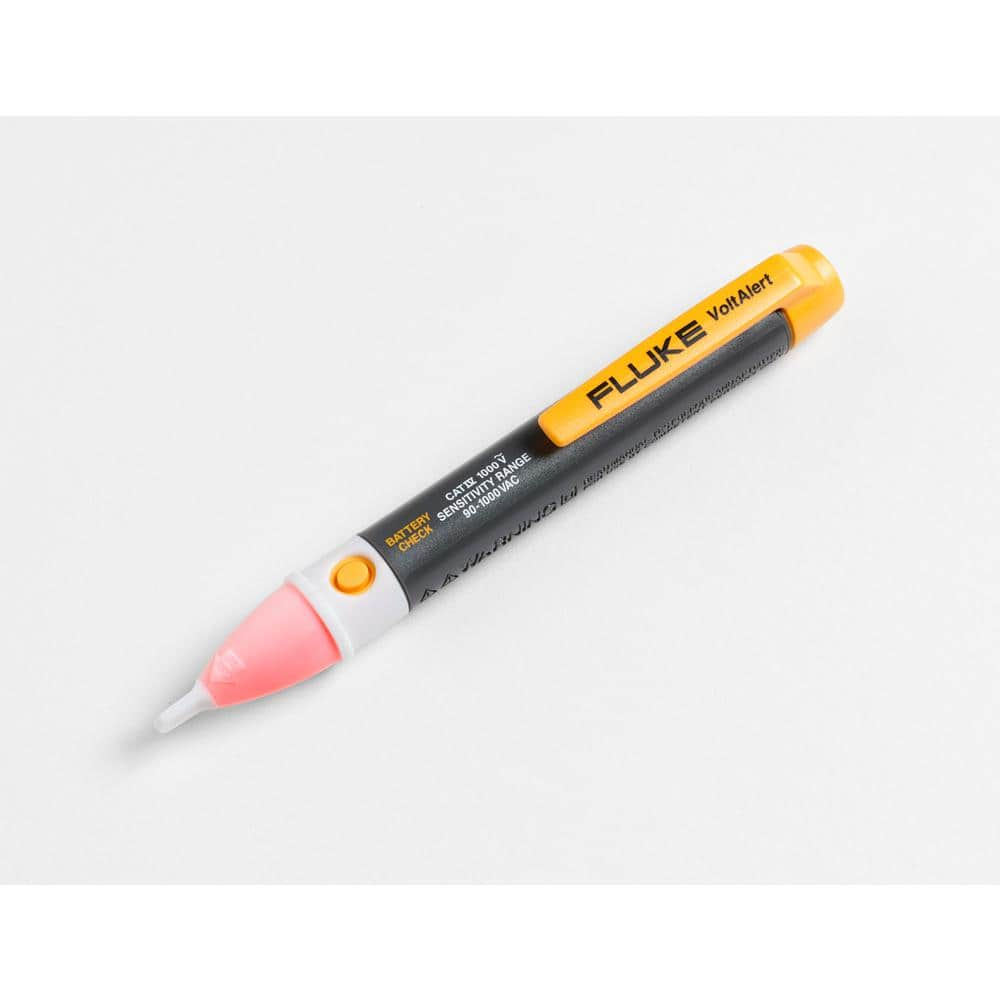
FLUKE 1AC-A1-II VoltAlert Non-Contact Voltage Tester 2432932
Measuring Tape

Pencil
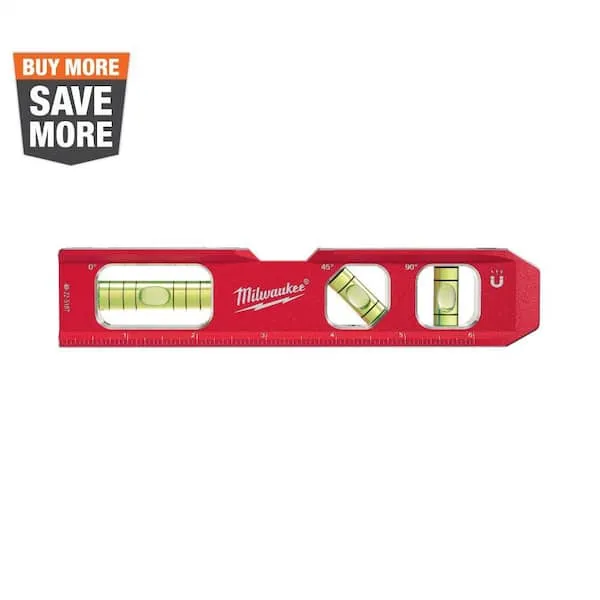
Level

Prest-on Drywall Repair Kit with Drywall 4045
Eaton CH 200 Amp 12-Space 12-Circuit Non-EUSERC Meter Breaker Panel CMB1212B200BTS
Eaton's residential meter breakers are service entrance equipment systems that consist of a single meter socket and load center distribution section. This type of configuration is also known as All-in
FLUKE 1AC-A1-II VoltAlert Non-Contact Voltage Tester 2432932
The portable 1 AC II non-contact voltage tester from Fluke are easy to use - just touch the tip to a terminal strip, outlet or supply cord. When the tip glows red and the unit beeps, you know there's voltage present. Electricians, maintenance, service, safety personnel and homeowners can quickly test for energized circuits in the workplace or at home and even detect miswires of an electrical outlet.
Measuring Tape
For accurate measurements of plywood and components, ensuring proper assembly.
Pencil
Marks and draws with ease.
Level
Ensures surfaces are just right.
Prest-on Drywall Repair Kit with Drywall 4045
Got a hole in your wall. That's an easy fix with our drywall repair kit featuring the insta-back. The all in one kit is a complete kit with enough supplies to repair 2-holes in drywall using the insta-back.
Steps

Turn Off Power
5 minutesLocate the main electrical panel and identify the circuit breaker that controls the power to the stairwell area. Flip the breaker to the 'Off' position. Use a non-contact voltage tester to confirm that power is indeed off at the intended work location before proceeding.
Watch: Turn Off Power at Circuit Breaker
Determine Sconce Mounting Location
10 minutesDecide on the desired height for the sconce, typically around eye level or slightly higher on the wall. If replacing an existing fixture, use that as a guide. If running new wiring, determine the most appropriate location for a new electrical box, ensuring it is centered and level where the sconce will attach. Use a pencil to lightly mark the center point for the mounting bracket or electrical box.
Watch: Determine Sconce Placement and Drill Hole
Install or Prepare Electrical Box
20 minutesIf running new wiring, use a drywall saw to cut an opening for an 'old work' electrical box. Feed the electrical cable through the box's knockout and secure it. Mount the electrical box firmly to the wall framing or joists. If using an existing box, ensure it is securely fastened and suitable for the weight of the sconce. Remove the appropriate knockout from the box for the wire to enter.
Watch: Run New Wires and Install Boxes
Run Wiring and Connect to Box
15 minutesCarefully pull the electrical cable from its source (e.g., ceiling fixture, switch, or junction box) through the wall cavity to the installed electrical box. Leave sufficient slack (about 6-8 inches) of wire extending from the box. Strip about 3/4 inch of insulation from the ends of the black (hot), white (neutral), and green or bare (ground) wires using wire strippers.
Watch: Prepare Wires for Fixture Connection
Mount Sconce Bracket
10 minutesAlign the mounting bracket that came with the sconce over the electrical box. Use the provided screws to attach the bracket firmly to the box. Ensure the bracket is oriented correctly according to the sconce manufacturer's instructions, usually with a designated top or bottom.
Watch: Mount the Fixture BracketConnect Sconce Wiring
15 minutesConnect the wires from the sconce to the corresponding wires from the electrical supply. Typically, this involves connecting the black wire from the sconce to the black (hot) wire from the supply, the white wire from the sconce to the white (neutral) wire from the supply, and the green or bare ground wire from the sconce to the ground wire from the supply. Use wire nuts to secure each connection, ensuring they are twisted on tightly.
Watch: Prepare and Connect Sconce Wiring
Mount the Sconce Fixture
10 minutesCarefully tuck the connected wires back into the electrical box, ensuring no wires are pinched. Align the sconce fixture with the mounting bracket and secure it using the screws or other hardware provided with the sconce. Ensure the fixture is flush against the wall and firmly attached.
Watch: Mount Wall Sconce to Plate
Install Light Bulb and Shade
5 minutesScrew the recommended type and wattage light bulb into the socket. If your sconce includes a glass shade or fabric cover, carefully attach it according to the manufacturer's instructions. Ensure the shade is properly seated and secured.
Watch: Install Lightbulb and Lamp Shade
Restore Power and Test
5 minutesReturn to the electrical panel and flip the circuit breaker back to the 'On' position. Test the sconce by operating the light switch. The sconce should illuminate. If it does not, turn the power off again and recheck all wiring connections.
Watch: Restore Power and Test Fixture
Finishing Touches
15 minutesWipe down the sconce and the surrounding wall area to remove any dust or fingerprints. If any minor drywall damage occurred during installation, apply spackle or joint compound, sand smooth when dry, and touch up with paint to match the wall color.
Watch: Final Wipe-down and Finish Protection