Rain Shower Head Installation: Low Water Pressure Solution
About This Project
This project details how to install a rain shower head, especially addressing the issue of low water pressure. It begins by emphasizing safety, instructing to turn off the main water supply before starting any work. This is followed by removing the old shower head, usually by unscrewing it counter-clockwise with an adjustable wrench. After removal, the threads of the shower arm are cleaned to remove any debris and old sealant. The new rain shower head is then hand-tightened onto the cleaned shower arm threads, and further secured with the wrench, taking care not to overtighten. Finally, the water supply is turned back on to check for leaks at all connections. If leaks are detected, the connections are tightened or Teflon tape is reapplied as required, until a secure and leak-free seal is achieved.
Best for homeowners and DIY enthusiasts.
Tools & Materials

Adjustable Wrench
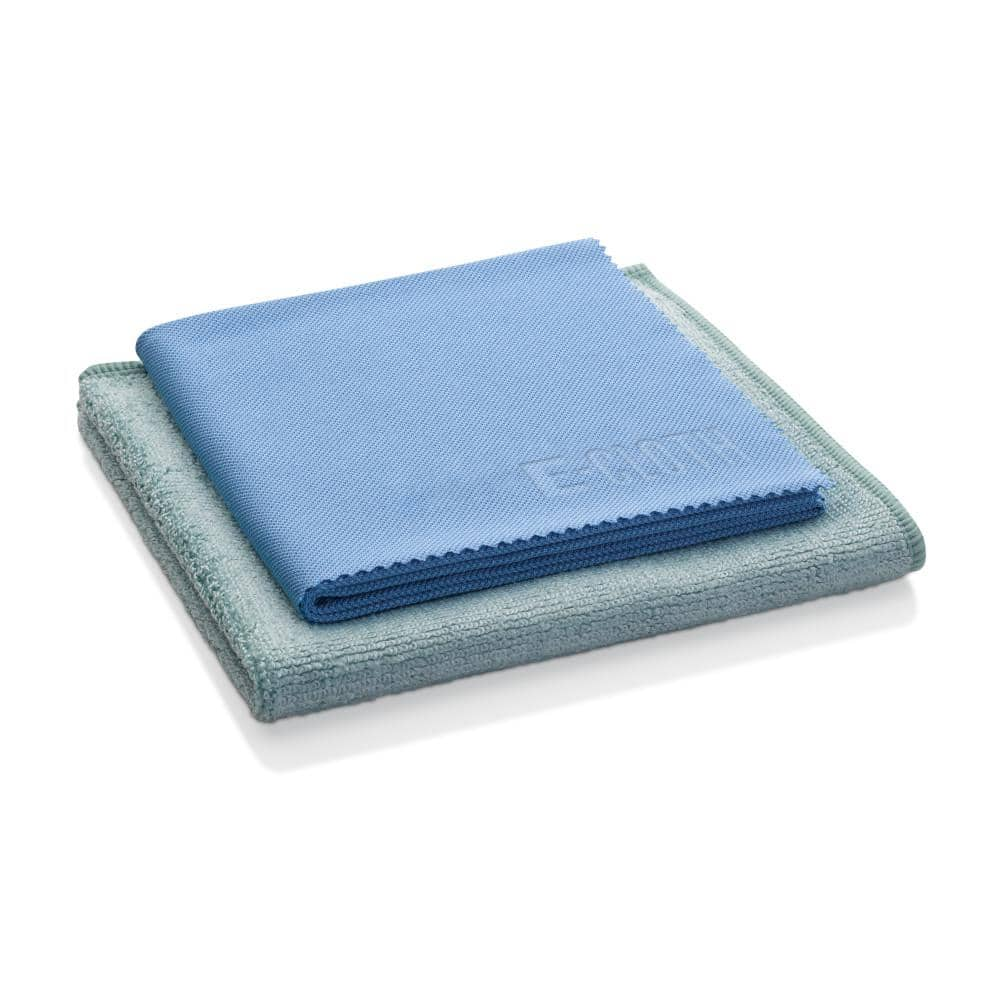
E-Cloth 20 in. x 16 in. Microfiber Kitchen Cleaning Kit 2 Cloth Set 10601M
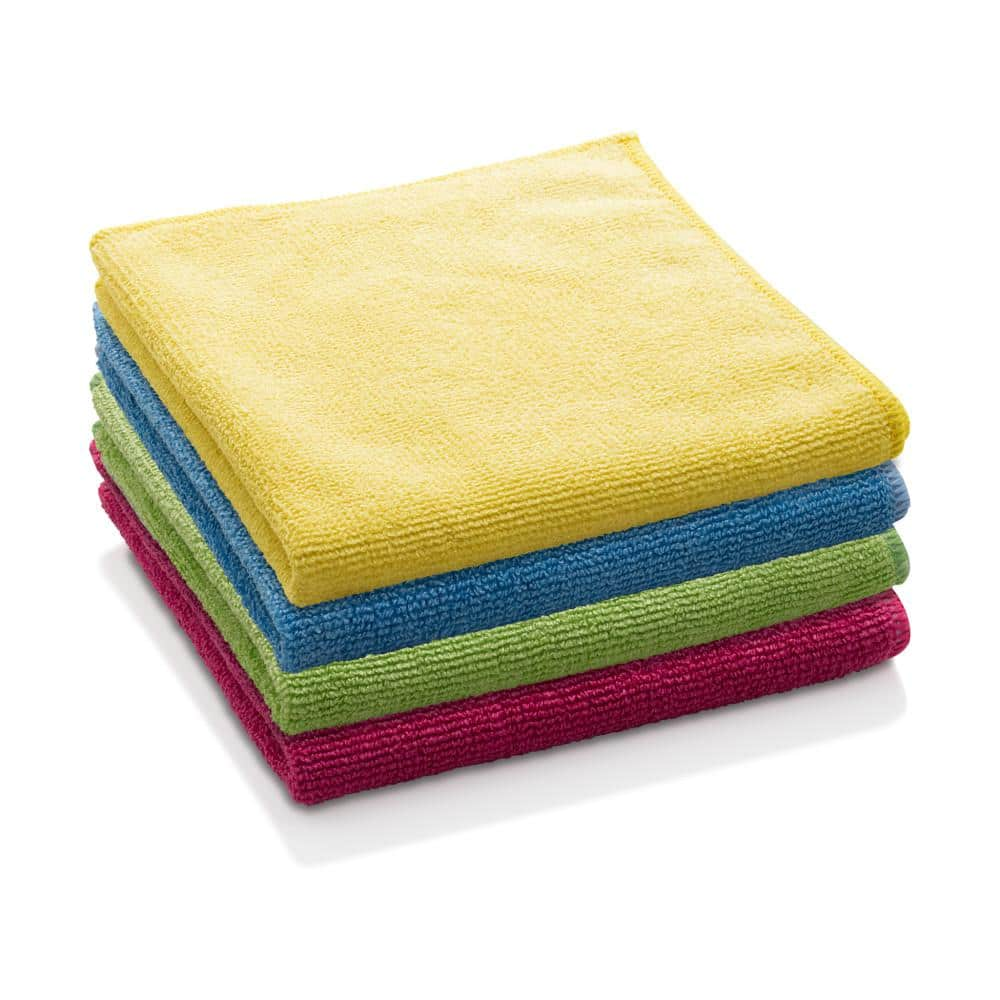
E-Cloth Microfiber General Purpose Cloths - Assorted Colors - 4 Pack 10902M

Husky 12 in. Adjustable Wrench 90933
Adjustable Wrench
Fits various nut and bolt sizes with its adjustable jaw.
E-Cloth 20 in. x 16 in. Microfiber Kitchen Cleaning Kit 2 Cloth Set 10601M
The 2-piece E-Cloth Kitchen Cleaning Kit effortlessly keeps your kitchen looking like new from sink to stove, with premium microfiber that's appropriate for all surfaces. Use the Cleaning Cloth to wipe
E-Cloth Microfiber General Purpose Cloths - Assorted Colors - 4 Pack 10902M
Always up for some good clean fun, E-Cloth General Purpose Cloths tackle nearly every household cleaning task on your list. Masses of precision-engineered microfibers attract and trap grease, grime, fingerprints,
Husky 12 in. Adjustable Wrench 90933
The Husky 12 in. Adjustable Wrench features a durable, comfortable handle. A large knurl allows for easy adjustment and a tight-fitting hex jaw design reduces slippage and tightly grips the fastener for
Steps


Common Problems
Failure to turn off the water can result in flooding.
Solution: To avoid this issue: Be mindful of this warning and take appropriate precautions.
Double-check that the water is completely shut off by trying the shower handle.
Solution: To avoid this issue: Be mindful of this warning and take appropriate precautions.
Failing to turn off the water can lead to flooding when the valve is disassembled.
Solution: To avoid this issue: Be mindful of this warning and take appropriate precautions.
If you cannot find local shut-off valves for the shower, you will need to shut off the main water supply to the entire house.
Solution: To avoid this issue: Be mindful of this warning and take appropriate precautions.
Always confirm the water is off by turning on a faucet elsewhere in the house before you begin disassembling the shower valve.
Solution: To avoid this issue: Be mindful of this warning and take appropriate precautions.
Showerhead stuck, risking pipe damage during removal.
Solution: If the showerhead is stuck, you may need to apply more force or use a penetrating oil, but be careful not to damage the pipe inside the wall.
Make sure the water is turned off before you start.
Solution: To avoid this issue: Be mindful of this warning and take appropriate precautions.
Frequently Asked Questions
How does installing a new rain shower head specifically address low water pressure?
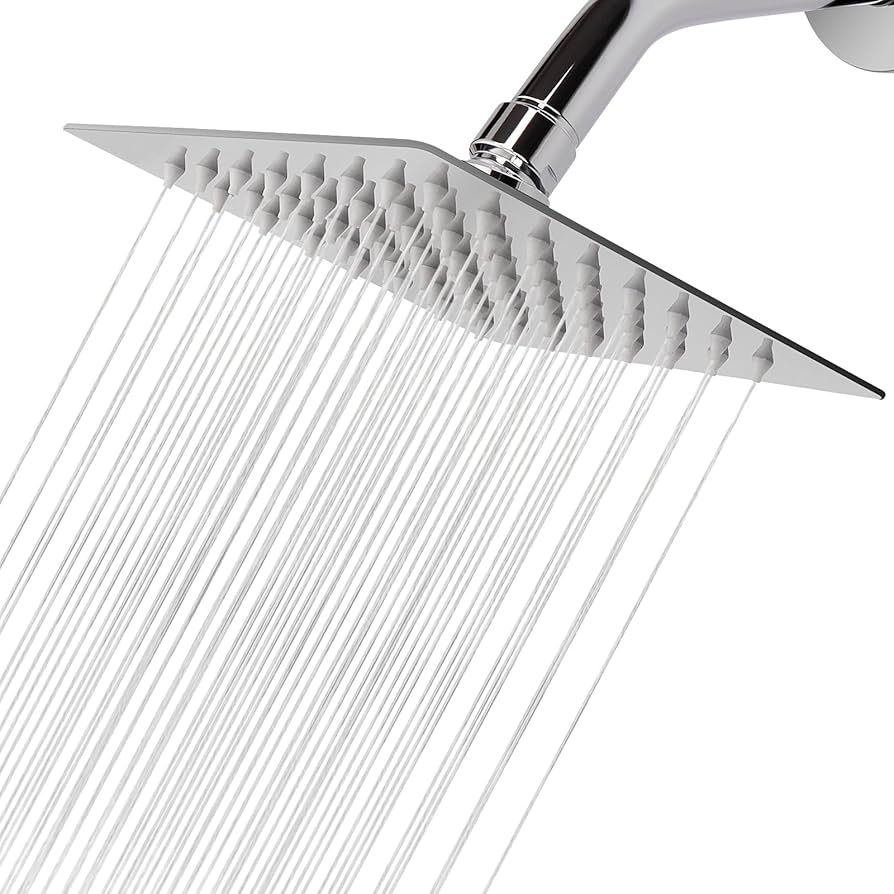
While a new rain shower head itself doesn't increase your home's overall water pressure, many modern rain heads are designed with wider spray patterns that can make low pressure feel more substantial. Additionally, some rain shower heads have removable flow restrictors that, when carefully removed (and if permitted by local codes), can significantly improve water flow for a better shower experience.
Besides an adjustable wrench, are there other essential tools or materials I'll need for a leak-free installation?
Yes, Teflon tape (also known as plumber's tape) is crucial for creating a watertight seal. You'll wrap it clockwise around the shower arm threads 3-5 times before installing the new shower head. A soft cloth or old towel is also helpful for cleaning threads and protecting your new fixture.
Why is it so important to turn off the main water supply before starting, and how do I do it safely?
Turning off the main water supply is vital to prevent flooding and ensure you can work safely without water spraying during the installation. Locate your home's main water shut-off valve, typically in the basement, utility closet, or near your water meter, and turn it clockwise until the water flow stops completely.
What happens if I overtighten the new rain shower head, and how can I avoid it?
Overtightening can strip the threads on your existing shower arm or the new shower head, leading to persistent leaks or costly damage requiring professional repair. To avoid this, hand-tighten the shower head until it's snug, then use an adjustable wrench for just an additional quarter to half turn, stopping as soon as it feels secure.
I've installed my new shower head, but it's still leaking at the connection. What should I do?
First, ensure you applied Teflon tape correctly around the shower arm threads before installation. If the leak persists, gently tighten the connection a bit more with your adjustable wrench. If still leaking, remove the shower head, clean the threads thoroughly, reapply fresh Teflon tape, and reinstall, ensuring it's snug but not overtightened.
How long does this rain shower head installation typically take for a beginner, and is it truly a beginner-level project?
This is definitely a beginner-friendly DIY project, usually taking only 15-30 minutes from start to finish. The most time-consuming part might be locating your home's main water shut-off valve or dealing with an old, stubborn shower head that's difficult to remove.
Why is cleaning the shower arm threads important, and what's the best way to do it?
Cleaning the shower arm threads is crucial because it removes old sealant, mineral deposits, and debris that can prevent your new shower head from forming a proper, leak-free seal. Use a brush (like an old toothbrush) or a clean cloth to wipe the threads thoroughly before applying fresh Teflon tape.