Landscape Steps
About This Project
This project involves constructing timber and gravel steps on a slope to improve accessibility and aesthetics. The process includes planning the layout, excavating the area, building retaining walls for each step using timber, and filling the steps with compacted gravel for a durable and functional surface.
Tools & Materials
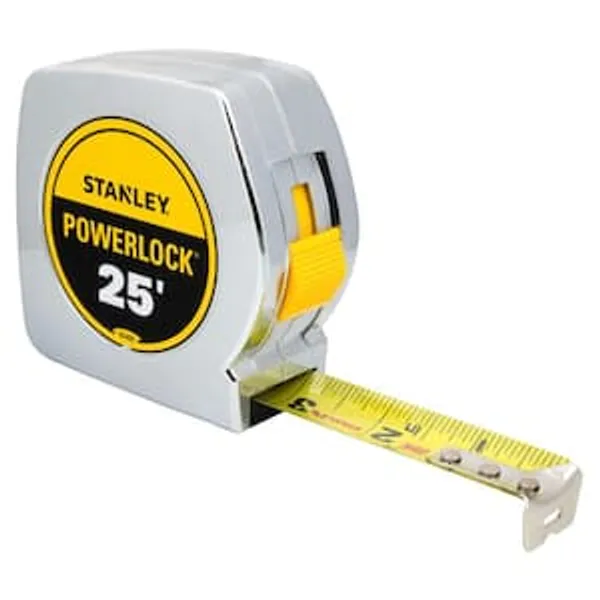
Measuring Tape
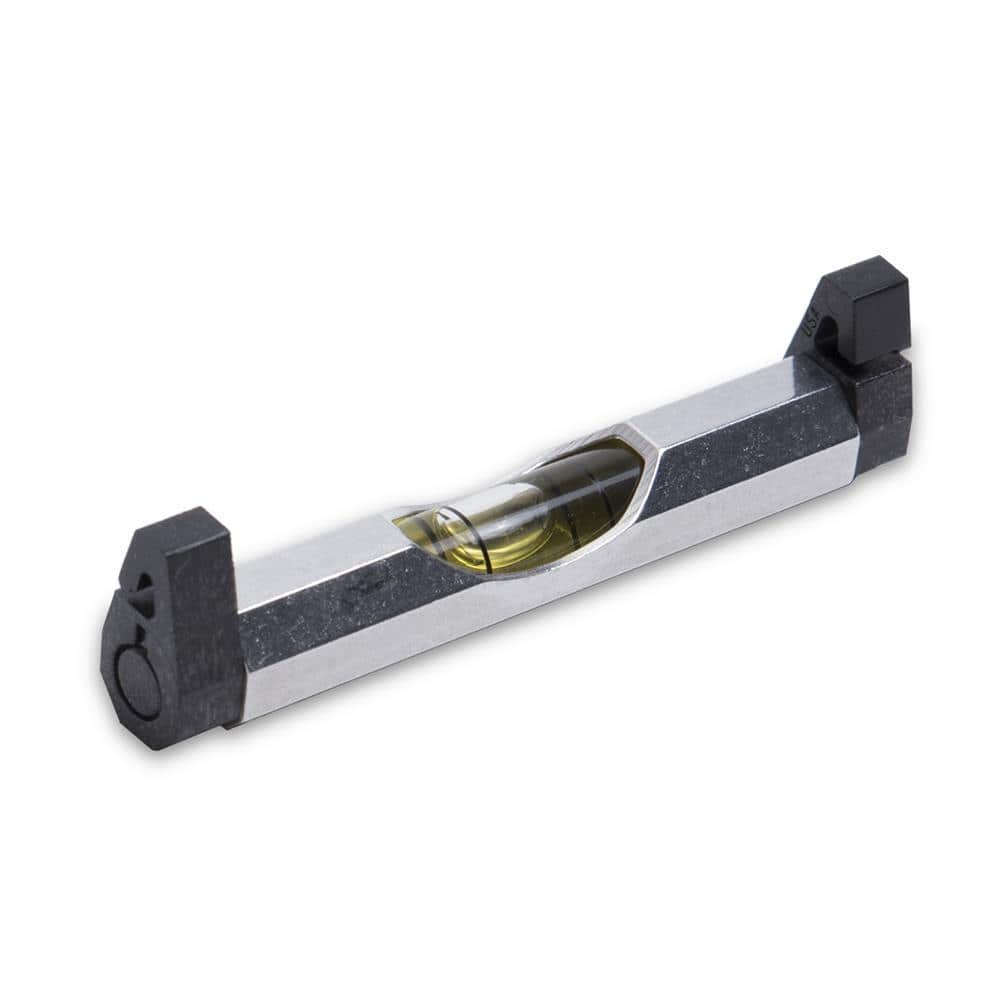
MARSHALLTOWN Line Level 16554-HD
Anvil Wood Handle Digging Shovel 3589600

Trail Chasers 6 in. Green Ground Markers - Whiskers and Stakes (25-Pack) TEHGN25
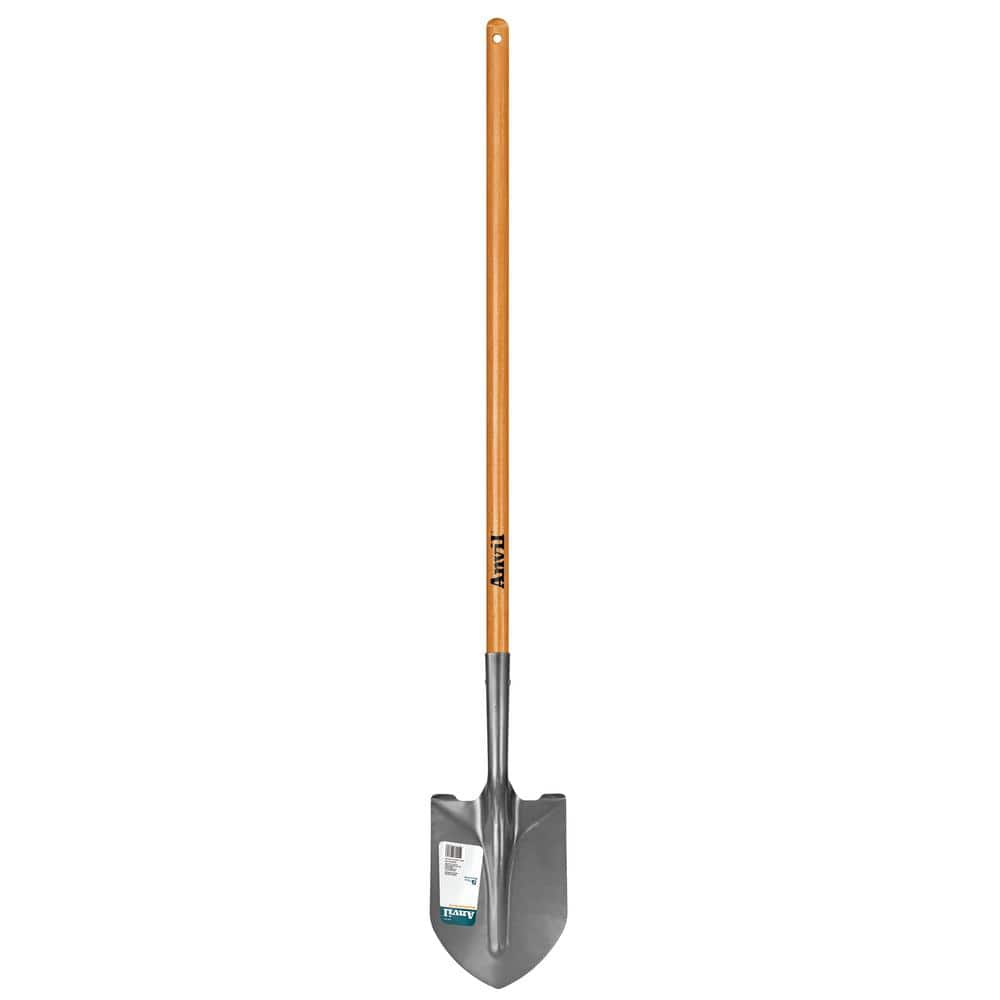
Anvil 47 in. Wood Handle Carbon Steel Digging Shovel 77470-939
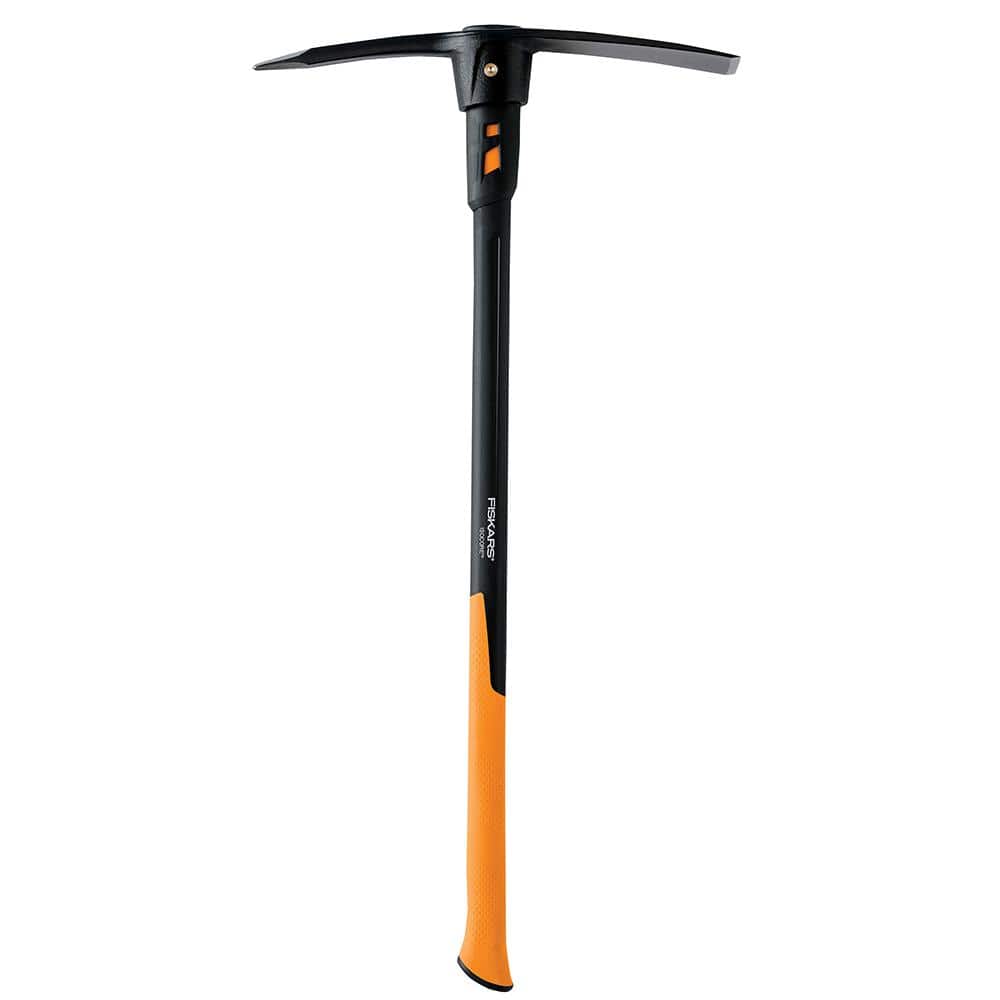
Fiskars Iso Core 5 lbs. Forged Steel 36 in. Pickaxe with Fiberglass Core Handle 751210-1003
Measuring Tape
Accurate measurements in a snap.
MARSHALLTOWN Line Level 16554-HD
The MARSHALLTOWN Line Level's lightweight design eliminates line sag. This product ensures you always have a level line to follow during all masonry projects. This masonry tool comes with break-resistant
Anvil Wood Handle Digging Shovel 3589600
This long handle round point shovel is suitable for digging and gardening, particularly in tilled soil. This is a light-use tool for infrequent jobs and yard maintenance. It is of good value to homeowners
Trail Chasers 6 in. Green Ground Markers - Whiskers and Stakes (25-Pack) TEHGN25
The Original Trail Chasers GROUND MARKERS-Easy to Deploy, Easy to Move and Easy to Retrieve. Perfect for marking hiking trails, hunting locations, survey points, ground hazards, garden layouts, landscape
Anvil 47 in. Wood Handle Carbon Steel Digging Shovel 77470-939
Discover the Unparalleled Performance of the Anvil 47 in. Digging Shovel. Are you seeking a digging shovel that combines durability, strength, and reliable performance. Look no further than the Anvil Digging Shovel. Crafted with a laser-cut blade made of high-quality carbon steel, it effortlessly slices through soil, roots, and debris, making it an ideal tool for all your lawn and garden projects. What sets this shovel apart is the head, which is fully tempered for exceptional strength and durability. This means it can withstand the toughest digging tasks with ease and longevity. The 47 in. wood handle is not only functional but visually appealing as well, thanks to its varnished finish. This coating not only adds to its appearance but also provides protection against the elements, ensuring your shovel stays in top condition for years to come. This tool comes with a 5-year manufacturer warranty.
Fiskars Iso Core 5 lbs. Forged Steel 36 in. Pickaxe with Fiberglass Core Handle 751210-1003
This rugged, powerful pick allows you to break up hard surfaces and dig in hard soil while helping to reduce muscle fatigue and joint pain. Premium steel is forged into a perfectly balanced design to help make every swing your best. Our patented, industry-leading IsoCore Shock Control System absorbs strike shock and vibration, reducing the punishment your body takes and a dual-layer handle captures any lingering vibration. An inseparable riveted head will not slide down or snap off, even when swinging with maximum force. A performance handle design fits your hand securely and comfortably with strategic texturing that helps improve grip while reducing blisters. This design has been tested to exceed U.S. standards for striking tool durability to withstand the toughest work environments. Great for ripping into hard surfaces, this pick features our patented IsoCore Shock Control System to reduce shock and vibrations by 2X.
Steps

Plan and Mark Layout
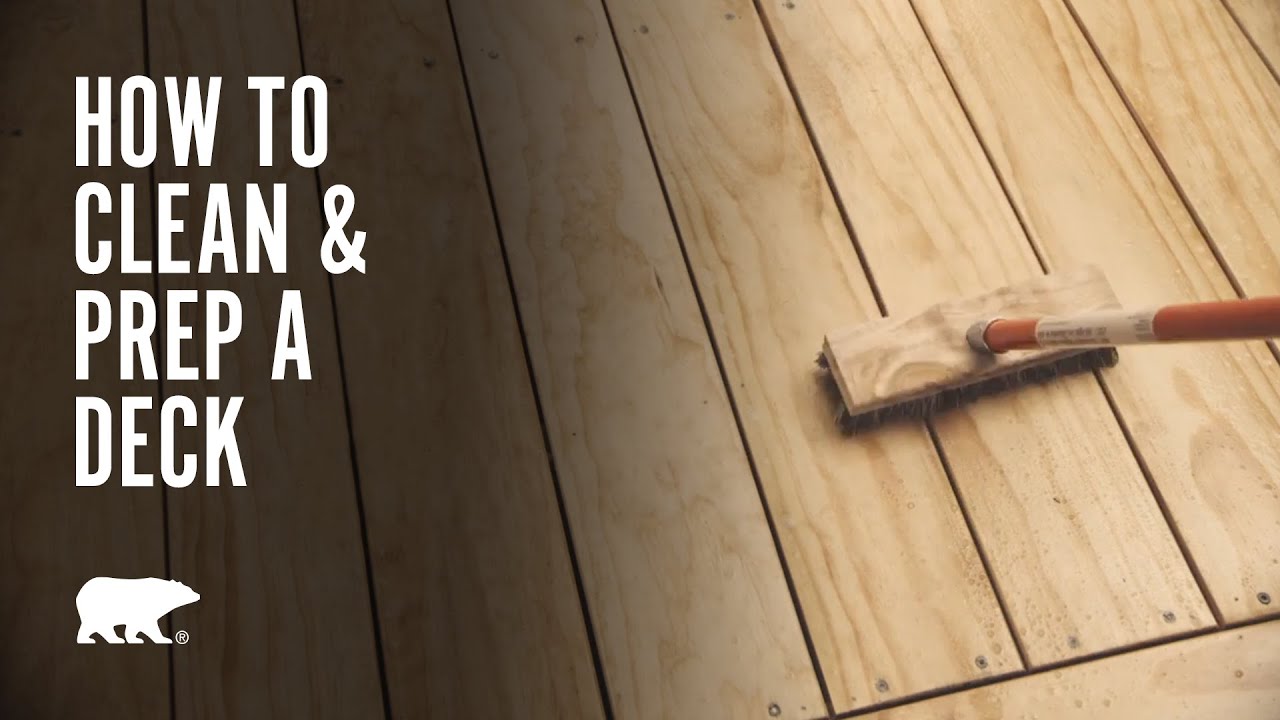
120 minutesDetermine the desired height and depth of each step. Mark the desired location for the first step on the slope. Use a level to ensure the tread is horizontal and the riser is vertical. Outline the area for the first step and mark the positions for the timber retaining walls. Repeat this process for each subsequent step, ensuring consistent rise and run.
Watch: Site Preparation and Measurement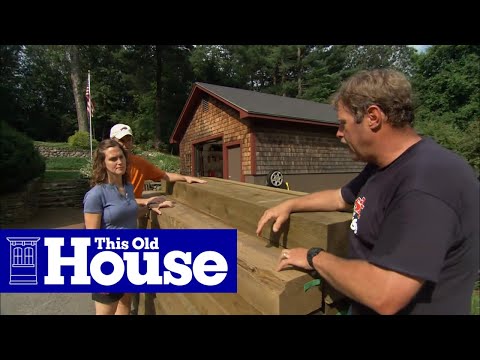
Excavate for First Step
180 minutesExcavate the area marked for the first step. The depth should be sufficient to accommodate the timber depth plus a few inches for drainage and compaction. Create a level base for the timber to rest on. Dig a trench where the retaining timbers will be placed, ensuring they will be flush with or slightly below the final desired step height.
Watch: Excavate and Prepare Foundation TrenchInstall Retaining Timbers
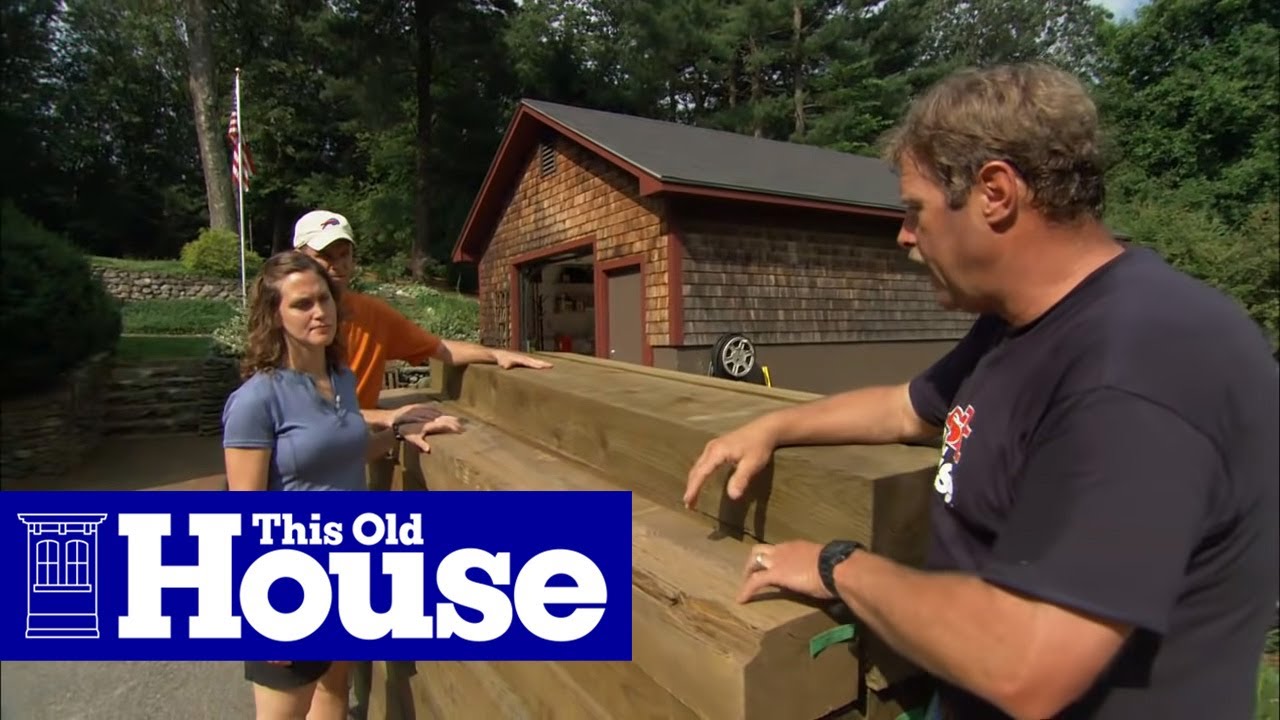
90 minutesPlace the main retaining timbers into the excavated trench. Ensure they are level and plumb. For added stability, drive stakes into the ground behind the timbers and secure the timbers to the stakes with screws. Backfill lightly around the timbers to hold them in place.
Watch: Install and Secure First Timber Course
Fill Step with Gravel
120 minutesFill the remaining excavated area with gravel, bringing it up to the desired level of the step tread. Ensure the gravel is slightly higher than the retaining timbers to allow for settling and drainage. Compact the gravel in layers using a hand tamper or plate compactor to achieve a firm and level surface.
Watch: Fill Steps with Gravel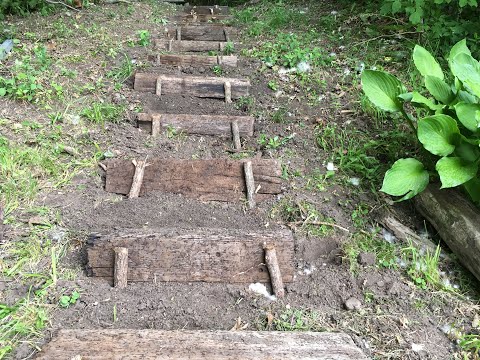


Final Grading and Drainage
60 minutesOnce all steps are constructed, check the grading around the entire structure. Ensure the ground slopes away from the steps to prevent water from pooling. Make any necessary adjustments to the soil or gravel surrounding the steps for a clean finish and good drainage.
Watch: Final Grading and FinishingFrequently Asked Questions
Do I really need a plate compactor for the gravel steps, or can I compact it manually?
A plate compactor (like the Tomahawk Power eJXPC50 listed) significantly speeds up and improves compaction, which is crucial for step stability and preventing settling. While manual tamping is possible for small areas, a power compactor is highly recommended for a durable, long-lasting surface, especially for multiple steps. Inadequate compaction can lead to uneven surfaces and drainage issues over time.
What are the most important safety considerations when working on a sloped area with heavy timbers and excavation?
Always wear appropriate personal protective equipment, including work gloves, safety glasses, and sturdy boots. Be mindful of unstable soil during excavation and never work alone. When handling heavy timbers, use proper lifting techniques or get assistance to prevent back injuries, and ensure timbers are securely anchored before applying weight or stepping on them.
The project says 'beginner' difficulty, but 4 days seems like a long time. Is it really beginner-friendly, and what makes it take so long?
While the individual tasks are beginner-friendly in terms of skill, the 'beginner' rating refers more to the required skills than the physical effort or time commitment. The 4-day estimate accounts for significant manual labor, including extensive excavation, handling heavy timbers, and compacting multiple layers of material. Planning and ensuring precise leveling for each step are also time-consuming but crucial for a professional and safe finish.
What are common mistakes beginners make when building timber steps, and how can I avoid them?
A common mistake is inadequate preparation, leading to uneven steps or poor drainage. Ensure your layout is precise and each timber is perfectly level both front-to-back and side-to-side. Another error is insufficient compaction of the base and gravel layers, which can cause steps to sink or shift over time. Spend extra time on these foundational steps to prevent future problems.
Can I use different types of wood for the retaining timbers, or is pressure-treated essential for longevity?
Pressure-treated timber (like the 4x4s listed) is highly recommended for its resistance to rot and insects, which is crucial for ground contact and longevity in outdoor environments. While other woods might be cheaper upfront, they will deteriorate much faster, requiring replacement sooner. If using non-pressure-treated wood, consider applying a suitable wood preservative designed for ground contact and outdoor use.
The materials list includes both decomposed granite and crushed gravel. Do I need both, and what's the purpose of each?
Yes, both materials serve distinct purposes for optimal step construction. Decomposed granite (crushed rock fines) is often used as a compactable base layer, providing a stable foundation and improving drainage. The 3/8 inch crushed gravel then forms the durable, permeable walking surface that prevents pooling, offers good traction, and complements the aesthetics. Using both contributes to the stability, drainage, and finished look of your steps.
How important is drainage for these steps, especially on a slope, and how do I ensure it?
Proper drainage is critical to prevent water erosion, timber rot, and step instability, especially on a slope. Ensure each step has a slight forward pitch (about 1/8 inch per foot) to encourage water runoff away from the step faces. Additionally, good compaction of all fill materials aids in shedding water effectively and preventing water from saturating the step structure.