

How to Install Treads and a Landing Pad on L-Shaped Stairs
About This Project
This project outlines the steps for installing new treads and a landing pad on L-shaped stairs, enhancing both the appearance and safety of your staircase.
Tools & Materials
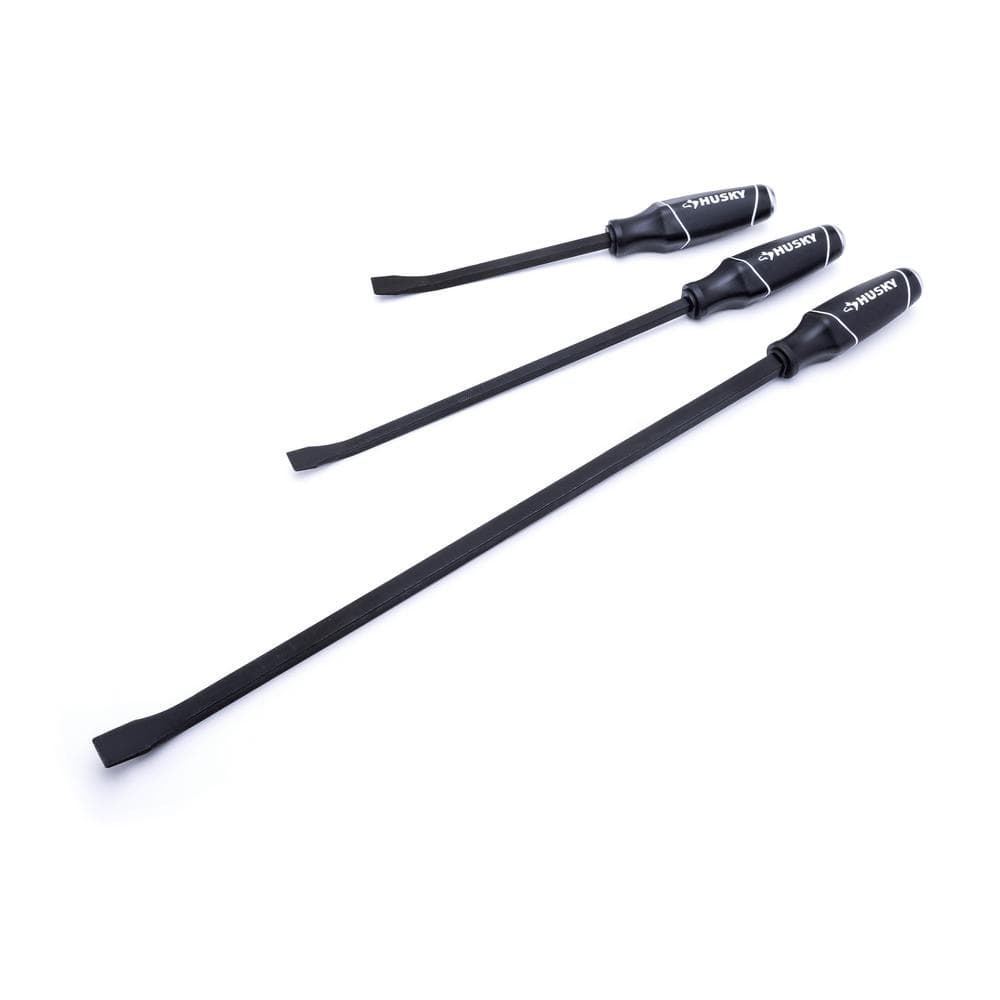
Husky Pry Bar Set (3-Piece) H3PCPRYSET

Chisel
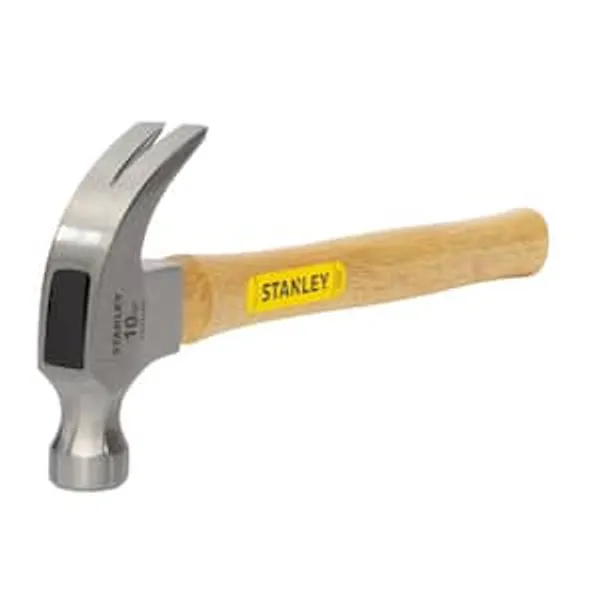
Hammer

Warner ProGrip 1-1/4 in. Flex Putty Knife 29990

Milwaukee 9 in. Nail Puller with Dimpler 48-22-9030

Safety Glasses
Husky Pry Bar Set (3-Piece) H3PCPRYSET
The Husky Pry Bar Set comes with 3 individual pry bars measuring 12 in., 17 in., and 25 in. long. This 3-piece pry bar set features an ergonomic dual-material handle and black phosphate bar. The tip is
Chisel
Used for removing excess wood, particularly after gluing the pieces of the tabletop together.
Hammer
Delivers forceful blows with precision.
Warner ProGrip 1-1/4 in. Flex Putty Knife 29990
Flex blade that works great with heavier spackles and compounds. Standard carbon steel hollow-ground blade to provide consistent flex and proper stiffness. Professional quality tool. Tapered handle design
Milwaukee 9 in. Nail Puller with Dimpler 48-22-9030
The Milwaukee 9 in. Finish Nail Puller features SMOOTHPULL head geometry for best-in-class leverage and quick nail removal. Users can easily complete jobs with the finish nail puller's unique head shape
Safety Glasses
Keeps eyes safe from potential hazards.
Steps

Remove Old Treads and Risers
120 minutesBegin by using a pry bar and a chisel to carefully detach the existing stair treads from the staircase structure. Work from the edge, gently loosening the treads. For stubborn treads, you may need to tap the chisel with a hammer. Once the treads are loose, remove them. Next, tackle the risers by prying them away from the treads and stringers. Be mindful of any nails or fasteners that may be present and remove them as you go. Ensure you are wearing safety glasses to protect your eyes from flying debris and gloves for grip and protection.
Watch: Remove Old Stair Components
Prepare Stair Subfloor
90 minutesOnce the old treads and risers are removed, thoroughly clean the exposed stair stringers and subfloor. Use a stiff brush or broom to sweep away all dust, debris, and old adhesive. Inspect the subfloor for any damage, such as rot, cracks, or soft spots. Repair any damaged areas using wood filler for minor imperfections or by cutting out and replacing severely damaged sections with new plywood or OSB. Ensure that all surfaces are flat and free of obstructions. If any stringers appear weak or damaged, reinforce them or replace as necessary before proceeding.
Watch: Prepare Stair Sub-Structure
Measure and Cut New Treads and Landing Pad
150 minutesUsing a tape measure, accurately measure the width and depth of each stair tread. For an L-shaped stair, also measure the dimensions of the landing pad area. Account for any existing nosing or overhang you wish to replicate or modify. Transfer these measurements to your new tread material (e.g., hardwood, laminate). Use a chalk line or pencil to mark your cut lines. Employ a circular saw or miter saw for straight, precise cuts. For treads that need a profile or return, ensure these are accounted for in your cutting strategy. Cut the new treads and the landing pad piece to size.
Watch: Measure and Cut Treads
Install New Treads and Landing Pad
180 minutesBegin by dry-fitting each new tread and the landing pad to ensure a perfect fit. Make any necessary adjustments. Apply a generous bead of construction adhesive along the front and back edges of the stair stringer and subfloor where the tread will sit. Also, apply adhesive to the underside of the tread where it will contact the subfloor. Carefully place the tread onto the stringers, aligning it properly. Secure the tread by driving wood screws through the tread and into the subfloor and stringers below. Predrill pilot holes to prevent splitting, especially near the edges. For risers, if you are installing them, use construction adhesive and nails. Repeat this process for all treads and the landing pad, working from bottom to top.
Watch: Install Remaining Treads and Risers
Install Risers (if applicable) and Finishing Touches
120 minutesIf your stair renovation includes new risers, install them now. Apply construction adhesive to the back of the riser and the front edge of the tread it will attach to. Position the riser, ensuring it's flush and square, and secure it with nails or screws through the back into the tread and/or through the front into the riser below. For any exposed screw or nail heads on treads or risers, fill them with wood filler and allow it to dry. Once the filler is dry, sand down any rough spots or edges on the treads and landing pad to ensure a smooth finish. If you are painting or staining the treads and risers, apply your chosen finish according to the manufacturer's instructions. If using a natural wood finish, apply a protective sealant or varnish.
Watch: Install Decorative MDF Risers

