

How to Install a Rope Handrail Along a Stair Wall
About This Project
This project involves installing a rope handrail along a stair wall to provide additional support and aesthetic appeal. The process includes planning the layout, selecting appropriate mounting hardware, securing the rope, and ensuring it meets safety standards.
Tools & Materials
Measuring Tape

Pencil
Level

DEWALT 1-1/2 in. Stud Finder DW0150

Drill
Drill Bits
Measuring Tape
For accurate measurements of plywood and components, ensuring proper assembly.
Pencil
Marks and draws with ease.
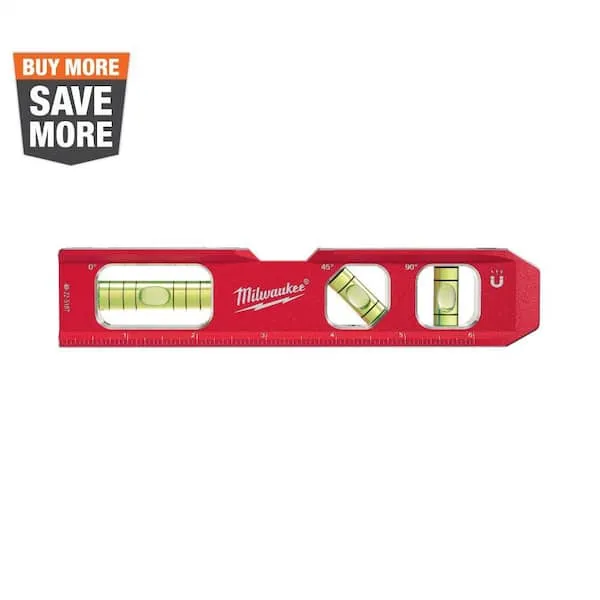
Level
Ensures surfaces are just right.
DEWALT 1-1/2 in. Stud Finder DW0150
This Center Sensor Stud Finder has a detection depth of 1-1/2 in. for wood and metal. Traditional stud sensors locate the edge of the stud, but our new product locates the center for a more efficient read, even when held at an angle. Plus, it is constantly calibrating to save time during use. An audible alert and directional LED arrows clearly notify you once the stud is located and you can easily mark the center of the stud with the center marking channel.
Drill
A power tool used for drilling holes in various materials.
Drill Bits
Various sizes for different drilling tasks, including making holes for screws and latches.
Steps

Determine Handrail Placement and Height
30 minutesBegin by identifying the desired height for your rope handrail. A common standard is between 34 and 38 inches from the edge (nosing) of each stair tread to the top of the handrail. Use a tape measure to mark this height at regular intervals along the wall, ensuring consistency. Also, consider the horizontal distance from the wall to the rope to ensure adequate clearance for a comfortable grip, usually around 2-3 inches. Mark these points clearly on the wall with a pencil.
Watch: Plan Placement and Mark Handrail Height
Locate Wall Studs
15 minutesFor a secure installation, the mounting hardware must be attached to wall studs. Use a stud finder to scan the wall at each marked point where you intend to install a bracket or anchor. Once a stud is located, mark its center clearly with your pencil. If studs are not ideally positioned, you may need to use heavy-duty drywall anchors specifically rated for significant load, but attaching to studs is always preferred.
Watch: Locate Wall Studs
Install Mounting Brackets/Anchors
45 minutesAt each marked stud center, drill pilot holes appropriate for the size of your screws. Then, position your chosen mounting brackets (e.g., eye bolts, specialized handrail brackets, or rope cleats) over the pilot holes. Drive screws through the brackets and firmly into the wall studs. If using heavy-duty drywall anchors, follow the manufacturer's instructions for installation. Ensure each bracket is securely fastened and aligned with the planned route of the handrail rope.
Watch: Mount Handrail Brackets
Cut Rope to Length
15 minutesMeasure the distance between the first and last mounting bracket along the planned path of the handrail. Add sufficient extra length to accommodate any knots, splices, or to securely wrap and tie off the rope at the end brackets. A general guideline is to add 1-2 feet per bracket for securing, plus extra for desired knot aesthetics. Once the total length is determined, cut the rope using a sharp knife or specialized rope cutter.
Watch: Calculate Rope Length for Square Posts
Thread and Secure Rope
60 minutesBegin by threading the cut rope through the first mounting bracket. Pull the rope taut along the marked path, threading it through each subsequent bracket. At the starting bracket, secure the rope using a strong, aesthetically pleasing knot (e.g., a figure-eight knot, a clove hitch, or a decorative knot) that can be cinched tightly. Repeat this process at the final bracket, ensuring the rope is kept taut throughout its length. Adjust tension as needed before fully securing the ends.
Watch: Secure Rope with Final Knot
Adjust Tension and Trim Ends
20 minutesOnce the rope is threaded and secured at both ends, check the overall tension. The handrail should feel firm and provide adequate support without sagging significantly. If necessary, untie and re-secure one end to adjust the tension. After achieving the desired tautness, trim the excess rope close to the knots. For synthetic ropes, use a lighter to melt and seal the cut ends to prevent unraveling. For natural fiber ropes, consider using tape, whipping, or a decorative cap to finish the ends.
Watch: Final Cable Tensioning
Test Handrail Stability
10 minutesWith the handrail fully installed and ends secured, it's crucial to test its stability. Apply firm, consistent pressure to the rope handrail, particularly at mid-spans and near the brackets. Lean on it as you would when using it. Check that the brackets remain secure and that the rope does not stretch or slip excessively. This test confirms that the handrail is safe and functional for its intended purpose.
Watch: Final Handrail Installation and Stability Check

