

How to Add a Door to an Under-Stair Closet
About This Project
This project involves creating a new doorway into an under-stair closet, which typically requires framing, cutting into existing wall material, and installing a new door and trim. It's a structural carpentry project that requires careful planning and execution to ensure the opening is correctly sized and structurally sound.
Tools & Materials

DEWALT 3/4 in. Stud Finder and 9 in. Torpedo Level DW0100W43003

Pencil
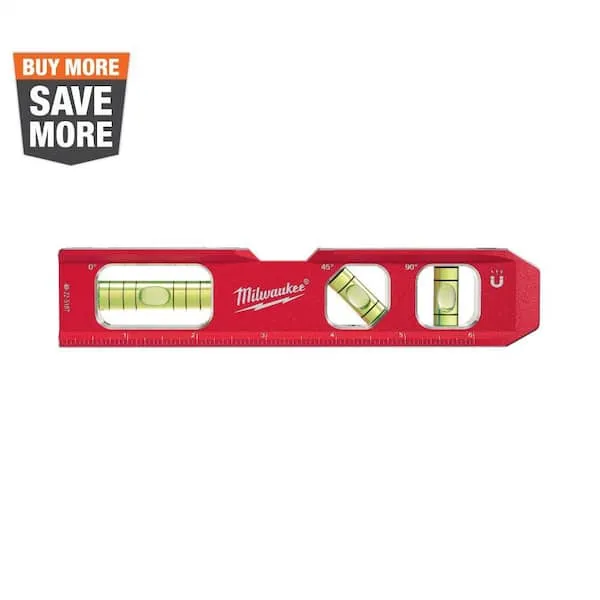
Level
Measuring Tape

Prest-on Drywall Repair Kit with Drywall 4045

Makita 15 Amp Reciprocating Saw JR3070CTZ
DEWALT 3/4 in. Stud Finder and 9 in. Torpedo Level DW0100W43003
Eliminate the guesswork with this new Center Sensor Stud Finder that has a detection depth of 3/4 in. for wood and metal. While traditional stud sensors locate the edge of the stud, this 1 locates the
Pencil
Marks and draws with ease.
Level
Ensures surfaces are just right.
Measuring Tape
For accurate measurements of plywood and components, ensuring proper assembly.
Prest-on Drywall Repair Kit with Drywall 4045
Got a hole in your wall. That's an easy fix with our drywall repair kit featuring the insta-back. The all in one kit is a complete kit with enough supplies to repair 2-holes in drywall using the insta-back.
Makita 15 Amp Reciprocating Saw JR3070CTZ
Makita's Reciprocating Saw with AVT (model JR3070CTZ) delivers superior power and performance with less vibration. The JR3070CTZ is equipped with Anti-Vibration Technology (AVT), an internal counterbalance
Steps

Locate Studs and Mark Opening
30 minutesUsing a stud finder, identify the location of wall studs and any overhead joists that might obstruct or be affected by the new doorway. Carefully measure and mark the precise dimensions of the planned opening on the wall surface. Ensure the marked lines are perfectly vertical (plumb) and horizontal (level) using a spirit level. The width should accommodate the door slab plus a small margin for the frame and shims.
Watch: Mark Jack and King Stud Locations
Cut Out Existing Wall Material
45 minutesUsing a drywall saw or a reciprocating saw equipped with a fine-tooth blade, carefully cut through the wall material along the pencil lines previously marked for the door opening. Make precise cuts to avoid overcutting or damaging surrounding wall areas. If the wall is plaster or contains materials other than drywall, use the appropriate saw blade for a clean cut.
Watch: Cut and Remove Drywall for Opening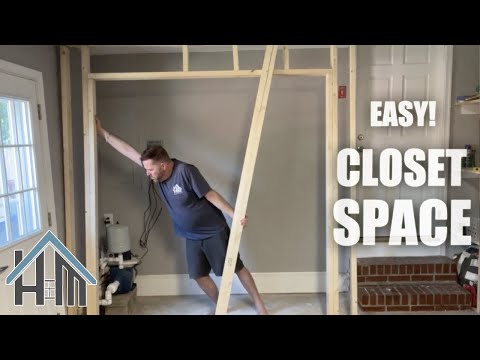
Frame the Door Opening
90 minutesCut two full-height studs (king studs) to frame the sides of the opening. Then, cut two shorter studs (trimmer or jack studs) to support the header. The header, typically a piece of 2x lumber or a doubled-up 2x, will span the width of the opening. Nail the trimmer studs to the king studs, ensuring they are flush with the inside edge of the king studs, and then attach the header across the top of the trimmer studs. Add a sill plate at the bottom if needed. For increased structural integrity, consider adding cripple studs above the header if the opening is significantly shorter than the wall height.
Watch: Frame the Door Rough Opening (Jack Studs, Header, Cripples)
Install Door Jamb and Door
75 minutesAssemble the door jamb (sides and head) according to the pre-hung door manufacturer's instructions. Insert the assembled jamb into the framed opening, ensuring it is plumb and square. Use shims between the jamb and the framing to achieve a perfect fit and to hold the jamb in place while you secure it. Screw or nail through the jamb and shims into the king studs. Once the jamb is securely installed, hang the door slab onto the jamb hinges.
Watch: Install Pre-hung Door Frame and Test Operation
Install Door Casing and Trim
60 minutesMeasure and cut casing trim pieces to fit around the exterior of the door jamb. Miter the corners for a clean, professional look. Apply a small bead of construction adhesive to the back of the casing if desired, then nail the casing into place along the jamb and the wall studs using finishing nails. Ensure the nails are set slightly below the surface for easy filling.
Watch: Install Door Casing/Trim
Install Door Hardware and Finish
120 minutesFollow the manufacturer's instructions to install the doorknob, strike plate, and any other desired hardware on the door. Once the hardware is installed, use wood filler or putty to fill all nail holes in the trim and jamb. Sand any rough spots smooth. Apply primer, followed by your chosen paint or stain, to the door and trim. Allow adequate drying time between coats as per the product instructions.
Watch: Install Trim and Final Touches