

How to Install Shoe Molding Along Stair Treads
About This Project
This project involves installing shoe molding along the base of stair treads to cover the expansion gap between the tread and the riser, providing a finished and professional look.
Tools & Materials
Measuring Tape
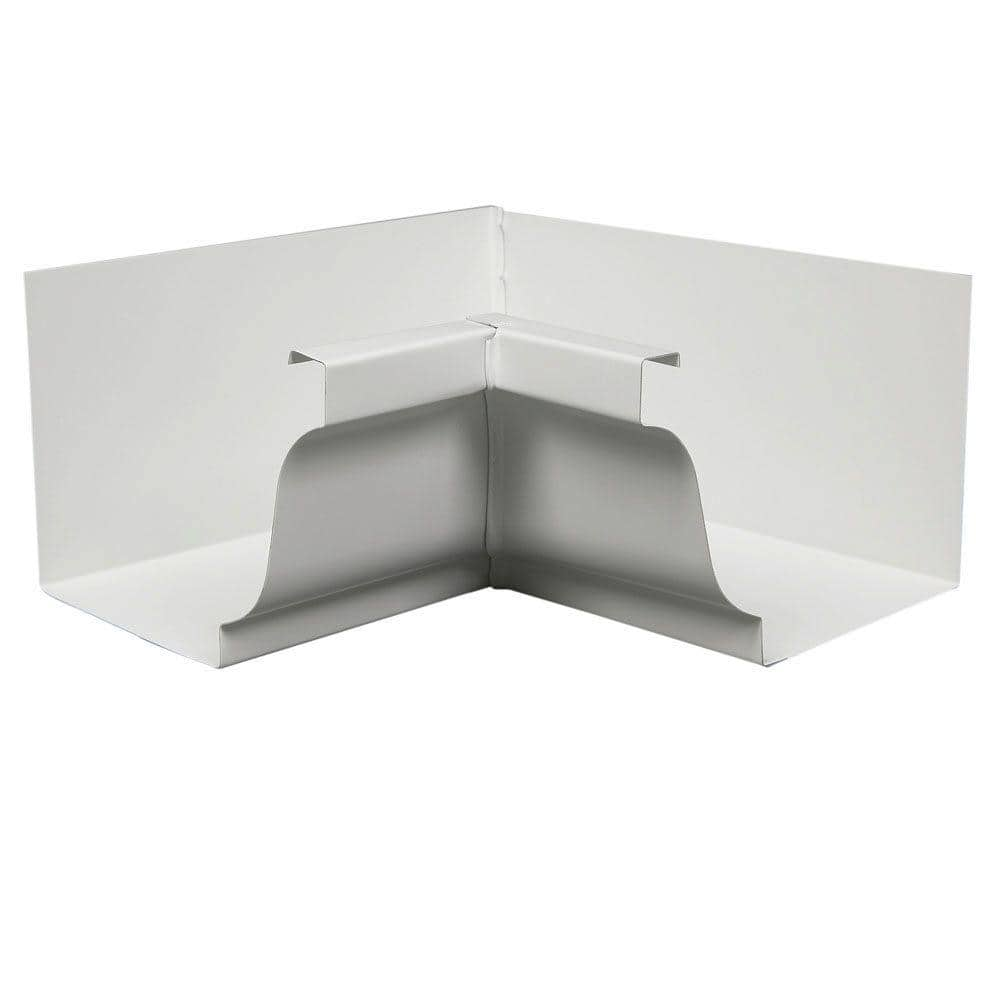
Amerimax Home Products 6 in. White Aluminum K-Style Inside Gutter Miter 47001

Pencil

Royal Mouldings 3/4 in. x 5/16 in. Vinyl Composite Shoe Molding 0204612003
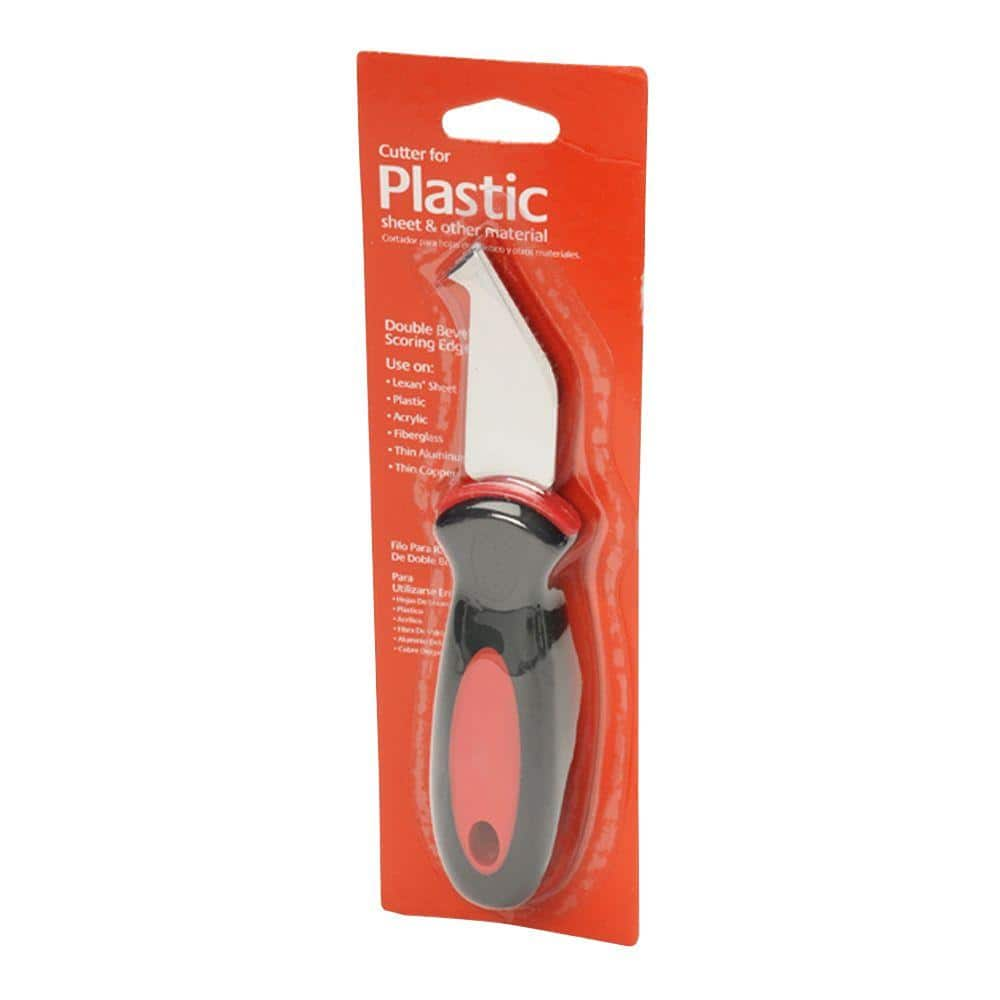
Utility Knife Plastic Sheet Cutting Tool GE-41
18-Gauge Cordless AirStrike Brad Nailer
Measuring Tape
For accurate measurements of plywood and components, ensuring proper assembly.
Amerimax Home Products 6 in. White Aluminum K-Style Inside Gutter Miter 47001
The Amerimax Home Products 6 in. Aluminum Inside Gutter Mitre features rust-free aluminum construction for durability and a baked-on white enamel finish for low maintenance. To install, snip the back of the gutter, overlap the pieces, and rivet them together. Sealant is required for installation (not included). This product attaches with screws or pop rivets (not included)
Pencil
Marks and draws with ease.
Royal Mouldings 3/4 in. x 5/16 in. Vinyl Composite Shoe Molding 0204612003
The durable 12 ft. x 3/4 in. x 5/16 in. Vinyl Shoe Molding is for both indoor and outdoor installation. It is bright white. It can also be painted or stained to your liking.
Utility Knife Plastic Sheet Cutting Tool GE-41
The plastic sheet cutting knife is designed for use on LEXAN polycarbonate sheets and other plastic materials. It features a double-bevel scoring edge for clean, consistent cuts and a rounded handle that
18-Gauge Cordless AirStrike Brad Nailer
Drive brad nails effortlessly without cords.
Steps

Measure and Cut Shoe Molding for First Tread
10 minutesMeasure the length of the bottom edge of the first stair tread where it meets the riser. Transfer this measurement to your shoe molding. Use a miter saw to make a clean, straight cut at this measurement. If the corner is not a perfect 90 degrees, you may need to make a miter cut to achieve a snug fit against the riser and the tread.
Watch: Cut Shoe Molding
Test Fit and Adjust First Piece of Molding
5 minutesHold the cut piece of shoe molding in place against the base of the first stair tread and against the riser. Check for any gaps or unevenness. If adjustments are needed, carefully trim the molding with the miter saw or a utility knife until it sits flush against both surfaces.
Watch: Dry Fit Tread and Nosing
Fasten First Piece of Shoe Molding
10 minutesOnce the first piece of shoe molding is properly fitted, use a brad nailer or hammer to drive 18-gauge brad nails through the molding and into the stair tread and riser. Aim to place nails approximately every 12-16 inches along the length of the molding. Ensure the nail heads are set slightly below the surface of the molding so they can be easily filled.
Watch: Nailing Shoe Molding
Repeat for Remaining Stair Treads
60 minutesFor each remaining stair tread, repeat the process of measuring the length of the base, cutting the shoe molding to size with a miter saw, performing a dry fit to ensure a perfect seam against the tread and riser, and then securing it with brad nails. Continue this process until all stair treads have shoe molding installed.
Watch: Repeat Measurement and Cutting for All Stairs
Fill Nail Holes
15 minutesUsing a small putty knife, apply wood filler or a color-matched wood putty to each brad nail hole. Press the filler firmly into the hole. Smooth the excess filler flush with the surface of the molding. Allow the filler to dry completely according to the product's instructions.
Watch: Fill Nail Holes
Sand and Prepare for Finishing
15 minutesOnce the wood filler is completely dry, use fine-grit sandpaper (120-180 grit) to lightly sand all the shoe molding, paying special attention to the areas where nail holes were filled. Feather the edges of the filled areas so they blend seamlessly with the molding. Wipe away all sanding dust with a clean cloth or tack cloth.
Watch: Fill and Sand Molding GapsApply Finish (Paint or Stain)
30 minutesApply your chosen finish (paint or stain) to the shoe molding using a brush or roller. Apply thin, even coats, allowing sufficient drying time between coats as recommended by the product manufacturer. For paint, you may need a primer coat first. Ensure complete coverage and a smooth finish.
Watch: Clean and Paint Shoe Molding