Install Outdoor Handrail
About This Project
This project outlines the steps for installing a surface mount handrail on outdoor concrete steps. It covers selecting the appropriate handrail and hardware, preparing the concrete surface, marking and drilling holes, and securely mounting the handrail.
Tools & Materials

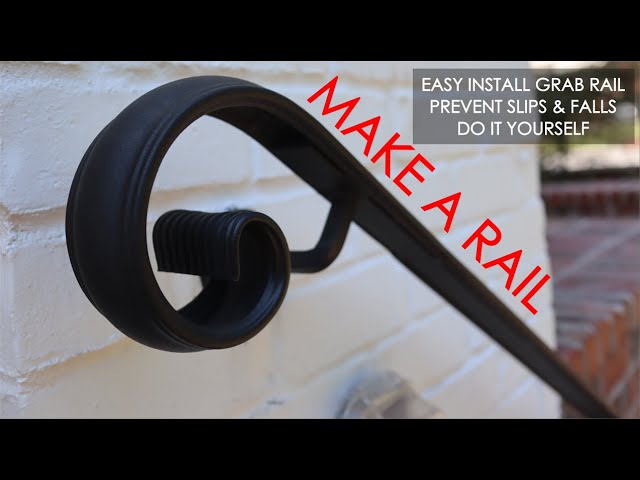
VEVOR Outdoor Stair Railing Alloy Metal Hand Railing Fit 1 or 2 Steps Flexible Transitional Handrail Outdoor Stair Rail HWLZLTFSHSC123B63V0
Tie Down Fender Mounting Brackets - Flush for 8 in. and 12 in. Fenders 86262
Tapcon 1/2 in. x 5 in. Hex-Washer-Head Large Diameter Concrete Anchors (2-Pack) 50449
Measuring Tape
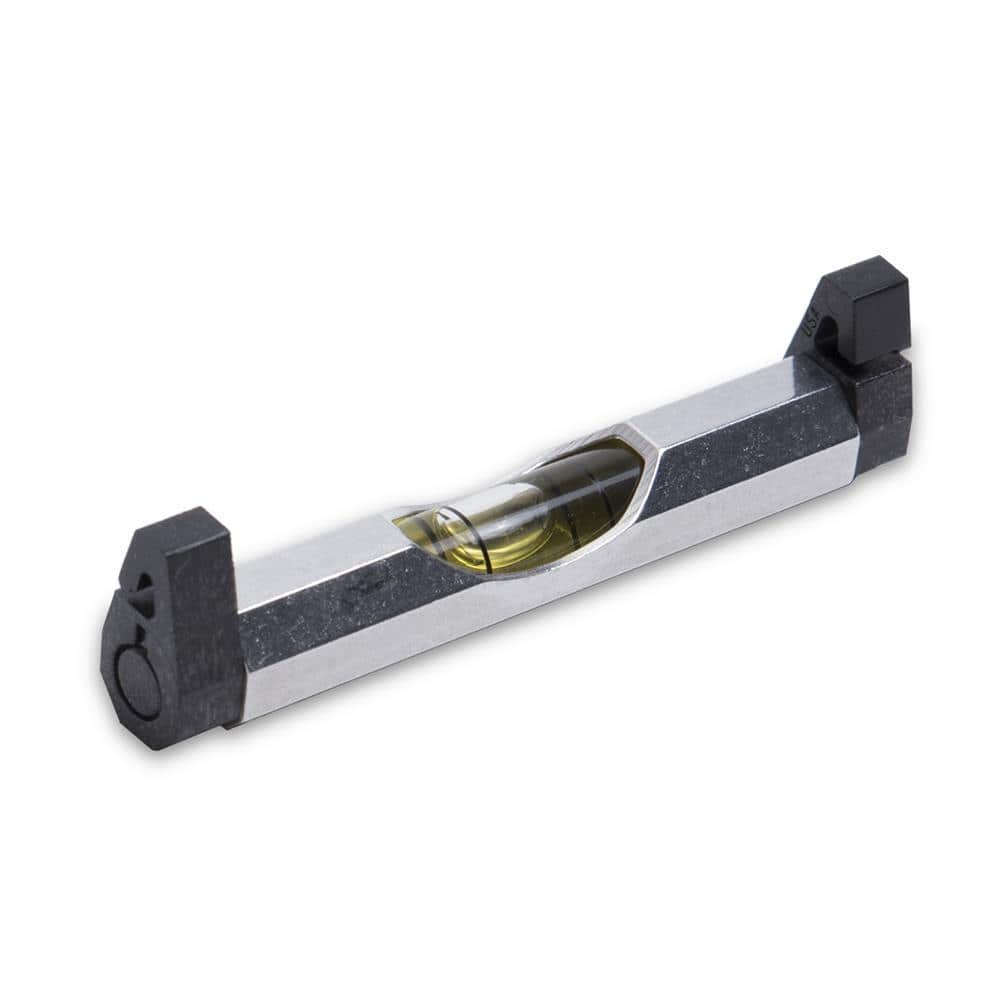
MARSHALLTOWN Line Level 16554-HD
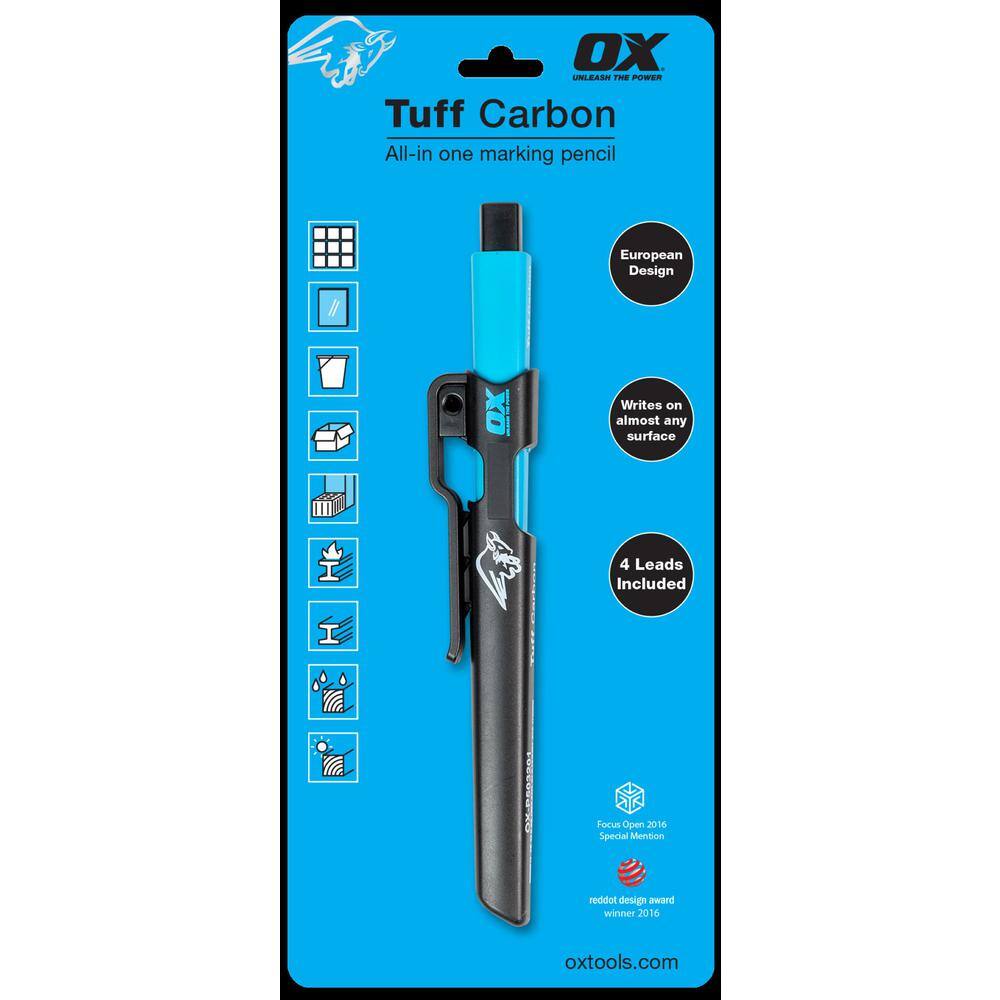
OX TOOLS OX Tuff Carbon - Marking Pencil Value Pack OX-P503210
VEVOR Outdoor Stair Railing Alloy Metal Hand Railing Fit 1 or 2 Steps Flexible Transitional Handrail Outdoor Stair Rail HWLZLTFSHSC123B63V0
Our VEVOR handrail for steps provides extra protection for the elderly, children, and disabled struggling to use stairs. The flexible height allows the exterior handrail for steps to fit 1 or 2 stairs,
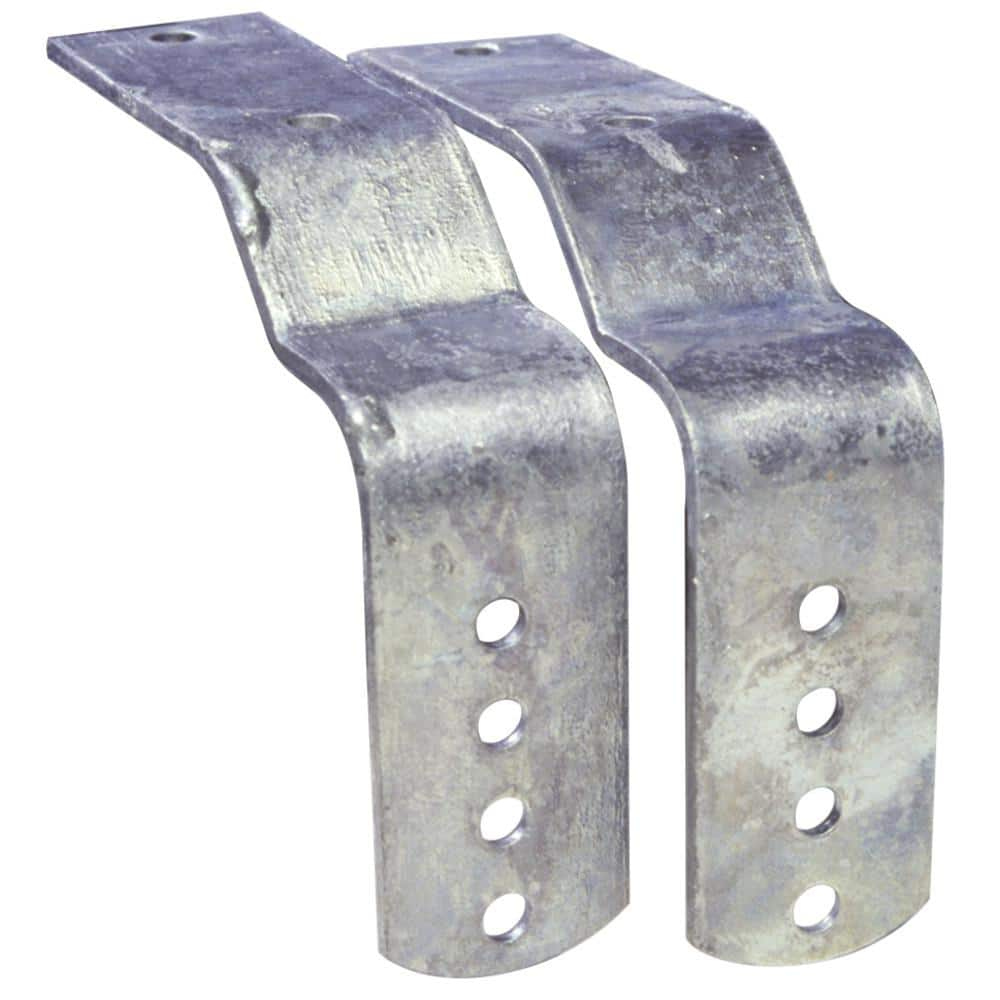
Tie Down Fender Mounting Brackets - Flush for 8 in. and 12 in. Fenders 86262
Galvanized metal fender brackets accommodate 8" to 12" fenders. Designed for use with metal constructed fender models. They are available in flush-mount and offset-mount styles. These 86262 flush-mount
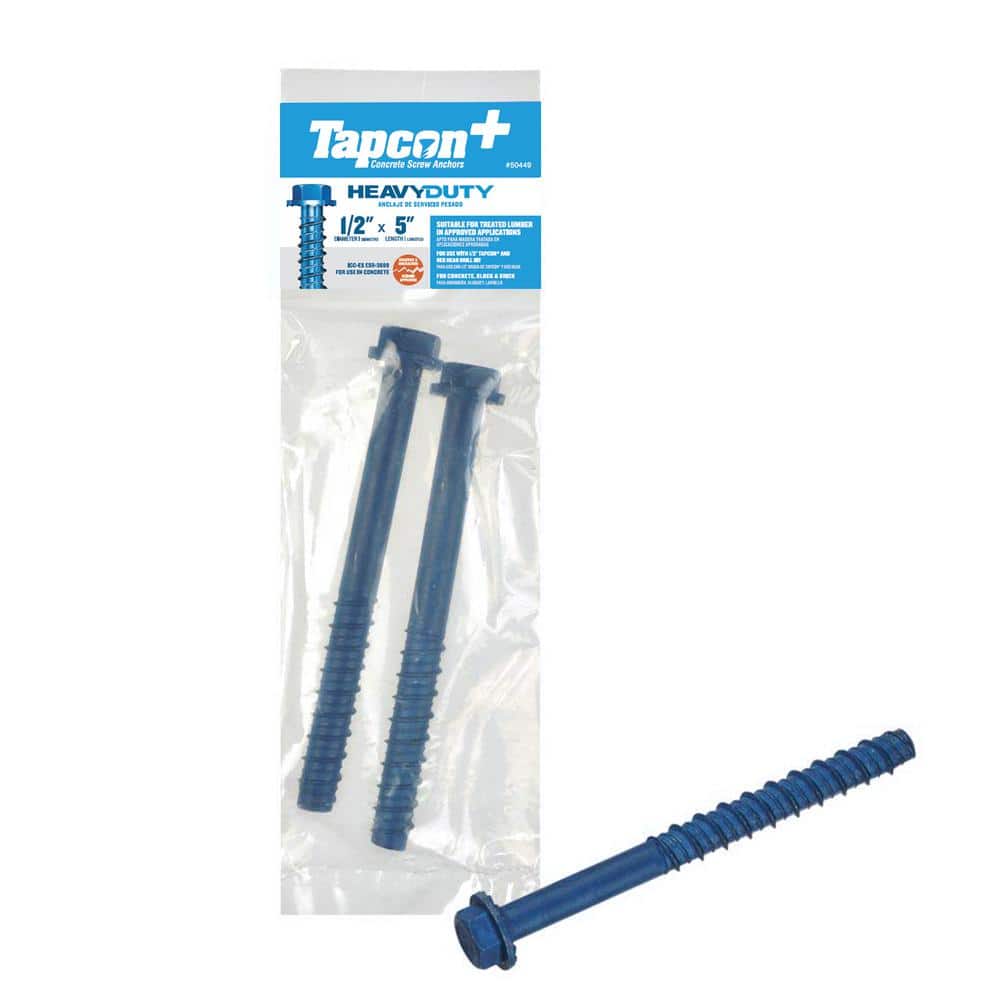
Tapcon 1/2 in. x 5 in. Hex-Washer-Head Large Diameter Concrete Anchors (2-Pack) 50449
Tapcon+ heavy-duty concrete anchors are ideal for use in fastening applications that require high performance . The anchors are suitable for use in concrete, block, and brick. Tapcon+ anchors install in less time, allow closer spacing, and provide higher performance values vs wedge or sleeve anchors, making them the top choice for heavy-duty anchoring. These anchors are code recognized for uncracked and cracked concrete and seismic conditions (ICC-ES ESR-3699).
Measuring Tape
For accurate measurements of plywood and components, ensuring proper assembly.
MARSHALLTOWN Line Level 16554-HD
The MARSHALLTOWN Line Level's lightweight design eliminates line sag. This product ensures you always have a level line to follow during all masonry projects. This masonry tool comes with break-resistant
OX TOOLS OX Tuff Carbon - Marking Pencil Value Pack OX-P503210
OX Tools Tuff Carbon Marking Pencils are packed with features and are an excellent choice for any tradesman. The unique square design prevents the pencil from rolling off surfaces, unlike traditional round design. This pencil is designed to be able to write on almost any surface on a job site including metal, wood, plastic, brick, stone, block, concrete, glass, tile and much more. It features a belt clip and an integrated lead sharpener built into the cap. The pack comes with four leads, one standard graphite, one red, one yellow, and one white that can be used interchangeably.
Steps

Select Handrail and Hardware
60 minutesSelect a handrail material that is durable and resistant to outdoor elements. Consider the style that best complements your home's exterior. Ensure the mounting hardware, such as brackets and fasteners, is also rated for outdoor use and is appropriate for concrete installation. Check local building codes for any specific requirements regarding handrail height, grip diameter, and spacing.
Watch: Install Top Post Anchors
Determine Handrail Placement
30 minutesMeasure and mark the vertical and horizontal positions for the handrail. Typically, handrails are installed between 34 to 38 inches above the tread nosing. Use a level to ensure the marks are consistent across all steps where the handrail will be installed. Consider the slope and contour of the steps to ensure a continuous and ergonomic grip.
Watch: Measure and Mark Handrail HeightMark Bracket Locations
20 minutesHold each bracket against the concrete at the marked locations for the handrail. Ensure the brackets are aligned correctly with the desired slope of the handrail. Use a pencil or marker to precisely outline the position of each mounting hole on the concrete surface.
Watch: Install Top Post Anchors
Drill Pilot Holes in Concrete
45 minutesSelect a masonry drill bit that matches the diameter specified for your chosen concrete anchors. Use a hammer drill for efficient drilling into the concrete. Drill to the depth recommended by the anchor manufacturer, ensuring the holes are perpendicular to the surface for a secure fit.
Watch: Drill Anchor Holes in Concrete
Install Concrete Anchors
25 minutesDepending on the type of anchor (e.g., expansion anchors, wedge anchors, or screw anchors), follow the specific installation method. For expansion anchors, tap them into the hole and then tighten the bolt or nut to expand the anchor. For screw anchors, drive them into the hole using the appropriate tool. Ensure anchors are flush with or slightly below the concrete surface.
Watch: Install Wedge AnchorsMount the Handrail Brackets
20 minutesAlign the mounting holes on the brackets with the installed anchors. Insert the appropriate bolts or screws through the bracket holes and into the anchors. Tighten securely using a wrench or socket set, ensuring the brackets are firmly attached to the concrete.

Attach the Handrail to Brackets
30 minutesCarefully place the handrail onto the brackets, ensuring it aligns with any pre-drilled holes or mounting points on the rail and brackets. Use the screws or bolts recommended by the handrail manufacturer to fasten the handrail to each bracket. Tighten all connections firmly but avoid overtightening, which could strip threads or damage the handrail.
Watch: Attach Handrail to Brackets
Test Handrail Stability
10 minutesOnce all connections are tightened, test the handrail by applying steady, firm pressure in various directions. Push and pull on the handrail to check for any wobbling, looseness, or shifting. Ensure it feels solid and securely mounted to the concrete steps.
Watch: Set Second Masonry Anchor and Finalize InstallationFrequently Asked Questions
What is the most critical tool for drilling into concrete steps, and are there acceptable alternatives?
A rotary hammer drill, like the DEWALT SDS-PLUS model listed, is highly recommended for efficiently and effectively drilling into concrete. Standard hammer drills can be used but are often much slower and more fatiguing for this task. Always use carbide-tipped masonry drill bits specifically designed for concrete.
What safety precautions should I take when installing a handrail into concrete?
Always wear personal protective equipment (PPE) including safety glasses, hearing protection, and a dust mask when drilling concrete. Ensure your work area is clear of obstructions and that you have a stable footing. Take breaks to avoid fatigue, especially when using power tools.
Is the estimated 6-hour completion time realistic for a beginner, and what could make it take longer?
The 6-hour estimate is achievable for beginners, especially with proper preparation and the right tools. However, factors like encountering unexpected rebar, difficulty aligning holes, or needing to patch and redrill can extend the project time significantly. First-time concrete drilling might also take longer as you get accustomed to the technique.
How do I ensure the handrail is securely mounted and won't wobble after installation?
Ensure you use the correct type and size of concrete anchors (like Tapcon or larger diameter hex-washer-head anchors) specified for your handrail and local codes. Drill holes to the precise depth and diameter recommended by the anchor manufacturer. After installation, apply firm pressure to the handrail from multiple directions to test for any movement or instability.
What should I do if the drilled holes are slightly misaligned or if the concrete cracks during drilling?
For minor misalignment, you might be able to slightly adjust the bracket or use washers to compensate. If a hole is significantly off or if concrete cracks, you may need to patch the area with a concrete repair epoxy and redrill a new hole once the patch has fully cured. To prevent cracking, drill slowly and steadily, clearing dust regularly, and avoid excessive force.
How do I determine the correct height and placement for the handrail, and are local codes a concern?
Handrail height is often regulated by local building codes, typically falling between 34 to 38 inches measured vertically from the leading edge of the stair tread (nosing). Always consult your local building department or an inspector before starting to ensure your installation meets all safety and code requirements. Proper placement is crucial for accessibility and safety.