Install a Tub & Shower Combo: Faucet Replacement Guide
About This Project
This project details the process of installing a new tub and shower combo, including replacing the shower faucet. It involves four main steps: 1. **Demolition:** Removing the old tub, shower, and faucet fixtures. This requires turning off the water supply, disconnecting lines, and careful removal of old sealant and fixtures, potentially expanding the wall opening if tile damage is significant. Tools like pry bars, wrenches, and a valve removal tool are necessary. 2. **Tub Installation:** Placing and securing the new tub, connecting the drain and overflow assembly with sealant for a watertight fit. Leveling tools and wrenches are needed. 3. **Faucet Installation:** Installing the new shower faucet by connecting PEX or CPVC supply lines, ensuring tight seals and checking for leaks. Crimp tools, wrenches, Teflon tape, and plumber's putty are used. 4. **Leak Test & Final Checks:** Turning the water back on slowly to check all connections and functions (tub and shower), tightening any loose fittings, and immediately fixing leaks with sealant. Throughout the project, safety precautions like turning off the water supply and proper ventilation are emphasized.
Best for advanced DIYers and professionals with familiarity with power tools.
Tools & Materials
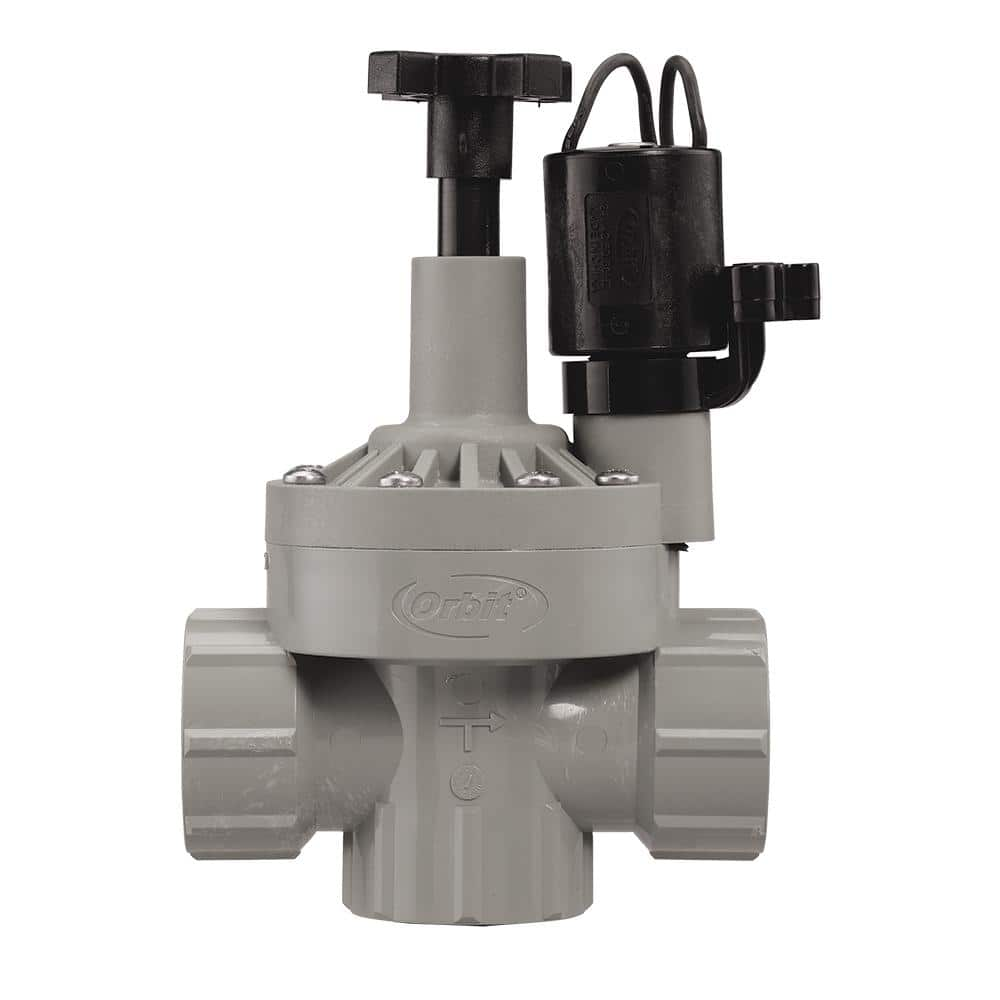
Orbit 1 in. FNPT Automatic Inline Angle Valve with Flow Control 57020

Hampton Forge Melody 45 Piece Hammered Flatware Set (Service for 8) 515B045HSN
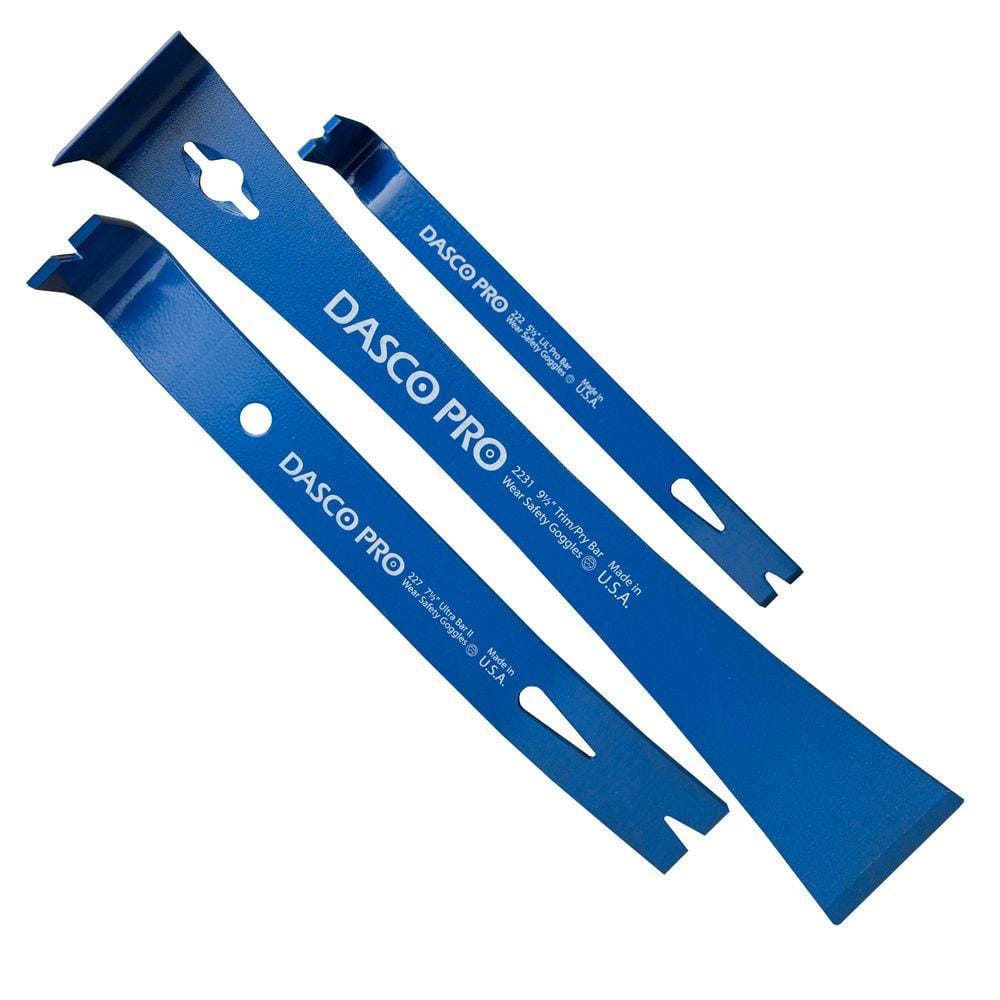
Dasco Pro Pry Bar Set (3-Piece) 91
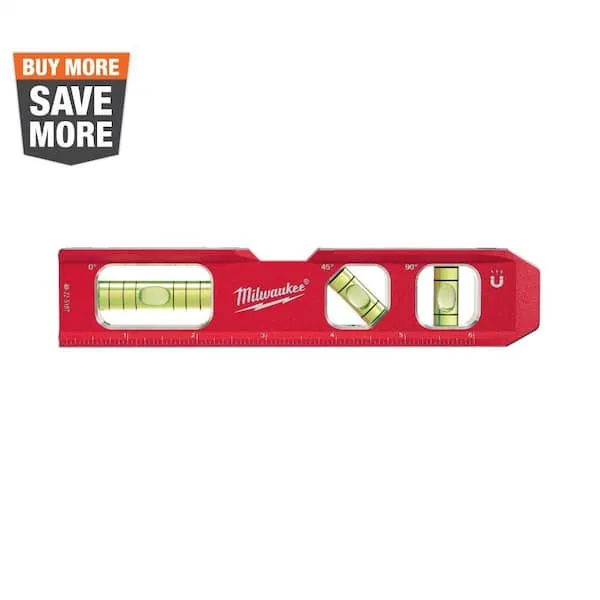
Level

Adjustable Wrench
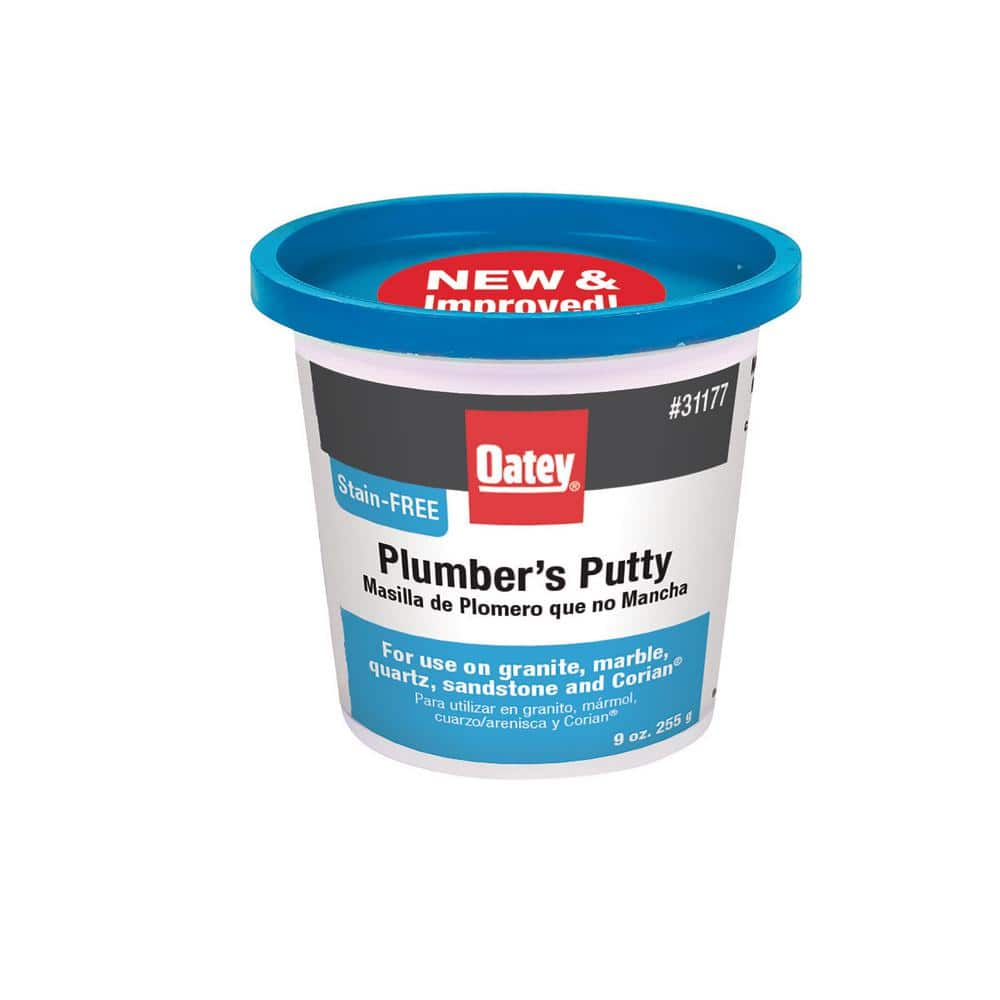
Oatey 9 oz. Stain-Free Plumber's Putty 31177
Orbit 1 in. FNPT Automatic Inline Angle Valve with Flow Control 57020
Hampton Forge Melody 45 Piece Hammered Flatware Set (Service for 8) 515B045HSN
Melody's delightfully simple shape embraces a gently curved and flowing silhouette that gleams with an intricate feather hammered texture finish. The 45-piece set includes 8 dinner forks, 8 dinner knives,
Dasco Pro Pry Bar Set (3-Piece) 91
The Dasco Pro 3-Piece Pry Bar Set is well suited to a wide variety of prying and scraping applications. This bar kit includes three popular small bar styles that are perfect for do-it-yourselfers and pros alike. Designed in a compact size that fits just about anywhere, these bars work great for prying trim and molding, scraping excess paint, opening paint cans and pulling nails.
Level
Ensures surfaces are just right.
Adjustable Wrench
Fits various nut and bolt sizes with its adjustable jaw.
Oatey 9 oz. Stain-Free Plumber's Putty 31177
For setting frames, faucets and basket strainers, use this Oatey 9 oz. Stain-Free Plumber's Putty on granite, marble, quartz, sandstone and other natural, porous materials. Will not crack or shrink. Cleans
Steps

Demolition: Removing the Old Tub and Shower
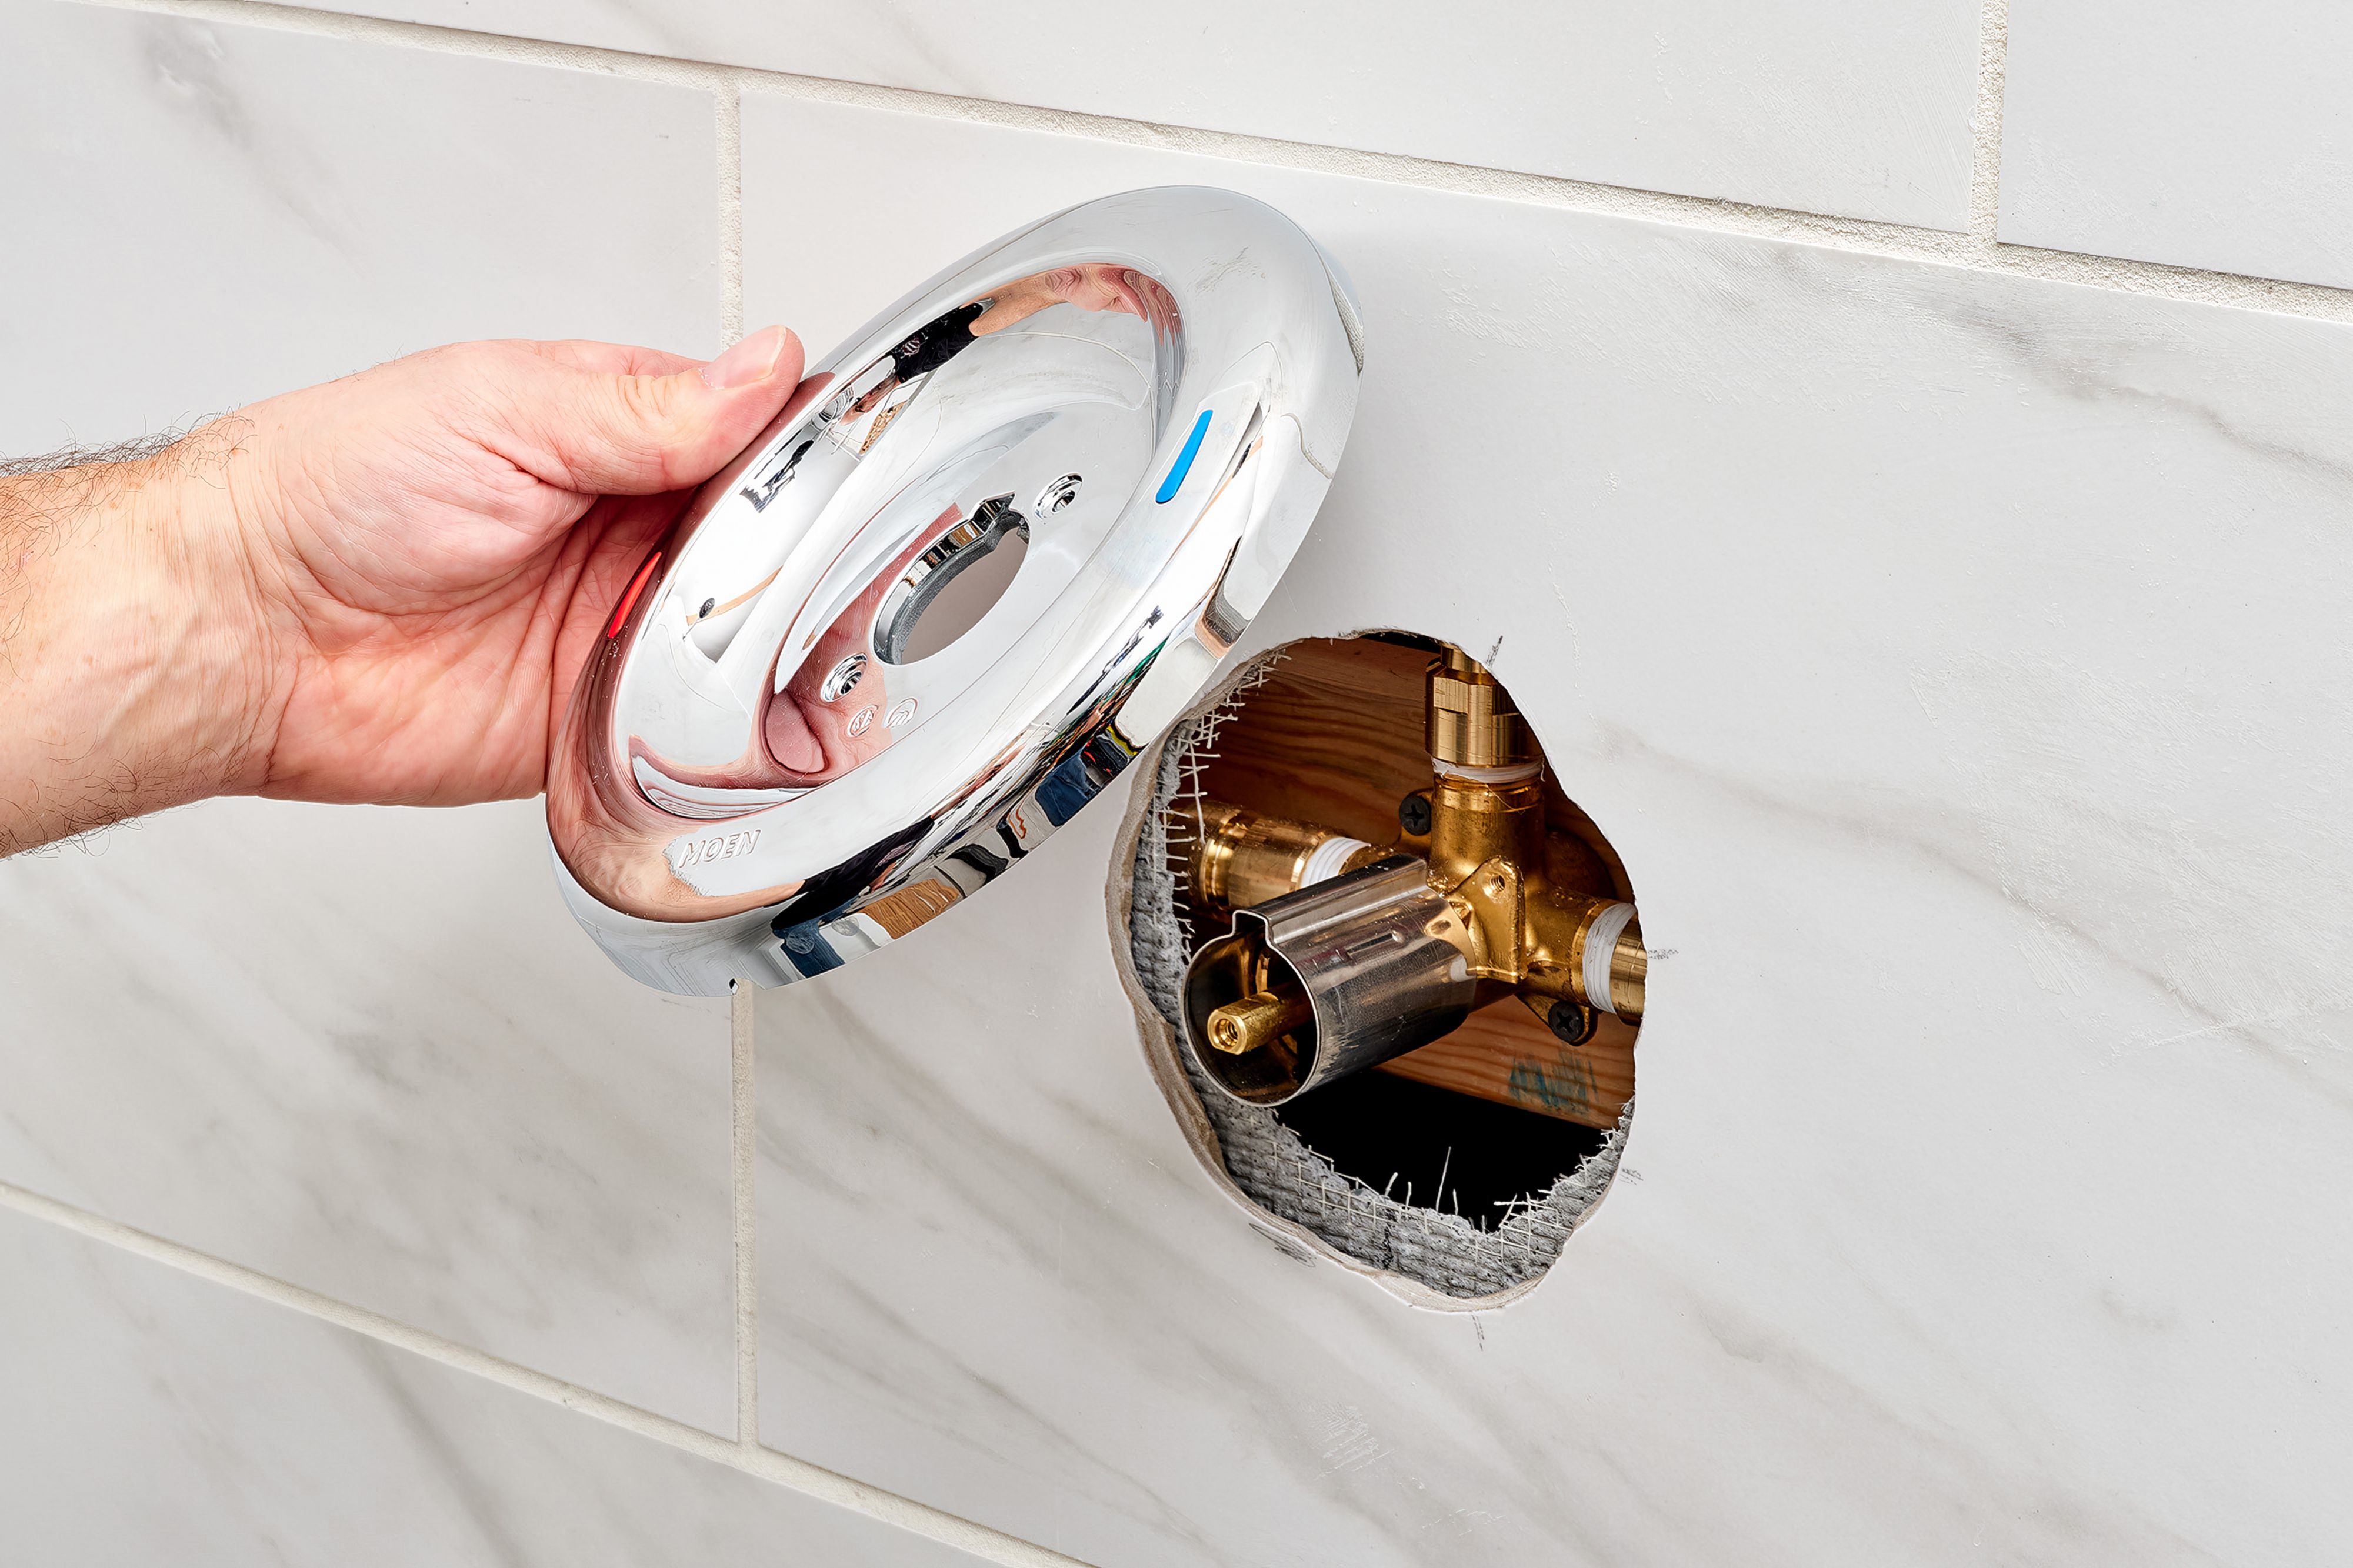
1 minCarefully remove the existing tub and shower unit. Begin by disconnecting the water supply lines and drain. Use caution when removing any caulk or sealant. Dispose of debris responsibly. Note: If encountering significant tile damage, you may need to expand the wall opening for easier access to the plumbing valves.
Watch: Project Introduction and Assessment
Tub Installation: Securing the New Tub and Drain
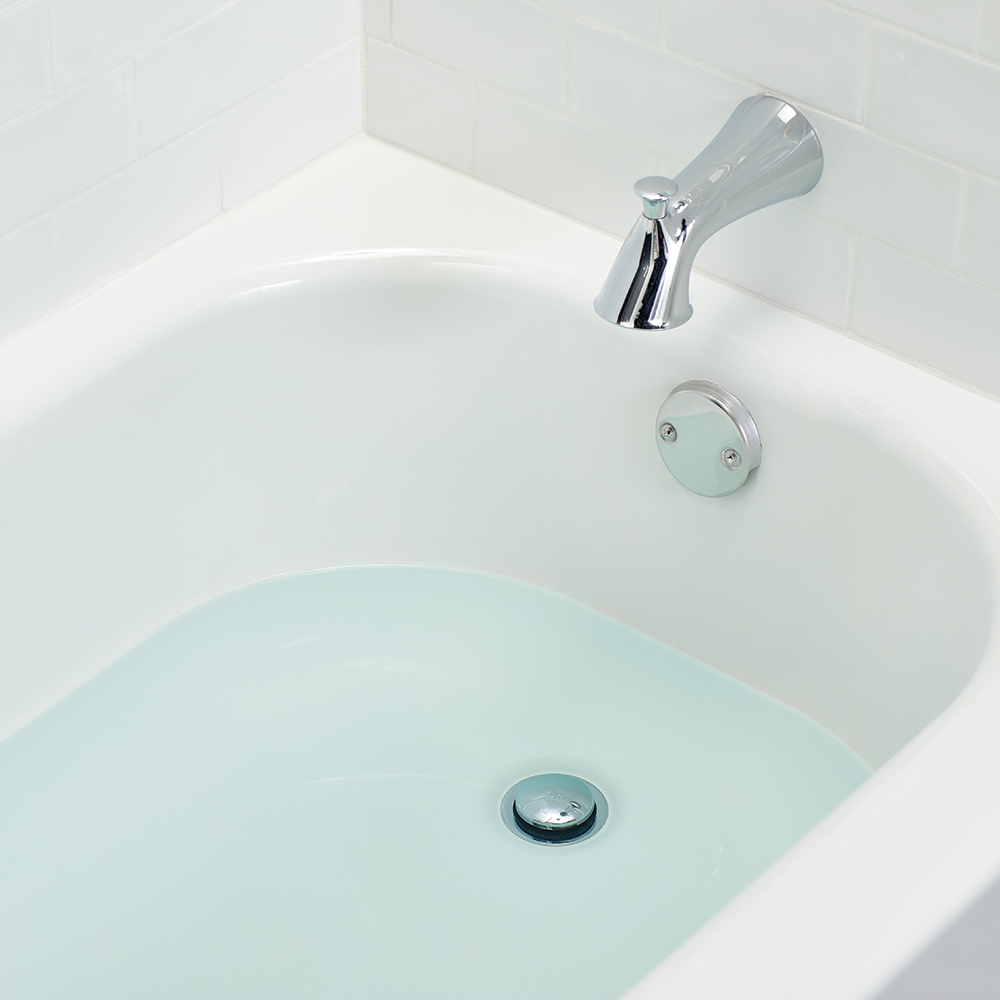
2 minsInstall the new tub according to the manufacturer’s instructions. Carefully connect the drain and overflow assembly, ensuring a watertight seal using appropriate sealant (plumber's putty or Teflon tape). Properly connect the new drain and overflow assembly, ensuring a leak free connection.
Watch: Install the Bathtub
Faucet Installation: Connecting the New Shower Faucet
1 minInstall the new shower faucet following the manufacturer’s instructions. Carefully connect the PEX or CPVC supply lines to the faucet, ensuring a tight seal with Teflon tape or plumber’s putty. Double-check all connections for leaks before proceeding.
Watch: Modify Plumbing Connections
Leak Test & Final Checks: Identifying and Repairing Leaks
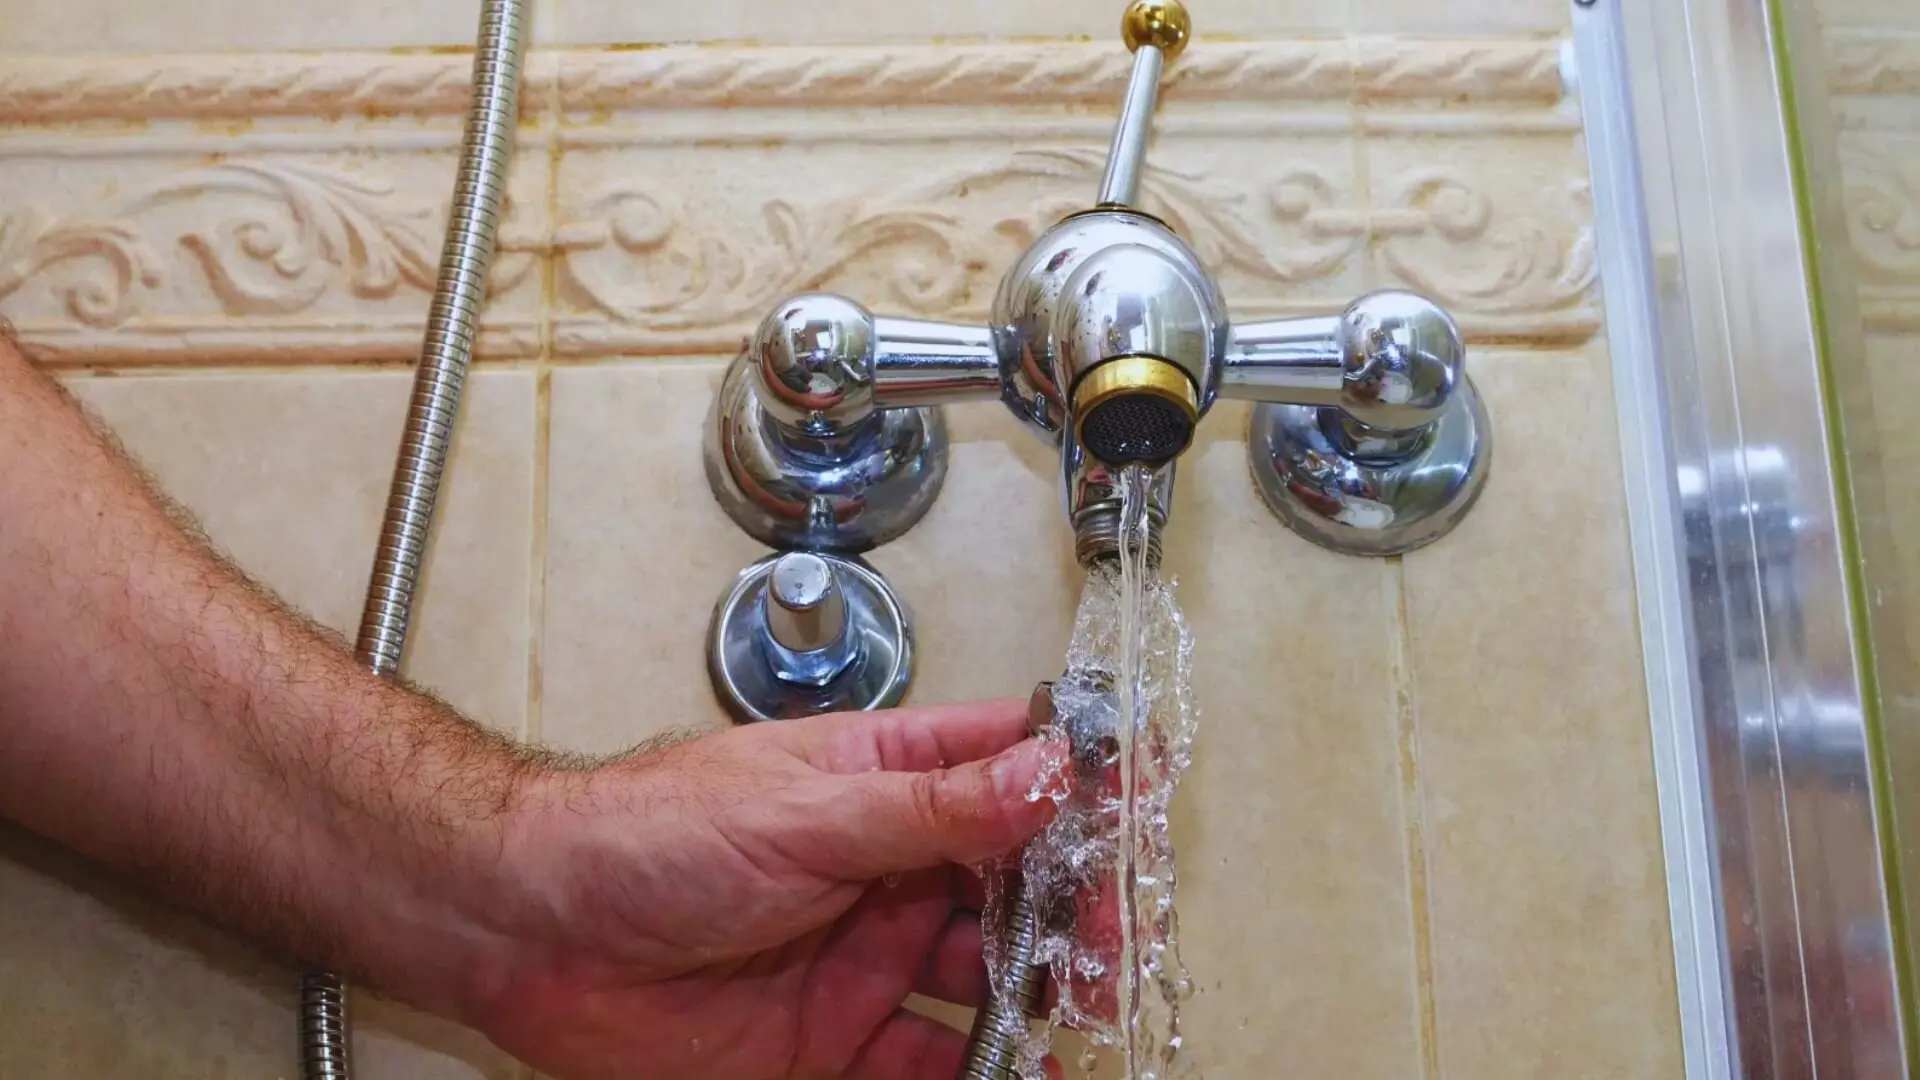
30 minsTurn on the water supply slowly and carefully inspect all connections for leaks. Tighten any loose fittings as needed. Address any leaks immediately using appropriate sealant. If leaks persist, carefully review previous steps and re-check connections. Remember to test both the tub and shower functions.
Watch: Turn Water On and Check for LeaksCommon Problems
Connection problems
Solution: Inspect all connections carefully for any signs of dripping or seepage.
Prevention: Do not overtighten the connections.
Frequently Asked Questions
How accurate is the 12-hour estimated time, and what factors could significantly extend this project for a DIYer?
The 12-hour estimate is for an intermediate DIYer in ideal conditions. Unexpected issues like significant wall damage, corroded old plumbing, or difficult-to-remove fixtures can easily double the project time. Always allocate extra time for unforeseen challenges, especially during demolition.
What is the absolute first safety step, and what should I do if I can't turn off the main water supply?
Always turn off your home's main water supply before starting any demolition or disconnection. If you cannot locate or operate your main shut-off valve, contact a professional plumber immediately. Proceeding without cutting the water can cause severe flooding and significant property damage.
Beyond the basic hand tools, what specialized tools or materials are crucial for ensuring a leak-free faucet installation with PEX or CPVC?
For PEX, a dedicated PEX crimp tool and appropriate crimp rings are essential for secure connections. If using CPVC, you'll need CPVC primer and solvent cement. Always use plumber's tape or thread sealant on all threaded connections and plumber's putty for the tub drain assembly to prevent leaks.
What is the most common mistake DIYers make that leads to leaks after installation, and how can I avoid it?
The most common mistake is failing to properly seal connections or not adequately tightening fittings. Ensure all PEX/CPVC connections are correctly crimped or glued, and all threaded connections are wrapped with Teflon tape and firmly tightened. During the leak test, turn water on slowly and meticulously inspect every joint for drips.
What should I do if I uncover extensive wall damage (like mold or rot) or unexpected plumbing configurations during demolition?
If you find significant rot, mold, or complex old plumbing that is beyond a simple repair, pause the project immediately. Consult with a qualified plumber or contractor to assess the damage and determine the best repair strategy. Attempting to fix major structural or plumbing issues yourself could lead to larger, more costly problems.
Since the project mentions both PEX and CPVC, are there any advantages to choosing one over the other for the supply lines?
PEX is more flexible, easier to route, and uses crimp connections, making it forgiving for DIYers. CPVC is rigid, uses solvent cement for joining, and is generally more resistant to chlorine. Choose based on your comfort with the installation method and always confirm compliance with local plumbing codes.