
Install a Shower Valve at the Correct Height: A Step-by-Step DIY Guide
Install a Shower Valve at the Correct Height: A Step-by-Step DIY Guide
Advanced
6 hours
7 items
6 Steps
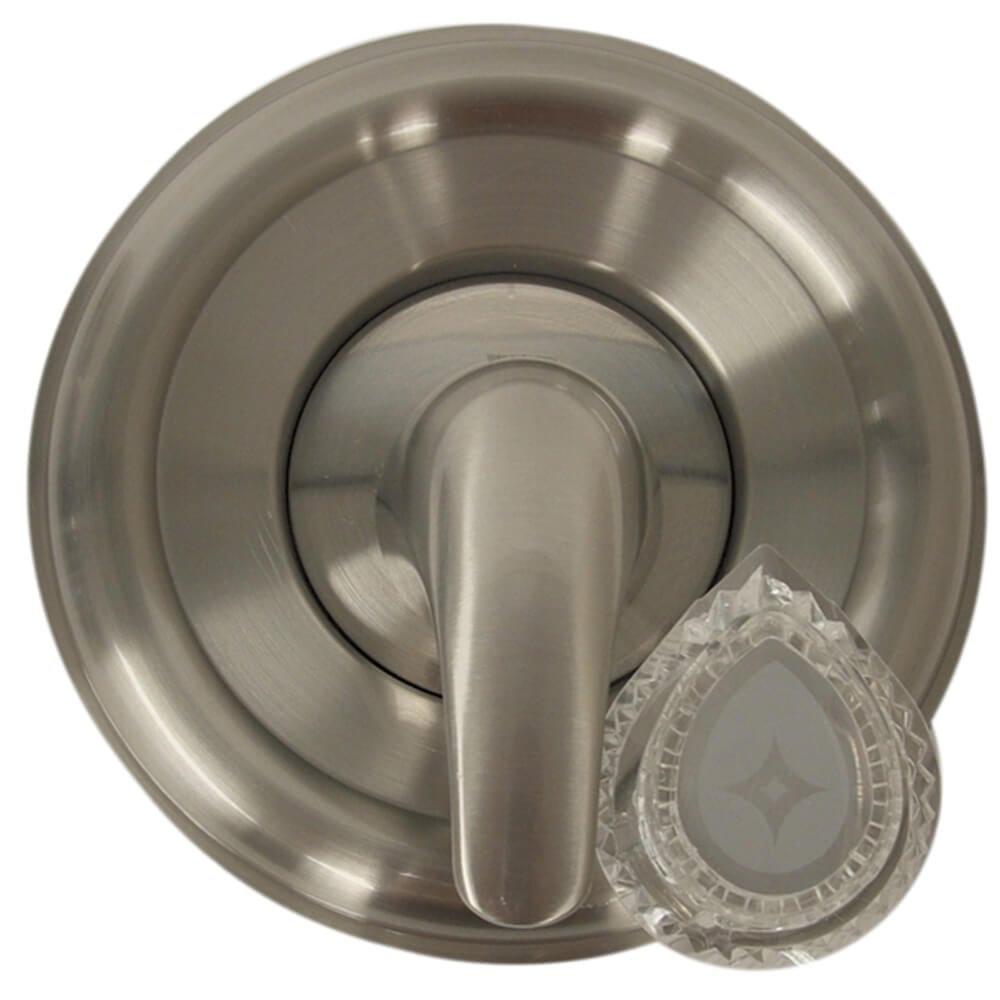
This DIY guide details the steps to install a shower valve at the correct height. First, turn off the water supply and drain the pipes. Then, access the shower plumbing area by carefully cutting an access panel, using a stud finder to avoid damaging the wall framing. Install blocking between the studs to securely mount the valve, adjusting the height as needed. Solder the copper pipes to the valve or connect PEX, ensuring secure and leak-free connections. Slowly restore the water supply and check all connections for leaks. Finally, install the trim kit onto the valve, ensuring correct alignment and secure fastening.
Materials & Supplies
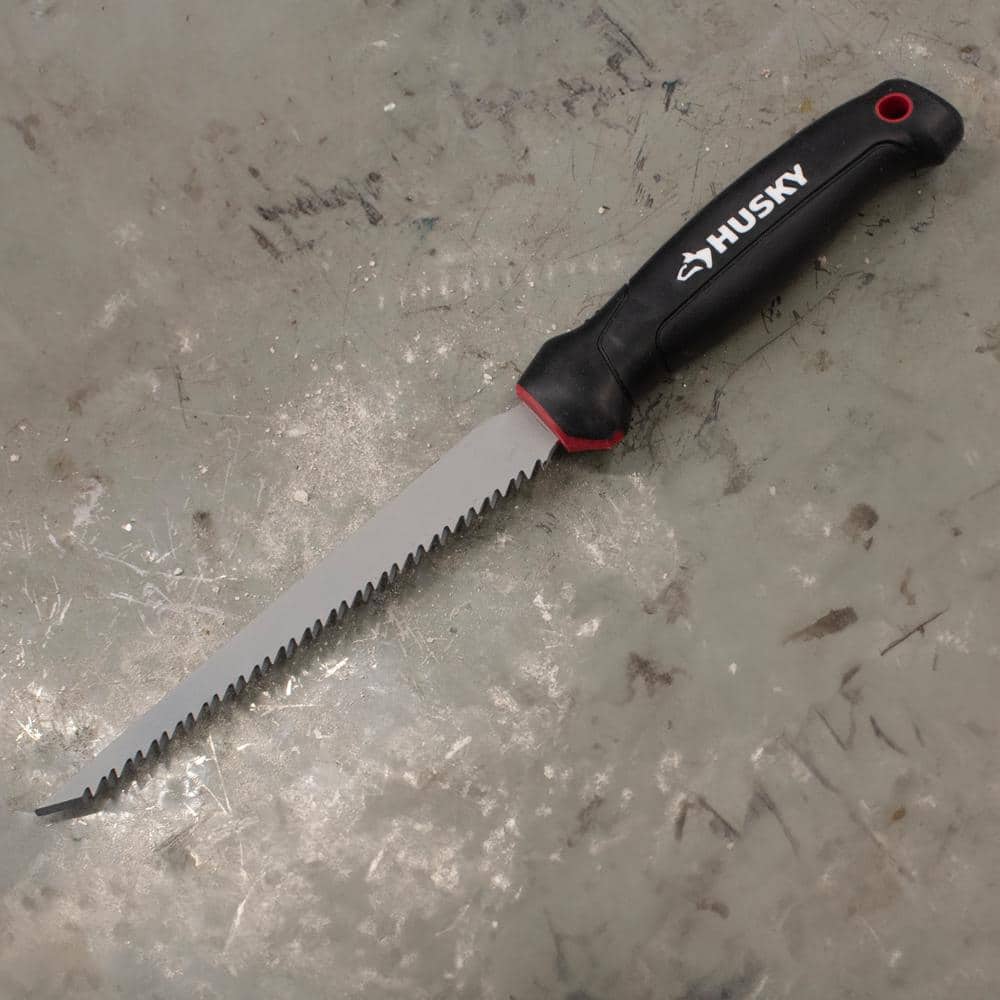
Husky Drywall Jab Saw 6 in. SDJS-HD
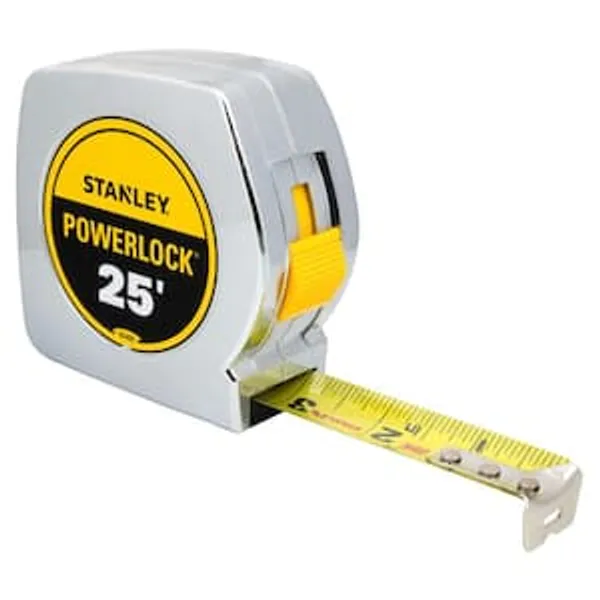
Measuring Tape
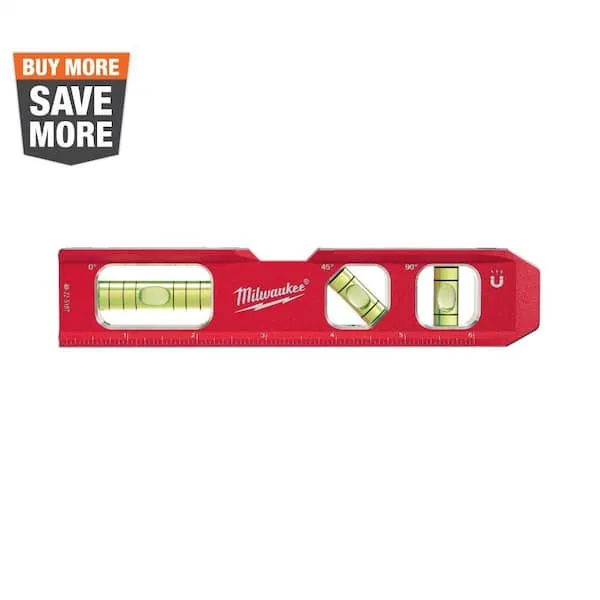
Level
Step 1
⏱ 2 minStep 2
⏱ 2 minStep 3
⏱ 2 minStep 4
⏱ 2 minStep 5
⏱ 2 min

Start DIY
6 hours | 6 Steps