Slowly restore the water supply and carefully check all connections for leaks. If any leaks are found, turn off the water immediately and tighten the fittings. Retest before proceeding.
Step 1
⏱ 2 min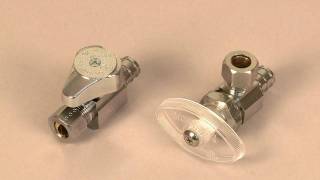
Turn Off the Water Supply and Drain Pipes
Before beginning any plumbing work, turn off the main water supply to your house. Then, open a nearby faucet (like a sink or tub) to fully drain the pipes and relieve pressure.
Step 2
⏱ 2 min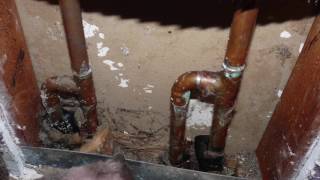
Access the Shower Plumbing Area
Carefully cut an access panel in the wall to expose the shower plumbing. Use a stud finder to avoid damaging the wall framing. Locate the hot and cold water supply lines.
Step 3
⏱ 2 min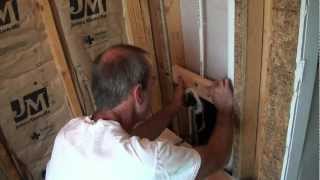
Install the Shower Valve Blocking
Install blocking between the studs to securely mount the valve. The standard height is 48 inches from the finished floor to the valve's center, but adjust based on your showerhead and personal preference. Ensure the blocking is firmly attached.
Step 4
⏱ 2 min
Solder Copper Pipes (or Connect PEX)
Carefully solder the copper pipes to the valve inlets and outlets, following manufacturer instructions. Ensure all connections are secure and leak-free. (If using PEX, use appropriate connectors and follow manufacturer instructions).
Step 5
⏱ 2 minTest for Leaks
Step 6
⏱ 2 min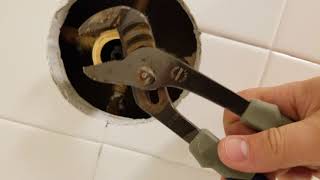
Install Shower Trim Kit
Install the shower handle and trim plate following the manufacturer's instructions. This is typically done after the wall is finished. Ensure everything is aligned correctly and securely fastened.
Step 5 of 6
Test for Leaks2 min