The first and most critical step is to ensure your safety. Go to your home's electrical panel and turn off the circuit breaker that supplies power to the sump pump outlet. Then, unplug the sump pump's power cord from the wall outlet. This double-disconnection method ensures no electricity can reach the pump while you are working. Lay down several old towels on the floor around the sump pit to absorb any water that will inevitably spill during the process.
Step 1
⏱ 2 minDisconnect Power and Prepare
Step 2
⏱ 2 min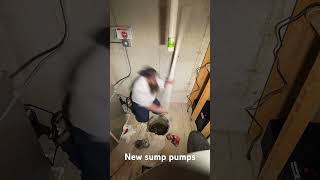
Disconnect Discharge Pipe
Locate the PVC discharge pipe extending from the pump. Since it is glued, you will need to cut it. Identify a section of pipe a few inches above the check valve (the one-way valve that prevents water from flowing back into the pit). Place a bucket directly under your intended cut to catch water. Using a hacksaw or a dedicated PVC cutter, cut squarely through the pipe. Be prepared for water to drain from the upper section of the pipe.
Step 3
⏱ 2 min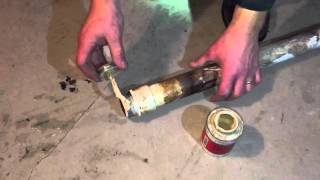
Remove Old Pump
With the discharge pipe disconnected, firmly grasp the vertical column of the pedestal pump and lift it straight up and out of the sump pit. The pump base and intake will be full of dirty water, sediment, and slime, and can be awkward and heavy. Carefully place the entire old pump assembly into a large bucket or onto a plastic tarp to contain the mess and prevent staining your floor.
Step 4
⏱ 2 min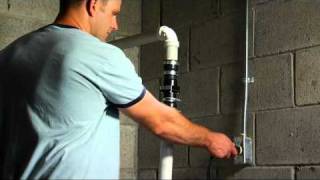
Clean Sump Pit
Now that the pit is empty, it's the perfect time to clean it. Use a wet/dry shop vacuum to suck out any remaining water, mud, gravel, and other debris from the bottom of the basin. If you don't have a shop vac, you can use a smaller bucket and sponge. A clean pit is essential for the longevity of the new pump and ensures the float switch mechanism will not get stuck on debris.
Step 5
⏱ 2 min
Prepare New Pump
Unbox your new pedestal sump pump. Find the threaded discharge port on the pump body. Wrap the threads of the new PVC male adapter with three to four layers of Teflon tape, wrapping in a clockwise direction (the same direction you will tighten it). Screw the adapter into the pump's discharge port by hand, then give it a final quarter- to half-turn with channel-lock pliers to snug it up. Be careful not to overtighten, as this can crack the pump's plastic housing.
Step 6
⏱ 2 min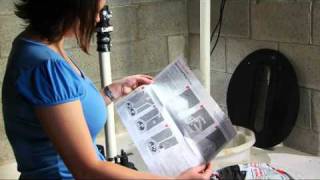
Install New Pump and Reconnect Piping
Carefully lower the new pump into the center of the clean pit, ensuring its base is stable and level. Check that the float switch can move up and down freely without hitting the sides of the pit. Now, dry-fit the new plumbing. This includes a short piece of PVC pipe from the pump's adapter up to the new check valve, and another piece from the check valve up to a coupling connecting to the existing pipe you cut earlier. The arrow on the check valve MUST point away from the pump. Once you confirm the fit, disassemble the pieces. Apply purple PVC primer to the outside of the pipe ends and the inside of the fitting sockets. Then, apply a layer of PVC cement over the primer on both surfaces, push the pipe into the fitting with a quarter-turn twist, and hold firmly for 30 seconds to allow the solvent weld to set.
Step 7
⏱ 2 min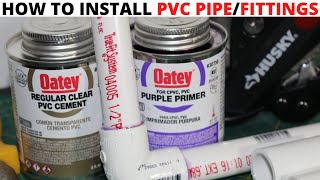
Test the New Pump
Allow the PVC cement to cure for the time recommended by the manufacturer (typically 30-60 minutes before subjecting it to pressure). Once cured, plug the pump's power cord directly into the GFCI outlet. To test the system, use a hose or buckets to pour water into the sump pit. Continue filling until the water level lifts the float switch, which should activate the pump. Watch as the pump quickly evacuates the water from the pit and observe that it shuts off automatically once the float drops back down. During this test, carefully inspect all the new joints and connections for any drips or leaks.
Step 1/7
Disconnect Power and Prepare2 min