How to Remove a Garbage Disposal from Your Sink: A Step-by-Step Guide
About This Project
This project provides a step-by-step guide on how to remove a garbage disposal from your kitchen sink. It begins with safety precautions, emphasizing the importance of disconnecting the power supply to the disposal unit. Next, it covers disconnecting the plumbing, including the P-trap and dishwasher drain line (if connected). The project then details how to detach the disposal from the sink flange, which can vary based on the mounting type (3-bolt, EZ mount, etc.). Finally, the disposal unit is removed from under the sink.
Best for advanced DIYers and professionals.
Tools & Materials

Unger 6 Gal. Heavy-Duty Plastic Bucket DB02
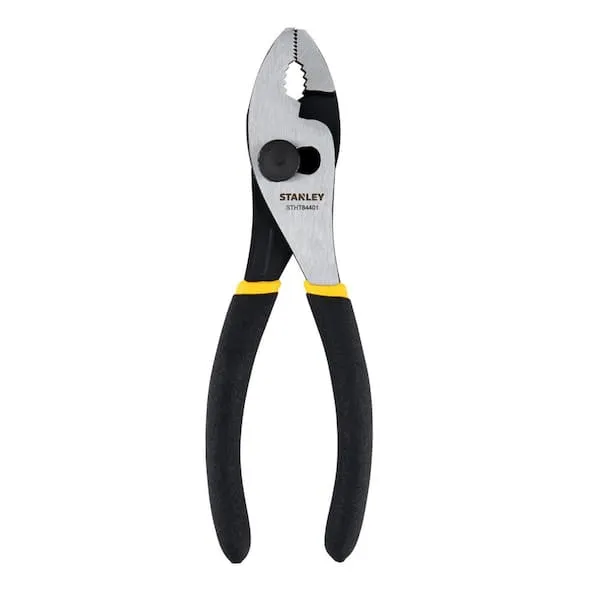
Pliers
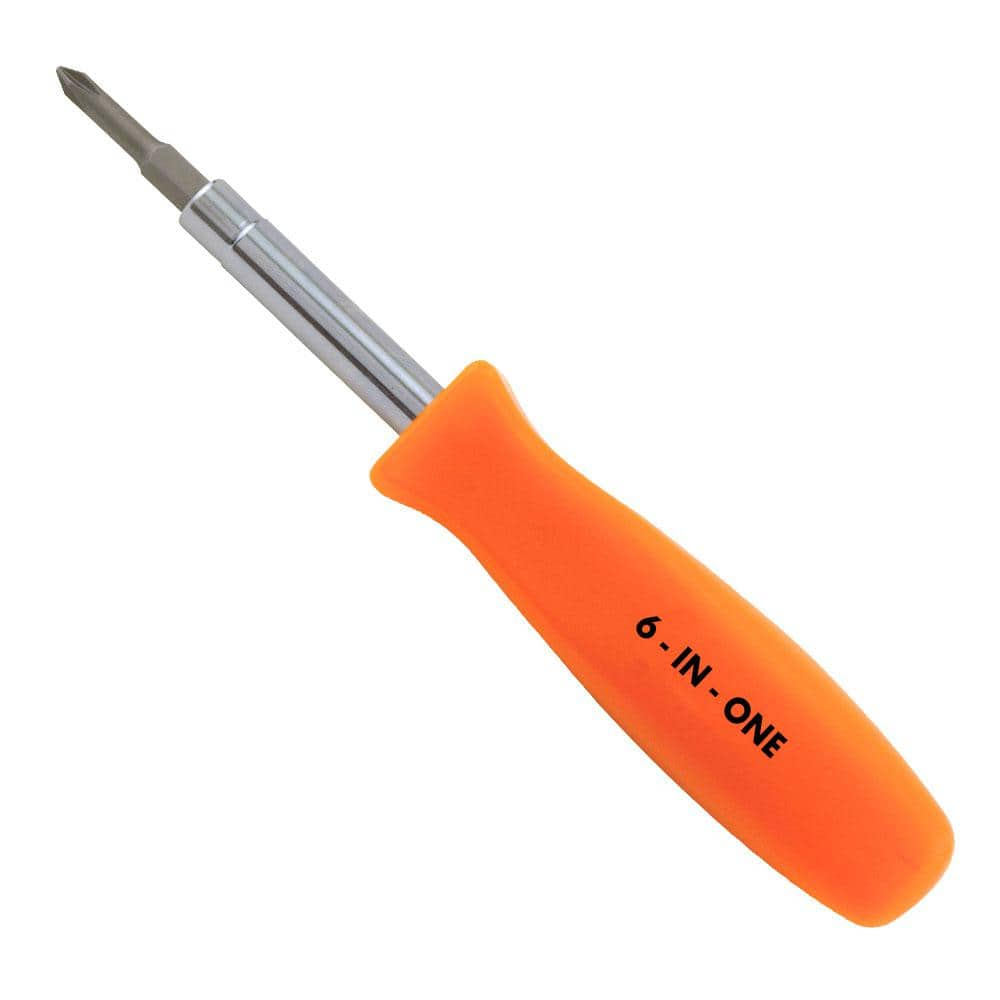
HDX 3-1/4 in. 6-in-1 Screwdriver 120SD12D
Unger 6 Gal. Heavy-Duty Plastic Bucket DB02
The Unger 6-Gallon Heavy-Duty Professional Cleaning Bucket holds more than 6 Gal. of liquid. The bucket can accommodate a scrubber up to 14 in. L. This bucket features measurement marks and 2-pour spouts
Pliers
Grips and manipulates objects.
HDX 3-1/4 in. 6-in-1 Screwdriver 120SD12D
The HDX 3-1/4 in. 6-in-1 Screwdriver features double-sided bits with the four most common screwdriver tip styles, including a #1 Phillips bit, a #2 Phillips bit, a 3/16 in. flathead bit and a 1/4 in. flathead bit. Both ends of the shaft can be used as 1/4 in. nut drivers when the bits are removed, offering convenient, versatile use. The high-visibility orange handle makes the handy tool easy to find on a job site or in a toolbox.
Steps


Disconnect Dishwasher and Drain Lines
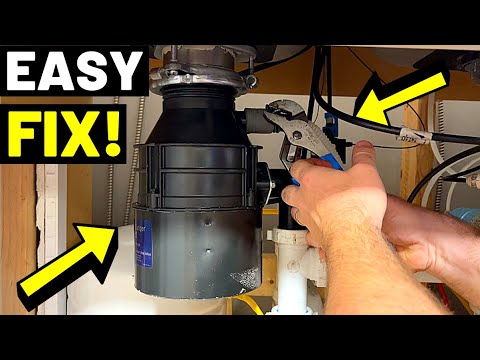
5 minsIf your dishwasher is connected to the disposal, disconnect the drain line first. Use a bucket to catch any remaining water. Then, carefully disconnect the drain lines leading to and from the garbage disposal. Loosen slip nuts or clamps with appropriate pliers, being mindful of any residual water.
Watch: Disconnect Plumbing

Disconnect from the Sink Flange
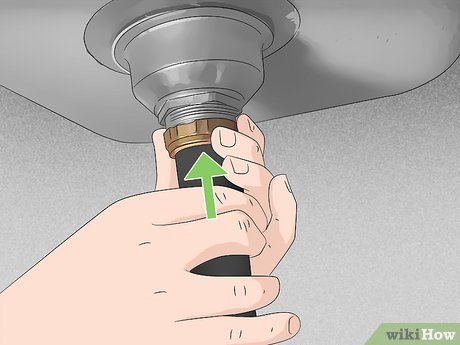
30 minsDisconnect the disposal from the sink flange. The method depends on your sink mount type (3-bolt or EZ mount). Consult the manufacturer's instructions if needed. Use appropriate tools like screwdrivers or a garbage disposal wrench to remove mounting bolts or rings.
Watch: Remove Disposal from Sink Mount
Common Problems
Disposal falls and causes damage or injury when mounting screws are removed without support.
Solution: Support the weight of the disposal while removing the mounting screws to prevent it from falling.
Disposal won't seat properly or leaks if not aligned before tightening.
Solution: Check the alignment of the disposal with the sink drain before tightening the mounting assembly screws completely.
Garbage disposals are heavy. Have a firm grip on the unit to prevent it from dropping.
Solution: To avoid this issue: Be mindful of this warning and take appropriate precautions.
Verify the unit is completely powered off before proceeding. Failure to do so can result in severe injury.
Solution: To avoid this issue: Be mindful of this warning and take appropriate precautions.
Failure to disconnect power can result in serious injury or electrocution.
Solution: To avoid this issue: Be mindful of this warning and take appropriate precautions.
Follow lockout/tagout procedures to ensure the power cannot be turned back on accidentally.
Solution: To avoid this issue: Be mindful of this warning and take appropriate precautions.
Consult the manufacturer's warranty to avoid voiding it with your maintenance actions.
Solution: To avoid this issue: Be mindful of this warning and take appropriate precautions.
Frequently Asked Questions
What is the absolute first and most critical safety step I need to take before touching my garbage disposal?
The most critical first step is to completely disconnect the power supply to the garbage disposal. Locate the circuit breaker for your kitchen and switch off the power to the disposal unit. Always double-check by attempting to turn on the disposal at the switch after you've flipped the breaker to ensure no power is reaching the unit.
Do I need any specialized tools beyond a screwdriver and pliers, or are there different methods for detaching the disposal from the sink flange?
While a screwdriver and pliers are essential, the method for detaching from the sink flange depends on your disposal's mounting type. For a 3-bolt mount, you'll primarily use a screwdriver or wrench to loosen the bolts. For an EZ mount, you'll twist the mounting ring, often using a wrench or a disposal wrench tool if it's stiff. Identifying your mount type first can save time and ensure you have the right leverage.
What are common mistakes beginners make when disconnecting the plumbing, and how can I avoid a messy water spill?
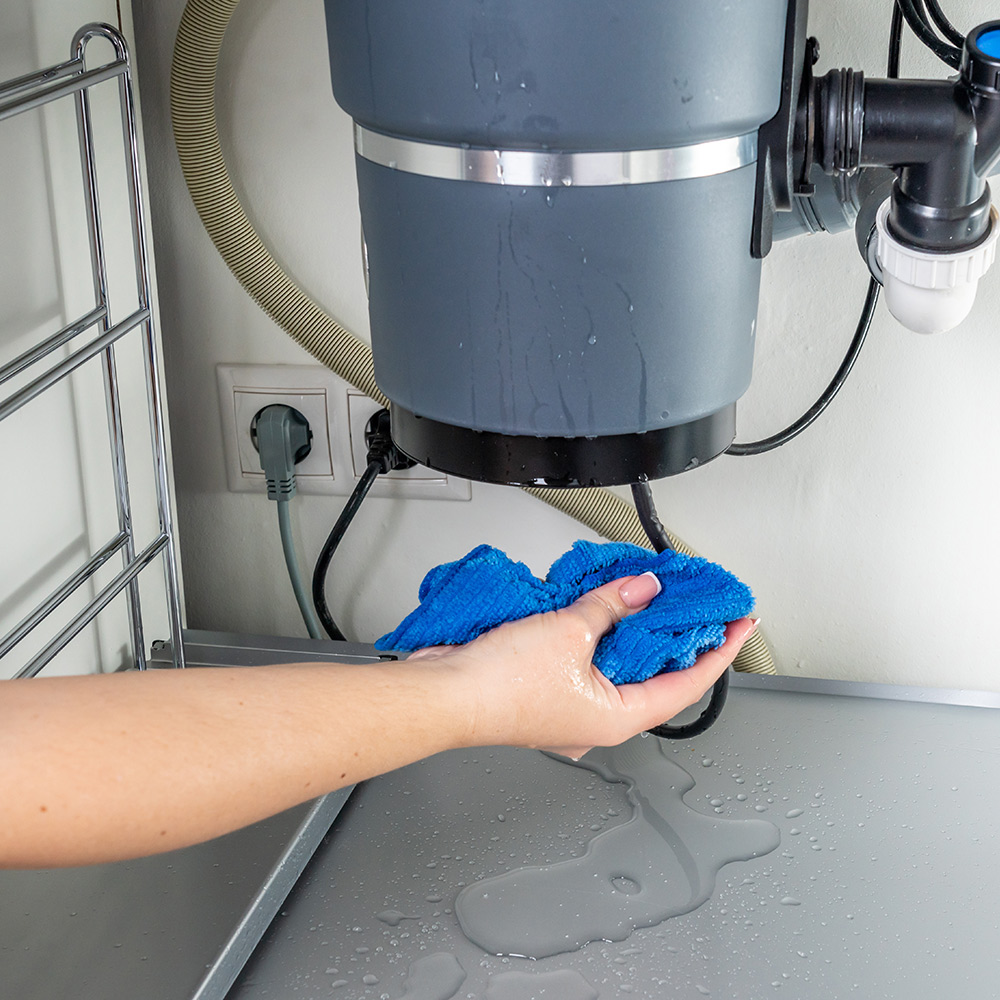
A common mistake is not fully draining residual water or failing to have proper containment. To avoid a messy spill, place a sturdy, heavy-duty bucket directly underneath the P-trap and dishwasher drain line connections before loosening them. Have old towels ready to catch any additional drips, as some water will always remain in the lines.
Is this project truly beginner-friendly, and can I realistically complete it within the estimated 2 hours?
Yes, this project is generally considered beginner-friendly as it involves straightforward mechanical steps. The 2-hour estimate is realistic for most, assuming no major complications like severely rusted bolts or stripped screws. Tight working spaces or unexpected issues can add time, so allocate a bit of flexibility.
Once the old disposal is completely removed, what should I do with it, and do I need to prepare the sink for a new installation immediately?
After removal, you should dispose of the old unit properly; many recycling centers accept large appliances. If you're installing a new disposal, you might need to clean the sink flange opening and ensure any new mounting hardware is compatible or ready to be installed. It's a good time to thoroughly clean the cabinet area under the sink as well.