
How to Install a Plumbing Access Panel for Future Repairs
About This Project
This guide provides comprehensive, step-by-step instructions for installing a plumbing access panel in a drywall wall. The process involves locating the ideal position over plumbing components, carefully cutting an opening in the drywall, reinforcing the opening if necessary, and securely installing the panel for a clean finish and easy future access.
Best for experienced DIYers and homeowners with some experience with basic plumbing knowledge. Requires HDX Indoor Safety Glasses Clear (1-Pack) VS-9300, clear and 3M 8210 N95 Drywall Sanding Performance Disposable Respirator (2-Pack) 8210DA1-A and Zircon StudSensor HD55 Stud Finder 65945.
Tools & Materials
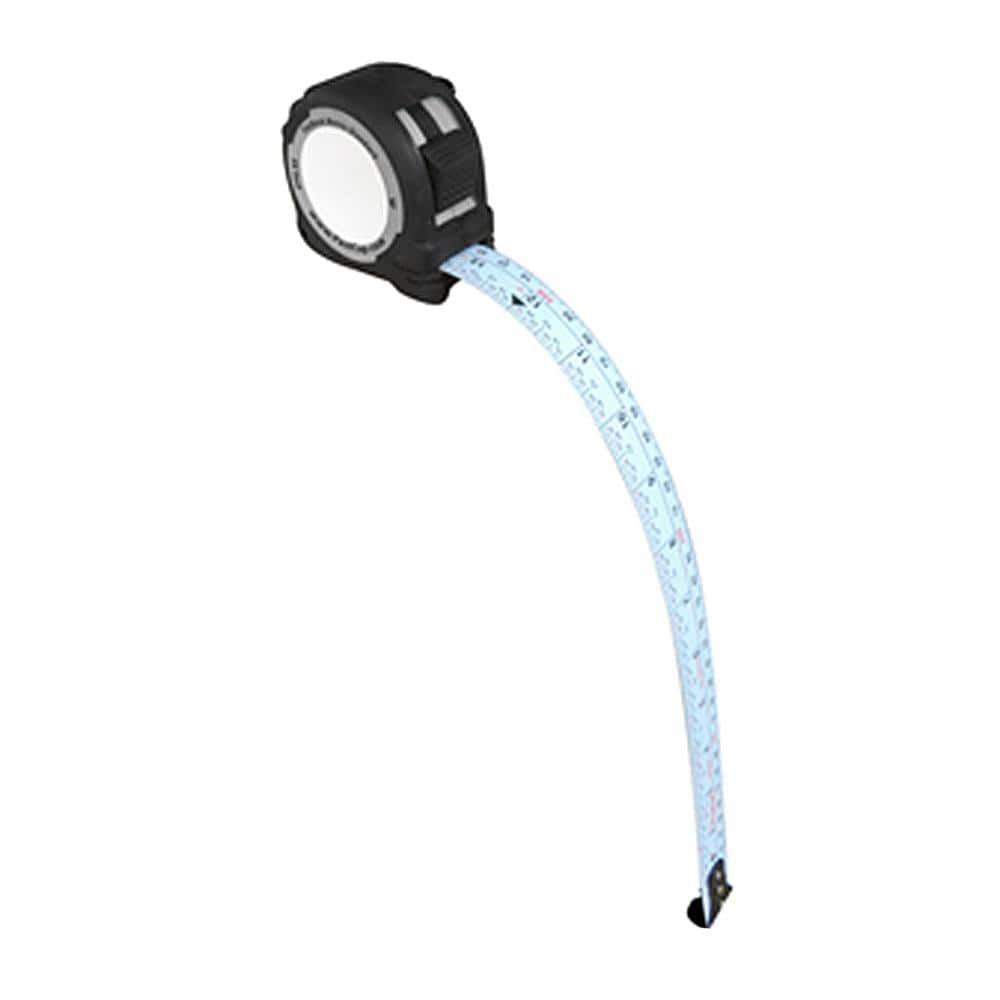
FASTCAP 16 ft. Metric/Standard Flat Back Measure Tape FC.PMS.F16
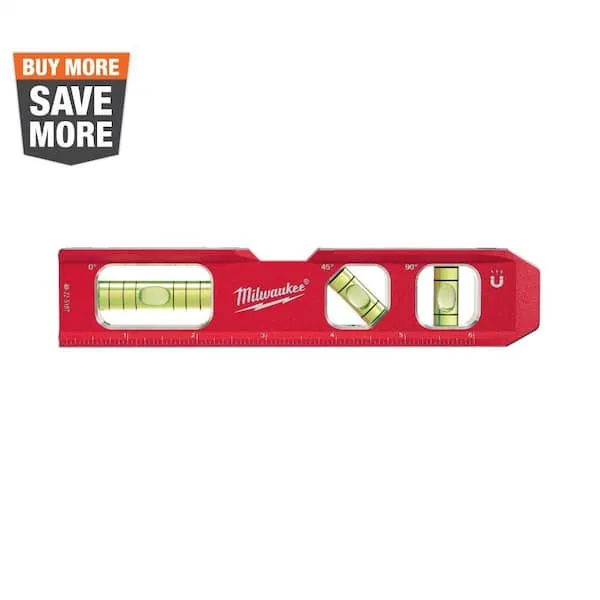
Level
Aspen Creative Corporation 8 in. x 11 in. Grey Hardback Drum/Cylinder Lamp Shade 31029
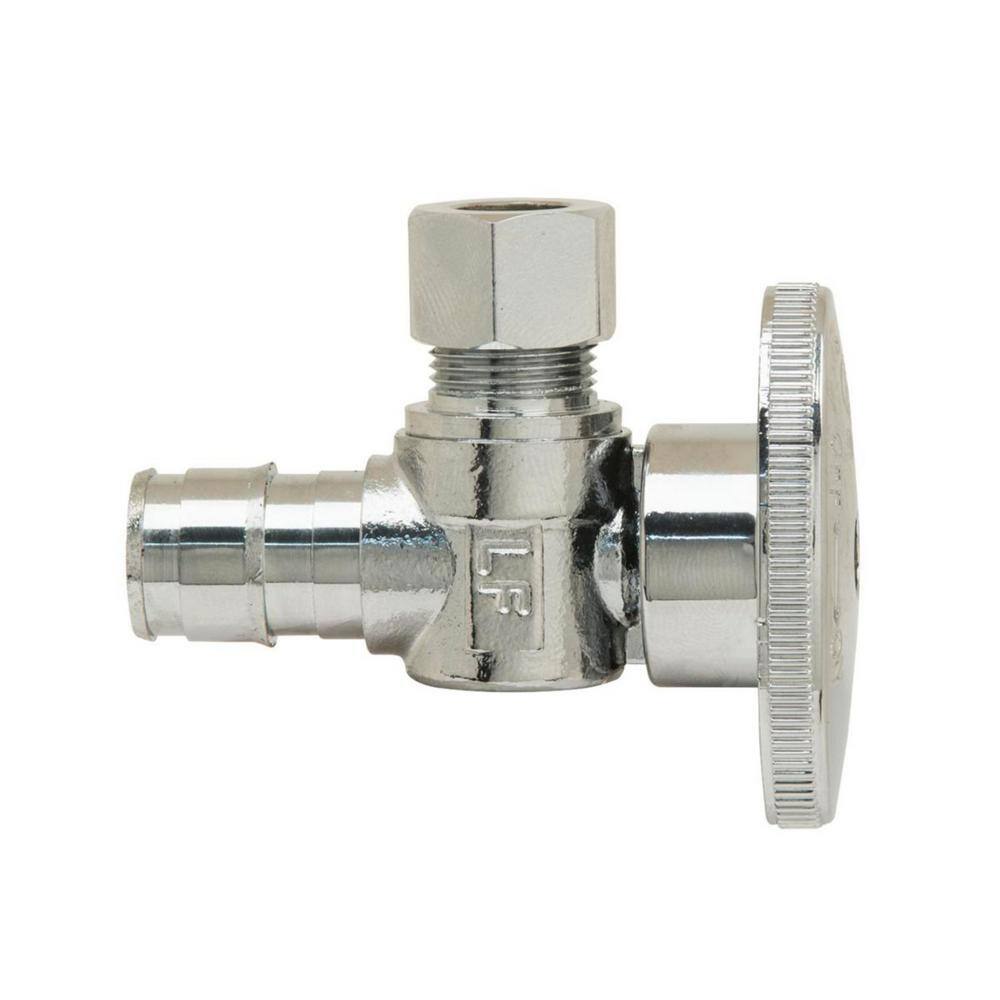
Plumbshop 1/2 in. Cold Expansion Barb (PEX) x 3/8 in. Compression 1/4-Turn Angle Stop PLB107X P
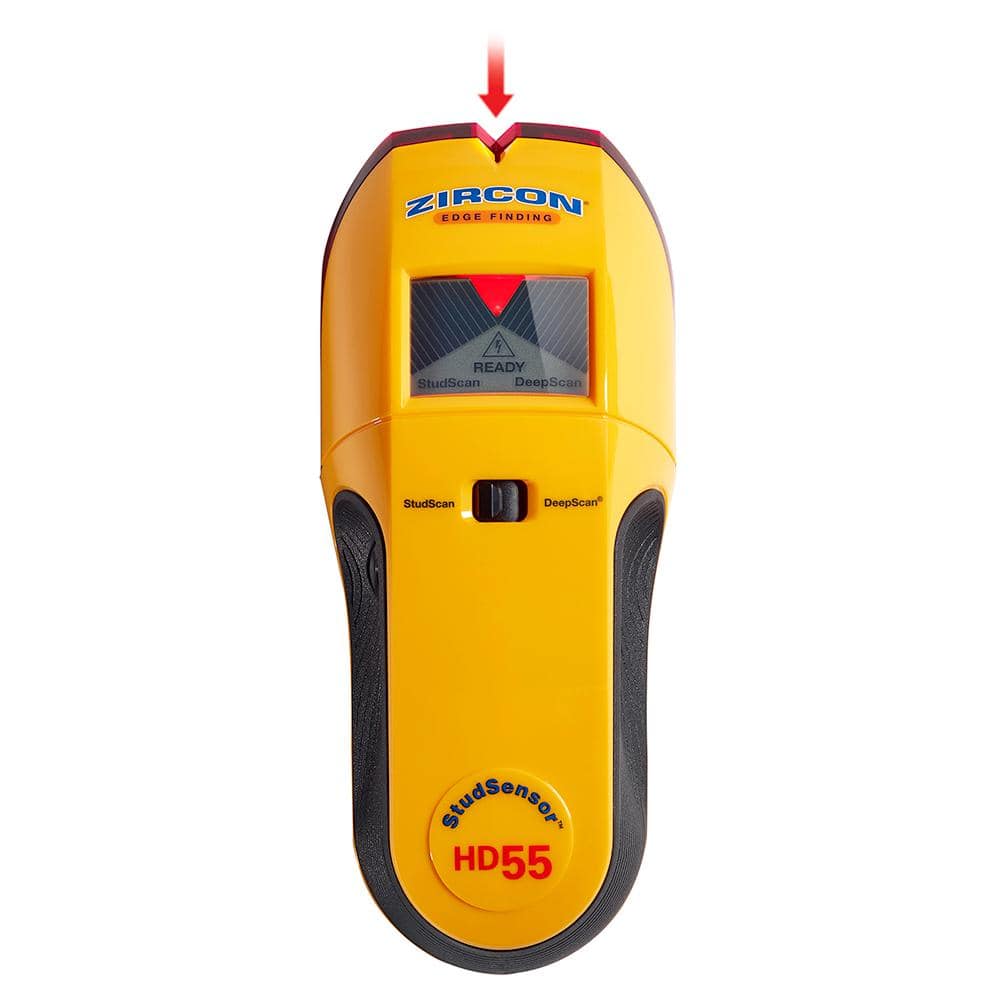
Zircon StudSensor HD55 Stud Finder 65945

Milwaukee Folding Jab Saw with 6 in. 8TPI SAWZALL Drywall Blade with Thin Metal Cutting SAWZALL Reciprocating Saw Blades (7-Piece) 48-22-0307-48-00-5186
FASTCAP 16 ft. Metric/Standard Flat Back Measure Tape FC.PMS.F16
Face it, not all surfaces are flat. The ProCarpenter Flat back is a flexible tape for measuring curves and flat panels with precision and ease. The PMS blade style has both the metric and standard measurements
Level
Ensures surfaces are just right.
Aspen Creative Corporation 8 in. x 11 in. Grey Hardback Drum/Cylinder Lamp Shade 31029
Aspen Creative offers a 1 pack of drum shaped lamp shades with spider fitter. Made with grey colored textured fabric. The lamp shade dimensions are 8 inch top, 8 inch bottom, 11 inch height. This lamp
Plumbshop 1/2 in. Cold Expansion Barb (PEX) x 3/8 in. Compression 1/4-Turn Angle Stop PLB107X P
Plumbshop 1/2 in. Nominal Cold Expansion Barb (PEX) x 3/8 in. O.D. Compression 1/4 in. Turn Angle Stop controls water flow to household plumbing fixtures - faucets, toilets, dishwashers, icemakers, washing
Zircon StudSensor HD55 Stud Finder 65945
The StudSensor HD55 deep-scanning stud finder features an enhanced LCD display, with Target Spotlight, that illuminates on-screen when you've found the edge of a stud. Select from 2 stud scan modes to
Milwaukee Folding Jab Saw with 6 in. 8TPI SAWZALL Drywall Blade with Thin Metal Cutting SAWZALL Reciprocating Saw Blades (7-Piece) 48-22-0307-48-00-5186
Our Milwaukee Folding Jab Saw fits all 6 in. Sawzall blades for quick cutting into multiple materials. The slide lock design offers the fastest blade change to increase productivity on the jobsite. The
Steps

Locate Plumbing and Plan the Opening
20 minsThe first critical step is to determine the precise location for your access panel. You want to center it over the plumbing you need to access, such as shut-off valves. Use a stud finder to locate the wall studs on either side of the plumbing. You must install the panel in the empty bay between two studs. Use the stud finder's deep scan and AC detection modes to check for any hidden pipes or electrical wires. Once you've confirmed a safe, clear area, use a tape measure and pencil to mark the approximate center of your desired location. Place the access panel's rear frame or the provided paper template against the wall at your mark. Use a level to ensure the template is perfectly horizontal and vertical, then trace its outline onto the wall with the pencil. This traced line will be your cutting guide.

Cut the Drywall Opening
30 minsPut on your safety glasses and dust mask. Using a drywall saw, begin cutting along the pencil line you traced. To start the cut, firmly push the sharp tip of the saw through the drywall in the middle of one of the lines. Use controlled, steady strokes, following the line as precisely as possible. It is often better to cut just slightly inside the line; you can always shave a little more off later, but you can't add material back. Be careful not to plunge the saw too deep into the wall cavity, which could damage unseen pipes or wires. Once all four sides are cut, gently push the cutout section inward to free it from the wall and carefully remove it. Set it aside.

Apply Adhesive and Install the Panel Frame
15 minsAfter cutting the hole, test fit the access panel's outer frame. It should slide in snugly without requiring excessive force. If it's too tight, use a utility knife or a rasp to carefully trim the edges of the drywall. Once you have a good fit, remove the frame. Using a caulking gun, apply a continuous bead of high-quality construction adhesive to the back of the panel frame's flange—the part that will make contact with the wall. Be generous but not so much that it will squeeze out excessively. Carefully re-insert the frame into the opening, pressing it firmly and evenly against the wall surface. Ensure it is flush and level. Use a damp cloth or paper towel to immediately wipe away any adhesive that squeezes out onto the wall face.
Final Finishing and Cleanup
15 minsAllow the construction adhesive to cure according to the manufacturer's instructions, which typically takes at least a few hours to set firmly. Once the frame is secure, you can insert the door into the frame. For most plastic models, the door simply pops into place. Open and close it a few times to ensure it operates smoothly. For a more professional, built-in look, you can apply a thin bead of paintable caulk into the seam between the access panel frame and the surrounding wall. Smooth the caulk bead with a wet finger or a caulk finishing tool. Finally, clean up your work area, using a shop vacuum to capture all remaining drywall dust.
Common Problems
Ensure you are wearing safety glasses during this step to protect your eyes from wood dust and debris.
Solution: To avoid this issue: Be mindful of this warning and take appropriate precautions.
Access panel trim obstructs drywall edges.
Solution: Make sure the backing trim is positioned so it won't overlap the edges of the drywall panel when installed.
Excess adhesive dries, creating a messy, permanent seal.
Solution: Clean up any excess adhesive that squeezes out immediately with a damp cloth.
Hole cut too large, panel won't secure properly.
Solution: If the hole is cut too large, you will need to use screws to secure the panel. A snug fit is ideal.
Overtightening can crack drywall or damage the frame.
Solution: Do not overtighten the mounting tab screws, as this could damage the drywall or the frame.
Do not overtighten the screws, as this can crack the drywall or warp the panel frame.
Solution: To avoid this issue: Be mindful of this warning and take appropriate precautions.
Panel may sag or detach if not supported during adhesive curing.
Solution: After gluing the panel, use tape to hold it securely against the wall while the adhesive dries.
Frequently Asked Questions
What specific tools and materials are essential for a clean and secure access panel installation?
You'll need a jab saw for precise drywall cuts, a level for accurate marking, and a caulk gun for applying construction adhesive like Gorilla or Liquid Nails. Don't forget a shop vacuum for dust cleanup and microfiber cloths for finishing, and DAP Alex Painter's caulk for a smooth seal.
What critical safety steps should I take before cutting into the wall for the access panel?
Always wear safety glasses and a dust mask. Before making any cuts, use a stud finder and listen carefully for water flow to locate studs, pipes, and electrical wiring, ensuring you avoid damaging them during the cutting process. Confirm your plumbing components are behind the intended cut.
How challenging is this project for a DIY beginner, and how much time should I set aside?
This project is rated as 'beginner' friendly, making it suitable for those new to home improvement. You should plan for approximately 3 hours to complete the installation, including planning, cutting, and cleanup, depending on your experience and how easily you locate the plumbing.
How can I ensure I cut a perfectly straight and clean opening in the drywall for the access panel?
Use a tape measure and a level to meticulously mark your cut lines on the drywall. Score the lines with a utility knife first, then carefully follow them with your jab saw, taking your time to ensure straight and clean edges. A shop vacuum can help manage dust as you cut.
What's the best way to ensure the access panel frame is securely installed and won't come loose over time?
Apply a generous, continuous bead of heavy-duty construction adhesive (like Gorilla or Liquid Nails) to the back of the panel frame. Press the frame firmly into the opening and hold it in place until the adhesive begins to set, ensuring full contact with the drywall or any reinforcement.
What if the ideal location for my access panel doesn't have studs to attach to, or the opening needs reinforcement?
If studs aren't present where you need to mount the panel, you may need to add horizontal wood blocking between existing studs to create a secure mounting surface. Ensure any added blocking is firmly attached to the existing studs before installing the access panel frame.


