
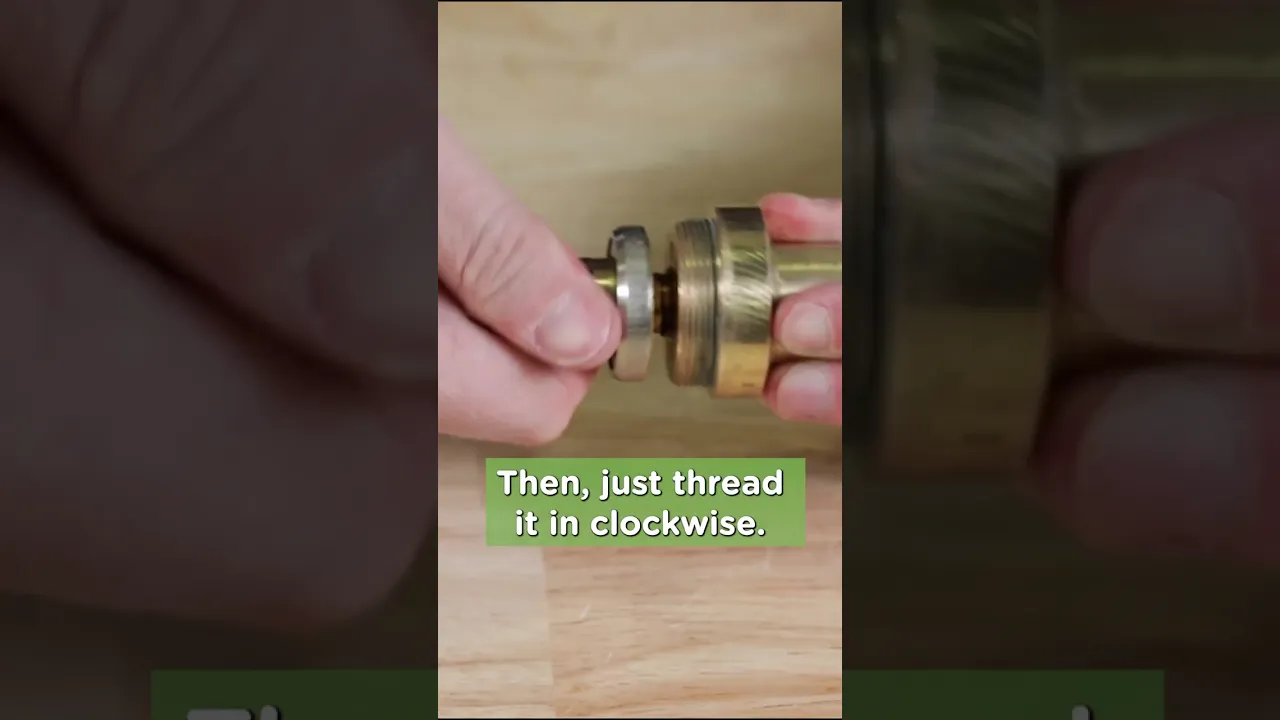
How to Fix a Leaky Single-Handle Faucet (Ball-Valve Type)
About This Project
This project involves stopping a leak in a single-handle ball-valve type faucet, typically found in kitchens and bathrooms. The process includes shutting off the water supply, disassembling the faucet handle and cap, replacing the internal worn-out components like rubber seats and springs using a specific repair kit, cleaning the components, and then reassembling the faucet to restore it to a leak-free condition.
Best for experienced DIYers and homeowners with some experience with basic plumbing knowledge.
Tools & Materials

FRESHFOLDS Orange 6-Piece Cotton Quick-Dry Bath Towel Set EC100706
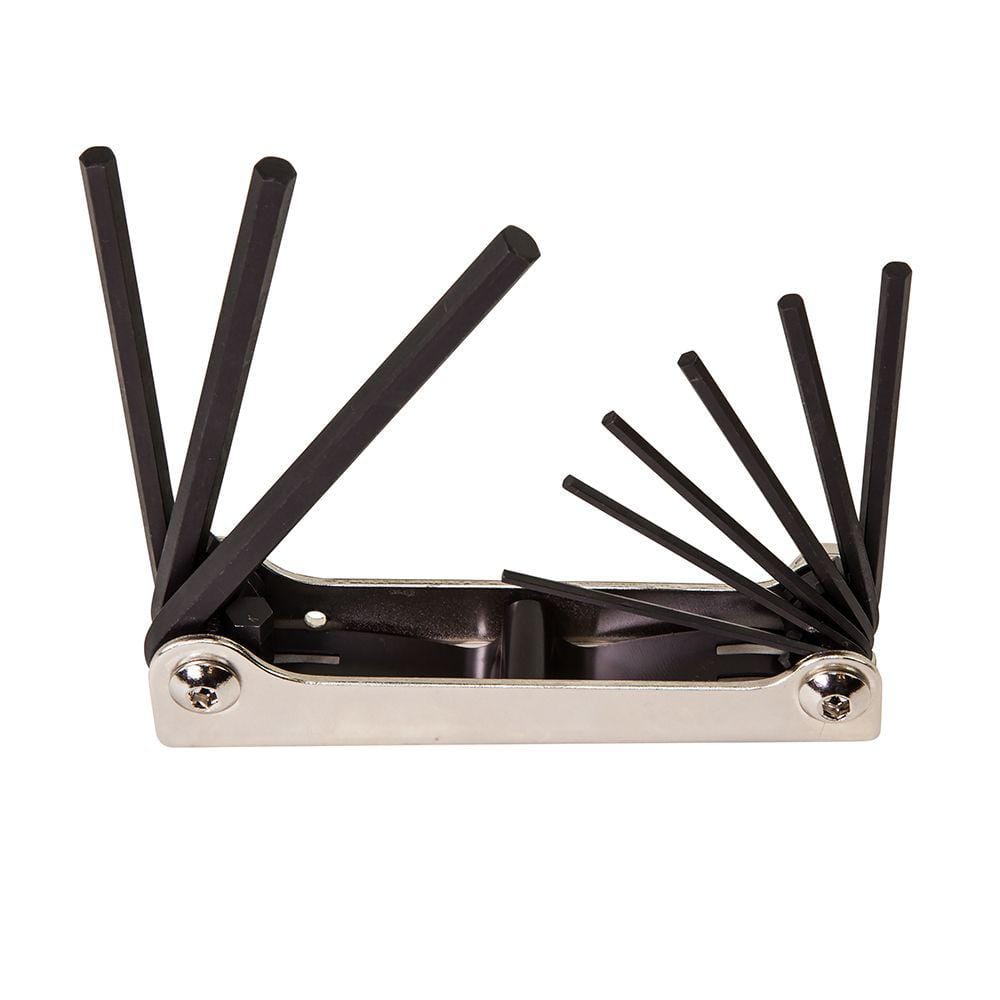
Klein Tools Folding Hex Key Set, 9-Key, SAE Sizes 70591
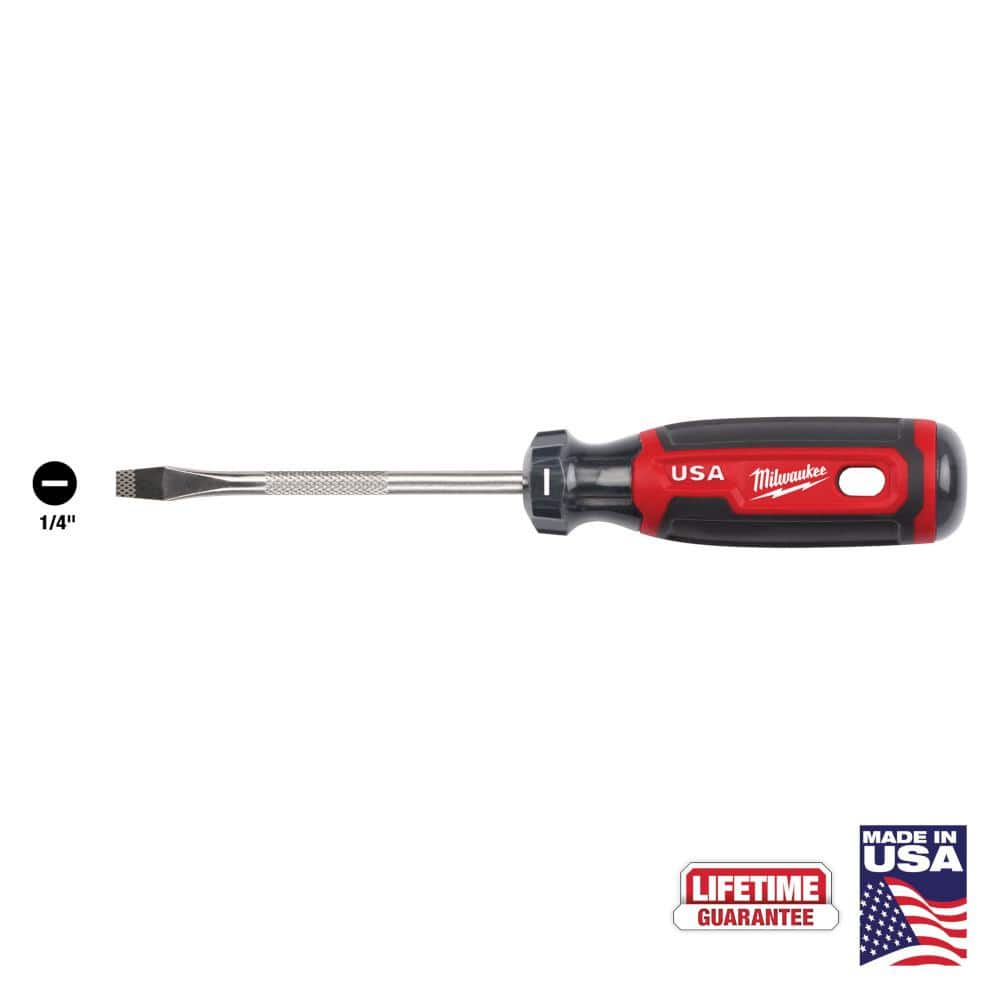
Milwaukee 4 in. x 1/4 in. Slotted Flat Head Screwdriver with Cushion Grip MT206

Scott Rags in A Box in White (200-Shop Towels per Box) 75260

Channellock 10 in. Tongue and Groove Plier 430
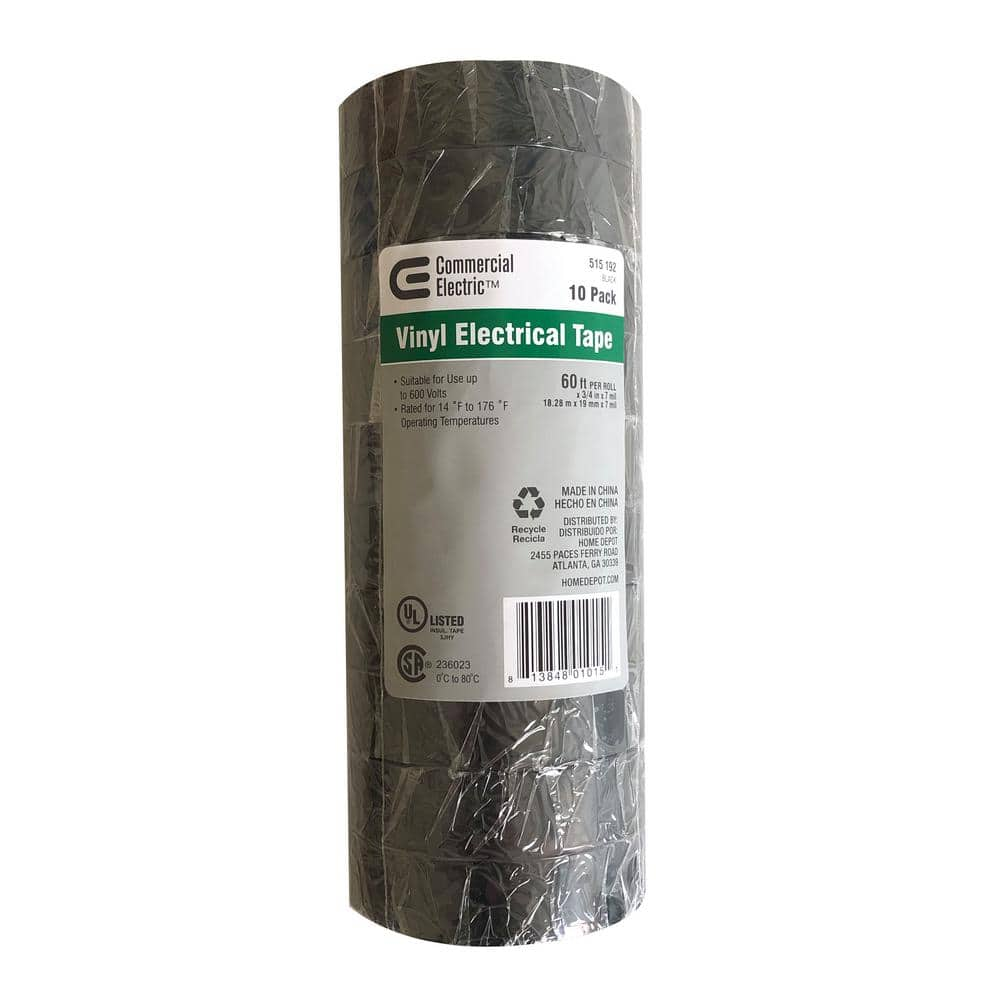
Commercial Electric 0.75 in. x 60 ft. 7 mil Vinyl Electrical Tape - Black (10-Pack) 30002653
FRESHFOLDS Orange 6-Piece Cotton Quick-Dry Bath Towel Set EC100706
This cotton towel is quick-drying, absorbent and features a soft cotton popcorn texture. These towels are low-twist and two-ply, so the fibers are thicker and more durable. The weave allows for more air
Klein Tools Folding Hex Key Set, 9-Key, SAE Sizes 70591
No need to worry about lost hex keys with Klein Tools Folding Hex Key Set. This handy tool features 9 different size hex keys in a convenient folding tool that fits easily into your pocket or tool box.
Milwaukee 4 in. x 1/4 in. Slotted Flat Head Screwdriver with Cushion Grip MT206
The Milwaukee® 1/4" Slotted 4" Cushion Grip Screwdrivers (USA) are manufactured to give the professional the best-fitting screwdriver with max grip. These screwdriver tips are custom machined to deliver
Scott Rags in A Box in White (200-Shop Towels per Box) 75260
When you have tough jobs to tackle, you can trust Scott Rags in a Box, All-Purpose. These white disposable towels are made of cellulose fibers with a latex binder for thickness, absorbency, and strength.
Channellock 10 in. Tongue and Groove Plier 430
The Channellock 10 in. Straight Jaw Tongue and Groove Pliers are constructed with high-carbon steel and fashioned with laser heat-treated teeth for strong, nonslip jaw action. Undercut tongue-and-groove
Commercial Electric 0.75 in. x 60 ft. 7 mil Vinyl Electrical Tape - Black (10-Pack) 30002653
Commercial Electric 10 pack 7 mil Black Vinyl Elect Tape, economy grade, weather resistant, pressure sensitive vinyl tape for all kinds of mechanical and electrical applications. The tape is flame retardant
Steps

Shut Off Water Supply and Prepare Work Area
10 minsThe first and most critical step is to prevent water from flowing to the faucet while you work. Locate the two shutoff valves under the sink, one for hot water and one for cold. Turn the handles clockwise until they are fully closed. If there are no shutoff valves under the sink, you will need to turn off the main water supply to the entire house. After closing the valves, turn the faucet handle to the 'on' position in the middle (mixed hot/cold) to relieve any residual water pressure and confirm that the water is indeed off. Place a towel in the sink basin over the drain to catch any small parts.

Remove the Faucet Handle
10 minsLocate the small set screw that secures the handle to the faucet body. It is often hidden behind a small decorative plastic or metal cap on the front or side of the handle, which may be marked with a red/blue hot/cold indicator. Carefully pry this cap off using a small flathead screwdriver or a pick. Inside, you will see the set screw. Use the appropriate size Allen wrench (hex key) to turn the screw counter-clockwise. You only need to loosen it a few turns; it does not need to be completely removed. Once loose, lift the handle straight up and off the faucet body.

Remove the Cap and Ball Assembly
15 minsWith the handle removed, you will see a chrome dome-shaped cap. This cap threads onto the faucet body and holds the internal parts in place. Wrap the jaws of a pair of channel-lock pliers with electrical tape or use a rag to protect the finish, then grip the cap and turn it counter-clockwise to unscrew it. Lift the cap off. Underneath, you will see a plastic cam and a rubber packing. Simply lift the cam, packing, and the stainless steel ball straight out of the faucet body. Note the small slot on the side of the ball and how it aligns with a small pin inside the faucet body; this is crucial for reassembly.

Replace Valve Seats and Springs
20 minsLook inside the now-empty faucet body. You will see two small circular rubber seats, each with a small conical spring underneath it, recessed into ports. These are the primary cause of most leaks. Use a small flathead screwdriver or a pick tool to reach into the faucet body and carefully pry out each of the old rubber seats and the springs beneath them. Take the new seats and springs from your faucet repair kit. Place a new spring (narrow end down) into each port, and then place a new rubber seat over each spring, pressing it down gently into place with your fingertip or the eraser end of a pencil. The cupped side of the seat should face up.
Reassemble the Faucet Internals
15 minsBegin reassembling the faucet in the reverse order of disassembly. First, drop the stainless steel ball back into the faucet body. Make sure the small slot on the side of the ball aligns perfectly with the pin inside the faucet body. Next, place the new plastic cam and packing (from the kit) over the ball. The small lug on the cam should fit into the notch on the side of the faucet body. Now, screw the dome-shaped cap back on by hand until it is snug. Use the channel-lock pliers (with protected jaws) to give it a final quarter-turn to tighten it securely. Do not over-tighten.

Reattach Handle and Test for Leaks
10 minsPlace the handle back onto the cam stem, ensuring it is properly seated. Tighten the set screw with the Allen wrench until it is snug. Replace the decorative cap. Now, slowly turn the water back on at the shutoff valves under the sink, turning them counter-clockwise. Turn them on one at a time and only part-way at first. Check for any leaks around the base of the handle and spout. If there are no leaks, open the valves fully. Move the faucet handle through its full range of motion—hot, cold, and mixed—to ensure proper operation and to check for any final leaks. If the leak is gone, the repair is complete.
Common Problems
This is a common point of failure. If debris is left in the valve body, the new stem will not work correctly and will leak.
Solution: To avoid this issue: Be mindful of this warning and take appropriate precautions.
Cracked plastic components due to overtightened screws.
Solution: Do not overtighten the screws, as this can crack the plastic components.
Escutcheon plate warps or doesn't sit flush.
Solution: Tighten the escutcheon plate screws alternately to ensure the plate sits flush against the shower wall without warping.
Leaky handle due to improper packing washer orientation.
Solution: Make sure the packing washer is installed with the flat side facing out towards the handle.
Do not over-tighten the bonnet nut. It should be snug enough to prevent leaks but still allow the handle to turn smoothly.
Solution: To avoid this issue: Be mindful of this warning and take appropriate precautions.
Be careful not to over-tighten the bonnet nut or screws.
Solution: To avoid this issue: Be mindful of this warning and take appropriate precautions.
Handle won't turn or moves stiffly due to misaligned adapter.
Solution: Ensure the plastic handle adapter is installed correctly to allow the handle to turn properly. If it's on wrong, the handle's movement will be blocked.
Frequently Asked Questions
How can I tell if my single-handle faucet is a ball-valve type before buying a repair kit?
Ball-valve faucets typically have a single handle that pivots and rotates on top of a dome-shaped cap. When you remove the handle, you'll usually see a cap secured by screws, covering a plastic or metal ball. If your faucet has a cartridge (a cylinder with O-rings) or two separate handles, it's a different type and requires a different repair kit.
Do I really need all the specific tools listed, or can I use alternatives for this repair?
While the listed tools are ideal, the most crucial are an adjustable wrench, various screwdrivers (especially a flathead for prying), and a hex key if your handle has a set screw. A good pair of pliers is also very helpful. You might be able to substitute some specialty tools with basic equivalents, but ensuring you have the right sizes will prevent frustration and potential damage.
What are the most important safety precautions I should take before starting this project?
The absolute most critical step is to shut off the water supply to the faucet, either at the supply lines underneath the sink or the main house shut-off. Always double-check by turning on the faucet. Also, protect your work area with rags or towels to catch any residual water, and wear gloves if handling old, potentially corroded parts.
How much does a typical faucet repair kit cost, and is 2 hours a realistic timeframe for a beginner?
A standard ball-valve faucet repair kit usually costs between $5 and $20, making it a very affordable repair. For a beginner, 2 hours is a reasonable estimate, but allow yourself extra time, perhaps 3-4 hours, for unexpected challenges like stuck parts or identifying the correct repair kit. Rushing can lead to mistakes or damage.
What are the most common reasons the faucet might still leak after replacing the seats and springs?
If the faucet still leaks, common culprits include improperly seated springs and seals, a damaged or worn ball valve that wasn't replaced, or mineral deposits remaining on the faucet body that interfere with the new seals. Ensure all components are clean, correctly oriented, and tightened sufficiently but not excessively during reassembly.
I'm having trouble removing the faucet handle or the decorative cap. What should I do?
Often, there's a hidden set screw on the handle (underneath or behind) that needs to be loosened with an Allen wrench or small screwdriver. For a stubborn decorative cap, gently pry around its edges with a flathead screwdriver or a utility knife, being careful not to scratch the finish. Sometimes, a little penetrating oil can help loosen seized parts, but use sparingly.
When is it better to replace the entire faucet instead of just attempting this repair?
Consider replacing the entire faucet if it's very old, extensively corroded, or has multiple issues beyond just leaking seats and springs, such as a cracked body or persistent drips even after repair. If the cost of multiple repair kits or specialty parts starts to approach the cost of a new basic faucet, replacement is often a more practical long-term solution.


