
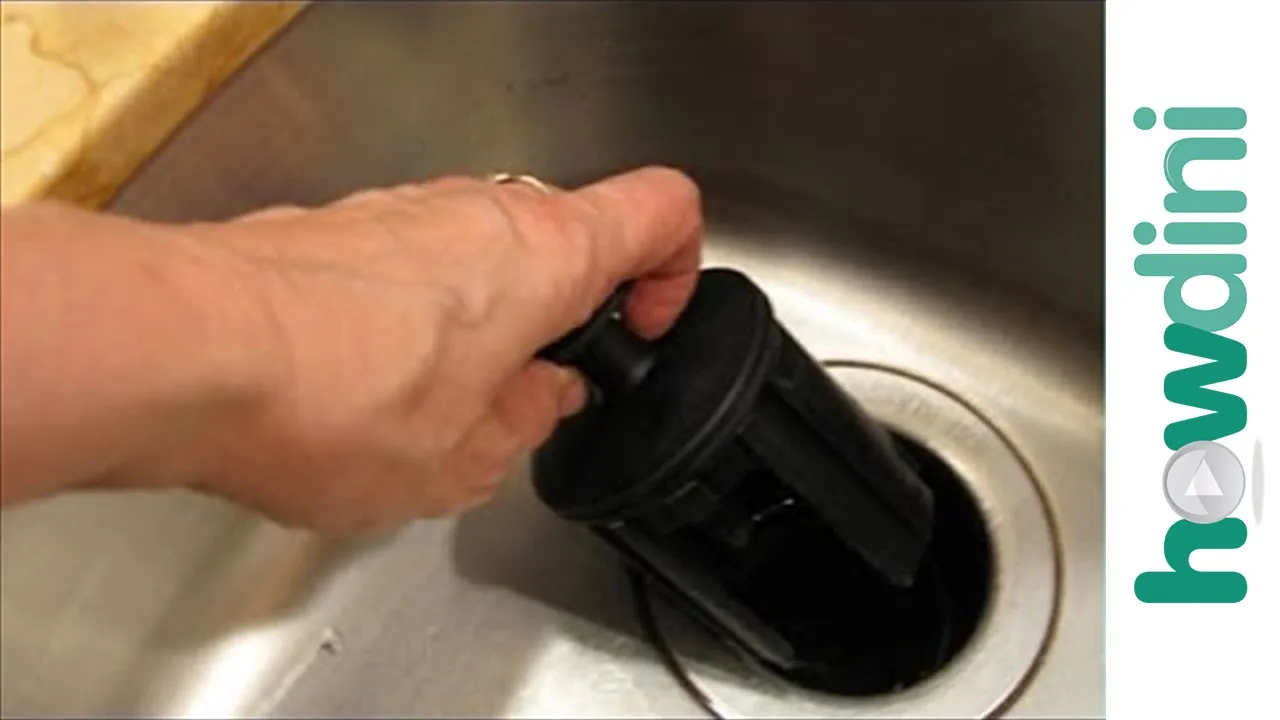
How to Fix a Humming or Jammed Garbage Disposal
About This Project
A step-by-step guide to safely diagnose and fix a humming or jammed garbage disposal. The process involves cutting power, attempting to manually dislodge the obstruction from below and above using specific tools, resetting the unit's overload protector, and then testing for proper operation.
Best for experienced DIYers and homeowners with some experience with basic plumbing knowledge. Requires KNIPEX 11 in. Extra Log Reach Long Nose Pliers 28 71 280 SBA and Zulay Kitchen 2-Pack (9 in. and 12 in.) Tongs for Cooking with Silicone Tips - Silver -Gray Z-TNGS-STNLSS-STLL-2ST-GRY and Storied Home Natural Mango Wood Spoons with Bamboo and Leather Wrapped Handles (Set of 3) DF5691.
Tools & Materials
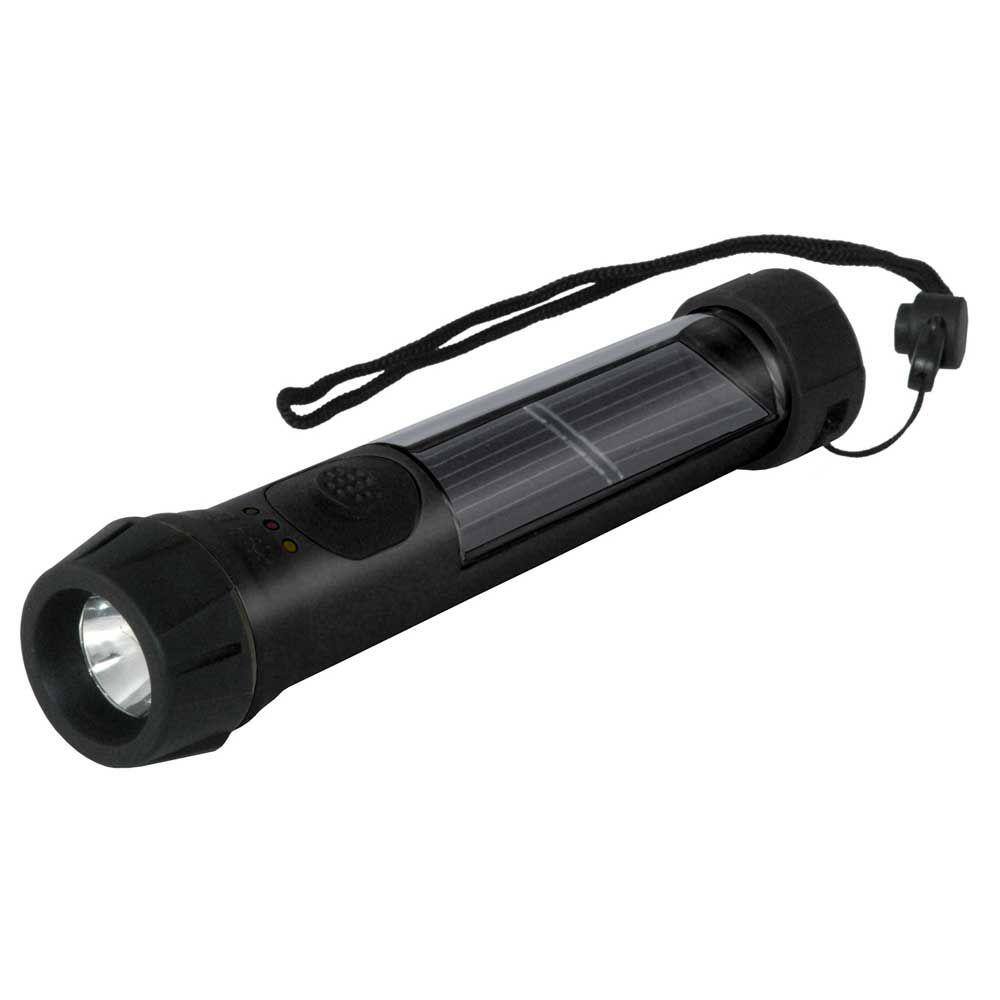
Hybrid Light Solar Flashlight - Black 001175
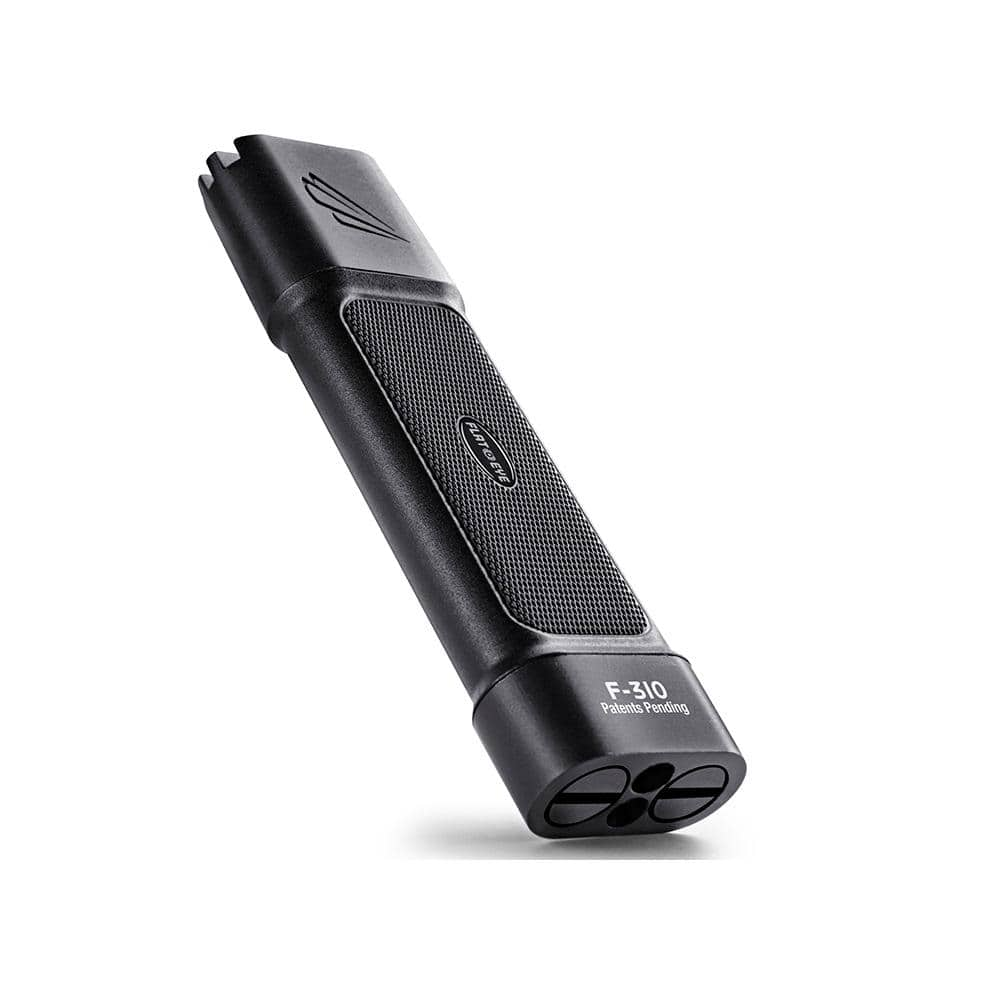
Panther Vision FLATEYE F-310 High Performance 310-Lumen Unround Flashlight CREE LED Multi Position Waterproof and Shockproof FL-6960

KNIPEX 11 in. Extra Log Reach Long Nose Pliers 28 71 280 SBA
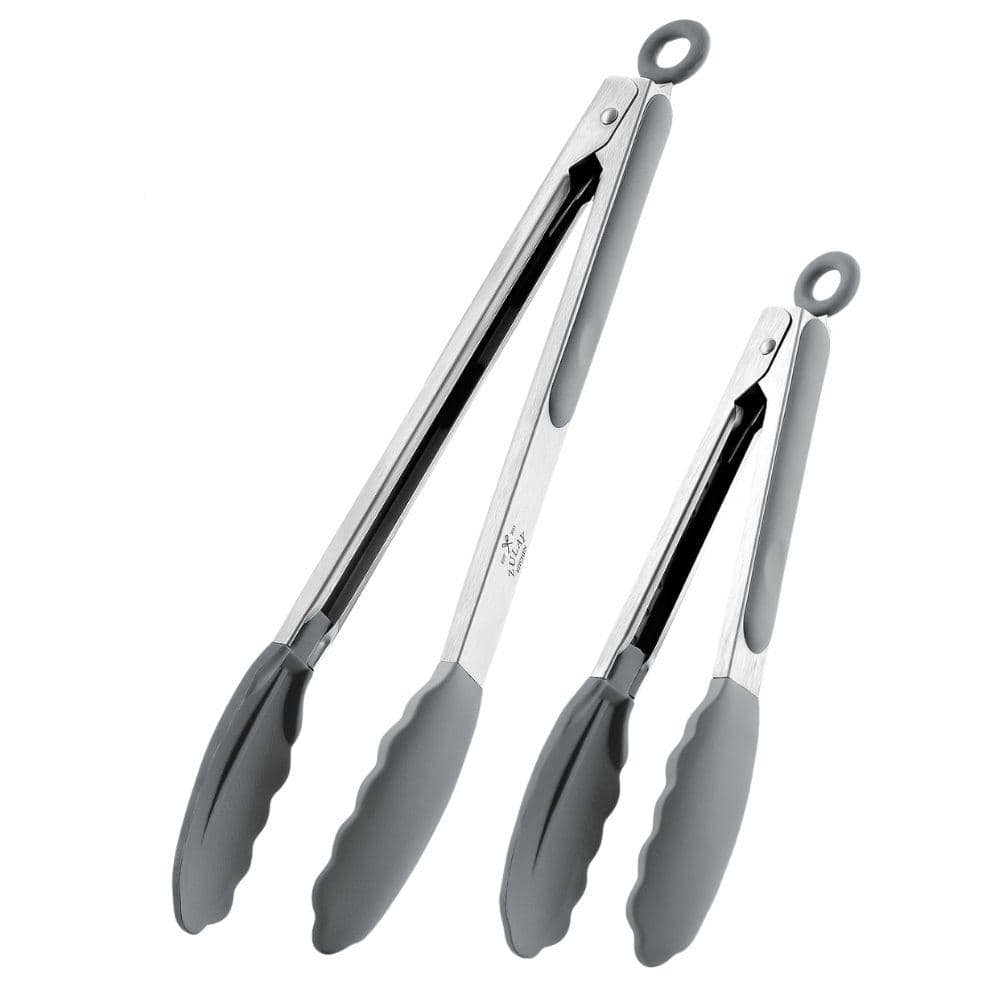
Zulay Kitchen 2-Pack (9 in. and 12 in.) Tongs for Cooking with Silicone Tips - Silver -Gray Z-TNGS-STNLSS-STLL-2ST-GRY
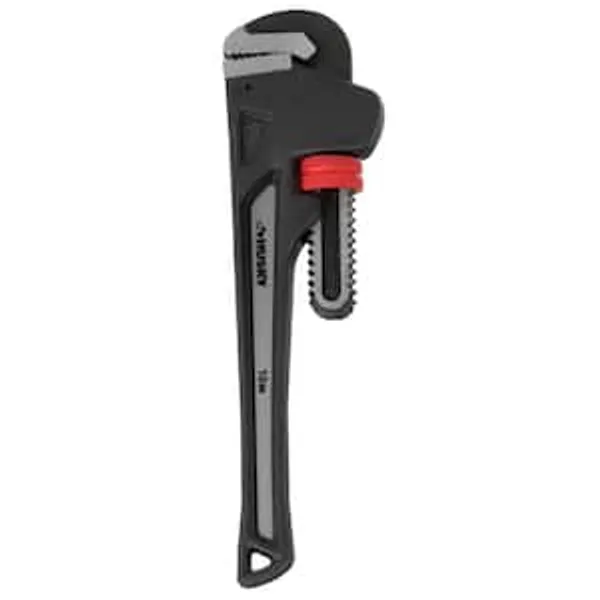
Wrench
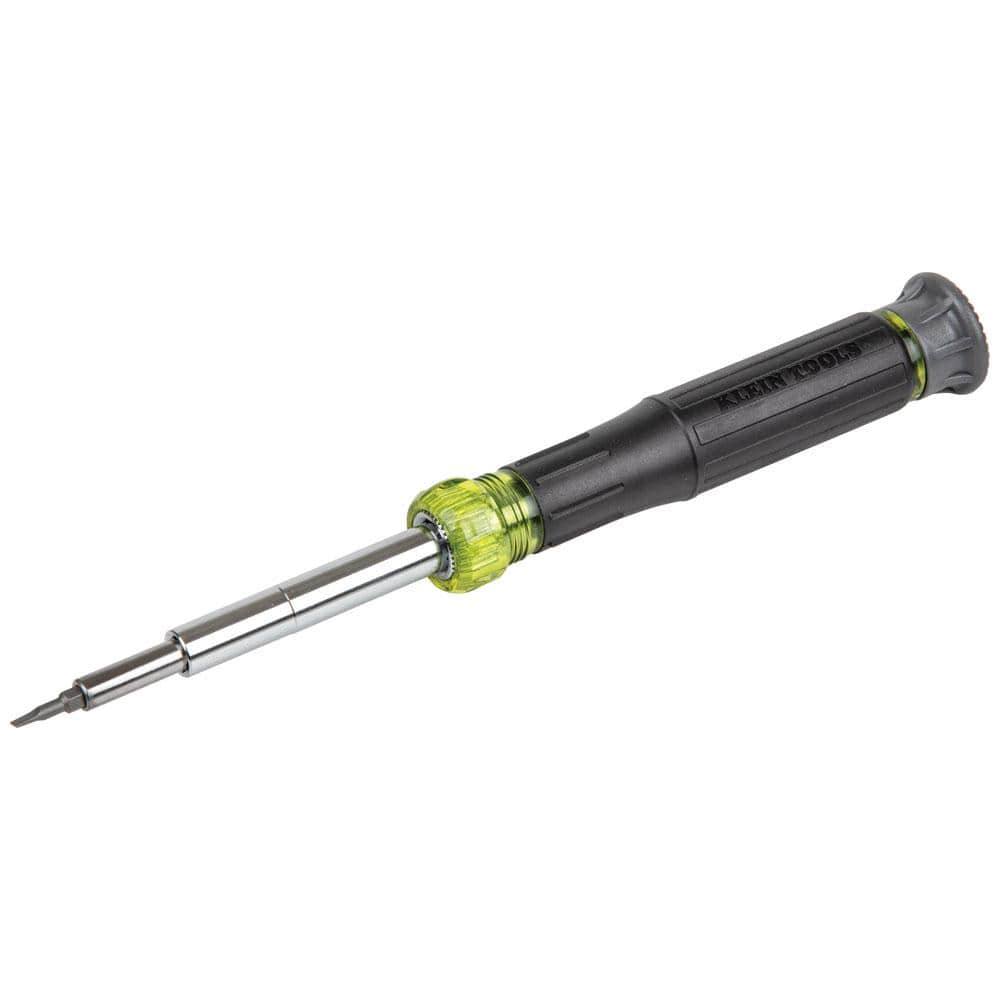
Klein Tools 14-in-1 Precision Screwdriver/Nut Driver 32314
Hybrid Light Solar Flashlight - Black 001175
The Hybrid Solar Light uses revolutionary technology that generates power from any light source, indoor lighting or sun light and stores it for later use. The Hybrid Solar Light is always collecting power
Panther Vision FLATEYE F-310 High Performance 310-Lumen Unround Flashlight CREE LED Multi Position Waterproof and Shockproof FL-6960
Every revolution starts with a spark. At 310-Lumens the F-310 has the power to ignite our un-round revolution without overpowering your needs or your wallet. Not your granddads flashlight these bad boys
KNIPEX 11 in. Extra Log Reach Long Nose Pliers 28 71 280 SBA
KNIPEX 11 in. Extra Long Reach Long Nose Pliers with Cutter offer elastic precision points and half round, long jaws with serrated gripping surfaces for the ultimate grip. The 11 in. Extra Pliers feature
Zulay Kitchen 2-Pack (9 in. and 12 in.) Tongs for Cooking with Silicone Tips - Silver -Gray Z-TNGS-STNLSS-STLL-2ST-GRY
Designed with a scallop-shaped head, these silicone tongs provide a strong grip for any ingredient. Use these for small foods like cherry tomatoes or grilling large and heavy pieces of meat. Our tongs
Wrench
Turns objects with grip and leverage.
Klein Tools 14-in-1 Precision Screwdriver/Nut Driver 32314
Klein Tools' 14-in-1 Precision Screwdriver / Nut Driver features 14 of the most common precision sizes in one tool. The Cushion-Grip handle and spin cap provide outstanding comfort and control. This smartly
Steps

Disconnect Power (Safety First!)
5 minsThe absolute most critical first step is to ensure there is no power going to the garbage disposal. Locate the power cord for the disposal under the sink and unplug it from the wall outlet. If the unit is hardwired and does not have a plug, you must go to your home's main electrical panel (breaker box) and turn off the circuit breaker that controls the garbage disposal. Verify the power is off by attempting to flip the disposal switch on the wall; there should be no sound or movement.

Visually Inspect from Above
5 minsWith the power safely disconnected, use a flashlight to peer down into the garbage disposal from the sink drain opening. Look carefully for any foreign objects that may be causing the jam, such as silverware, bottle caps, fruit pits, bones, or other hard debris. If you see an object, use a pair of long-nosed pliers or kitchen tongs to carefully reach in and retrieve it. Never use your fingers.

Attempt to Free the Jam from Below
10 minsThis is the primary method for unjamming the unit. Position yourself under the sink and locate the very bottom of the disposal unit. In the center, you will find a small hexagonal socket. Insert the garbage disposal wrench (or a 1/4-inch Allen wrench) into this socket. Apply firm pressure and work the wrench back and forth, similar to a ratchet motion. You should feel the internal flywheel (impeller plates) start to move. Continue this rocking motion until the flywheel can spin a full 360 degrees freely. This action manually breaks free whatever is causing the jam.
Attempt to Free the Jam from Above (If Necessary)
5 minsIf the wrench method from below doesn't fully free the jam, or if you can't get the wrench to turn, you can try this method from above. With the power still off, insert the handle of a wooden spoon or a short wooden dowel into the disposal. Do NOT use a metal tool. Place the end of the spoon against one of the impeller blades (the small metal lugs on the spinning plate) and try to push it to leverage it free. Try pushing in both clockwise and counter-clockwise directions. Once it moves, use the wrench from below again to ensure it spins freely.
Press the Reset Button
2 minsAfter the jam is cleared, you need to reset the disposal's internal motor protection. The humming sound from the jammed motor likely caused it to overheat and trip the overload protector. Look on the bottom of the disposal unit for a small, typically red or black, button. If the button is popped out, press it firmly until it clicks and stays recessed. If it's already recessed, the unit may not have tripped, or it may have reset itself as it cooled.

Restore Power and Test
3 minsNow it's time to test your work. Ensure all tools have been removed from the sink area and from under the sink. Plug the disposal back into the wall outlet or flip the circuit breaker back on. Go to the sink and turn on a strong flow of cold water. With the water running, flip the garbage disposal switch. The unit should now spin up to speed without humming. Let it run for 15-30 seconds with the cold water to ensure everything is flushed out.

Clean and Deodorize the Disposal
15 minsAs a final step to ensure the disposal is clean and running well, you can clean and deodorize it. Turn off the disposal but keep the water running for a moment. Then, turn off the water and place a stopper in the sink. Pour about a half cup of baking soda into the disposal, followed by one cup of white vinegar. It will fizz and bubble. Let it sit for 10-15 minutes. Remove the stopper, turn on the cold water, and then turn on the disposal to flush it all out. For extra cleaning and sharpening, you can then grind a few trays of ice cubes. For a fresh scent, grind up a few citrus peels (lemon, lime, or orange).
Common Problems
Ensure the power switch for the disposal is in the 'off' position before looking for or pressing the reset button.
Solution: To avoid this issue: Be mindful of this warning and take appropriate precautions.
Disposal won't turn on due to tripped reset button.
Solution: The reset button may have popped out due to the motor overheating from a jam. It acts as a safety feature.
Leaving a humming disposal on for an extended period can permanently damage the motor, requiring a full replacement.
Solution: To avoid this issue: Be mindful of this warning and take appropriate precautions.
Failure to disconnect power can result in severe injury. This is the most important step.
Solution: To avoid this issue: Be mindful of this warning and take appropriate precautions.
NEVER use your fingers to remove an obstruction. Always use tongs or pliers to avoid serious injury.
Solution: To avoid this issue: Be mindful of this warning and take appropriate precautions.
Be cautious of sharp blades inside the disposal, even with the power off.
Solution: To avoid this issue: Be mindful of this warning and take appropriate precautions.
Can't locate the jam in your garbage disposal?
Solution: Using a flashlight can help you see inside the drain to identify the obstruction.
Frequently Asked Questions
What is the most crucial safety step before I start, and why?
The most crucial safety step is to ALWAYS disconnect power to the garbage disposal at your home's circuit breaker before performing any work. This prevents the unit from accidentally turning on, which could lead to severe injury while your hands or tools are inside the disposal.
My disposal is humming but not grinding; does this mean it's jammed, and how is that different from a complete jam?
Yes, a humming disposal almost always indicates it's jammed. The motor is receiving power but cannot turn the grinding plates due to an obstruction. A 'complete jam' means the motor isn't even humming, often indicating the reset button has tripped due to overload.
Do I need all the specific tools listed, like the specialized wrench, or are there alternatives for clearing a jam?
While the project lists a general wrench and a precision screwdriver, the most critical tool for freeing a jam from below is a 1/4-inch hex key or Allen wrench, which often comes with new disposals. A strong flashlight like the Panther Vision FLATEYE is highly recommended for visibility, and tongs or pliers are great for removing items from above instead of your hand.
I've pressed the reset button, but my disposal still won't work or just hums again. What should I do next?
If the reset button immediately trips again or the disposal hums but doesn't spin, it likely means the obstruction hasn't been fully cleared, or there's a more serious electrical issue. Go back to step 3 to thoroughly ensure no items are obstructing the grinding plates and try manually turning the flywheel again with the hex key. If problems persist, it might be time to call a plumber.
This project is labeled 'beginner' with an estimated 2 hours. What makes it easy, and what if it takes me longer?
This project is considered beginner-friendly because it primarily involves basic troubleshooting steps like cutting power, using a hex wrench, and pressing a reset button, without requiring complex plumbing knowledge. The 2-hour estimate is for typical scenarios; if it takes longer, you might be dealing with a particularly stubborn jam or an underlying issue that could require professional assistance or replacement.
After fixing the jam, what can I do to prevent my garbage disposal from jamming or smelling bad in the future?
To prevent future jams and odors, always run plenty of cold water before, during, and after using the disposal. Avoid putting fibrous foods (like celery or potato peels), grease, or coffee grounds down it. Regularly grind ice cubes to clean the blades, and once a month, use a mixture of baking soda and vinegar to freshen it up and remove buildup.


