
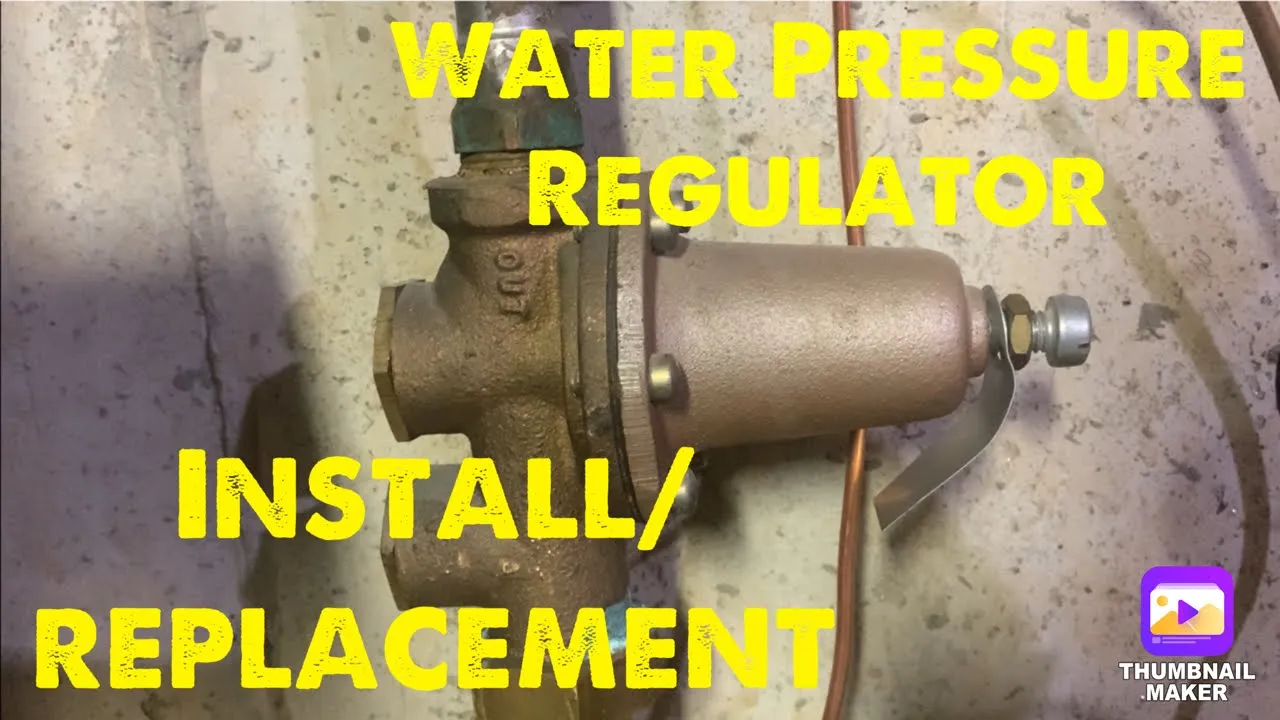
How to Adjust a Water Pressure Reducing Valve (PRV)
About This Project
This guide provides detailed instructions on how to properly test and adjust your home's water pressure reducing valve (PRV) to ensure optimal water pressure, protecting your plumbing and appliances from damage caused by excessive pressure.
Best for homeowners and DIY enthusiasts with basic plumbing knowledge and familiarity with power tools.
Tools & Materials
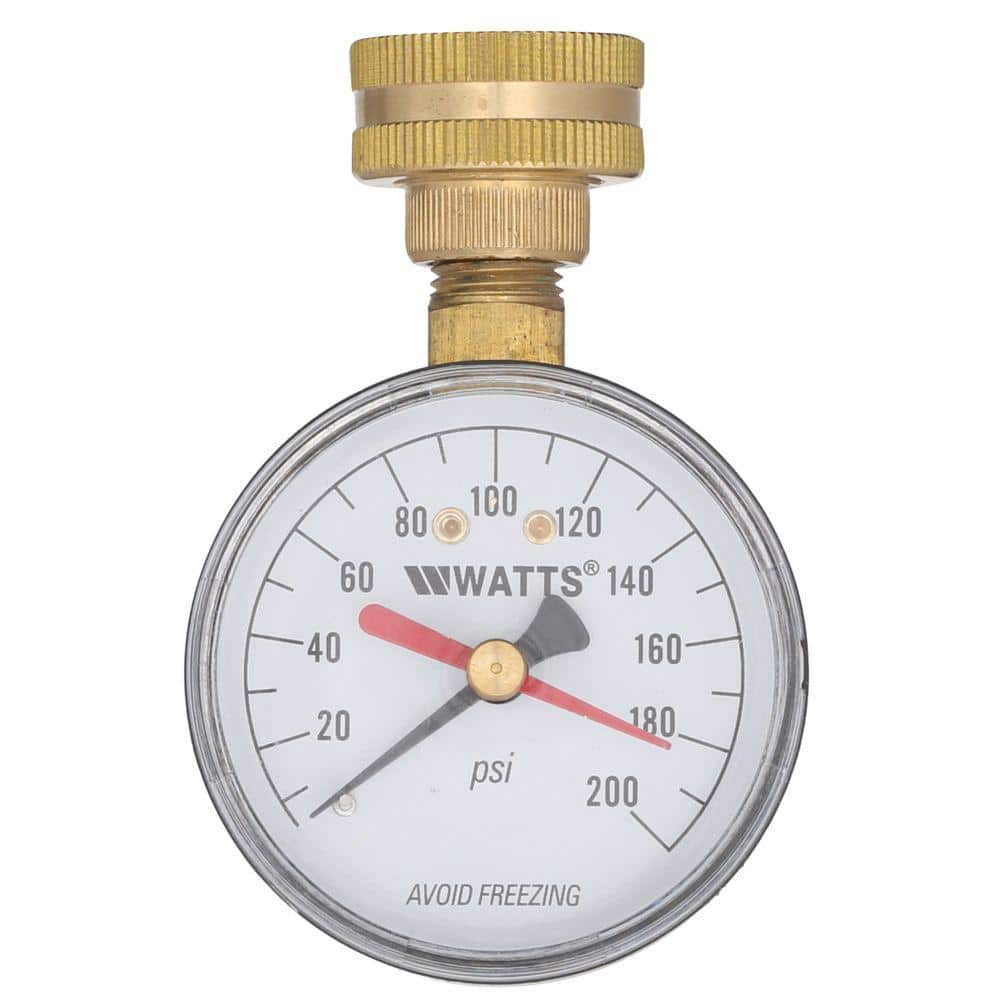
Watts 3/4 in. Plastic Water Pressure Test Gauge DP IWTG
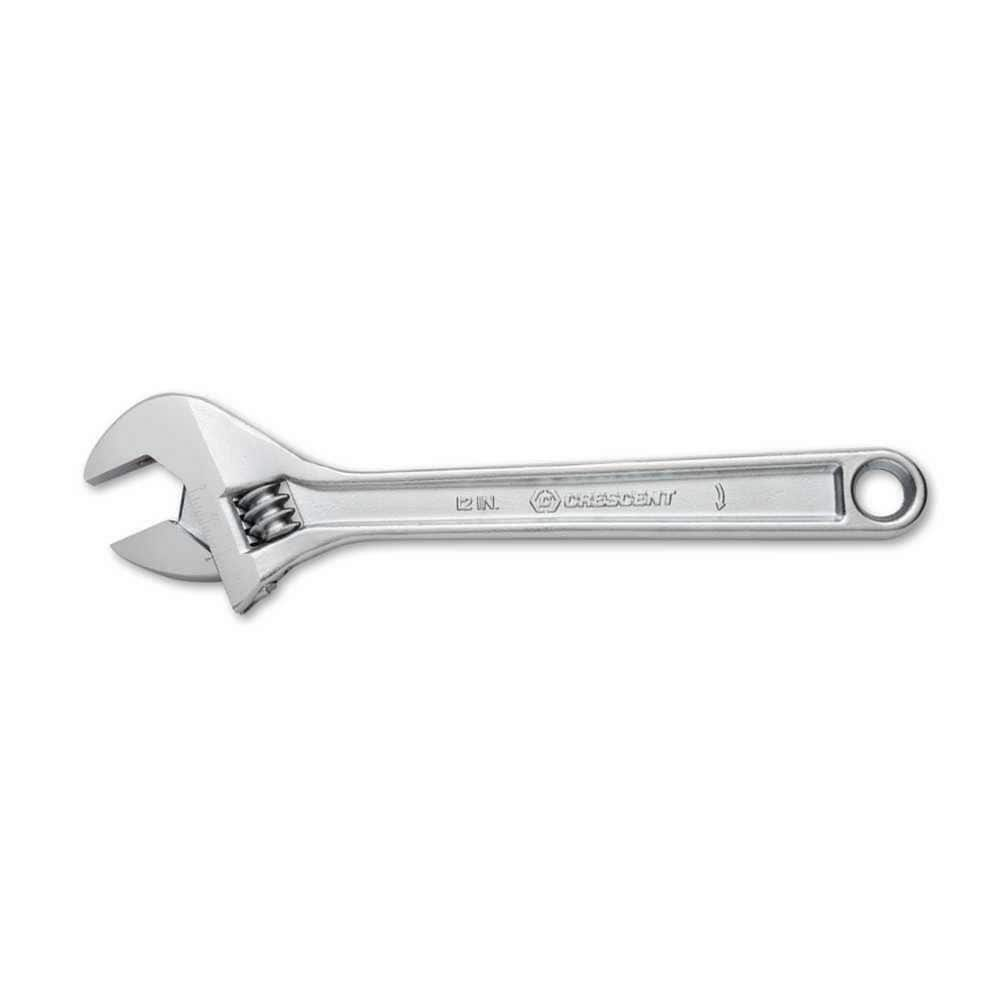
Crescent 12 in. Chrome Adjustable Wrench AC212VS
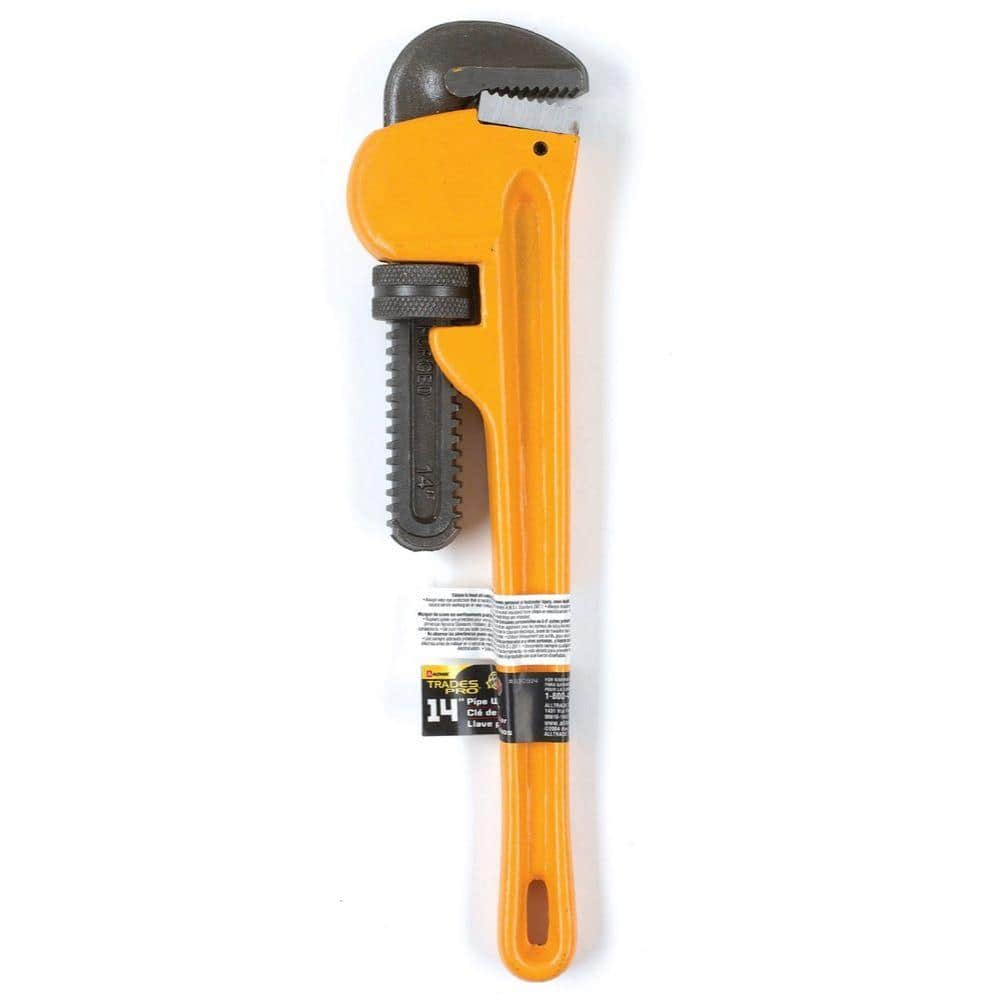
TradesPro 14 in. HD Pipe Wrench 830914
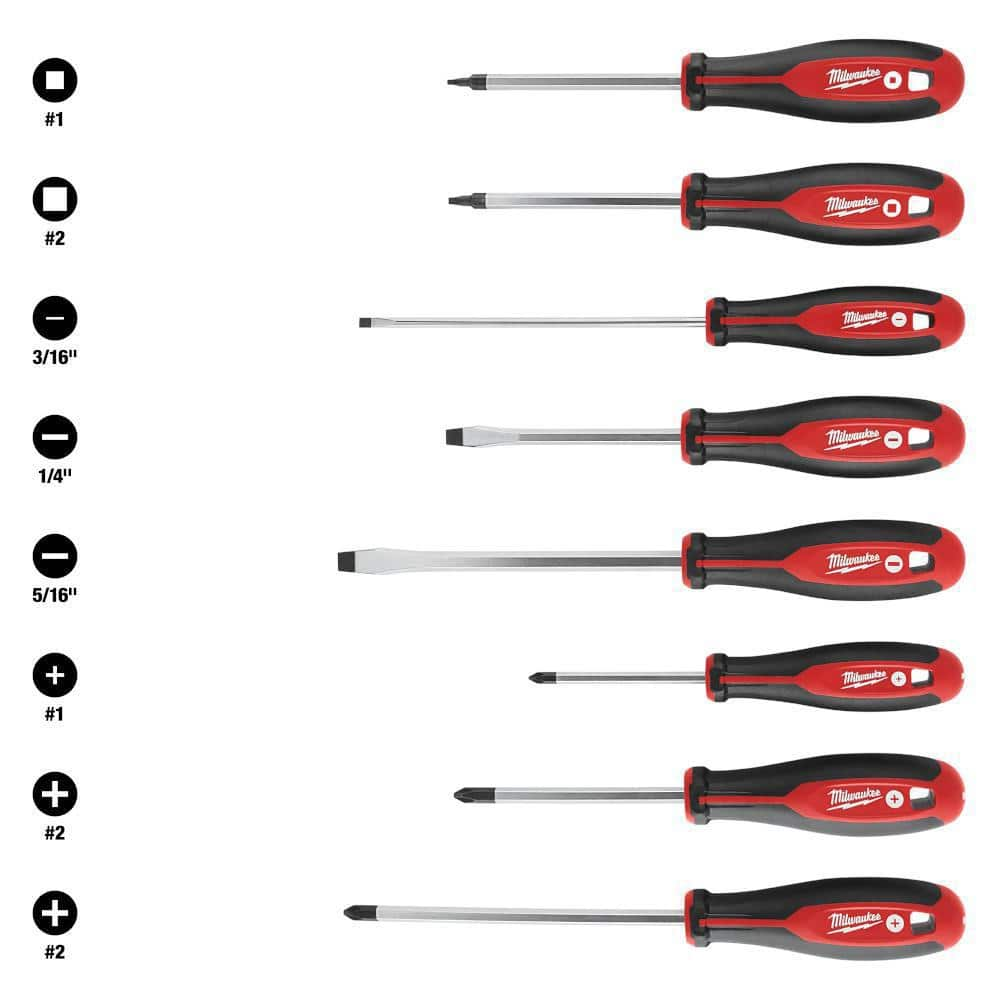
Milwaukee Phillips/Flat Head/Square Hex Drive Screwdriver Set with Tri-Lobe Handle (8-Piece) 48-22-2718

Adjustable Wrench
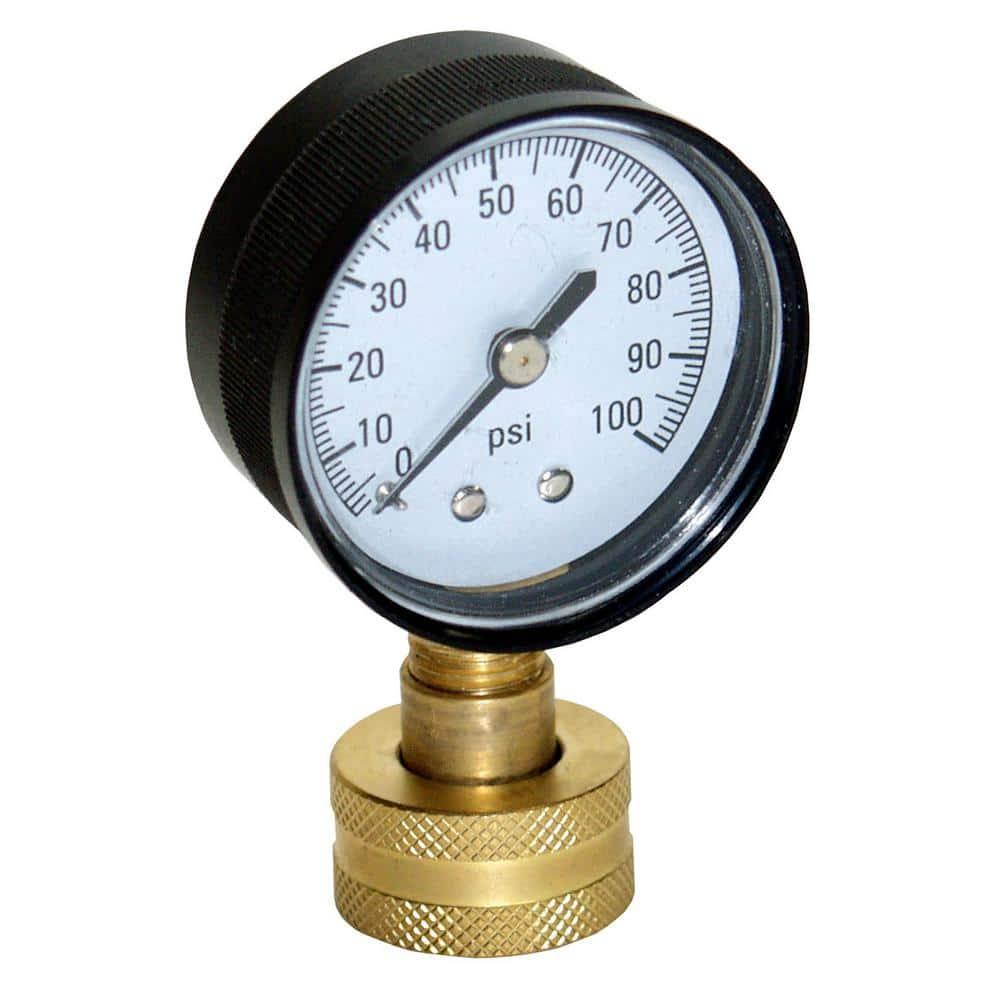
Water Source Water Test Pressure Gauge WSPGH100
Watts 3/4 in. Plastic Water Pressure Test Gauge DP IWTG
When you choose this hose connection gauge, you can rest assured that you're getting a quality product to test water supply pressures within a distribution system. Its red indicator hand holds at the highest reading registered for detection of thermal expansion pressure surges. Rubber garden hose washer included. Easy to install, no tools are required.
Crescent 12 in. Chrome Adjustable Wrench AC212VS
Since the introduction of the original Crescent wrench in the early 1900s, the Crescent brand has become synonymous with adjustable wrenches. Crescent Adjustable Wrenches feature a large knurl for easy
TradesPro 14 in. HD Pipe Wrench 830914
A simple tool that's simply irreplaceable around the house, yard, garage and worksite. Nothing works better at biting, clamping and turning stubborn pipes, fittings and more. This wrench has all the essentials
Milwaukee Phillips/Flat Head/Square Hex Drive Screwdriver Set with Tri-Lobe Handle (8-Piece) 48-22-2718
Featuring hardened tips and forged shanks the Milwaukee 8-piece screwdriver set provides professional grade solutions and durability to the user. Bit types are marked on the cap of each tool for quick
Adjustable Wrench
Fits various nut and bolt sizes with its adjustable jaw.
Water Source Water Test Pressure Gauge WSPGH100
This 100 psi Water Pressure Test Gauge attaches to a garden hose bib to verify water pressure or check for leaks in the system. Glass casing provides an easy to read display. It's easy to install.
Steps

Establish Baseline Pressure Reading
5 minsFirst, you need to get a baseline reading of your current water pressure. Ensure no water is running inside the house. Locate an outdoor hose bibb (spigot) or a laundry room utility sink faucet. Tightly screw the water pressure gauge onto the threads of the faucet. Open the faucet all the way to get an accurate static pressure reading. Note the pressure shown on the gauge dial in PSI (pounds per square inch).

Loosen the Locknut
5 minsThe PRV is a bell-shaped brass valve typically located on the main water line shortly after the main shutoff valve and water meter. Before making any adjustments, use an adjustable wrench or pipe wrench to loosen the locknut that secures the adjustment screw on top of the PRV. Turn the locknut counter-clockwise about a half-turn to one full turn. This will allow the adjustment screw to be turned freely.

Make Initial Adjustment
5 minsNow you will adjust the pressure. To decrease the pressure (as per our assumed problem), use a flathead screwdriver or wrench (depending on the screw head) to turn the adjustment screw counter-clockwise. To increase pressure, you would turn it clockwise. Make only a small adjustment at first, such as a quarter or half turn. This prevents overshooting your target pressure.
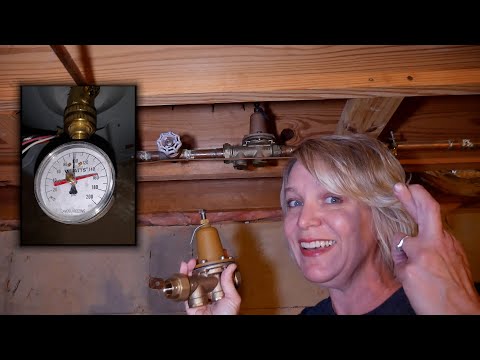
Test New Pressure Setting
10 minsAfter making an adjustment, the pressure in the pipes needs to be stabilized to get a new, accurate reading. Go to a faucet inside the house (the one furthest from the PRV is best) and run it for about 30 seconds to a minute. This relieves the static pressure and allows the PRV to settle at its new setting. Turn the faucet off, then go back to your pressure gauge and check the new reading. It should have changed based on your adjustment.

Repeat and Finalize Adjustment
10 minsRepeat the process of adjusting and testing. Continue making small, quarter-turn adjustments to the screw (counter-clockwise to lower, clockwise to raise) and then re-testing the pressure by running a faucet and reading the gauge. Continue this iterative process until the gauge consistently reads within the desired range of 50-60 PSI.

Tighten the Locknut
5 minsOnce you have successfully set the water pressure to your target level, you must lock the adjustment in place. Using your adjustable wrench, tighten the locknut by turning it clockwise until it is snug against the valve body. Do not overtighten, as this can damage the threads or the valve. Just make it firm enough to prevent the adjustment screw from vibrating or moving over time.
Common Problems
Incorrectly turning the PRV adjustment bolt can lead to water pressure that is too high or too low.
Solution: Turn the adjustment bolt on top of the regulator clockwise to increase pressure and counter-clockwise to decrease it.
Leaks occur when testing PRV pressure without a proper seal.
Solution: Using the rubber washer that comes with the gauge prevents leaks while testing.
Any water running inside the home will result in an inaccurate pressure reading.
Solution: To avoid this issue: Be mindful of this warning and take appropriate precautions.
Incorrectly measuring water pressure results in inaccurate PRV adjustments.
Solution: Make sure to use a spigot that is on the regulated side of your water system, not one directly from the main line before the regulator.
Inaccurate static pressure readings when adjusting PRV.
Solution: Ensure no water is running in the house to get an accurate static pressure reading.
Always make small adjustments and check the gauge frequently to avoid over-pressurizing the system.
Solution: To avoid this issue: Be mindful of this warning and take appropriate precautions.
Incorrect hot/cold operation if handle isn't aligned before tightening.
Solution: Make sure the handle is properly aligned before tightening the set screw to ensure correct hot and cold operation.
Frequently Asked Questions
Why is it important to adjust my water pressure reducing valve (PRV)?
Adjusting your PRV protects your home's plumbing, water heater, and appliances from damage caused by high water pressure, which can lead to leaks and premature wear. It also helps conserve water and reduces strain on your system, preventing costly repairs and ensuring efficient operation.
What is the ideal water pressure range for a home, and how do I know if mine is too high or too low?
Optimal household water pressure is generally between 40 and 60 PSI, with 50-55 PSI often considered ideal. Pressure consistently above 80 PSI is too high and can damage appliances and pipes, while below 40 PSI can cause poor shower performance and slow filling times.
What specific tools will I need to adjust my PRV, and is there one that's absolutely essential?
You'll primarily need a reliable water pressure test gauge, such as the Watts 3/4 in. Plastic Water Pressure Test Gauge, and an adjustable wrench. A screwdriver (flathead or Phillips, depending on your PRV model) may also be necessary for the adjustment screw. The pressure gauge is absolutely essential to accurately measure and verify your pressure.
How long should I expect this project to take, especially if I'm a beginner?
For a beginner, establishing baseline pressure, locating the PRV, and making the initial adjustment and re-test typically takes about 15-30 minutes. Allow a bit more time for any fine-tuning or if your PRV is difficult to access, as you may need to repeat the adjustment and test steps.
What should I do if my water pressure doesn't change after adjusting the PRV, or if it fluctuates wildly?
If adjustments don't affect the pressure or it's unstable, your PRV might be faulty, old, or clogged and likely needs replacement rather than just adjustment. Fluctuating pressure often indicates a worn diaphragm inside the valve, suggesting a professional plumber should assess or replace the unit.
Are there any safety precautions or common mistakes I should be aware of when working with the PRV?
The main precaution is to avoid over-tightening the adjustment screw, as this can lead to excessively high pressure or damage the valve. Always re-test the pressure after each adjustment to ensure you don't inadvertently set it too high, which can put undue strain on your entire plumbing system.


